Guess What!!!!!!!
My daughter’s blog is finally live!!! I’m so excited for her. She loves it too. I invite all of you to take a look at what she’s done!
The name of her blog is Mac & Cheese With A Side of Craft, Please. The name tickles me. It fits her well. Please, let her know how she is doing. Click here to view her work in action.
Now On To WATER-COLORING!!!!!!
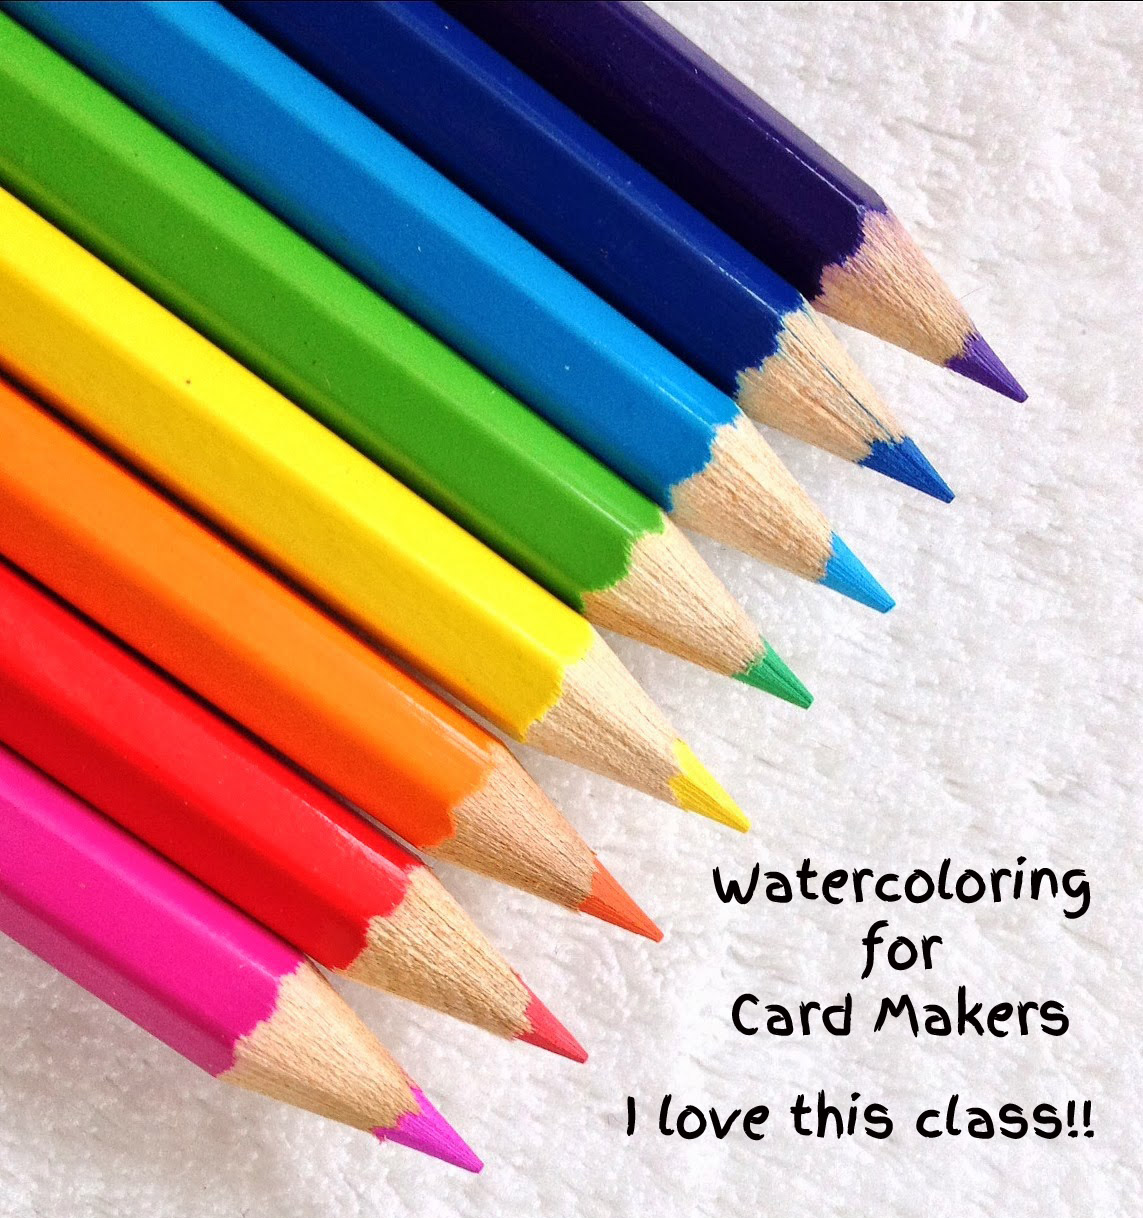
My Watercolor for Card Markers class started Monday and I’m so excited about it. We learned about Watercolor Backgrounds. I was totally blown away by all of the techniques that were taught.
There where three different topics:
1. Soft watercolor Wash Background (with Stencils)
2. Vibrant Watercolor Wash Background
3. Stamped Emboss Resist + Watercolor Wash
I will demonstrate all of the above techniques (not all in this blog post) so that you can see what they look like.
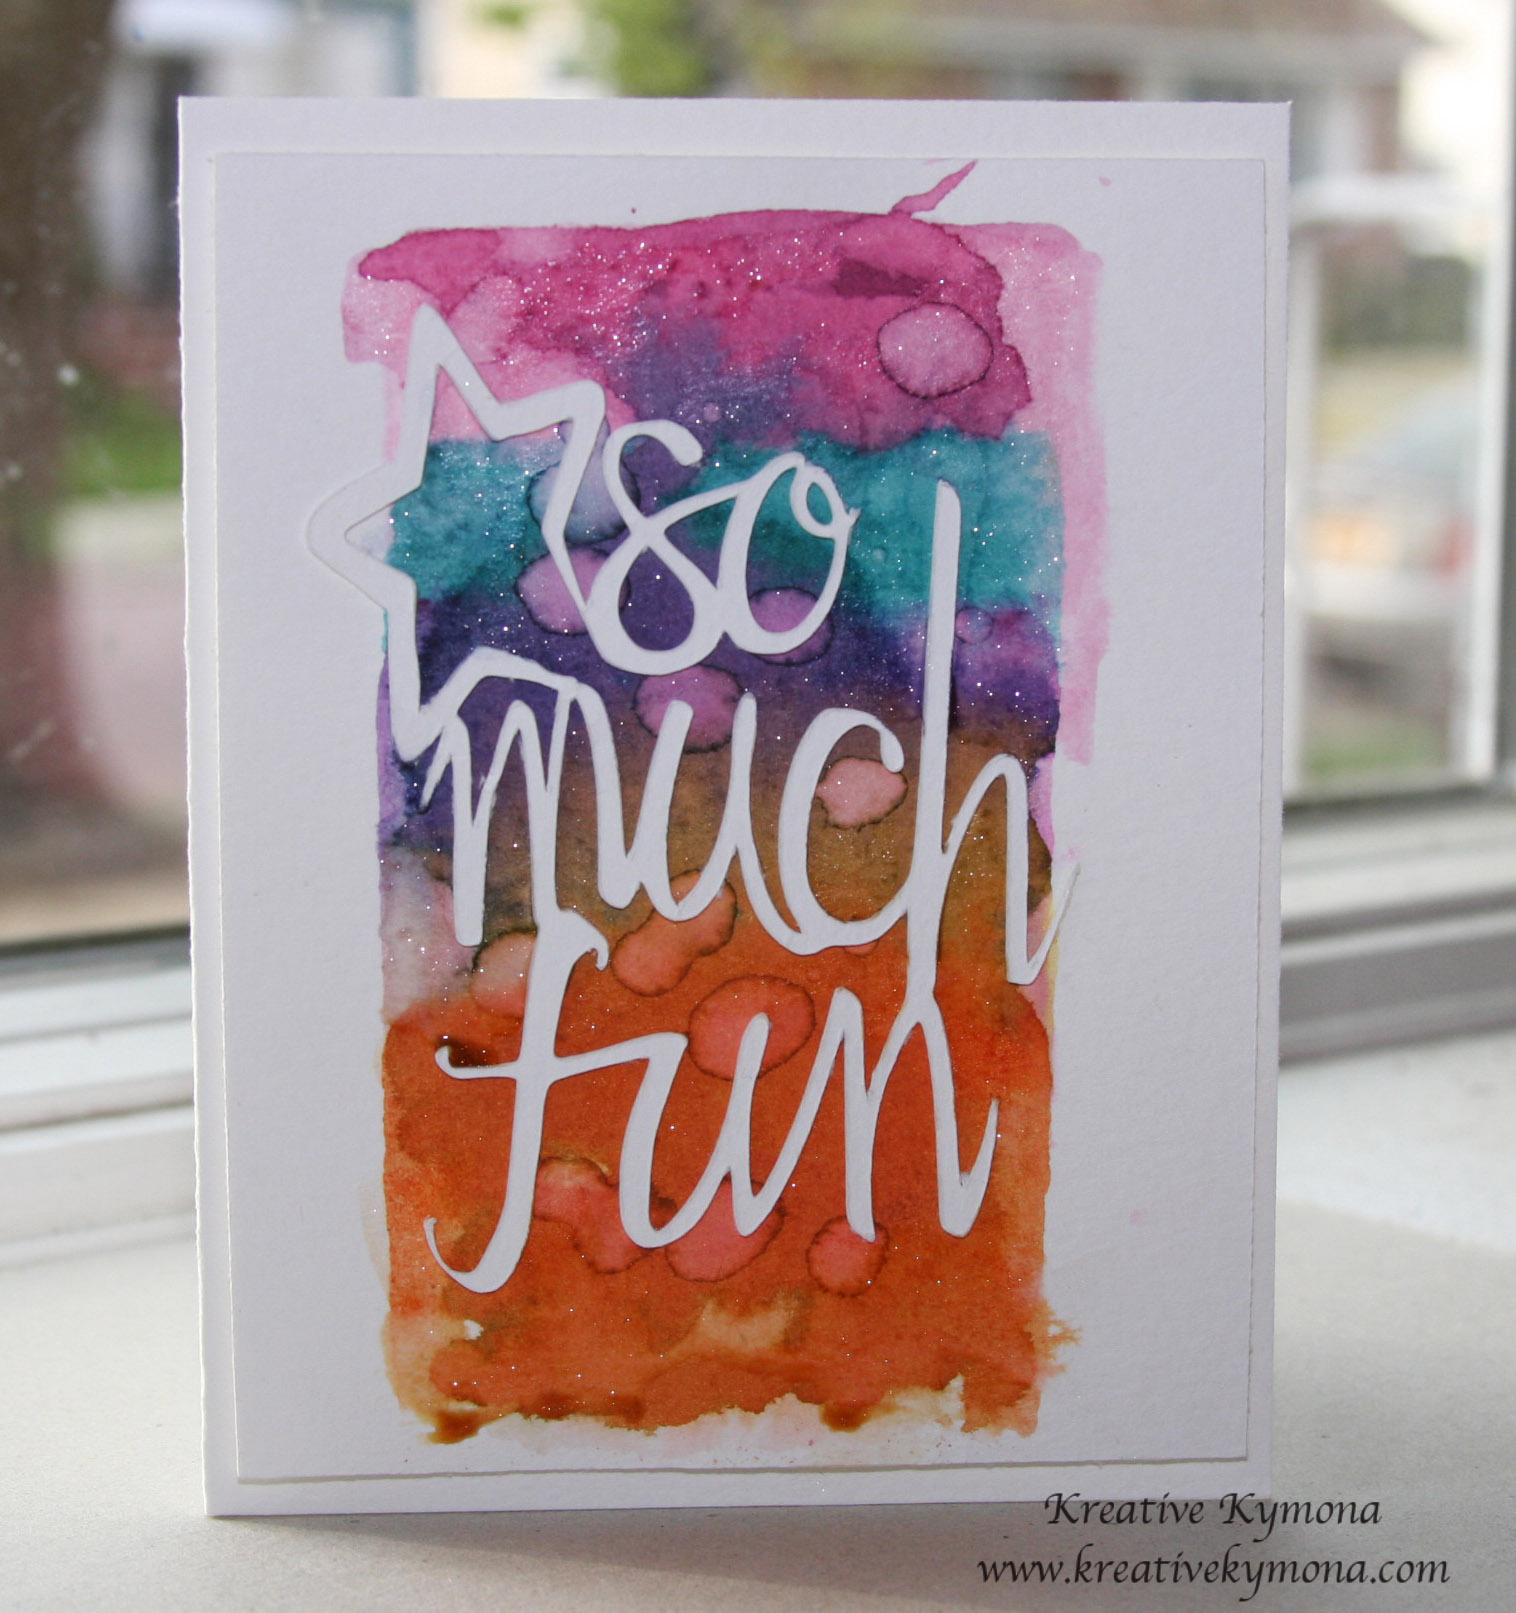
My first card will be the Vibrant Watercolor Wash Background.
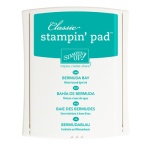
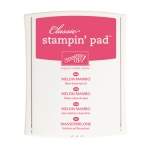
This technique required that we use the products we have on had to create very vibrant background. You don’t always have to use actually watercolor inks. I used 5 of my Brights Stampin’ Up! ink pads, an acrylic block and water to create my watercolor wash background. I had so much fun creating this card.
Using watercolors allows me to relax while creating because as Laura Bassen says we have only that much control over the movement of the water on the paper.
1. I prep my watercolor paper by adding water to coat it.
2. I stamped my acrylic block straight onto the different inks and then placed the block onto the paper.
3. With each color, I placed the stamped block on the previous color and pull downward to blend the two touching colors.
4. Once I was done adding all of the colors, I used my heat gun to dry the ink.
5. Once the ink dried, I added water splats by touching the paper with the tip of my brush with water.
6. I sit the card mask to the side and worked on my sentiment.
7. I cut my sentiment using my Silhouette Cameo and the BSD Brushed Titles from Two Peas in a Bucket.
8. I adhered the sentiment using my mono multipurpose glue.
9. To add a little flair to my card, I added Clear Wink of Stella to the entire watercolor image.
I will try to post my homework every night so you check out what I’m learning and how much fun I’m having.
Soooo, what do you think? I’m EXCITED about how my card came out, I hope you are too!
Supplies Used: