I’m back again today with another card for another challenge. This challenge is from Freshly Made Sketches. I’m happy to being playing along.
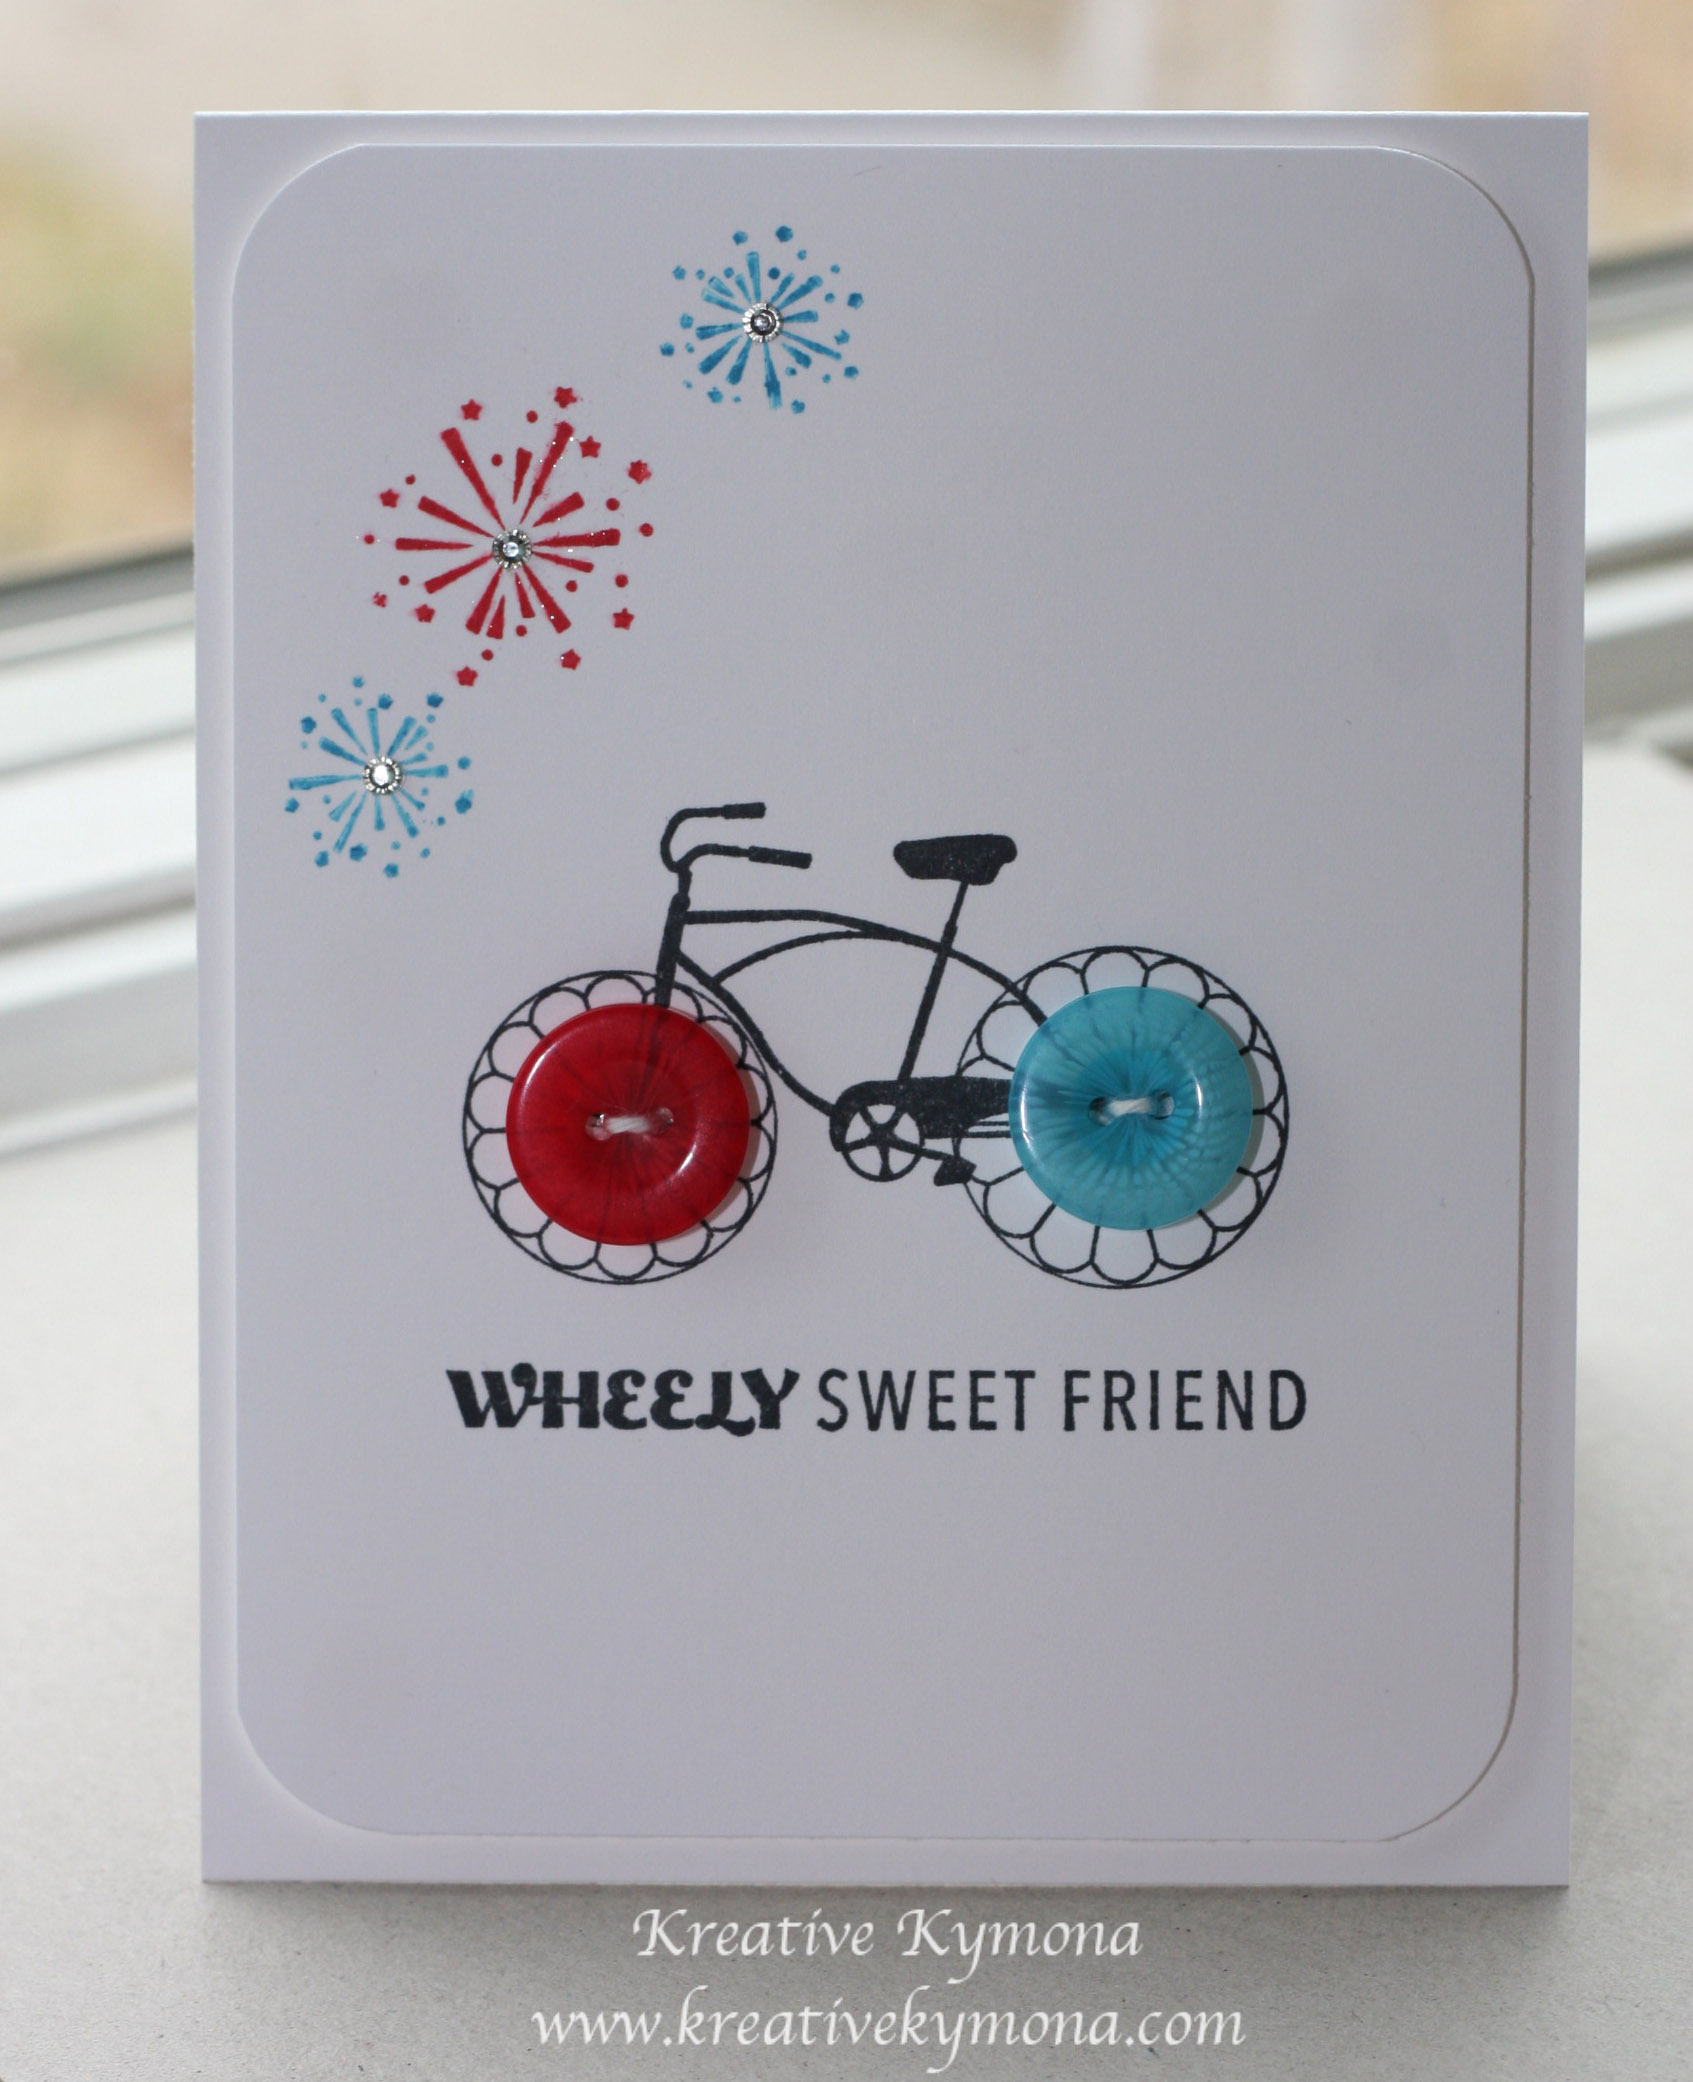
I made this card using some of the Stampin’ Up! products from the Sale-A-Bration catalog that ends on the 31st of March, which is this Monday. I have to say that I really love the colors in this card. Pool party and black are a great combination.
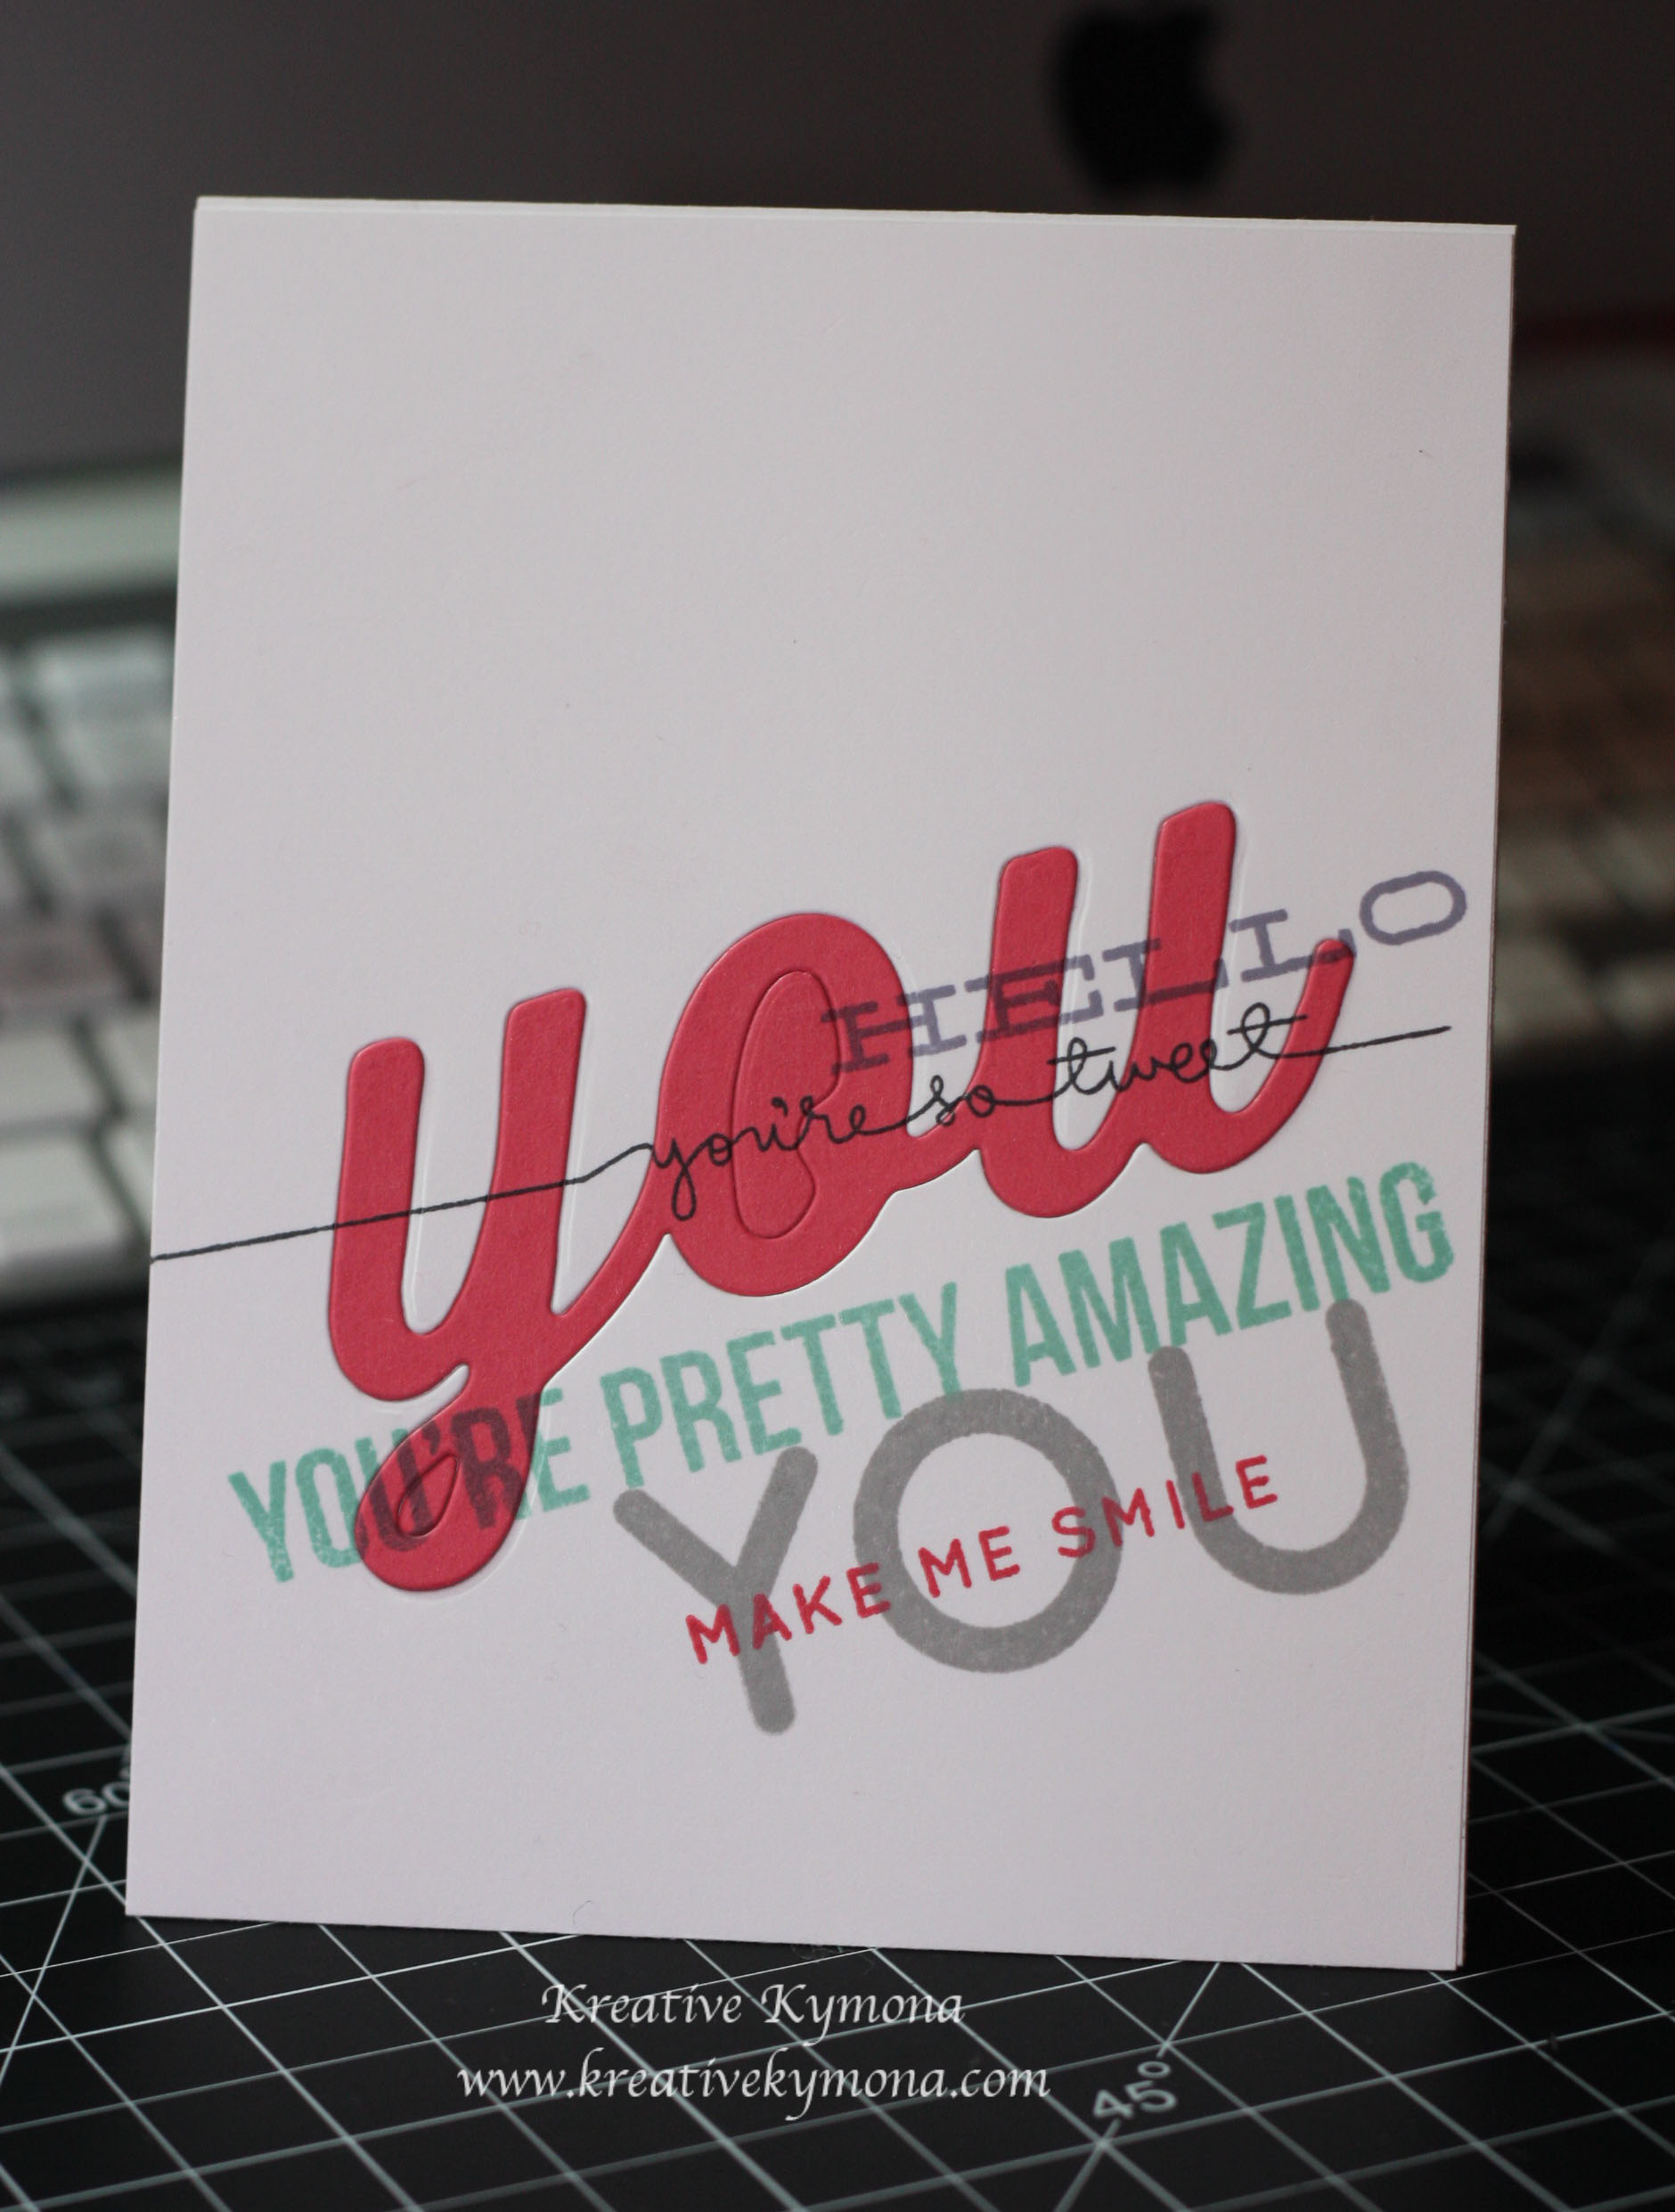
Take a look at my card:

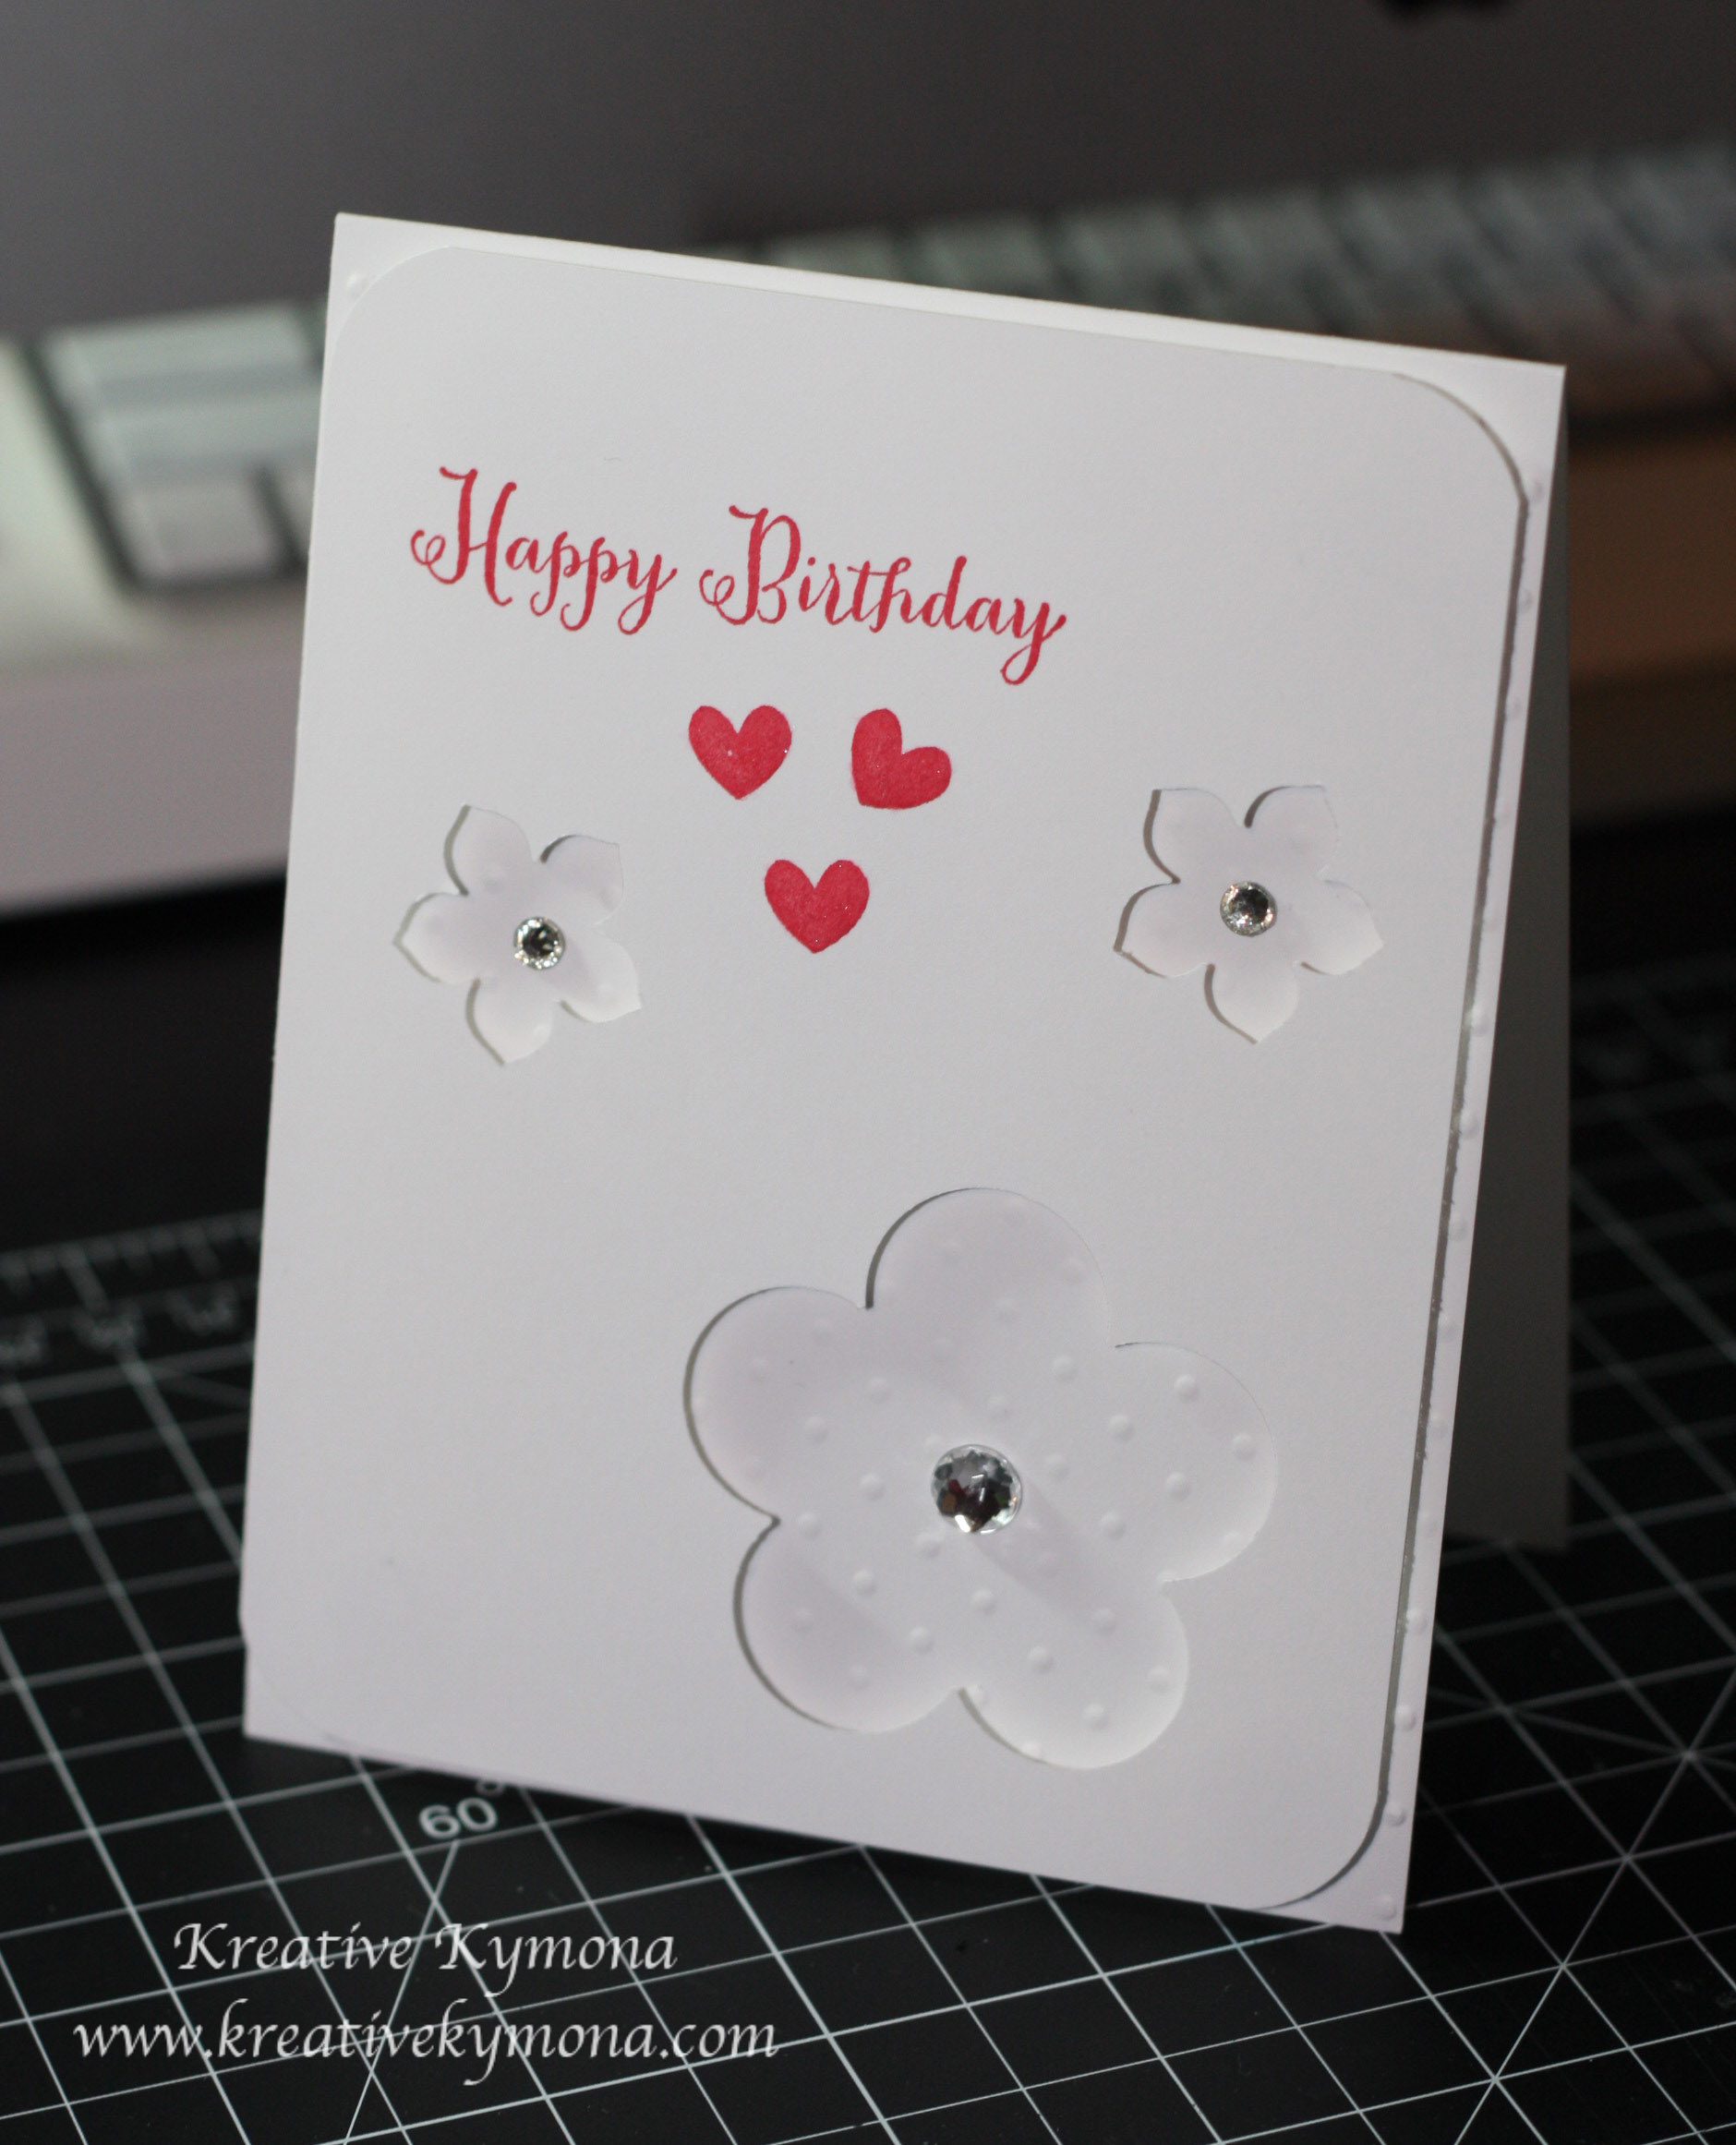
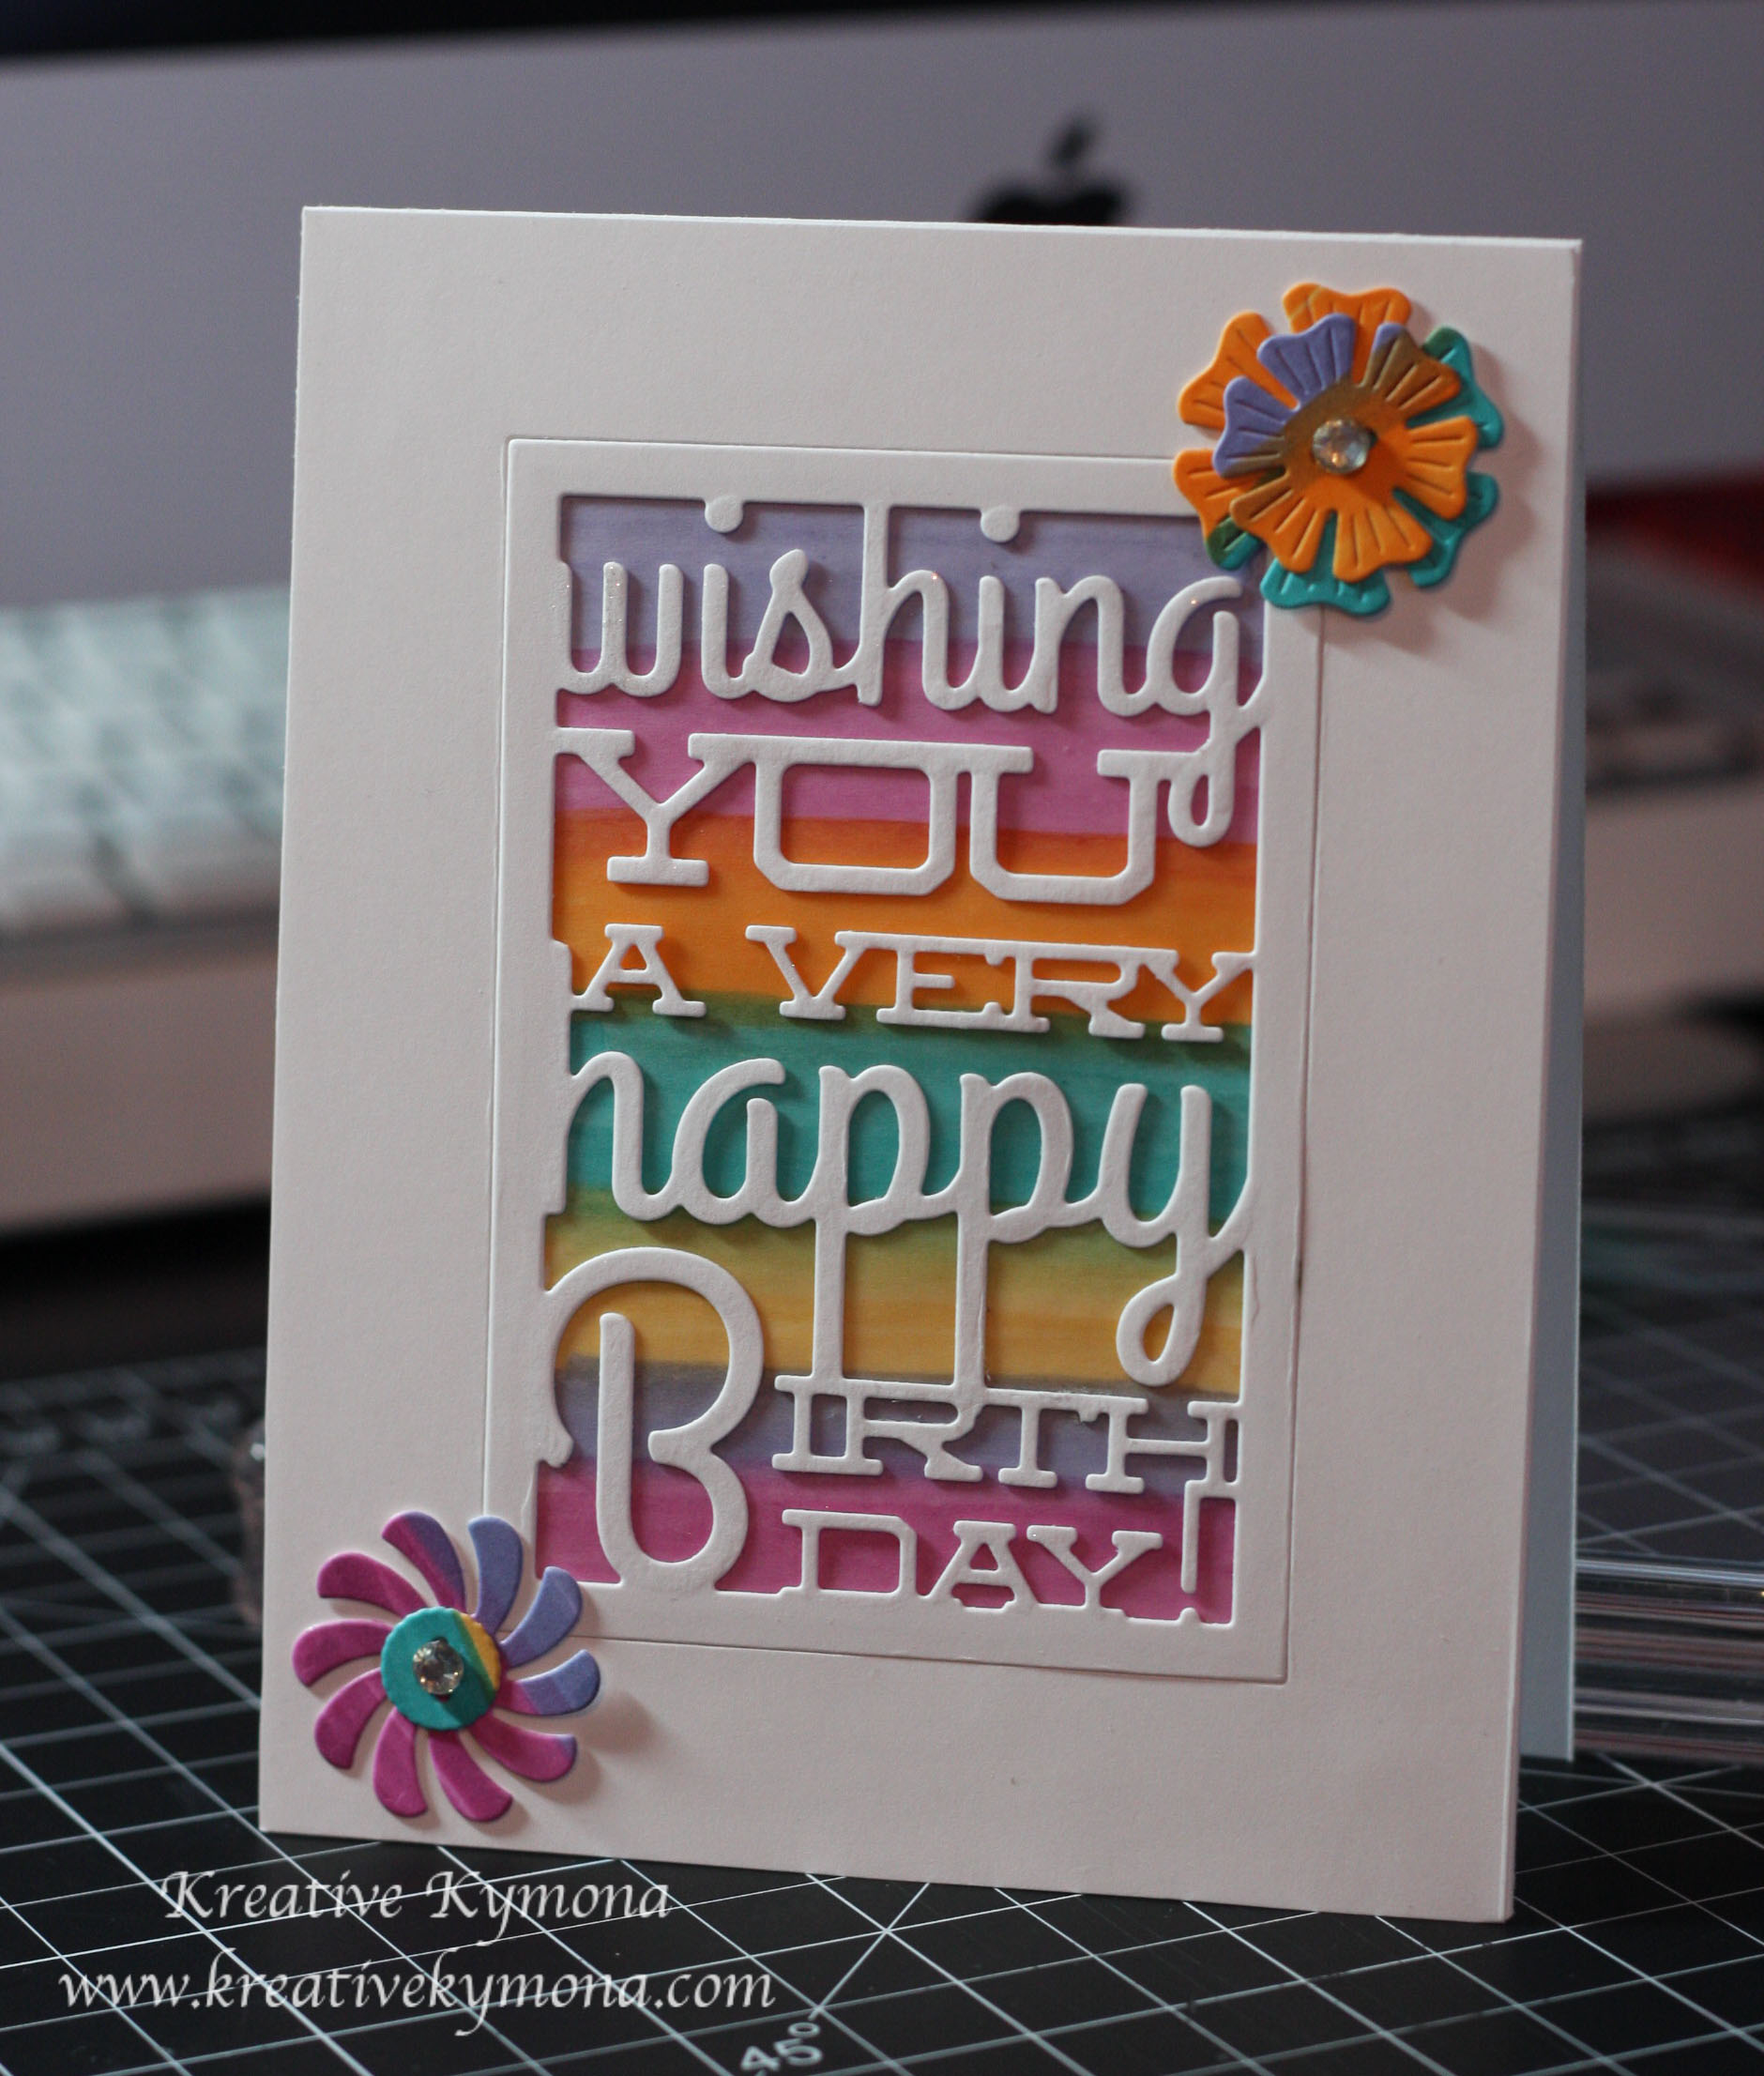
I used the Sweet Sorbet DSP and the Decorative Dots Embossing Folder from the Sale-A-Bration catalog. Both items you can get for free if you place an order of $50 or more in my online store. I love them both.
Please tell me what you think.
Supplies used:

Classic Crest Solar White CS

Pool Party Classic Ink
126982

Pool Party
122924

Basic Black CS
121045

Ovals Collection Framelits Die 129381

Stampin’ Dimensionals
104430

Snail Adhesive
104332

Memento Tuxedo Black

ME Smitten
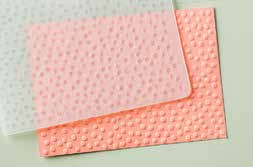
Decorative Dots Embossing Folder

Sweet Sorbet DSP

Textured Boutique Embossing Machine
132657