Altenew June 2020 Stand-alone Dies Release Blog Hop + Giveaway

Hello, and welcome to Altenew June 2020 Blog Hop!! Today we are showcasing brand new stand-alone dies. If you arrived here from the talented blog, Ashlea Cornell, then you are on the right track. If this is your first stop, then you will want to start at the beginning, the Altenew Card Blog.

Let’s take a look at my mini book:

Soda top nesting die


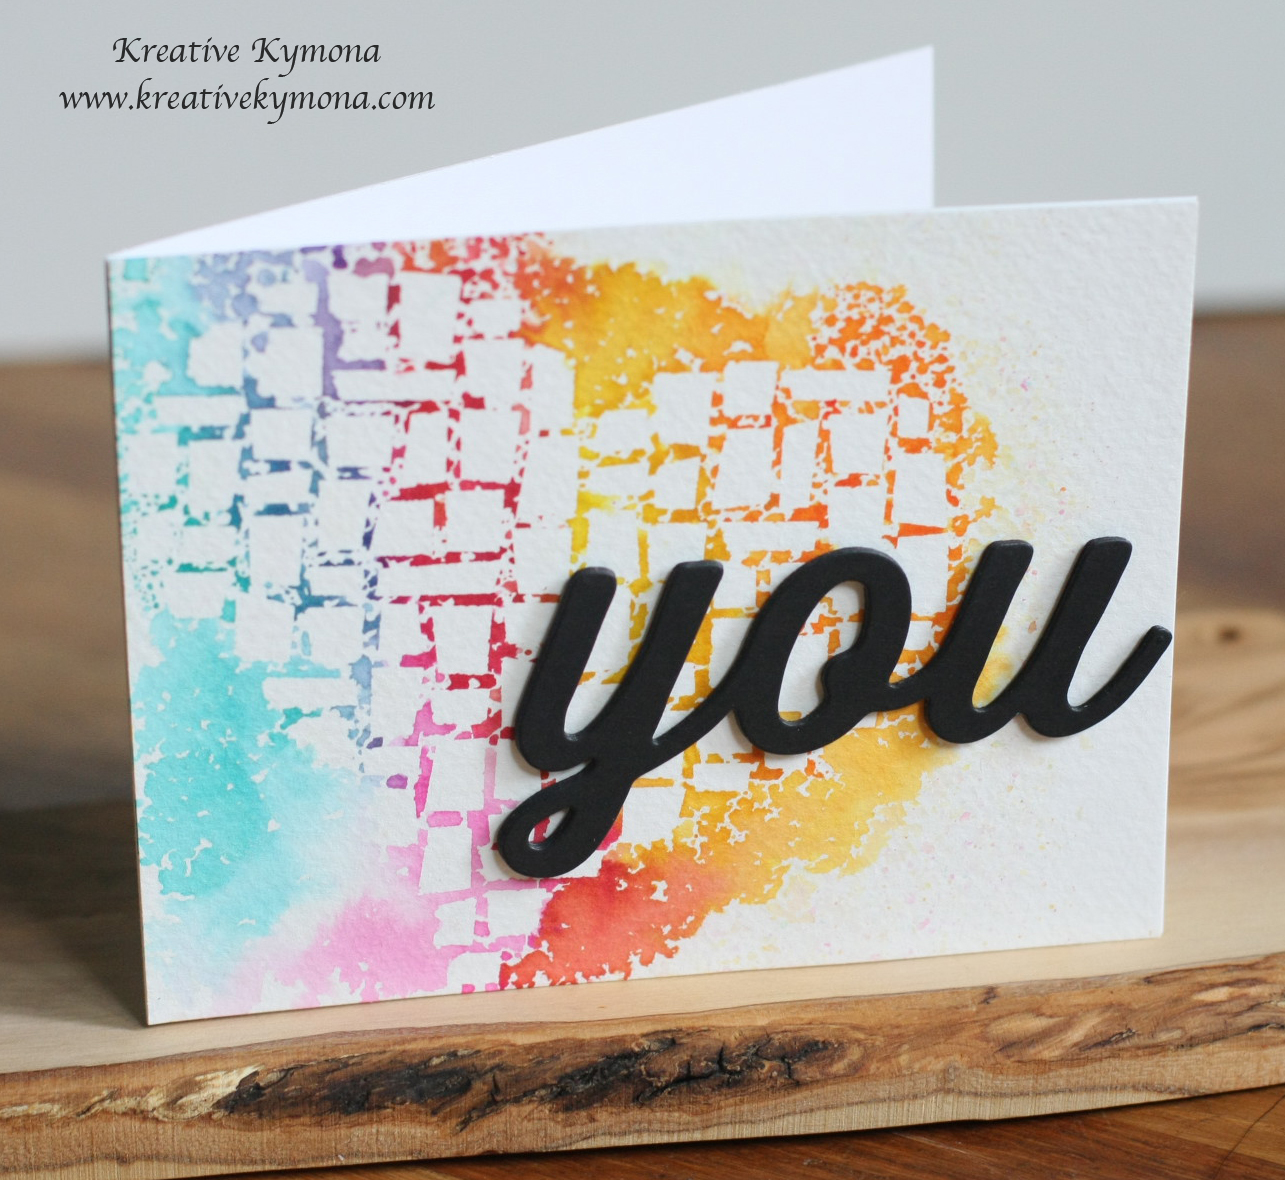
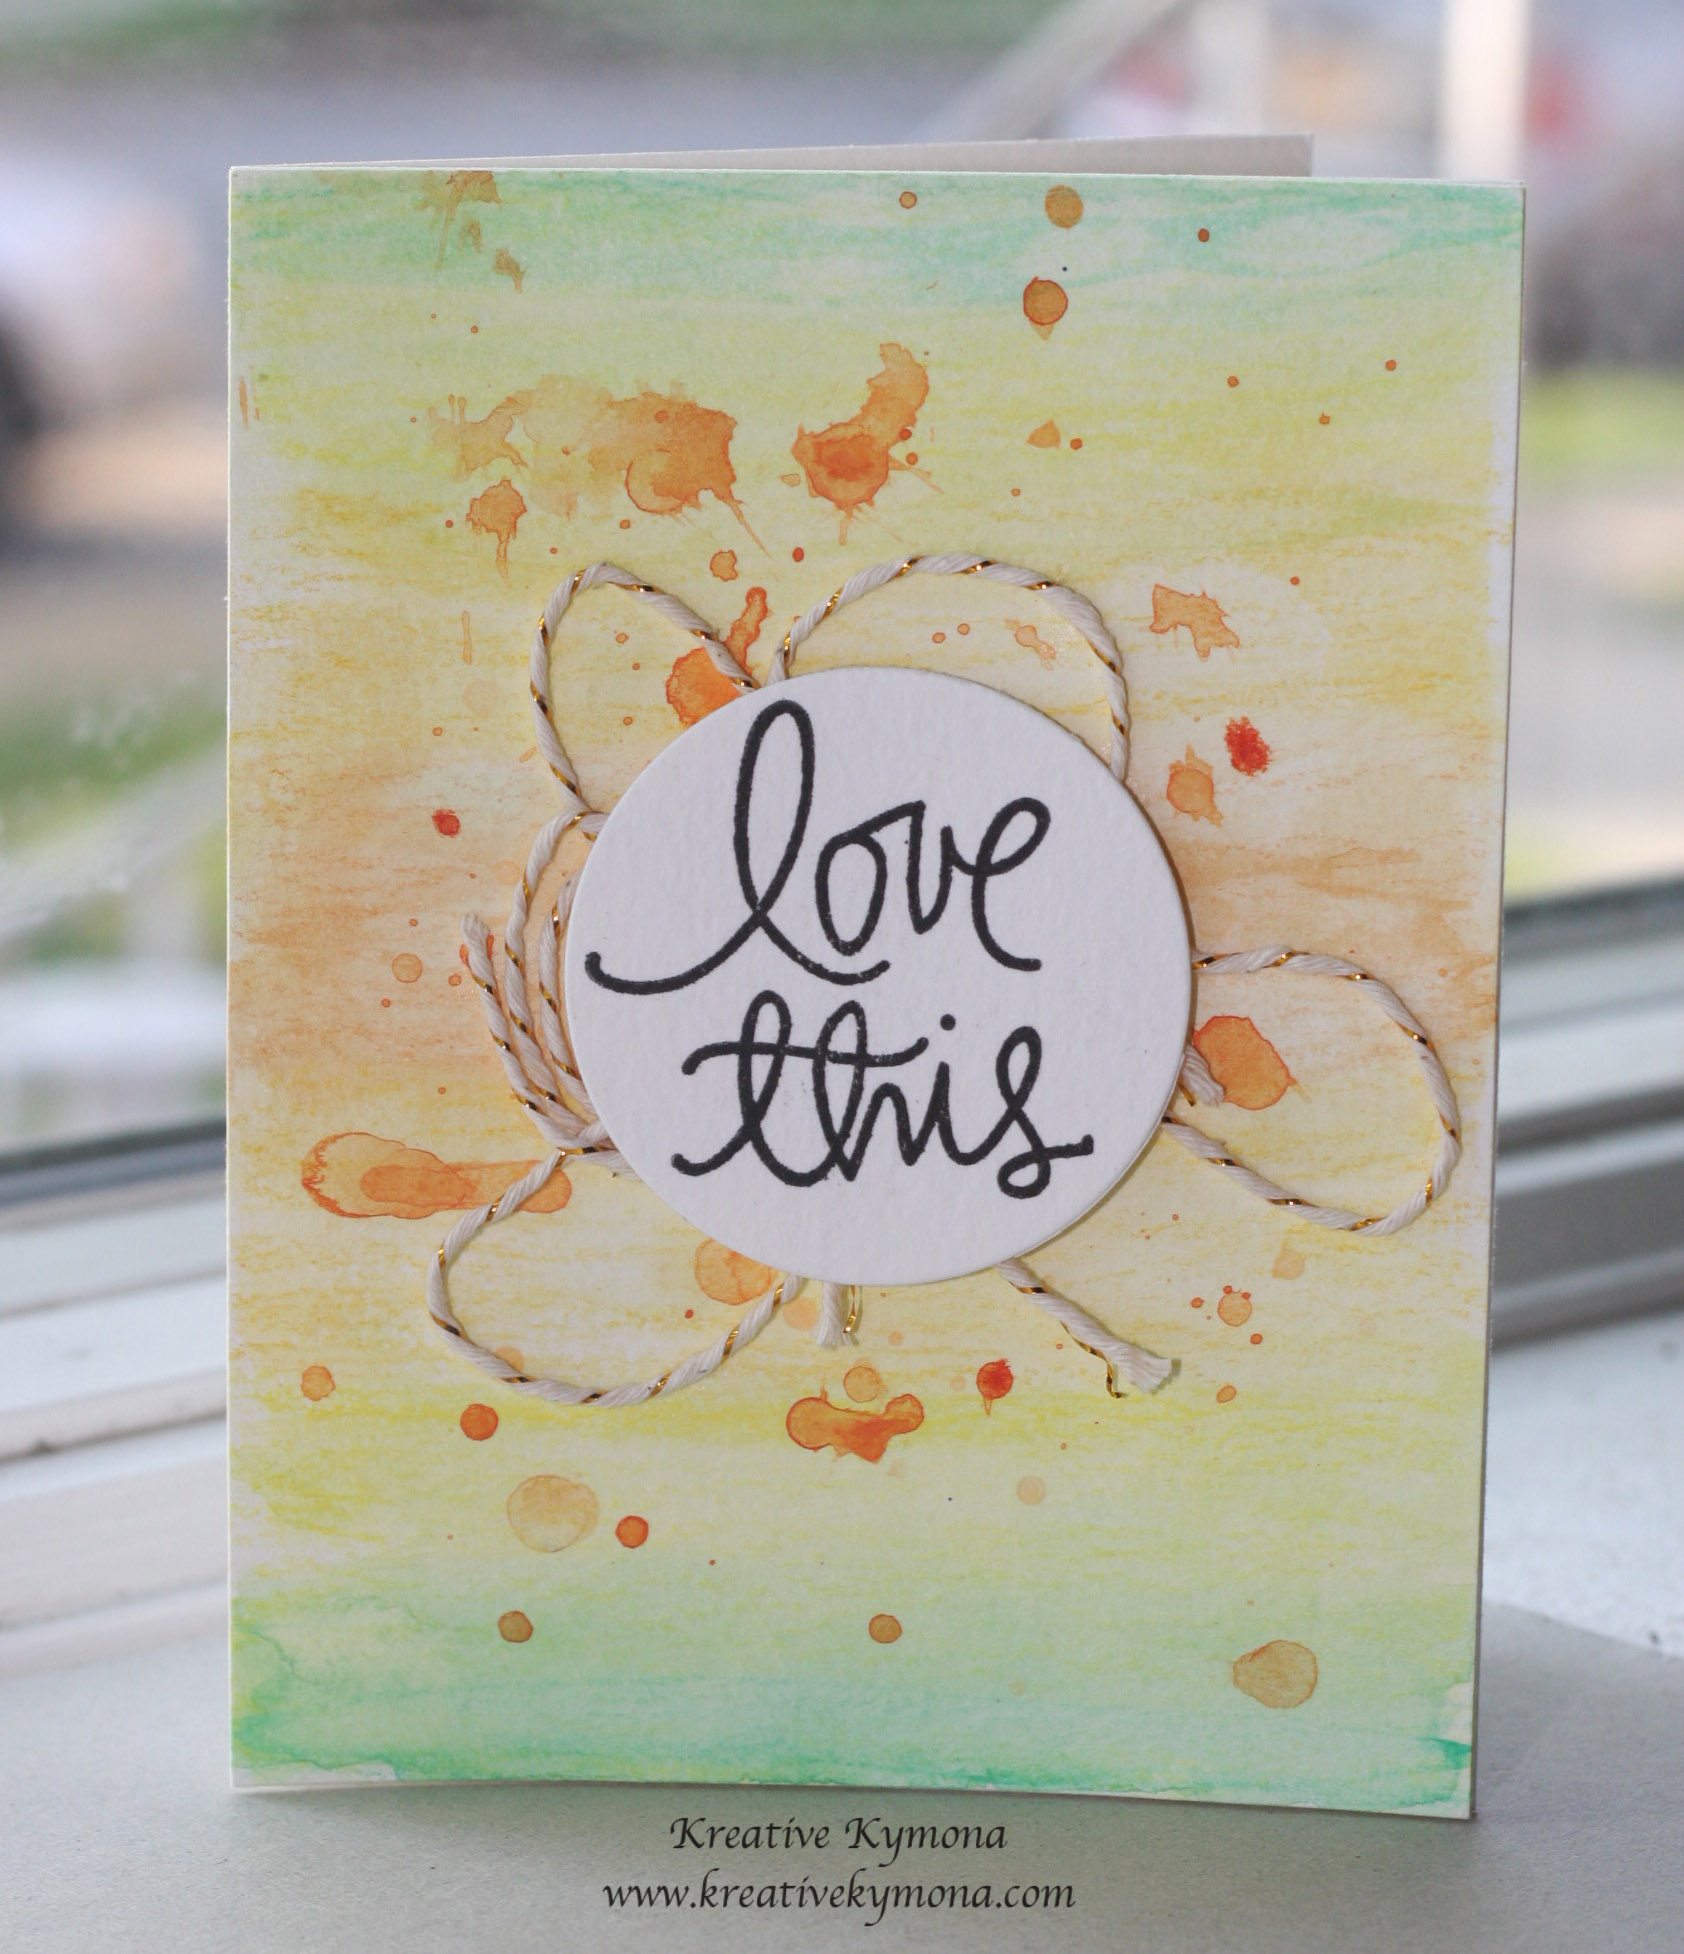
Wow, look at edges of this mini-book, so different and new. To create this mini-book, I used two of the brand new dies released today, the Waterbrush Hello Die and the Soda Top Nesting Die.

Waterbush hello die

Here’s how to create this mini-book:

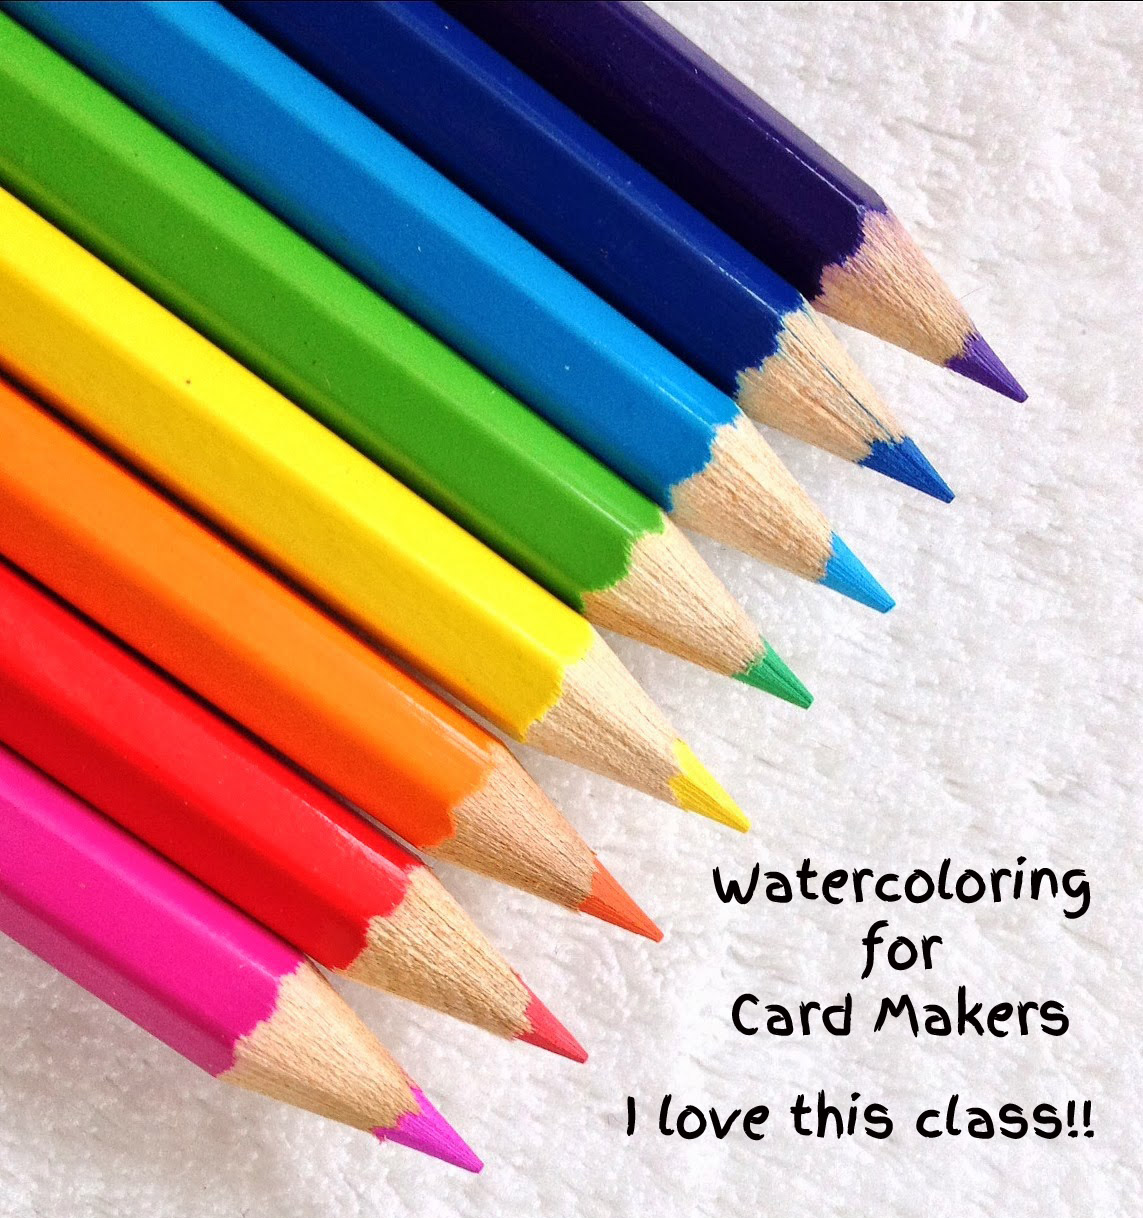
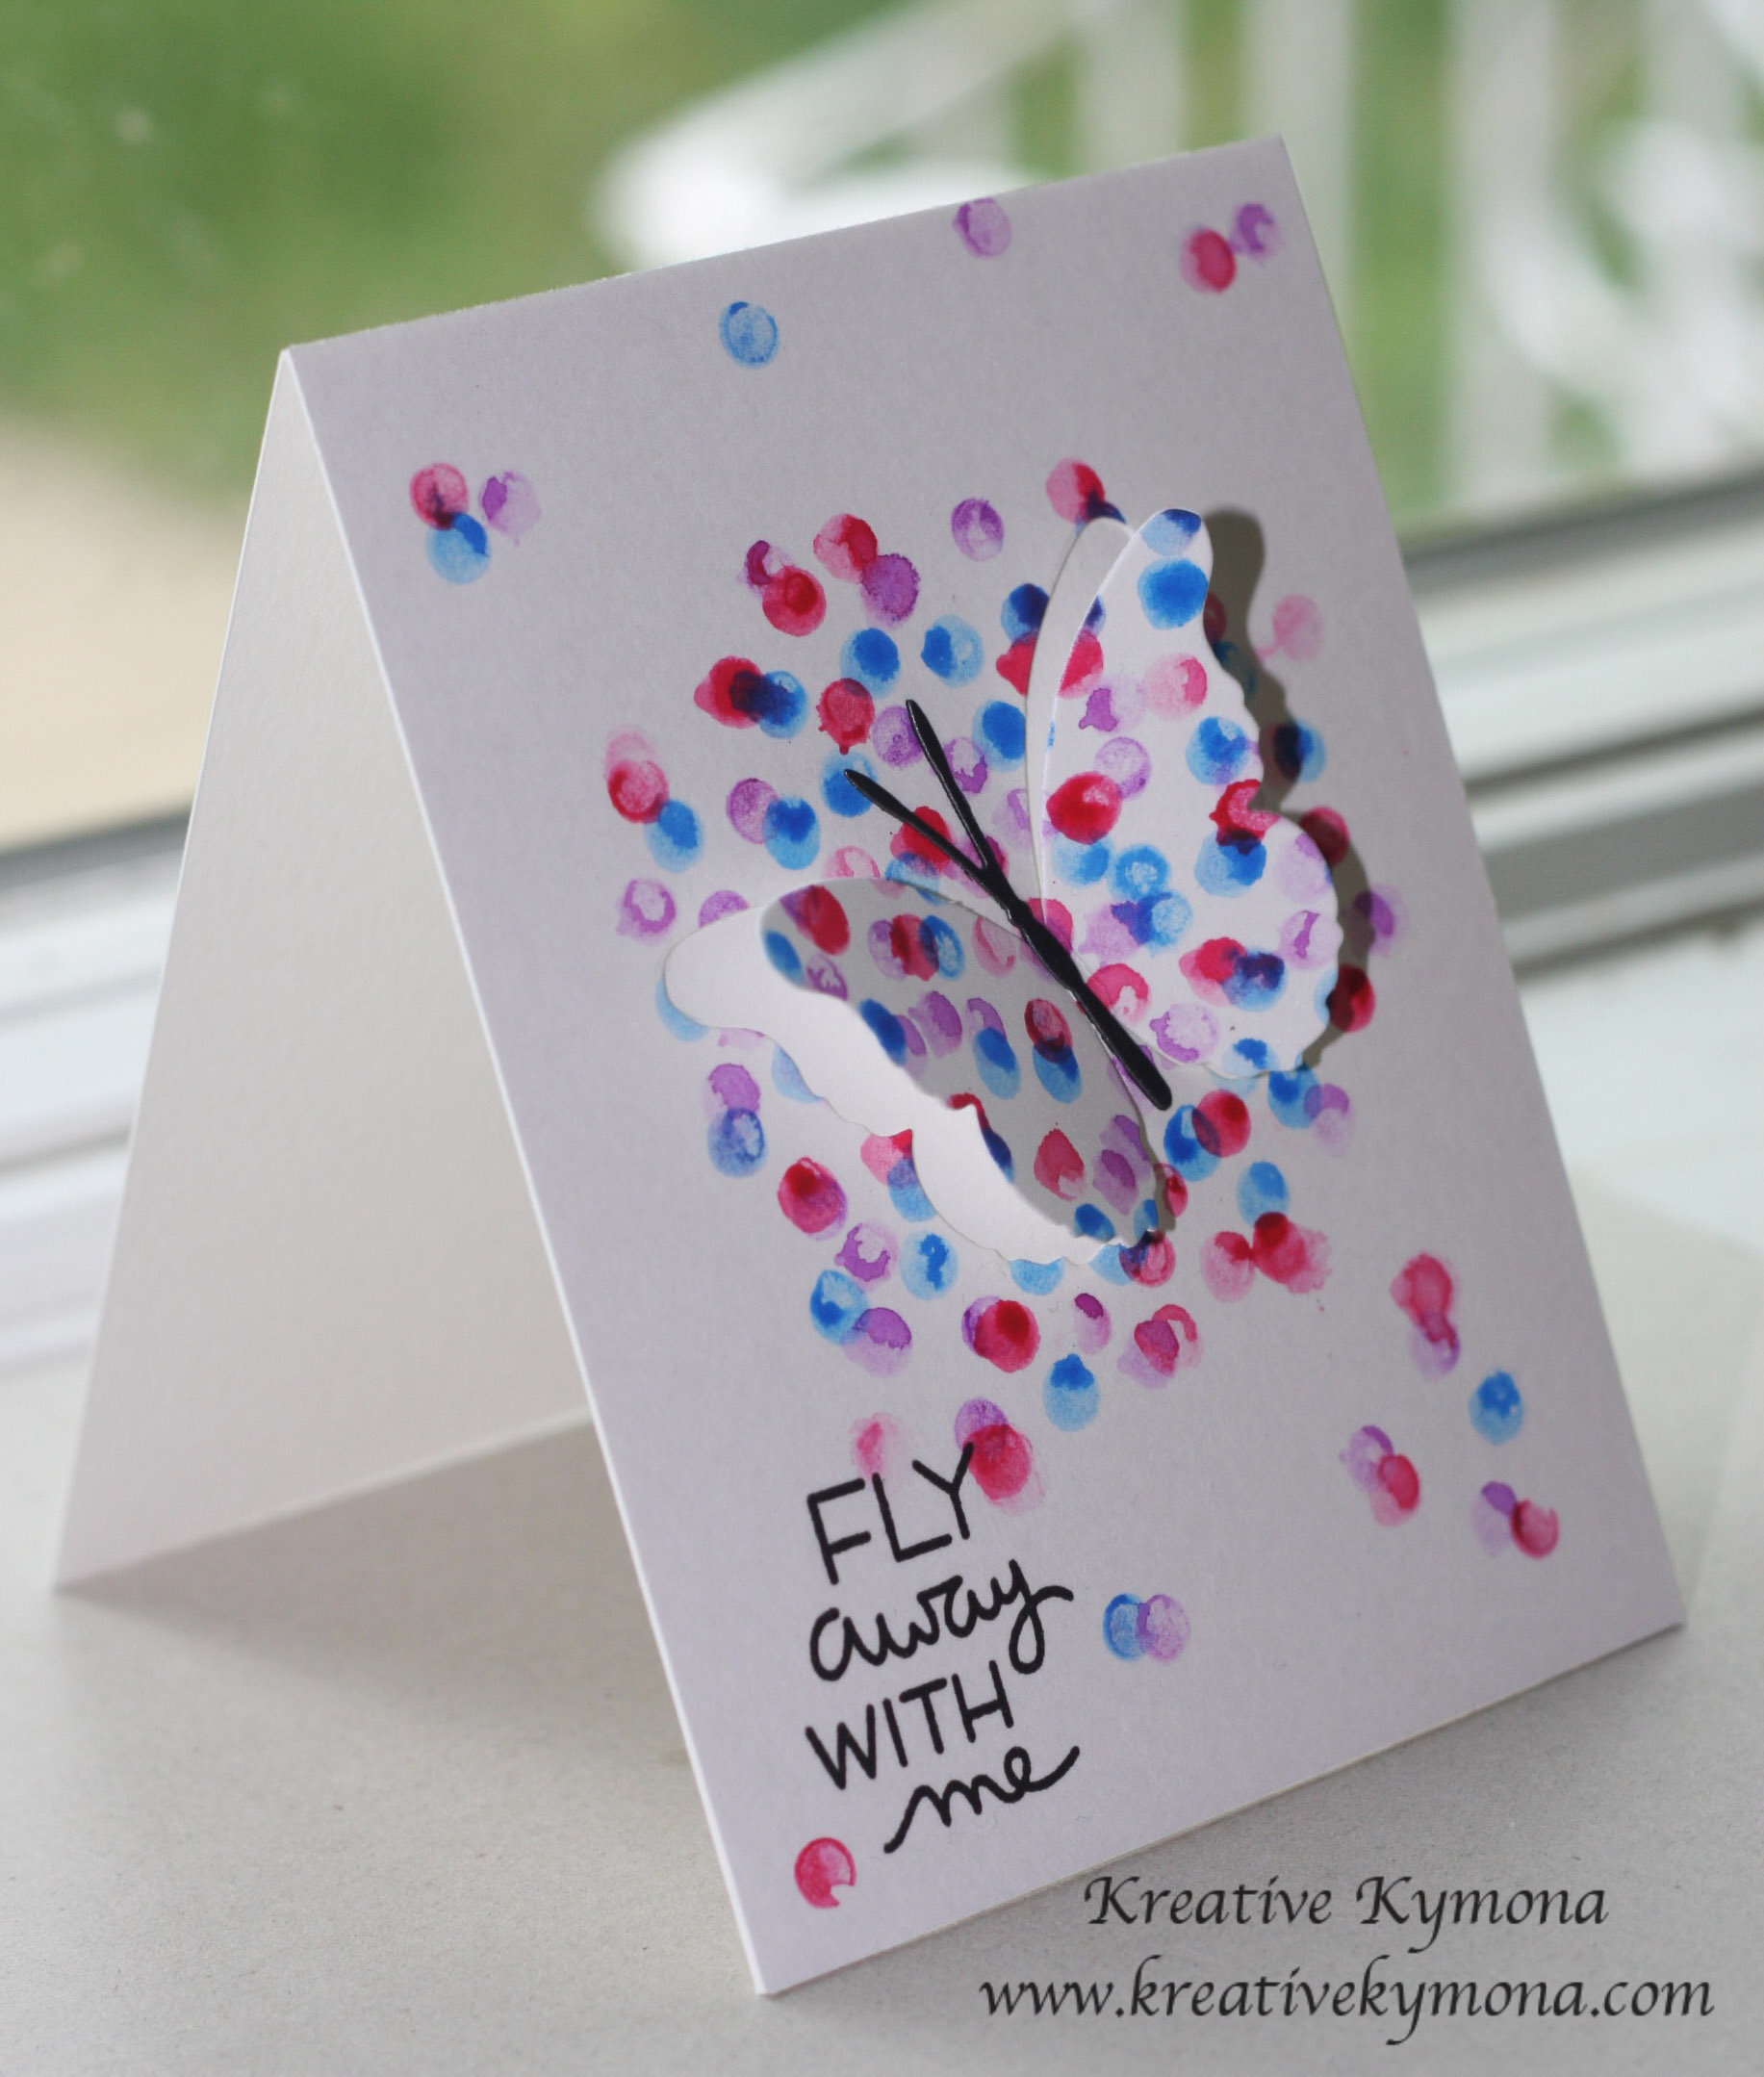
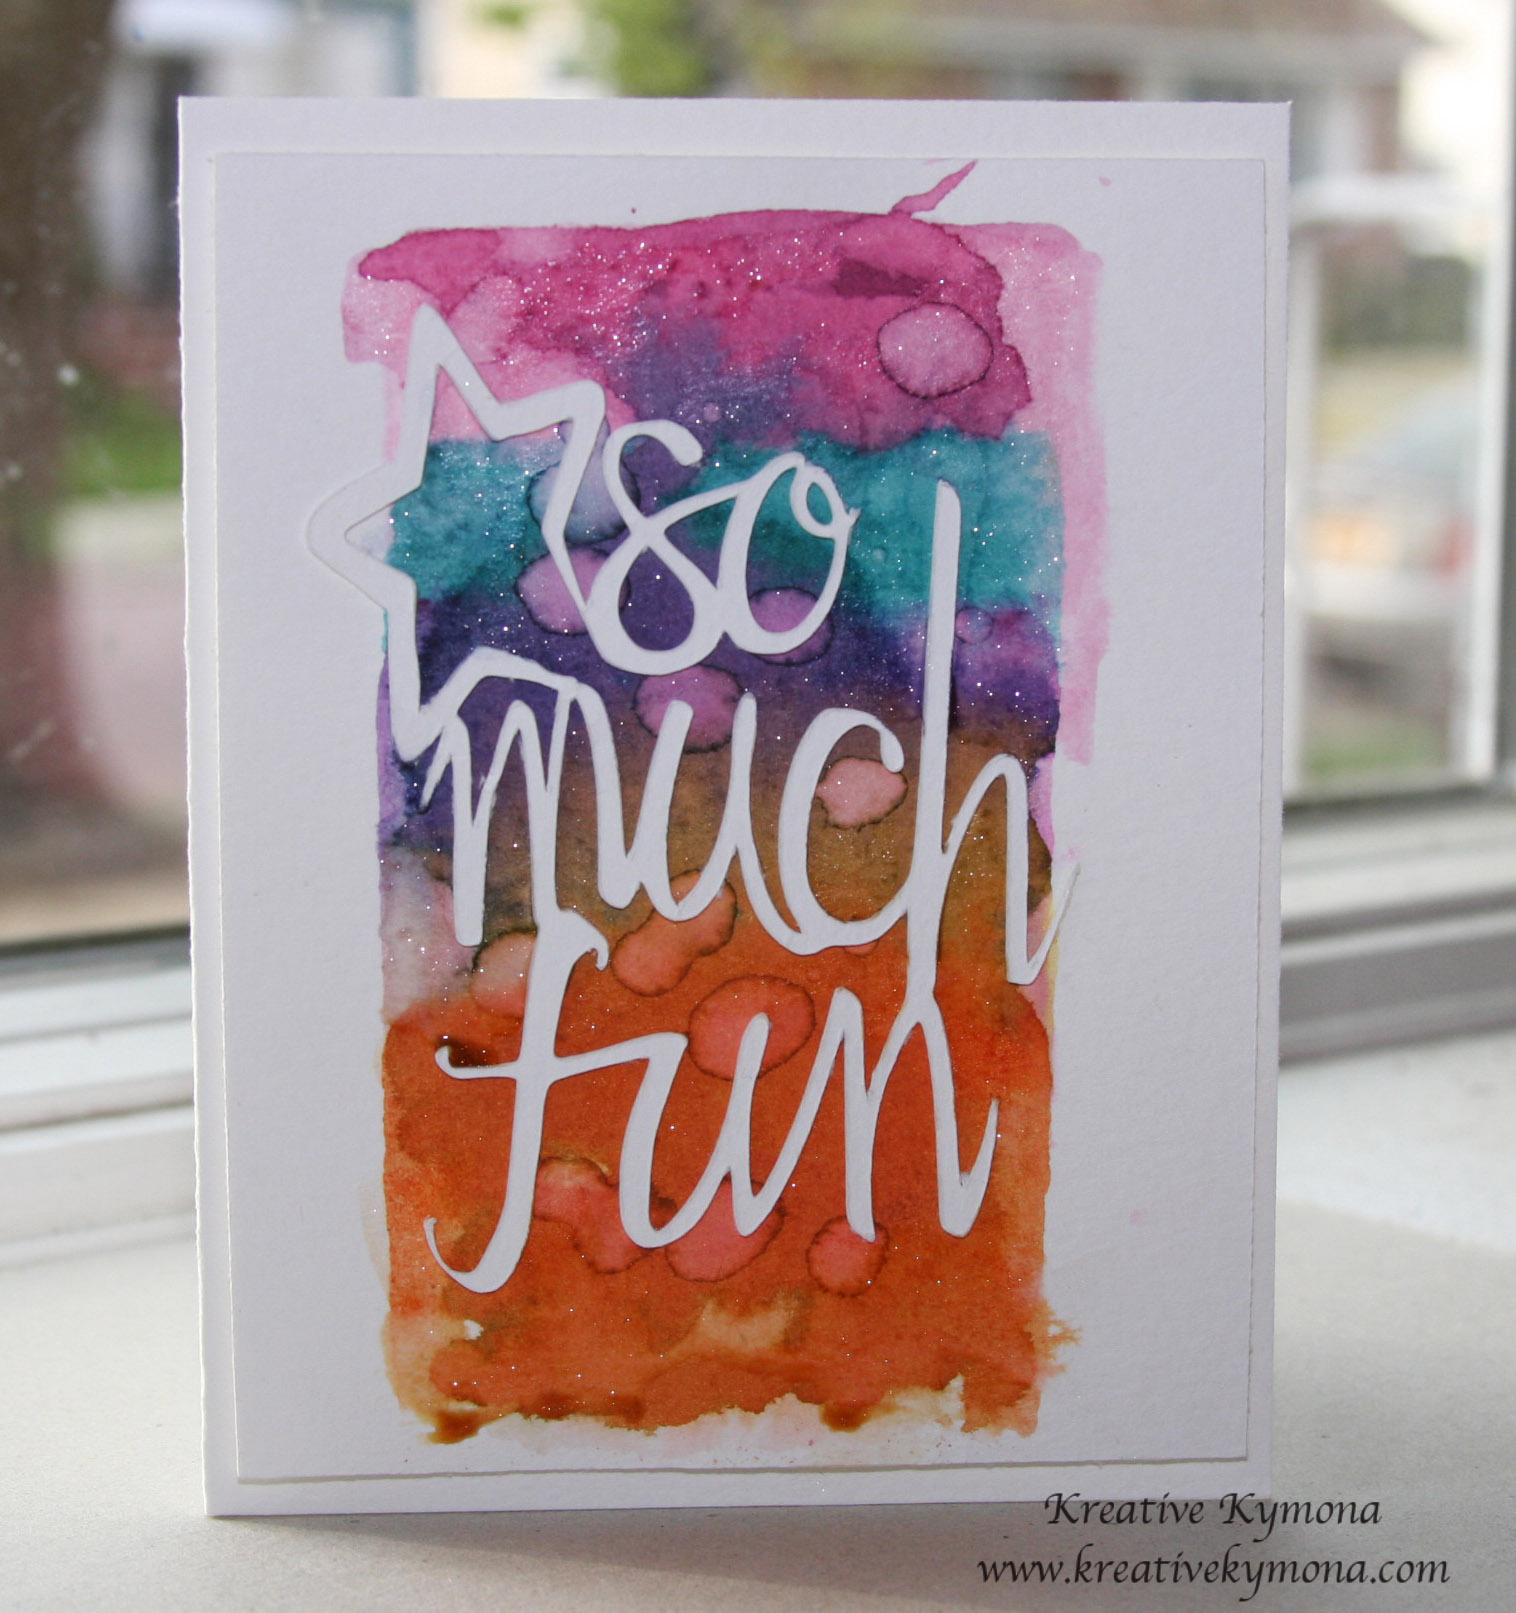
Use watercolor paper and create watercolor circles.

Let it dry.

Use a die cutting machine and cut out 10 pieces (5 pieces of the watercolored pieces and 5 blank pieces) using the biggest soda top nesting die.

Punch a hole using a hole punch.

Add one tubular rivet and secure it by banging it with a hammer.

Die-cut 3 of the waterbrush hello die out of black cardstock.

Adhere the 3 hello die-cut together with liquid glue.

Once that dries, adhere the entire hello piece to the front of the mini-book.

Add some satin gold sequin to the front of the book for dimension.

Voila – you’re done.

soda top nesting die

What is a blog hop without an amazing gift? Yayyy!!!

Prizes:

To celebrate this release, Altenew is giving away a $30 gift certificate to 6 lucky winners! Please leave a comment on the Altenew Card Blog by 6/22/2020 for a chance to win.

We’ll also draw a winner to receive a $15 gift certificate from the comments left on each designer’s blog on the blog hop list below. All winners will be announced on the Altenew blogs on 6/25/2020.

Next Stop on this Blog Hop is:

Agnieszka Malyszek

You do not want to miss out on her amazing creations!!

Just in case you lose your place along the way, here is the complete list of participants so that you can find your way back:

Altenew Card Blog

Jennifer McGuire

Nicole Watt

Nathalie DeSousa

Lydia Evans

Jaycee Gaspar

Laurie Willison

Vicky Papaioannou

Norine Borys

Lilith Eeckels

Svitlana Shayevich

Tania Ahmed

Therese Calvird

Virgninia Lu

Maryam Perez

Reiko Tsuchida

Ashlea Cornell

Kymona Tracey

Amber Rain Davis

Supplies used:

(Thank you so much for stopping by. Compensated affiliate links are used at no cost to you. The Altenew products were given to me since I’m on the design team. The other products were personally purchased. This post was not paid or sponsored.)

watercolor paper satin gold sequinWaterbrush hello die   soda top nesting die We R Memory Keepers - Crop-A-Dile - Multi Punch Sizzix - Big Shot Plus Machine - White and Gray Tombow Mono Liquid GlueKlum House Tubular Rivets

Thank you so much for stopping by!

Altenew Paint-A-Flower: Iris & Watercolor Essential Set Release Blog Hop + Giveaway

Hello, and welcome to Altenew Blog Hop!! Today we are showcasing a brand stamp set and watercolor essentials. If you arrived here from the talented blog, Jaycee Gaspar, then you are on the right track. If this is your first stop, then you will want to start at the beginning, the Altenew Card Blog.

Take a look at my watercolor painting:

Watecolor Essential 12 pan set

I love the idea of watercoloring because you don’t have to be perfect with it. I’m allowed to play and have fun, and if a pretty painting comes out of it, great!

For this painting, I wanted to see how the colors mix but also practicing no water, a little water and a lot of water on my paper. It’s fun to watch the colors move from one circle to the next. It is also amazing to see what the colors look like once the painting drys.

watercolor essential 12 pan set

For the second painting, I drew squares and circles to see how the water moves along those lines.

watercolor essential pan

watercolor pad


What is a blog hop without an amazing gift? Yayyy!!!

Prizes:

To celebrate this release, Altenew is giving away a $30 gift certificate to 5 lucky winners! Please leave a comment on the Altenew Card Blog and/or Altenew Scrapbook Blog for a chance to win. We’ll also draw a winner to receive a $15 gift certificate from the comments left on each designer’s blog on the blog hop list below. All winners will be announced on the Altenew blogs on 03/31/2020.

Promotion:

2 days only! Receive a FREE Watercolor Brush – Large(value $4.99) with every order of Watercolor Essential Set from 3/22/2020 at 12:01 am EDT until 3/23/2020 at 11:59 pm EDT or while supplies last. The free gift will be added to cart automatically.

Next Stop on this Blog Hop is:

The Hedgehog Hollow

You do not want to miss out on her amazing creations!!

Just in case you lose your place along the way, here is the complete list of participants so that you can find your way back:

Altenew Card Blog

Vicky Papaioannou

LauraJane

Virginia Lu

Nathalie DeSousa

Ashlea Cornell

Erum Tasneem

Caly Person

Therese Calvird

Norine Borys

Lilith Eeckels

Emily Midgett

Laurie Willison

Altenew Scrapbook Blog

Svitlana Shayevich

Nicole Watt

Maryam Perez

Amber Rain Davis

Mindy Eggen

Sveta Fotinia

Jaycee Gaspar

Kymona Tracey ←you are here

The Hedgehog Hollow

Agnieszka Malyszek

Supplies used:

(Thank you so much for stopping by. Compensated affiliate links are used at no cost to you. The Altenew products were given to me since I’m on the design team. The other products were personally purchased. This post was not paid or sponsored.)


Thank you so much for stopping by!

YNS May Feature Day

Hello everyone!!!  I’ here today with another YNS creation to inspire you and a chance to win a stamp set of your choice!!

On the 22nd of the month, YNS Design Team creates more samples featuring YNS products and shares them with all of you!!

The super duper awesome part of it all besides our awesome samples, you could win a stamp set of your choice!!  Now how super cool is that!!

Scroll to the bottom to find out how!!

This month we are focusing on “Flowers”!!  The DT created projects with flowers on them.

Now take a look at the card I created to inspire you:

card with flowers

YNS Supplies: From the Heart

Other Supplies: Hero Arts White Embossing Powder, Gansai Tambi Watercolor set, Archers Watercolor paper, Stapler, Bazzill 40lb Vellum

This stamp set is my favorite Your Next Stamp of all time.  It makes me happy and so does this card.

What do you think?  Let me know below.

Now on to that prize!!

DTDare2candy-547x232

All you have to do is leave a comment on the YNS blog by April 26th for a chance to WIN a YNS stamp set of your choice!!  Super simple and easy!!  You will get to see my fellow DT’s projects as well.

So head on over, you don’t want to miss this one!!

WAIT!!!!!!!! One more thing:

MAYYSALE

Thanks for stopping by!!

Kymona

So Suzy Stamps Happiness Is.. and a Giveaway!!

Hello everyone!!  I’m here today with So Suzy Stamps Blog Challenge!!  The theme is Happiness is…!

This is such an awesome theme.  All of us have things that simply make us happy!!

For me its, hanging out with my children, nieces and nephew and my brothers and sisters!! I’m so grateful for all of them.

Here’s a picture of my siblings and I:

FullSizeRender (1)

We love having fun!! I love these people!!

We also love traveling together.  We have such a great time together.  So when I created my card I thought of them.

Take a look at my card:

Happiness is..an open road

All of us love adventures and we aren’t afraid to take them.  All we need is an “open road and a sunset to chase”, when we hit the road.

For details on how I created this card, please visit So Suzy Stamps Blog.

You have no reason to not play along with our challenge this month because you can download the SVG “Happiness Is…” File for Free from the So Suzy Stamps Store.

Giveaway:

I’m giving away the Happiness Stamp and the Vintage Balloon to one lucky winner who leaves a comment on my Suzy Stamps Blog post letting me know what happiness is to you!  This giveaway ends September 17 at 11:59pm EST!

Good Luck!!

I can’t wait to see what you create!!

What do you think of my card?  Let me know below!

I’m also entering my card in the NBUS Challenge #5:

NBUS

Supplies used:

Happiness is Open Road Vintage Balloon  SU Watercolor Wonder

MFT Hybrid Black Ink


Thanks for stopping by!!

~Kymona

Watercolor Love You

Hello everyone!  I’m back again with AAA Cards Game #10 Watercolor techniques and Virginia’s View Challenge #5.

AAAcardGame10

V. V. Challenge #5 (2)

Take a look at my card:

Watercolor Love you

I used Simon Says Stamp Mosaic Heart Stencil and Distress Inks Pack 1 to create my beautiful heart on watercolor paper.

Watercolor Love You close up

I used Simon Says Stamp Big You die to cut out 4 “you” dies out of basic black cardstock and stacked them together to add dimension.

I choose to use black cardstock so that the “you” would pop against the bright watercolor heart. I used clear foam tape to adhere the “you’ to my card.  I love this tape because you will never see the tape behind your project.  Thank you Jennifer McGuire for that one.

I love how it turned out.  I went to my brother and asked him to tell me what the card said and he nailed it on the first try.

So, I’m confident you will see that my card says I Love You!

Let me know what you think.  I would love to get feedback.

Supplies used:

Basic Black CSSSS Mosaic Heart StencilDistress Inks Kit 1SSS Big You DieTombow Power Adhesive Glue TabsCanson Watercolor PaperStampin' Trimmer

Thanks for stopping by!!

~Kymona

Creative Way To Have Fun With Watercolors


watercolor for card makers

OMG!!!  In my Watercolor for Card Makers class, Julie Ebersole, showed us how to do some creative watercolor stamping!!  I was blown away.  The card she made was so playful and nice.  I had to make my own version of the card.  She used some inks, watercolor paper, a beautiful butterfly wings die by Memory Box and a pencil eraser.  Yes, a pencil eraser, talk about non-tools in my tool box.

The only thing I didn’t have, was the butterfly wings die, so I ordered it and it arrive today.  I’m so lucky because that die is out of stock now.

When I saw the die on my desk, I knew I had to create this card today!

Fly away with me

Butterfly side

Aren’t you amazed!!! The butterfly wings just pop right off the paper.  It gives the card a 3 dimensional look.  It looks amazing.

Instead of using inks, I used my Koi watercolors to create my dots.  The dots were made with the pencil eraser.  I added the three colors to my color palette and then I dipped my pencil eraser into each of the three colors and applied it to my paper.  I made sure to place the dots in one area so that I can cut my butterfly wings for dimension.

Let me know what you think.


Congrats to Lizzie T she won the SSS Wrapped Mailing Label Die.  Lizzie T I will contact you so that I can send you the die.  Thanks for visiting my blog.


Supplies used:

Canson Watercolor PaperKio WaterColorsStampin' TrimmerSnail AdhesiveMemory Box Asti Butterfly WingsHelloSunshineTiconderoga pencilBig Shot Die-Cut MachineMagnectic PlatformOnyx Versafine Ink

You Can Never Have To Much Watercolor on Mother’s Day

photo credit

photo credit

Happy Mother’s Day to All of YOU Mothers!!!

I hope all of you are relaxing like myself.  Wait, I’m not relaxing.  I’m making breakfast and doing laundry! A Mother’s job is never done.

watercolor for card makers

What I want to do is play with my watercolors some more.  I have some time right now between the spin cycle to create a card for the Less is More: One Layer theme challenge this week.  Day 2 of my Watercolor for Card Markers Class, Jennifer McGuire, taught us how to use Liquid Frisket to mask of an area of the card so that the watercolor will not penetrate the image.

This technique is soooo cool!!!  I will create a PDF for this technique later and share it with all of you.

You use this cream color liquid and paint over the image you want to stay color-free.  Once it dries, you do your water-coloring without worrying about messing up the image.  You MUST let the watercolor dry before you can lift the liquid mask off of the paper.  I simple used my finger and rubbed the mask and WALA! Your image is embedded in your watercolor!

Here is my card!!  The colors are beautiful, perfect for a flower.

Thank you for caring

So you see on the bottom right side of the flower some of the color seeped onto my flower.  That is because I didn’t put any of the mask on that area.  I missed it, I guess.  I actually like it like that because water-coloring isn’t suppose to be perfect and this flower definitely isn’t perfect so it’s a perfect match!

This card can be given to any women in your life that isn’t your mother who really cared about you in one way or another!!  I have a couple of mothers in my life that I want to thank for steering me in the right direction.

I hope you like my new creation.  My younger brother told me today that my “cards are getting better and better”, thanks Garrett!

Let me know what you think.

Supplies used:

Liquid FrisketCanson Watercolor PaperPelikan WatercolorHappy Watercolorlots ThanksOnyx VersafineStamp-a-ma-jigStampin' TrimmerSnail Adhesive

How Much Do You Love Amazing Colors?


watercolor for card makers

Day 2 of my Watercolor for Card Makers was just as much fun as the first.  The teachers are amazing and they have so much information to share with us.

Today I choose to focus on the Soft Watercolor Wash Background technique.  The beauty of this technique is to not have any pencil lines showing in the color wash.  I used my Stampin’ Up! watercolor pencils (Retired), watercolor paper and a brush. 

I love how my card turned out.  I choose to use colors that I hardly use which were orange, light green and yellow.  The combination turned out beautiful.

Love this

Sooooo, what do you think?  I can’t believe I created that all by myself.  I amaze myself sometimes!!


This is how I created this card:

1. I used the watercolor pencils to simple color on the watercolor paper in the different colors.  I didn’t mix the colors while coloring them.

2. I used my brush and applied water to my card to soften the watercolor lines. I allowed the colors to mix a little to have some blending where the colors met.

3. I used my heat gun to dry the paper.  Once the paper was COMPLETELY dried I added orange waters splats to the card.

4. To add the water splats, I touched my water brush to the tip of my orange watercolor pencil for color.  Then I lightly flashed the brush above the paper.

5. I used the heat gun again to dry all of the water splats.

6. I placed gold bakers twine down where I wanted it to be.  I added a little bit of adhesive as to hold it in place.

7. I stamped my sentiment, punched it out and adhered it to the bakers twine.

8. I adhered the mask to the card base for a complete Soft Watercolor Wash Background Card!

Truly Amazing!!!

Supplies used:

Canson Watercolor PaperStampin Up Watercolor PencilsGold Bakers TwineCircle FramelitsSnail AdhesiveStampin' TrimmerBig Shot Die-Cut MachineLoveThis

~Kymona


You Are Going To Love This……

Guess What!!!!!!!

My daughter’s blog is finally live!!! I’m so excited for her.  She loves it too.  I invite all of you to take a look at what she’s done!

The name of her blog is Mac & Cheese With A Side of Craft, Please.  The name tickles me. It fits her well.  Please, let her know how she is doing.  Click here to view her work in action.

Now On To WATER-COLORING!!!!!!

watercolor for card makers

My Watercolor for Card Markers class started Monday and I’m so excited about it.  We learned about Watercolor Backgrounds.  I was totally blown away by all of the techniques that were taught.

There where three different topics:

1. Soft watercolor Wash Background (with Stencils)

2. Vibrant Watercolor Wash Background

3. Stamped Emboss Resist + Watercolor Wash

I will demonstrate all of the above techniques (not all in this blog post)  so that you can see what they look like.

My first card will be the Vibrant Watercolor Wash Background.

This technique required that we use the products we have on had to create very vibrant background.  You don’t always have to use actually watercolor inks.  I used 5 of my Brights Stampin’ Up! ink pads, an acrylic block and water to create my watercolor wash background.  I had so much fun creating this card.

Using watercolors allows me to relax while creating because as Laura Bassen says we have only that much control over the movement of the water on the paper.

So Much Fun Watercolor

1. I prep my watercolor paper by adding water to coat it.

2. I stamped my acrylic block straight onto the different inks and then placed the block onto the paper.

3. With each color, I placed the stamped block on the previous color and pull downward to blend the two touching colors.

4. Once I was done adding all of the colors, I used my heat gun to dry the ink.

5. Once the ink dried, I added water splats by touching the paper with the tip of my brush with water.

6. I sit the card mask to the side and worked on my sentiment.

7. I cut my sentiment using my Silhouette Cameo and the BSD Brushed Titles from Two Peas in a Bucket.

8. I adhered the sentiment using my mono multipurpose glue.

9. To add a little flair to my card, I added Clear Wink of Stella to the entire watercolor image.

I will try to post my homework every night so you check out what I’m learning and how much fun I’m having.

Soooo, what do you think? I’m EXCITED about how my card came out, I hope you are too!

Supplies Used:

Canson Watercolor PaperBermuda Bay InkMelon Mambo Classic InkDaffodil Delight InkRich Razzleberry InkTangerine TangoClear Block DBrushed Titles by BSDSilhouette Cameo Tool BundleWink of Stella clearStampin' TrimmerStampin' Dimensionals