Back to the Basics!!

Hello everyone!  I’m here today with the Sweet Stamp Shop!!  Have you seen their latest sets of stamps?  OMG!  They are all so cute.  The planner stamps are to die for!!  I can’t wait to get mines.  They keep selling out before I can place my order.  I’ve become a stalker of their site, lol!!!

Soooo, while I wait for those stamps to come in, I’ve decided that I wanted to create a card using a stamp set that I’ve never used before.  Like I said in a previous post, I find myself buying stamps and other craft stuff that I never have a chance to use.

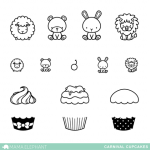
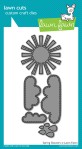
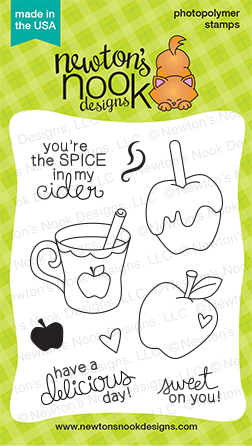
I’ve decided to start creating cards with stamp sets that I’ve never used before.  Here is the stamp set:

Sail Away Sayings

For this card, I decided that I wanted to back to the basics of card-making!! Yes, all the way to the simple stuff that will have beginners saying Wow and you didn’t do much.

Remember those days?  I do, any and everything impressed me.  What about you?

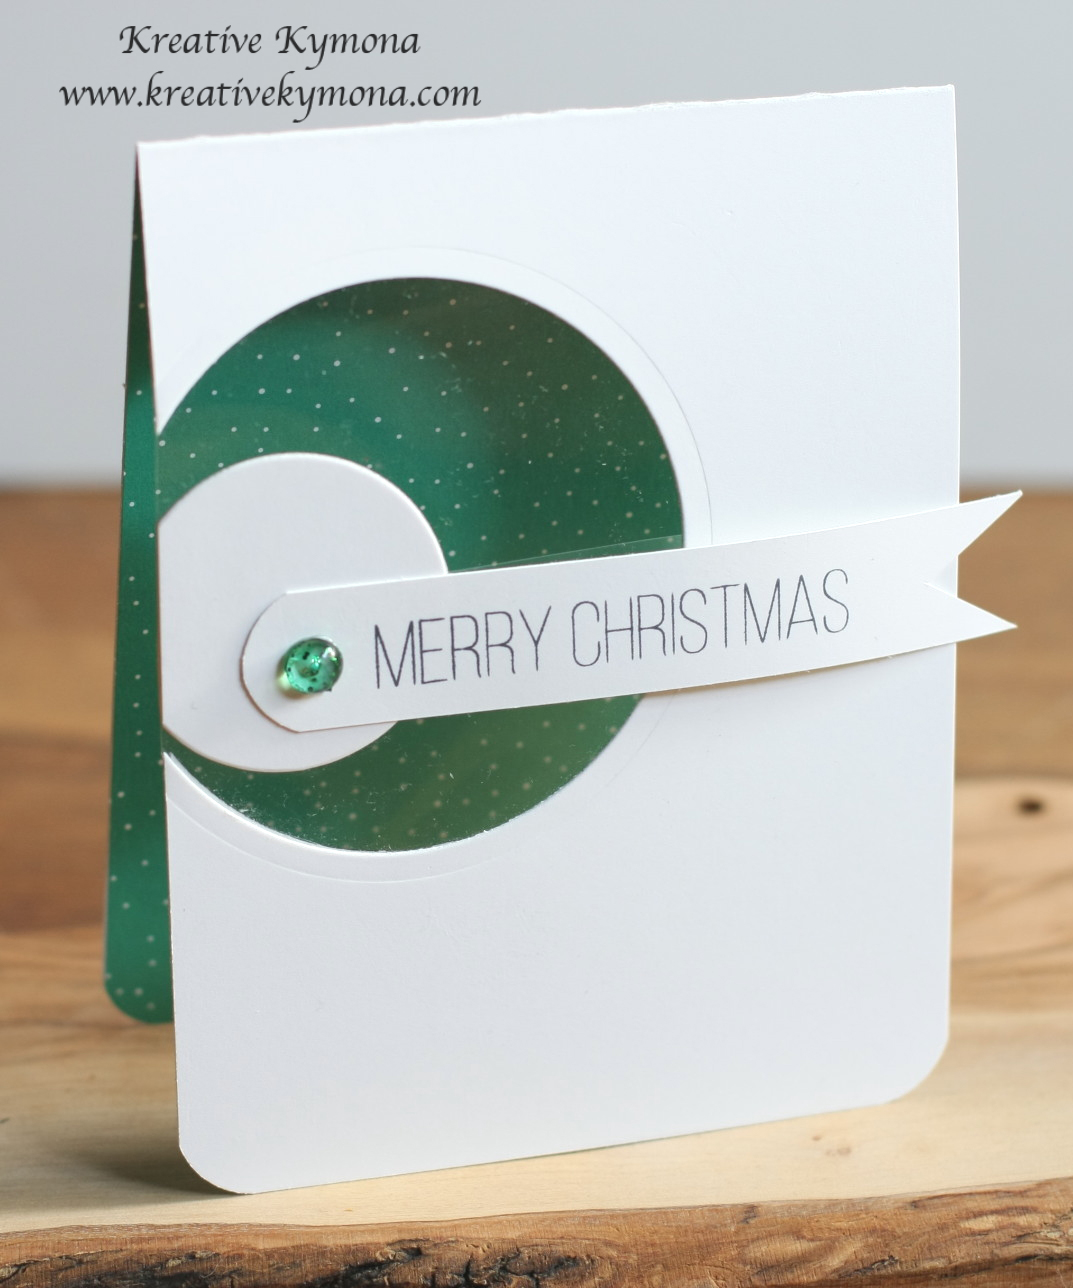
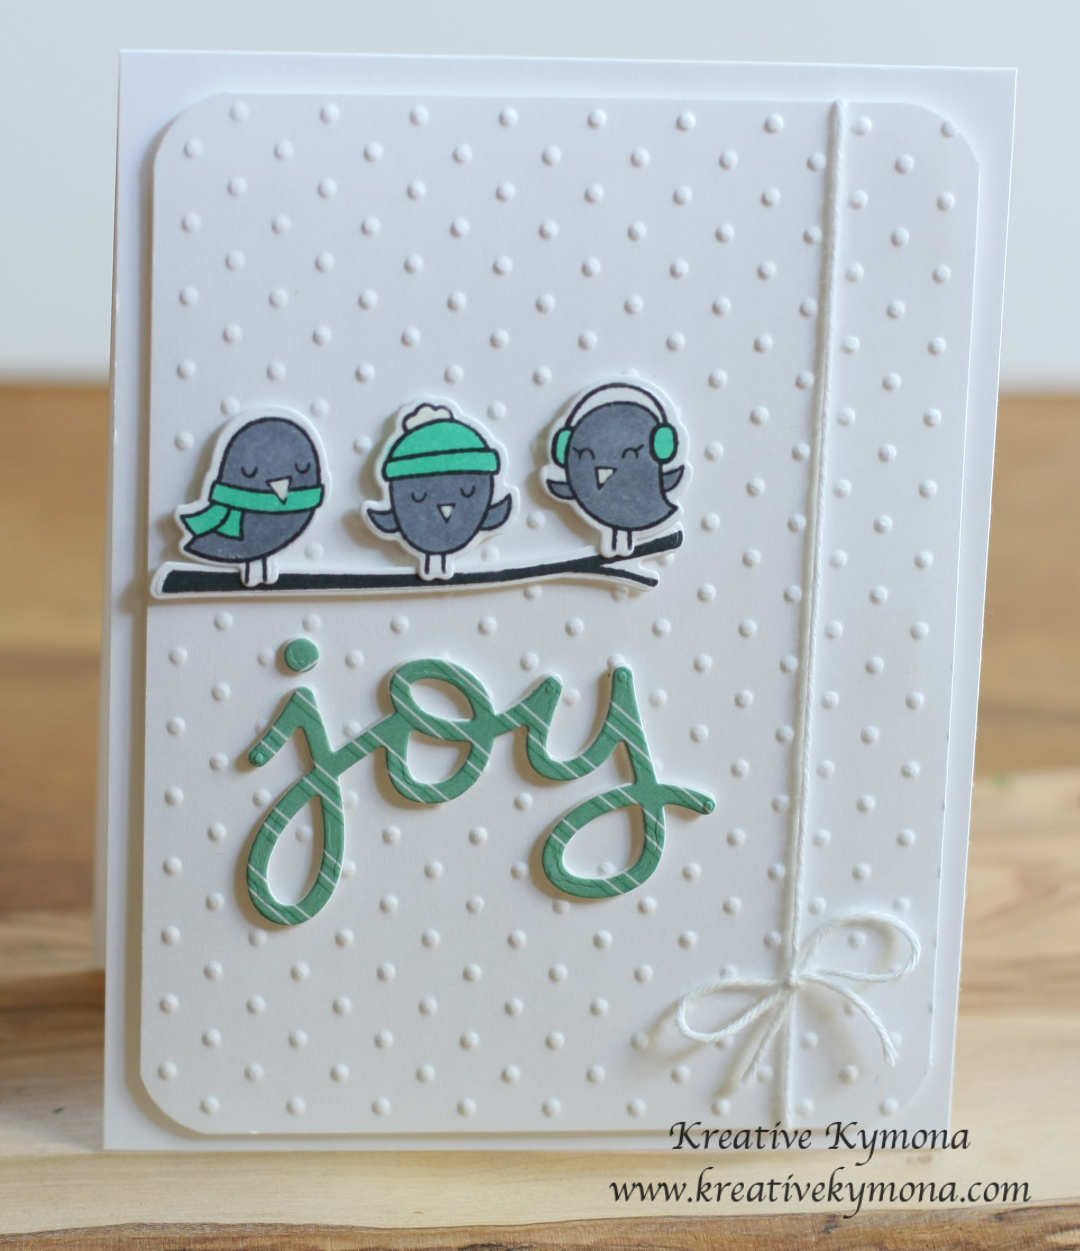
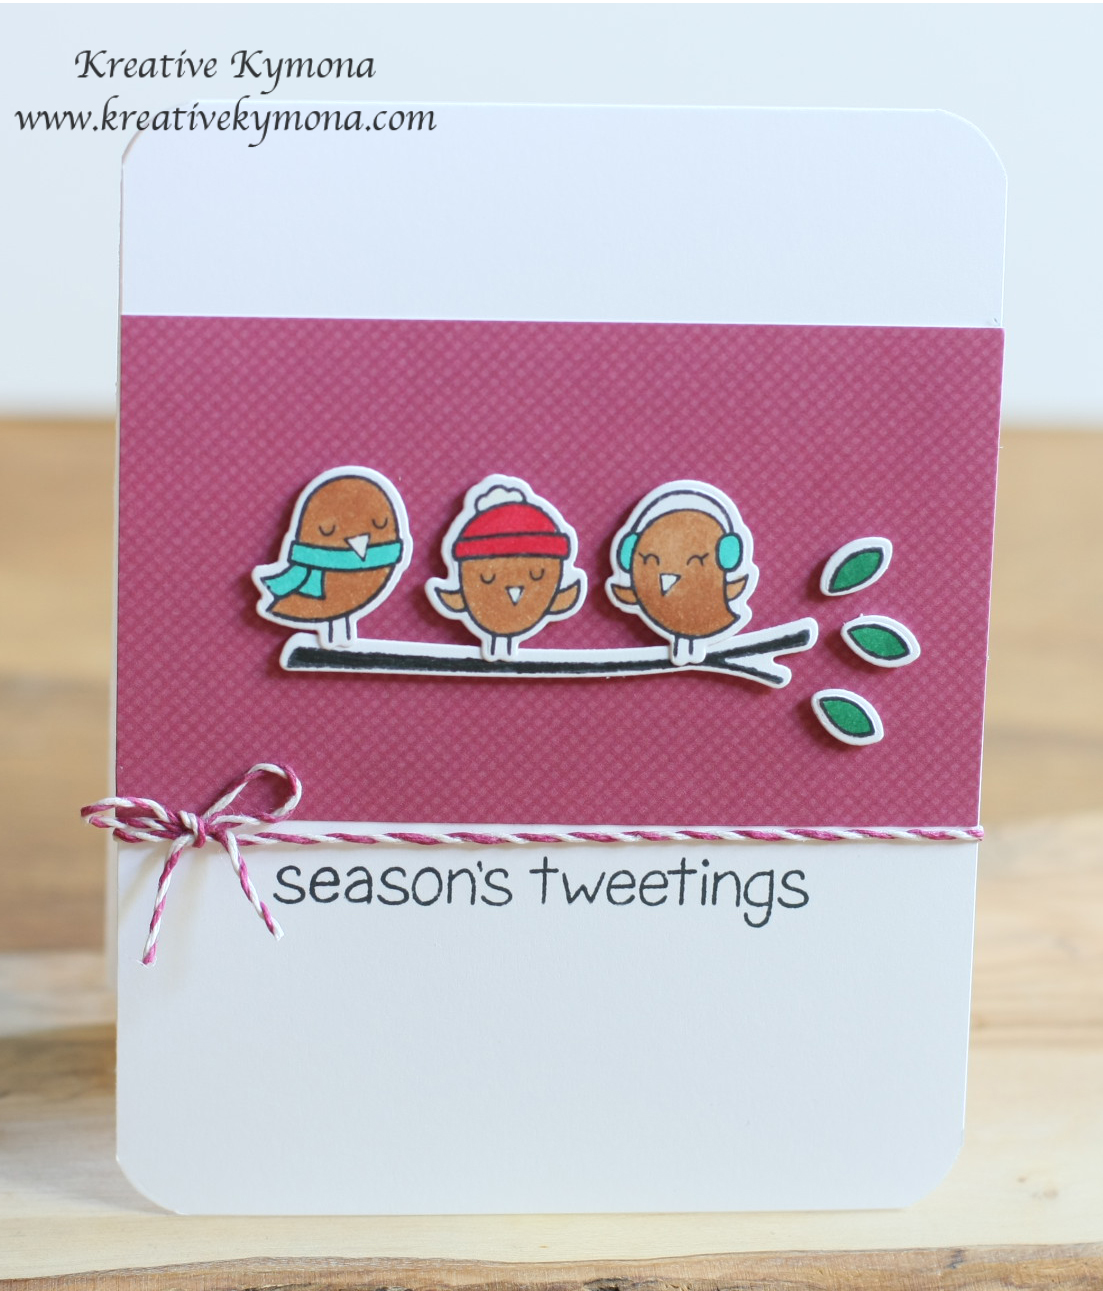
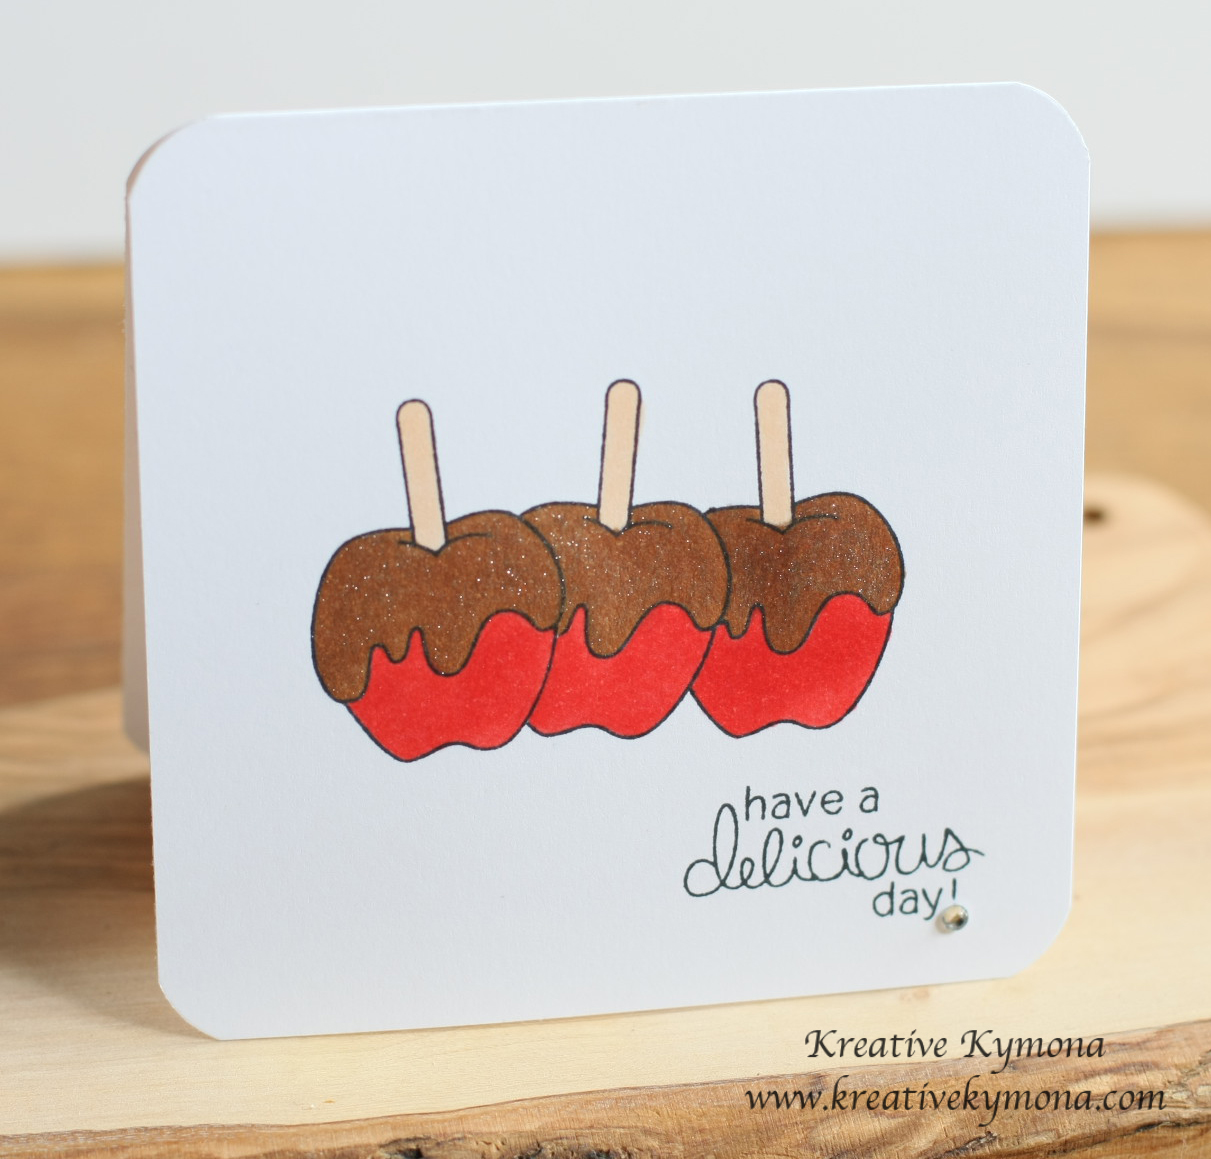
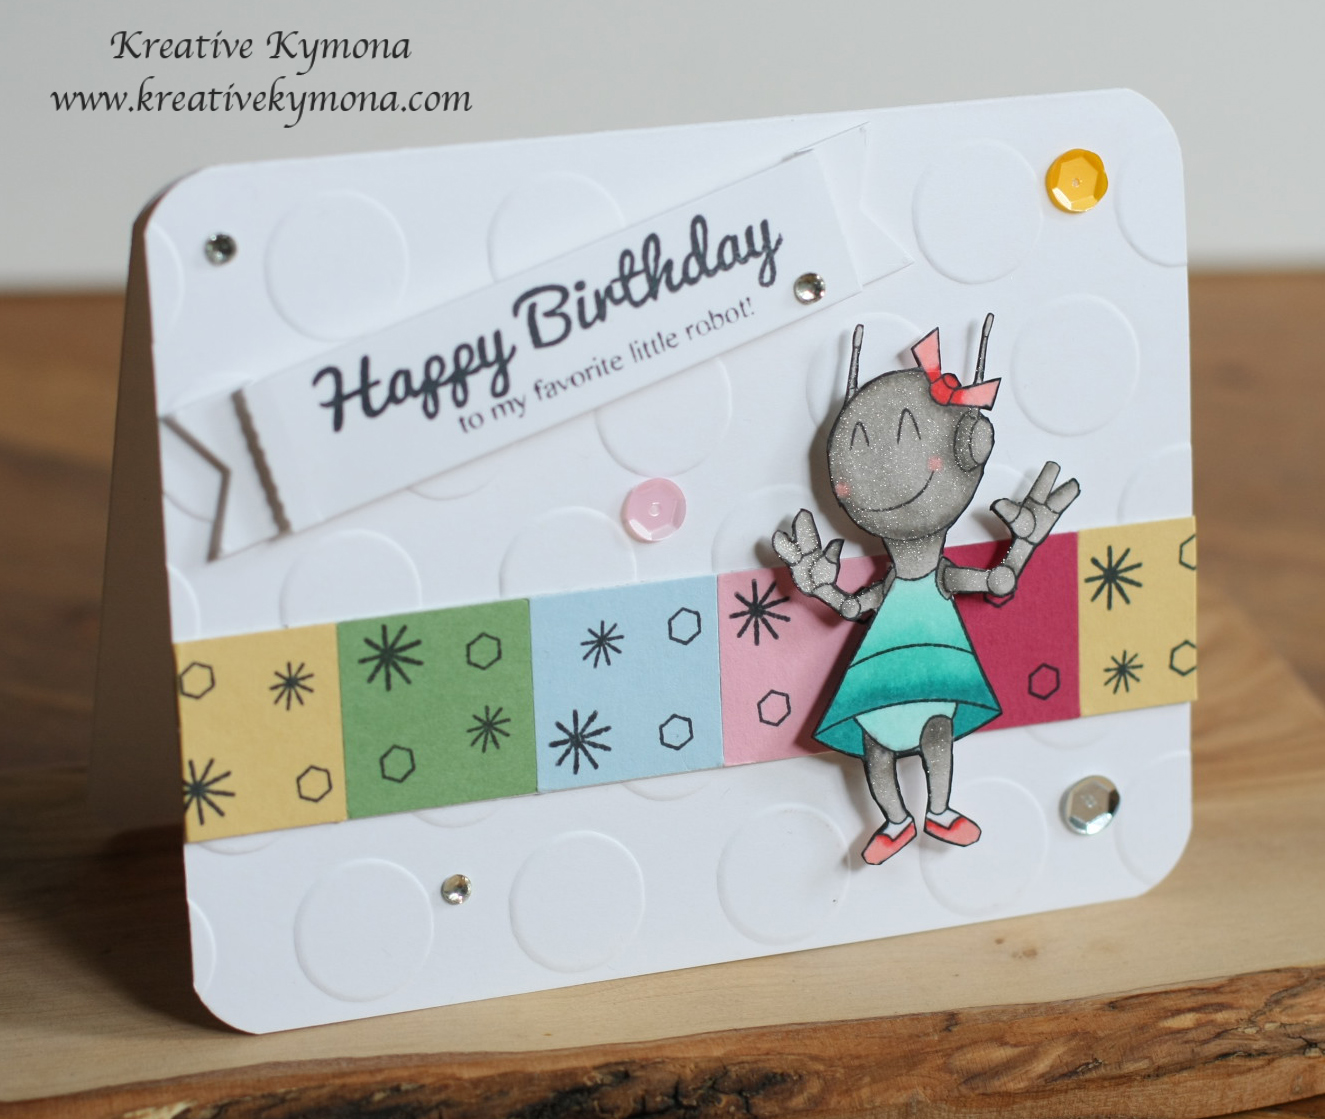
Take a look at my sweet and simple card:

You Light up my Life copy

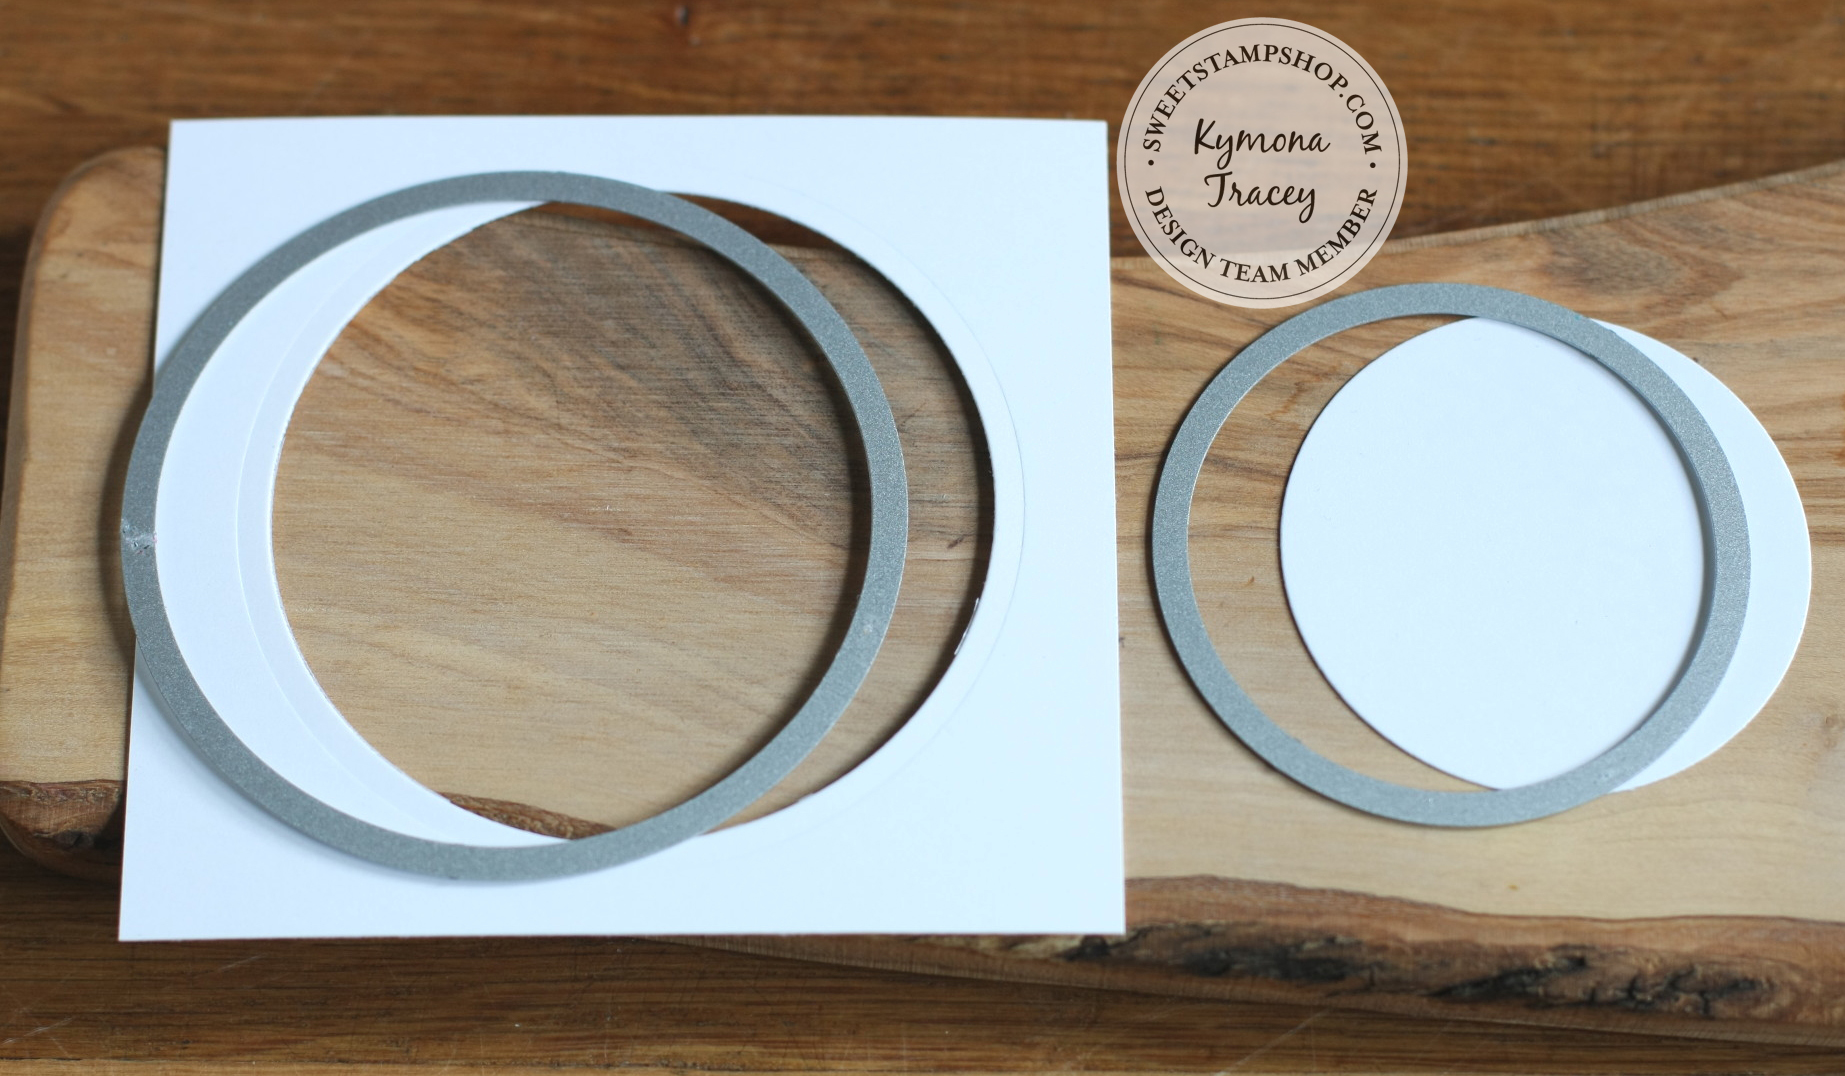
This is how I created this card:

1. I cut my card base to 4.50 x 9, scored at 4.50, which created a 4.50 x 4.50 card size.

2. I cut my front panel to 4.25 x 4.25.

3. I used my circles die to cut out the big circle and the smaller circle.

circles copy

4. I stamped my image on the smaller circle with Memento Tuxedo Ink used my Copic Marker Y06 to color the light bulb and the letters. I added Clear Wink of Stella to the colored yellows.

5. I adhered my card panel to the card base with foam adhesive.

6. I adhered the smaller circle inside the bigger circle with foam adhesive as well.

7. I added some Sunshine Yellow Skittles for a pop of color.

Anyone could make this card.  It’s not to complex for beginners and those that have been crafting for a while can make this card effortlessly.

Supplies used:

Copic Marker Y06 Circles Framelits Die Wink of Stella clearSunshine Yellow Memento Black Ink

Don’t forget to join Sweet Stamp Shop on Facebook.  You do not want to miss out on all of the events they have going on, on November 4th, 2014 at 8am PST.   They are releasing some awesome stamp sets, be the first to know.

November Release

Thank you for stopping by!!

~Kymona


CAS Merry Christmas…

Hello everyone!!  I’m here today with the DoubleClick Skittles 8th Challenge.  The theme is Polka Dot or Circles!!  How fun is that?

I decided to create a nice clean and simple card for this challenge.  When I thought about circles I wanted to have more then one.

Take a look:

Merry Christmas

How many circles have you counted on this card.  Amazing right!!  There are 3 circles in this card. Plus the polka dot background!!!

The big circle, the smaller circle and the Ginch Green Skittles are on this card.

To create this card:

1. My card base is 4.25 x 5.50 scored at 5.50.  My Lawn Fawn Snow Day patten paper which is from the Simon Says Stamp 2014 November Card Kit  was cut to 4.25 x 5.50 and adhered to the inside of the card.

2. I cut the circles out with Stampin’ Up! Circles Framelits.  I used the third and fifth dies.  I cut out the card stock and the acetate.

3. I cut out two of the smaller circles and I also cut out the edged of the bigger circle to cover up the adhesive on acetate in the back.

4. I adhered the acetate down with Tombow Multi-Liquid glue.

5. I adhered the smaller circles down with Stampin’ Up! Fuse Fast adhesive.

6. I cut a 3/4 inch banner, rounded the corner, flagged the end and stamped the sentiment from Simon Says Stamp Be Joyful stamp set which is included in there 2014 November Card Kit.

7. I add one Ginch Green Skittles to keep my card nice, clean and simple.  That green skittle gives the card a really nice pop of color on the front of the card.

So what do you think?  Now its your turn!  Please head on over to DoubleClick Connections to play along with us.

Dates: October 29th, 2014 – November 11, 2014

Challenge: Polka dots or Circles

You don’t have to have skittles to participate!

I hope to see you there!!

Supplies used:

SSS November Card Kit Circles Framelits DieTombow Multi-Purpose AdhesiveFuse Fast Adhesive SSS Be JoyfulGinch Green Skittles

Thank you so much for stopping by!

~Kymona

Thanks a Bunch…

Hello everyone!!  I’m here today with a2z Scrapbooking with a fabulous “Thank You” card that combines two Hero Arts products, which is what our current challenge is all about!!

I’m using the same stamp sets that I used on my previous card that I created for a2z Scrapbooking which you can see here.

The difference with this card is I didn’t color the flower.  I colored the cardstock to match the ink I was using.  Take a look:

color cardstock with inkI do not believe that Hero Arts has cardstock to match their inks and I wanted my back panel to the ink I was using.  So, I used my ink pad and color the white card stock to create the color I needed.

Take a look at my card:

Thanks a Bunch

Doesn’t that matching panel look so pretty with the stamped flower edges?  So, there is another technique that I used on the flowers and the sentiment.  This might look familiar to many of you, yes, its the “Rock n’ Roll” technique.

With this technique, I stamped the flower with the lightest ink first and then rolled the edge of the stamp onto the dark ink, which creates a two-tone look.

So what do you think?  If you want the full tutorial, please visit a2z Scrapbooking blog for all of the details.

The items I used for my cards can all be found at the a2z Scrapbooking Store. If you would like to purchase any of the supplies I used please head on over to the store and use the coupon code KYMONA15 to get 15% off your purchase.

I hope my card gives you some inspiration to participate in our Current Challenge. It runs to the end of the month, which ends in a couple of days. So hurry and create!

The theme is Any Two Hero Arts Products. You have a chance to win a $25.00 gift card to the a2z Scrapbooking Store. Hope to see you there!

One more thing before I go, did you know that we are on Twitter, Instagram and Facebook. If you haven’t done so already, please follow us on these different social media outlets!! You don’t want to miss out on any fun promotions!!

Supplies used:

Hello Sunshine Hello Flowers Diamond Gems 5mm Wink of StellaSnow Layering Paper Butter BarOrange SodaHero Arts Soft Granite

Kymona

There’s No Place Like Home….

Hello everyone!!  I’m here today with Casology Challenge Week 118: Home!

Week 118 - Home

First let me say Thank you to Judy and the other ladies over at CASology for choosing my candy apple card as an Honorable Mention.  I was so excited to see my card on the list.  Just in case you missed that card you can find it here.

Now on to the card for this week.

When I first saw the cue word, I wasn’t sure what to do because I do not have any home stamps, dies nothing.  I have pattern paper with homes on them but that didn’t appeal to me.

On Wednesday, as I was cleaning up and organizing my dies, I found a Lawn Fawn Die that I didn’t even know I had.

Happy Trails Lawn Cuts

Its the Happy Trails die set. I said to myself, why do I have this and not the stamp set.  That didn’t make sense to me.  I look thought my stamps every day and have never seen a set that matches this.  So, I didn’t give it a second thought.

On Thursday, something told me to check my stamp sets to check if I had the matching stamps that goes with that die.  If I do not have that set, then I would give the die set away.  So, I check and BAM, there was the stamp set.  I laughed so hard because we are all guilty of buying stamps, dies and there tools and forgetting that we even have certain things.

So, I looked at the stamp set and wondered what can I do with this set?  What did I buy it for?  Then it hit me, people live in there RV’s too.  I do have a home stamp.  Now I can enter the challenge!!

Here is my card:

Home

Yeah, I can see a family calling this RV home.  Out in the woods, enjoying nature and not having to worry about anyone bothering them.  Imagine moving your entire home from state to state without having to pack.  I love it!!!

I used these Copic colors to color my RV: YR02, YR04, YR07, R24,N4, N5, BG02, Y15 and Trees: G02, G07

I created a mask to cover the entire card front except the circle.  I used Simon Says Stamp Audrey Blue Ink for the sky and Ranger Archival Ink Leaf Green Ink for the grass.

So what do you think?  Can this pass as a home?  Let me know what you think.

Supplies used:

Happy Trails Copic MarkersAudrey Blue InkLeaf Green Ranger Archival InkLF ClarksABCs

Spooky….Boooo!

Hello everyone!!  I’m here today with the DoubleClick Spooky Fun Challenge!!  I had a lot of fun with this challenge.  I’m not a Halloween person but I get into the spirit for my children… no one loves a grouch.

So for this challenge, I turned to my 8 year old daughter, Little Lady Sanaa!!  She helped me put this card together.  She saw a  design on Pinterest and loved it.

This challenge asked us to use at least 2 colors: orange, black, purple or green!

She said mom let’s use all of the colors!  I said no problem.

Take a look at our card:

Booo

Isn’t this cute!!  My daughter and I make a great team, I have to say.  My daughter loves the Wink of Stella pen, so I’m so surprised that she didn’t want to put glitter on this card.  I guess when she saw the googly eyes, she forgot all about the glitter, LOL!!

So here is how we made this card:

1. The base card was cut to 4.25 x 5.50 out of Stampin’ Up! Old Olive card stock.

2. We used Stampin’ Up! Polka Dot Embossing Folder to emboss only one quarter of the cardstock.

3. We then cut a 2.75 piece of Stampin’ Up! Sweet Taffy DSP and added it to the left of the polka dots.

4. Then we add a scrap piece of Stampin’ Up! Basic Black card stock between the DSP and the polka dots.

5. We used a piece of orange bakers twine I received as a part of some happy mail packaging to tie a bow at the top of the card.

6. They we cut out two circles.  The larger one from Stampin’ Up! Circles Framelits Die out of Stampin’ Up! Basic Black CS and the smaller one from Lawn Fawn Stitched Party Banner Die out of Stampin’ Up! Rich Razzleberry CS.

7.  We used the smaller splats stamp from Stampin’ Up Gorgeous Grunge Stamp set and stamped the Rich Razzleberry stitched circle.

8.  We stamped the mummy from a retired Stampin’ Up! set called Googly Ghouls.

9. I fussy cut the mummy out and pop him up on the circle die using Stampin’ Dimensionals.

10. We stamped the sentiment and cut it out using Stampin’ Up! Bitty Banners Die.

11. My daughter added the googly eyes to the mummy and the eyes in the sentiment.

12. We then added our Pumpkin Skittles for added embellishments.

Now our card is finished!!  We had a great time creating this card.

So what do you think?  Let us know. My daughter would love to hear from you.

We are entering this card into the Lawnscaping Challenge as well!!

92

Supplies used:

Old Olive CSPolka Dot Embossing FolderSweet Taffy DSP Circles Framelits DieStitched Party Banners Rich Razzleberry CSBasic BlackGorgeous Grunge Stamp SetBitty Banner FramelitPumpkin Pie

Thank you for stopping by!

~Kymona

Hello…

Hello everyone!! I’m here today with the Muse Challenge #89!!  I haven’t played along with them for such a long time its shameful.  So I made it a point to play along this week.

I’m also playing along for the first time with Mama Elephant and Me October challenge: Anything Goes!

Anything Goes

I’m also playing along for the first time with Stempelkuche Challenge#5: Design Paper!

Stempelküche Challenge #5

Let’s take a look at the Muse for this week, Therese Calvird:

Welcome

Therese always comes up with great cards.  This one is no different!! So much detail, I love it.

Take a look at my card:

Hello

I love this card.  Therese really had me stepping out of my comfort zone.  I’ve never used this much pattern paper on one card!!  I need to try this technique more often.

(Copic coloring: E00, E21, E23, RV00, RV02)

What do you think?  Let me know.

Supplies used:

CARNIVAL_CUPCAKES_large CARNIVAL_CUPCAKES-CC_large Sweater Weather Petite Paper Pack LF Spring Showers Copic MarkersMore Sketchy banner Greetings

Thanks for stopping by!

~Kymona


Season Tweetings…

Hello everyone!!  I’m here with Lawnscaping today.  They are having a Facebook Inspiration Design Team Call.

Lawnscaping FIT DT Call Challnege

How cool is that!!  I said to myself, why not go for the the gusto!!  So, I did!!

I picked up the cutest Lawn Fawn stamp set and die today from a scrapbook store I found online called Scrappers Playground.  It’s a cute store with all sorts of papercraft goodies.  Its in Long Island, a really nice drive, on such a pleasant day.   The ladies that helped me were so helpful and nice.  They were passionate about what they do!  I will have to go back for a class on my free time!!  If your in the LI area, check them out!

On to my cards, I have two, couldn’t help myself:

Joy birds

I love these little birds!  Here’s how I created this card:

1. My card base is 4.25 x 5.50 scored at 5.50.  My card panel is cut to 4 x 5.25, I rounded all four corners.

2. I embossed my card panel with Stampin’ Up! Perfect Polka Dot embossing folder.

3. I stamped my birds and tree branch from Lawn Fawns Winter Sparrows.  I colored my birds with Copic markers: Body C5 and their accessories BG34.

4. I used the Lawn Fawn Winter Sparrow dies to cut everything out.

5. I attached the tree branch and the birds with foam adhesive.

6. I used Lawn Fawn Joy die and cut out three of them from white card stock and one from Lawn Fawn Sweater Weather pattern paper.

7. I stacked them together using Tombo Mono Adhesive.

8. I added it to my card panel.

9. I added Stampin’ Up! Whisper White bakers twine to the right side of the card panel.

That was easy!!

Know on to my second card:

Season's Tweeting

This card was created with the same stamp set and die.  I loved it that much.

Here is how I created this card:

1. My card base is 4.25 x 5.50 scored at 5.50.  My Lawn Fawn Sweater Weather pattern paper is cut to 4.25 x 2.50.

2. I stamped my birds, tree branch and leaves from Lawn Fawns Winter Sparrows.  I colored my birds with Copic markers: Body E33; their accessories BG34 and R29 and leaves G17.

3. I used the Lawn Fawn Winter Sparrow dies to cut everything out.

4. I attached the tree branch and the birds with foam adhesive.

5. I attached Lawn Fawn Orchid Hemp Trim under the pattern paper.

6. I stamped the sentiment under the trim.

Easy Peasy!!!

So tell me what you think?

Supplies used:

Winter Sparrows Lawn Cuts Winter Sparrows Orchid Lawn Trimmings Sweater Weather Petite Paper Pack Perfect Polka Dots Textured Impressions Embossing FolderCopic MarkersWhisper White Baker's Twine


Candy, Candy, Candy…

Second Post for the Day

If your looking for the a2z Scrapbooking Design Team Challenge, click here

Hello everyone!! I’m here today with CASology Week 117.  The theme is CANDY!!  I love this theme.

Week 117 - Candy

I haven’t played with them in such a long time.  I really miss being apart of the different challenges.  I’m really going to make a big effort to participate more.

So, onto this challenge.  Candy!!  When I saw the cue card, I smiled because candy is such a perfect cue, since Halloween is on the way.  In my thinking, I felt like everyone would do a Halloween theme and as you know, I try to be as different as possible.

My mind went straight for the new stamp set that I just order and received from Newton’s Nook Designs called Apple Delights.  I ordered this set because of the “Candy Apple”!!  Perfect!!!  This set came right on time.

Take a look at my card:

Candy Apple

Candy Apple closeup

Can you see the shimmer on that caramel!!!  It makes me want a candy apple!!  I might have to go over to Coney Island today to get one.  I know the perfect store.

In any case, what do you think of my card?  Does it fit the criteria for CAS?  I think so.

Let me know what you think?

Supplies:

Apple Delight Copic MarkersclassiccrestsolarwhtieWink of Stella clearBasic Rhinestones Jewel AccentsInkadinkado Stamping Mask Paper

Thank you for stopping by!

~Kymona

Just Because…

Hello everyone!!  I’m here today with a2z Scrapbooking.  Our 3rd monthly challenge is currently running till the end of the month.  The theme is Any 2 Hero Arts Products!

For today’s card I combine two stamp sets and an embellishment.  I had a lot of fun creating this card.

Take a look at my card:

Just Because 2

What to know how I created this card?  Come on over to the a2z Scrapbooking blog to read all about it and get detailed instructions.

I have a special bonus for you!  I created a time-lapse video for you to view.

Take a look:

I hope you liked my video.  I’m still learning so please don’t be to critical of me.

It’s your turn to play along with the current challenge! It’s running for the entire month of September. You still have a chance to win a $25.00 gift card to the a2z Scrapbooking store.

If you would like any of the products that I used on this card please head on over to the a2z Scrapbooking store and use the coupon code KYMONA15 to get 15% off your entire purchase.

Supplies used:

Hello Sunshine Hello Flowers Diamond Gems 5mm Wink of StellaSnow Layering Paper

Thank you so much for stopping by!!

Kymona

Guest Designer for October!!

Hello everyone!!  I’m here again today as a Special Guest Designer for October for V’s Sweet Ideas blog today!!

VsSweetIdeas-logo-lg

For those of you who do not know, Vanessa is the owner of V’s Sweet Ideas Stamps!! You have to check out her store.  Its full of all sorts of crafting goodies!!  Vanessa’s stamp sets are so cute and wonderful to use.  I found Vanessa on Instagram, (just gotta love Instagram) and fell in love with her stamp sets, especially the Robot Girl stamp set.

When Vanessa reach out to me and asked if I could be a guest designer for October, I couldn’t believe it.  I was over the top excited.  I couldn’t stop smiling.  So many ideas, were swirling in my head, LOL!

Take a look at what I came up with:

Little Robot 2

Isn’t that Robot girl just the cutest thing you’ve seen this afternoon!   I had so much fun coloring her.  I must admit I colored her a couple times because I wanted to make sure she really looked like a robot. I’m pleased with her color.

Here is a closer look at the shimmer that was added so she could shine:

Little Robot

To create this card:

1. I embossed my card front with the large polka dot embossing folder from Stampin’ Up!

2. I cut some 1′ squares out of some scrap cardstock that I had lying around.

3. I attached each square to my embossed card front. Then I stamp the small images from the set onto my colored cardstock.

4. I colored my little robot with Copic markers: Body: W3, W5, W7 Dress: BG11, Bg23, BG49 Bow and Shoes: R20, R24

5. I added my daughter’s favorite craft tool, Clear Wink of Stella to give her some shine.

6. I stamped the sentiment on a banner I cut using Mama Elephant Bold Banner Creative Cuts.

7. I added some sequins and rhinestones to finish the card off.

What do you think?  Head on over to V’s Sweet Ideas blog and store and show her some love.

Supplies used:

Robot Girl Wink of Stella clearBOLD BANNER Copic Markers

Thank you for stopping by!

~Kymona