YNS Sketch and Color Challenge #26

Hello everyone!!!  I’m here today with Your Next Stamp (YNS) and the Sketch and Color Challenge #26!!

Each challenge has a sketch and a color combo to choose from.

Take a look at the sketch:

YNSSketch26

Take a look at the color combo:

YNScolor-26

I went with the sketch this time around.  I’m not sure I totally went with the entire sketch.  I have to admit, this one was hard.  I hope I inspired you.

Take a look at my card:

Hugs (YNS)

YNS Supplies: Sprinkles – Hoppy Holidays Stamp Set, Crystal Clear Gumdrops

What do you think?  Did I follow the sketch? Let me know below.

So are you ready for the new challenge?

You have until November 12th at midnight EST to play along and submit your project on the YNS Blog post.  One random participant will win a $15 gift certificate to the Your Next Stamp Store.  If YNS stamps or dies are the focal point then the winner receives and additional $5 gift certificate fro a total of $20.  The winner will be announced on the YNS Blog the Sunday after the challenge closes.

I hope to see your projects!!

Supplies used:

clear gumdrops small Sprinkles-Hoppy HolidaysFaber-Castell Polychromos Pencils Bo Bunny Altitude Pattern Paper Charcoal

Thank you for stopping by!

~Kymona

CASology 170 – Hearts

Second Post for the day
If your looking for CASEing Kelly Blog Hop, click here

Hello everyone!!  It’s CASology Tuesday!!  We are back with another Cue Card just for you!!

This week’s cue card is :

Week 170 - Heart

Take a look at my card:

Its Complicated (CAS)

Some times our hearts make things so complicated!!  I love this stamp set from So Suzy Stamps.  It’s totally perfect for this challenge!!  Once stamp set that says everything and it keeps my card CAS!!

To create this card all I did was stamp the heart part of the image in Lawn Fawn Lobster Ink and the sentiment part in My Favorite Things Hybrid Ink.

Super easy!

I have to admit, this wasn’t my first card.  I made my card and as I was putting my post together I realized our sponsor this week is So Suzy Stamps so I had to change my entry card!!  I have so many So Suzy Stamps that I had to use one of her sets for this challenge.

Take a look at my original card:

You have my heart (CAS)

This card was super easy to create too.  All I did was blend Distress Ink Scattered Straw and Spun Sugar in the center of my card.  A nice even layer.

Then I used a rub on to add my heart wreath and sentiment. Nothing more nothing less.  Since and clean and simple.

I love both cards!! I hope you do too!!  Let me know below!

Now its your turn!! I can’t wait to see what you come up with!

For more inspiration, check out my fellow Design Team members blog for more awesome work.

DT Badge

Gillian Ross

Hannelie Baster

Hazel Hodgkins

Jen Wills

Joyce Mehrberg

Judy Marino

Kimberly Wiener

Kymona Tracey ←Me

Melissa Chipperfield

Tracey McNeely

Our Guest Designer this week:

Our Sponsor this week is So Suzy Stamps! Awesome stamp company and awesome lady behind the name.

Supplies used:

Its Complicated LF lobster MFT Hybrid Black Ink Recollections White HeavyweightDistress Ink 4

Thank you for stopping by!

~Kymona

CASEing Kelly Blog Hop!!

CASEing Kelly Blog Hop BannerHello everyone!!  I’m here today with a group of talented ladies who wanted to say “Thank You” to Kelly Latevola for all of her generosity and kindheartedness!! We thought a Blog Hop would be an awesome way for everyone to say good bye and send her best wishes as she parts ways with some of the amazing Design Teams she was on.

If you arrived from Kristina Beagle blog, your on the right path.  If this is your first stop, there is a complete list at the end of this post so that you could start from the beginning and not miss out on any of the fun.

The best way to send her off, would be to CASE her!!!  LOL!!  Yes, my dear teammate, Kelly, we are CASEing YOU!!

For those of you who don’t know Kelly, she has a CASEing Genius feature on her blog.  She always takes THREE cards from the designer she is CASEing, and makes ONE card inspired by those three cards.

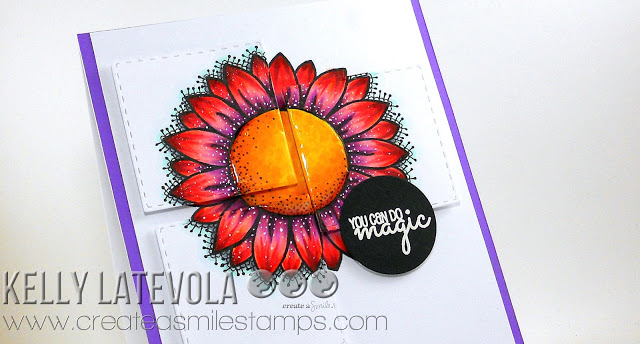
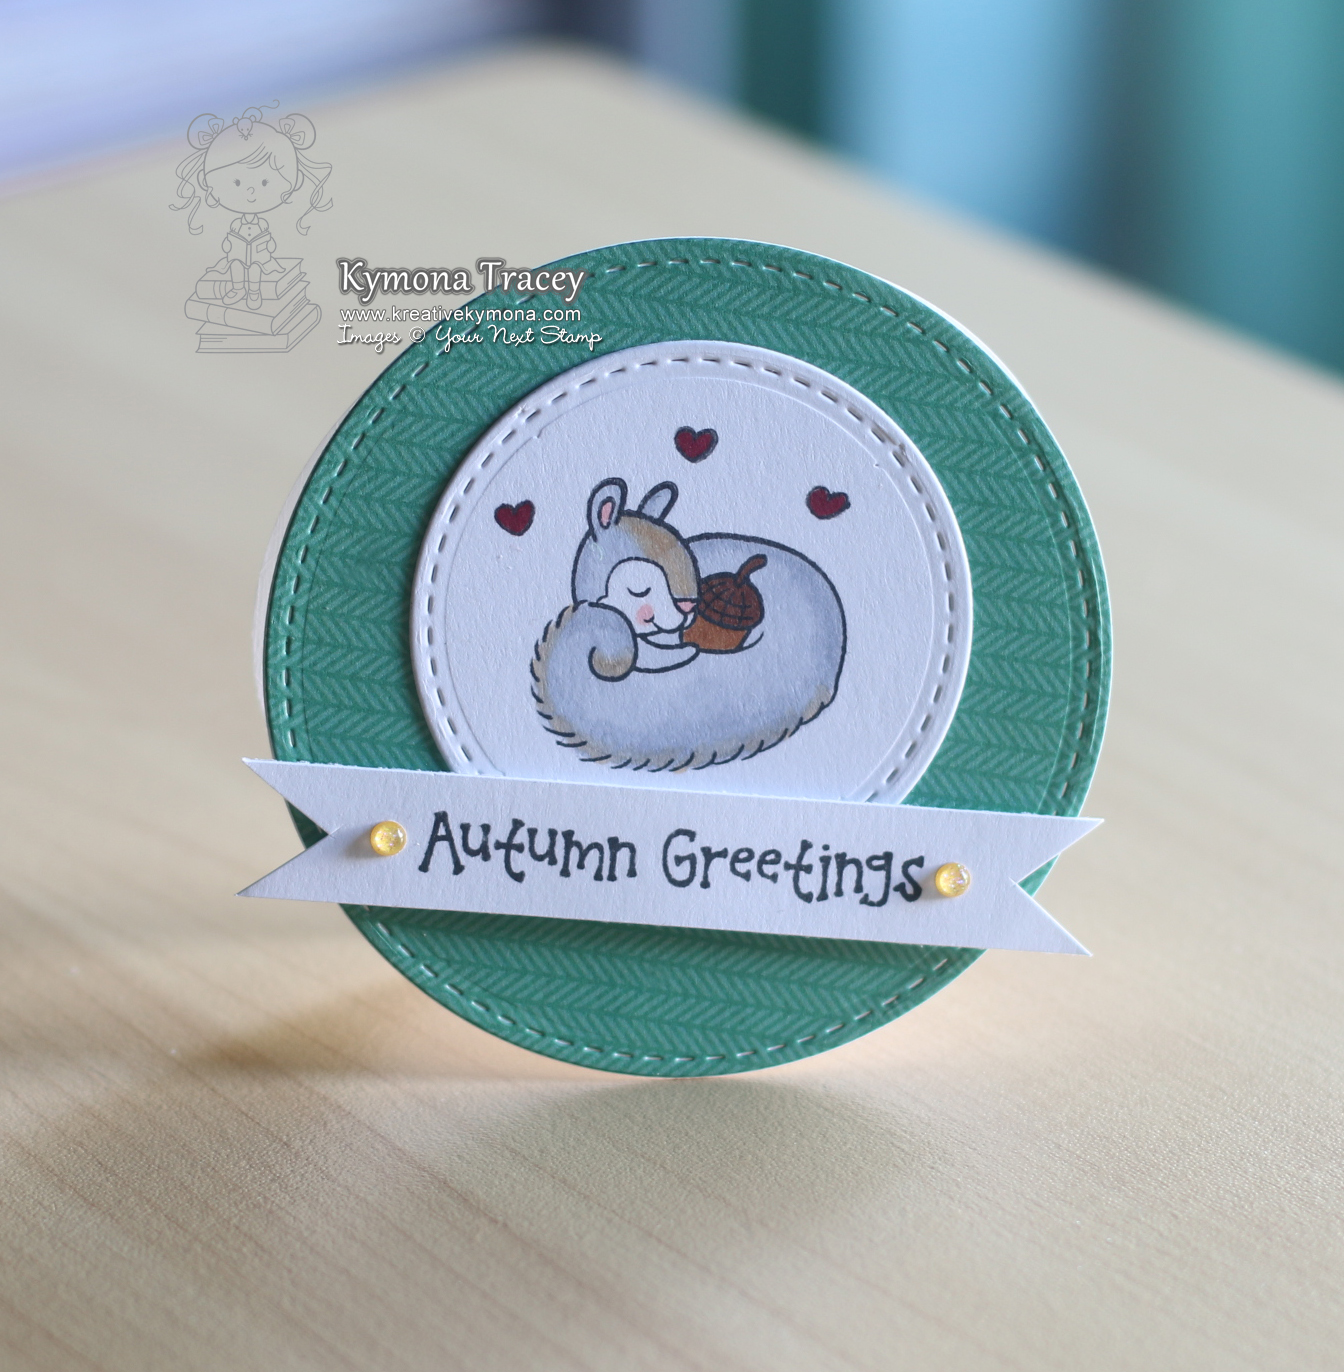
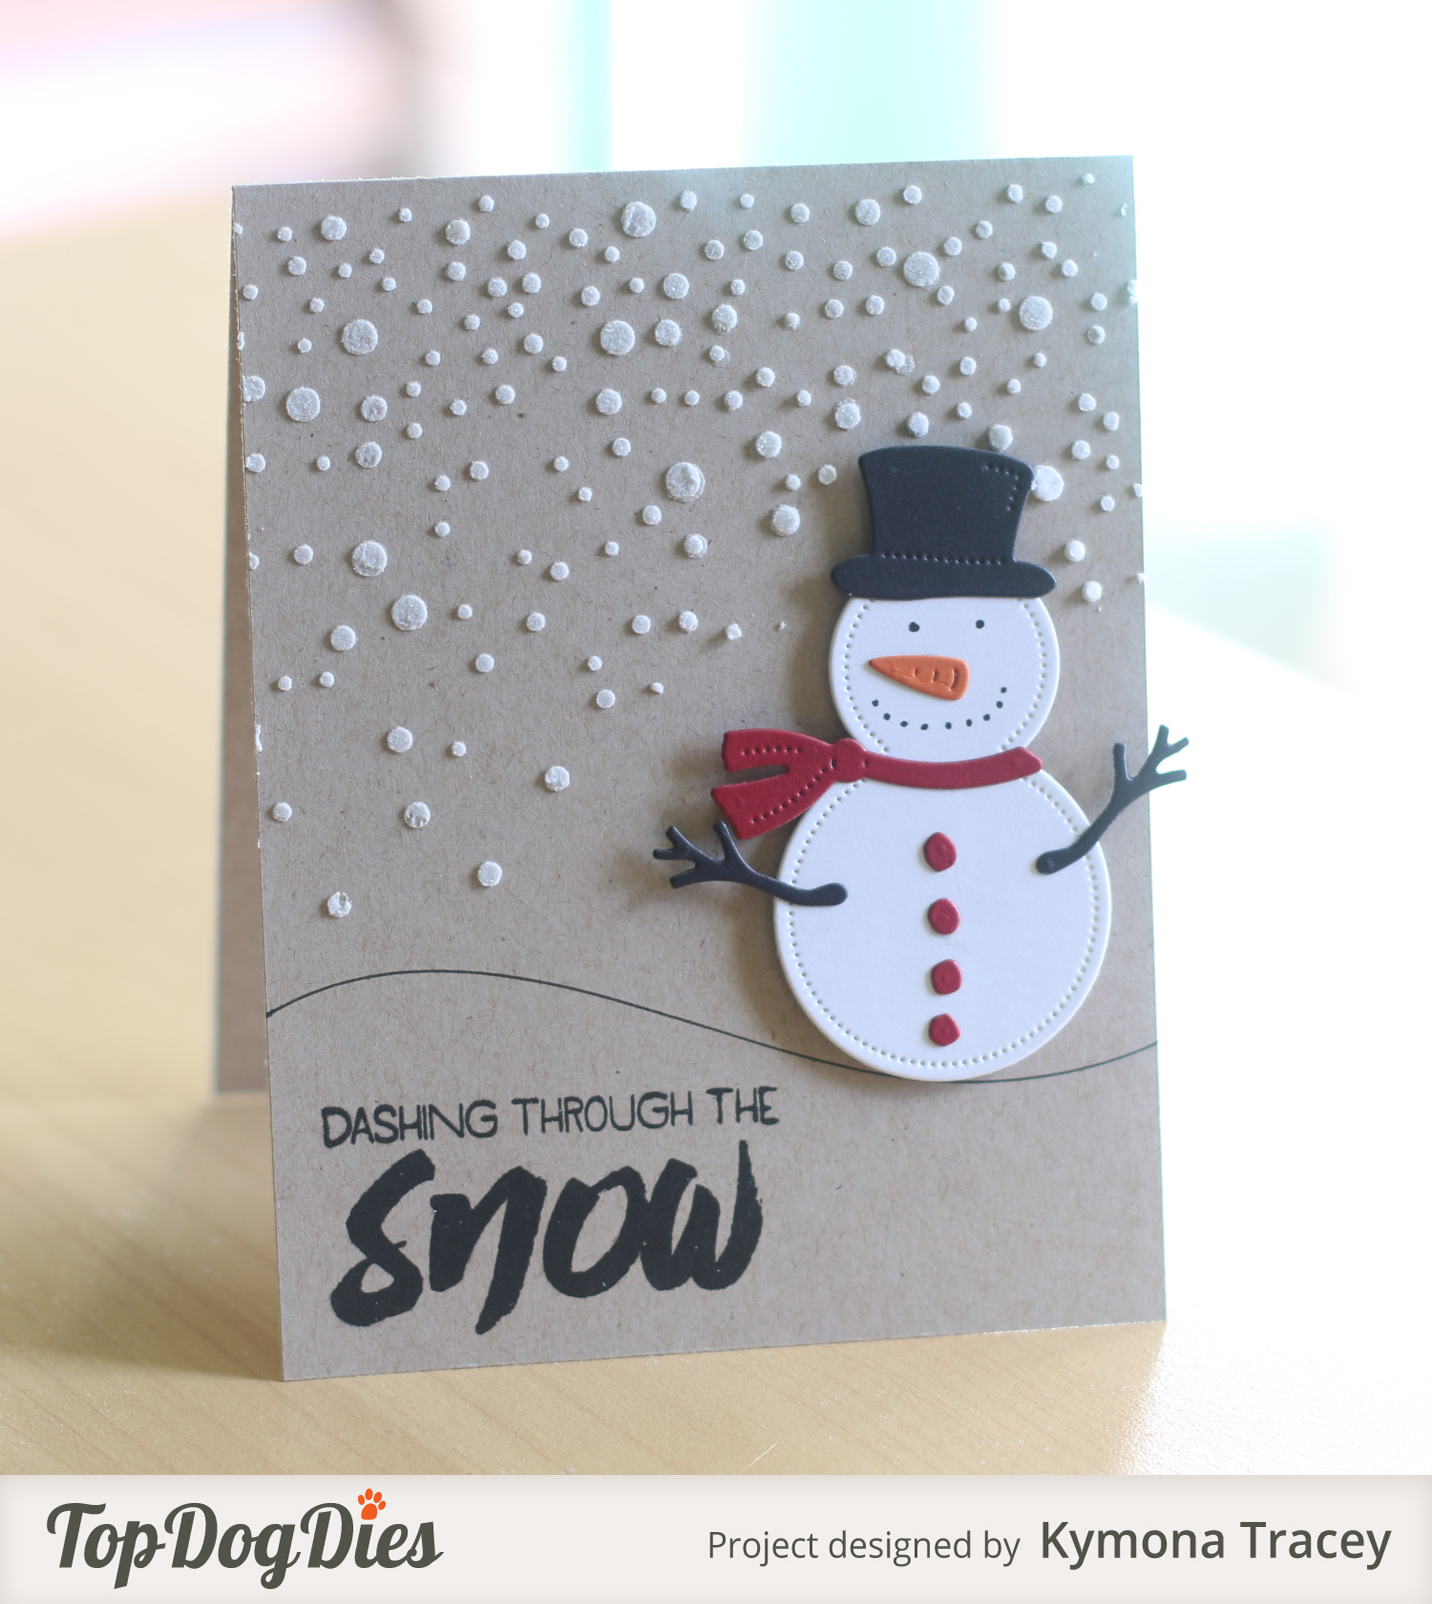
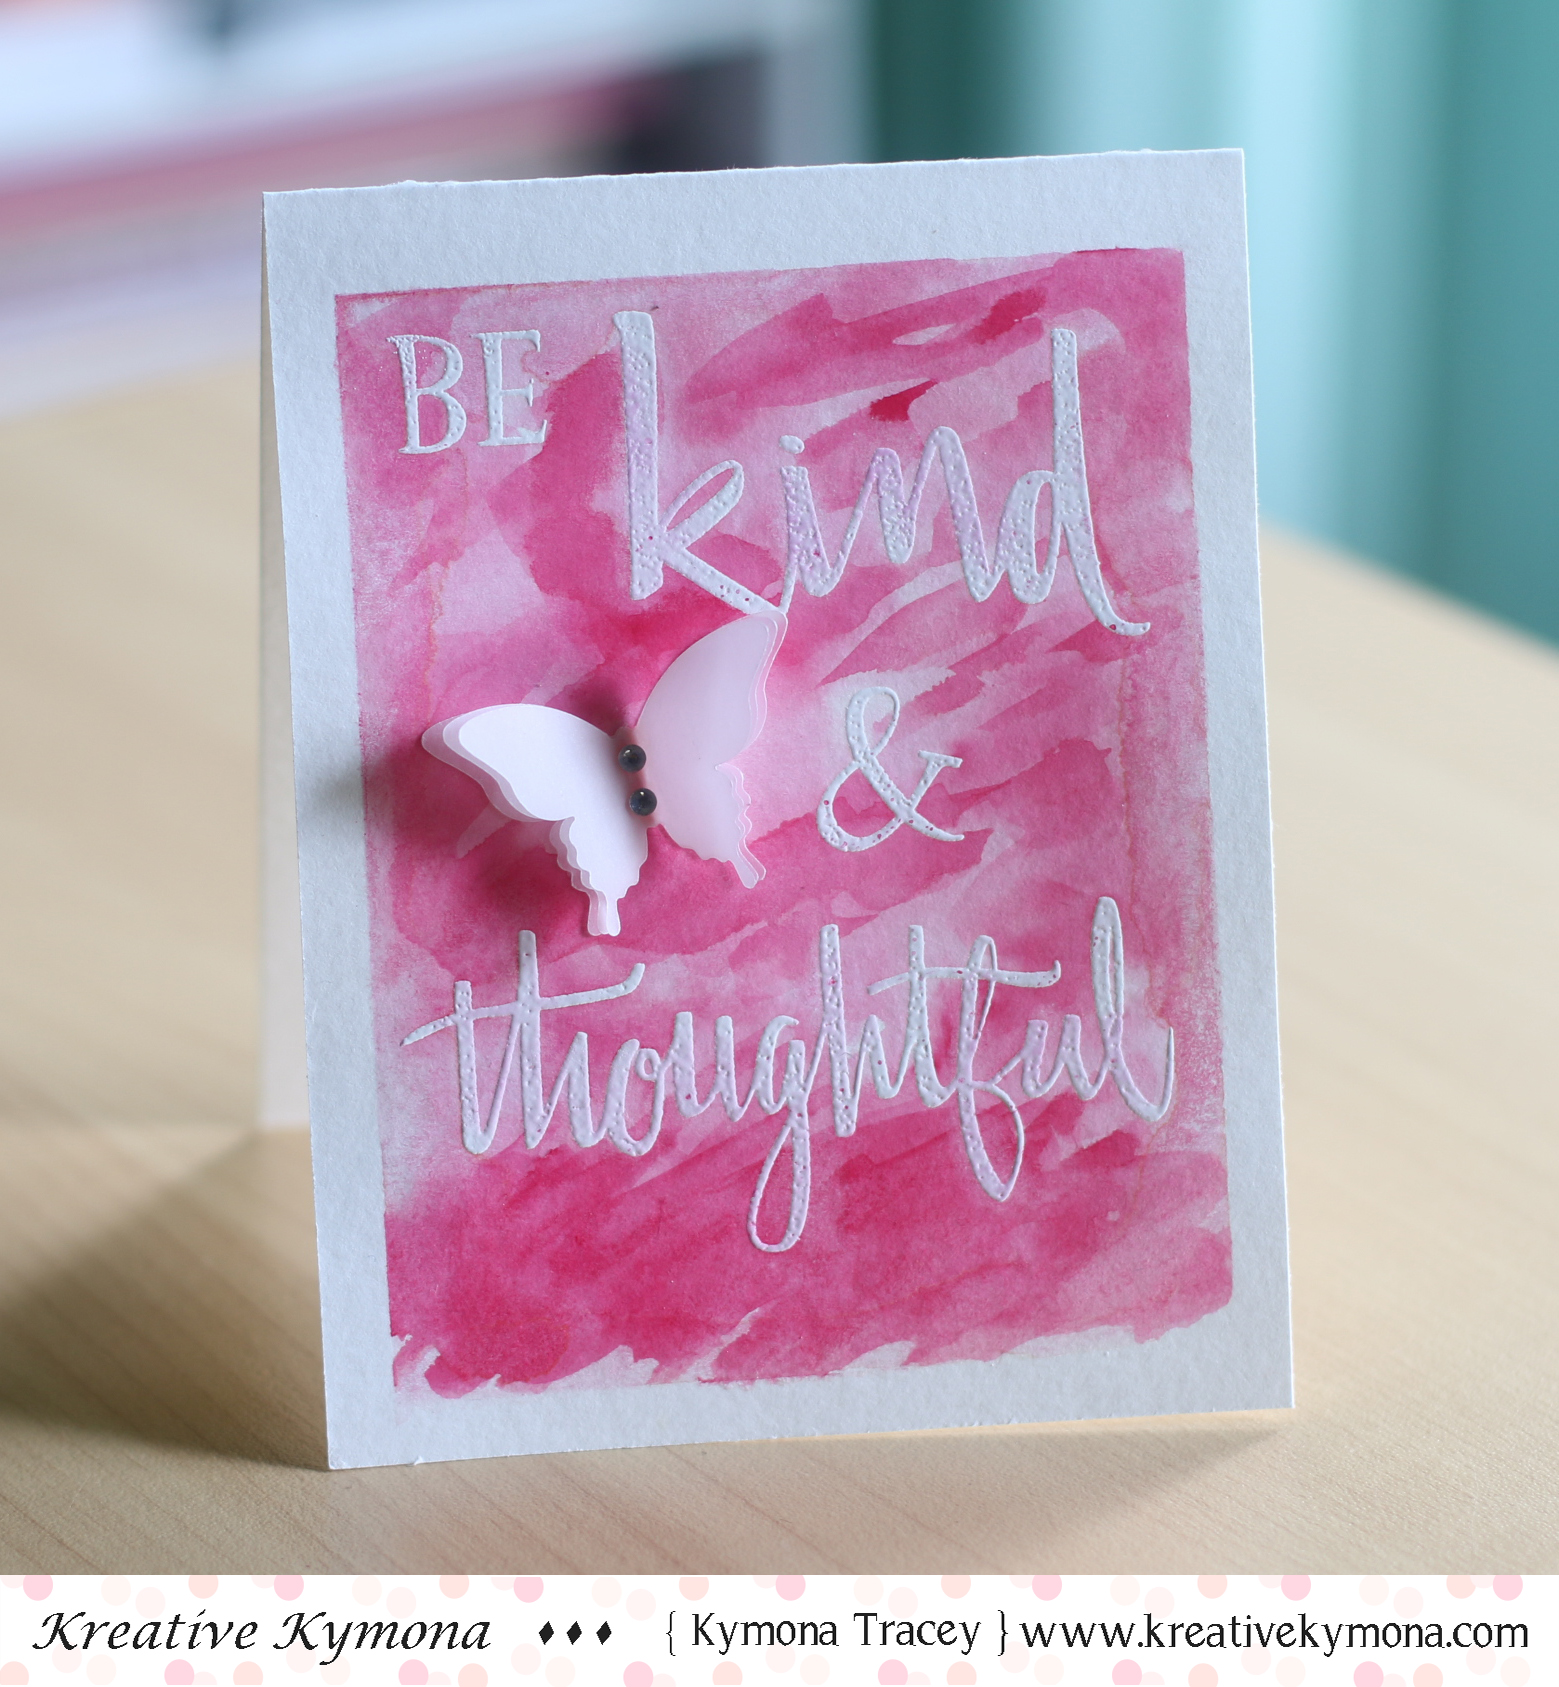
Take a look at the three cards that I used:

DSCN0076

I love how Kelly raised the flower by added those square panels.  So pretty and dimensional.

DSCN2241

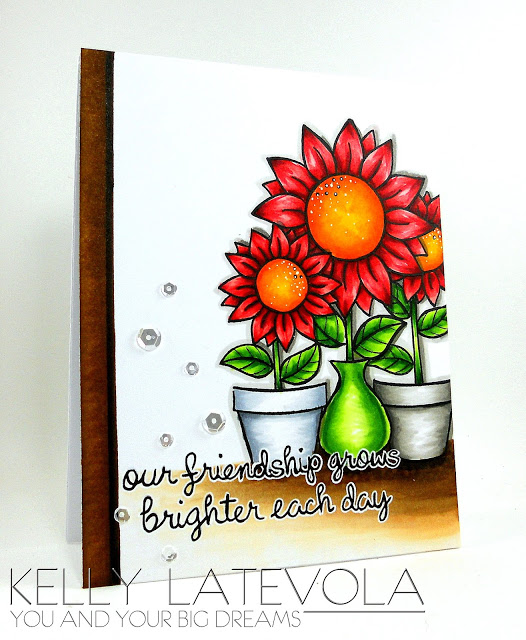
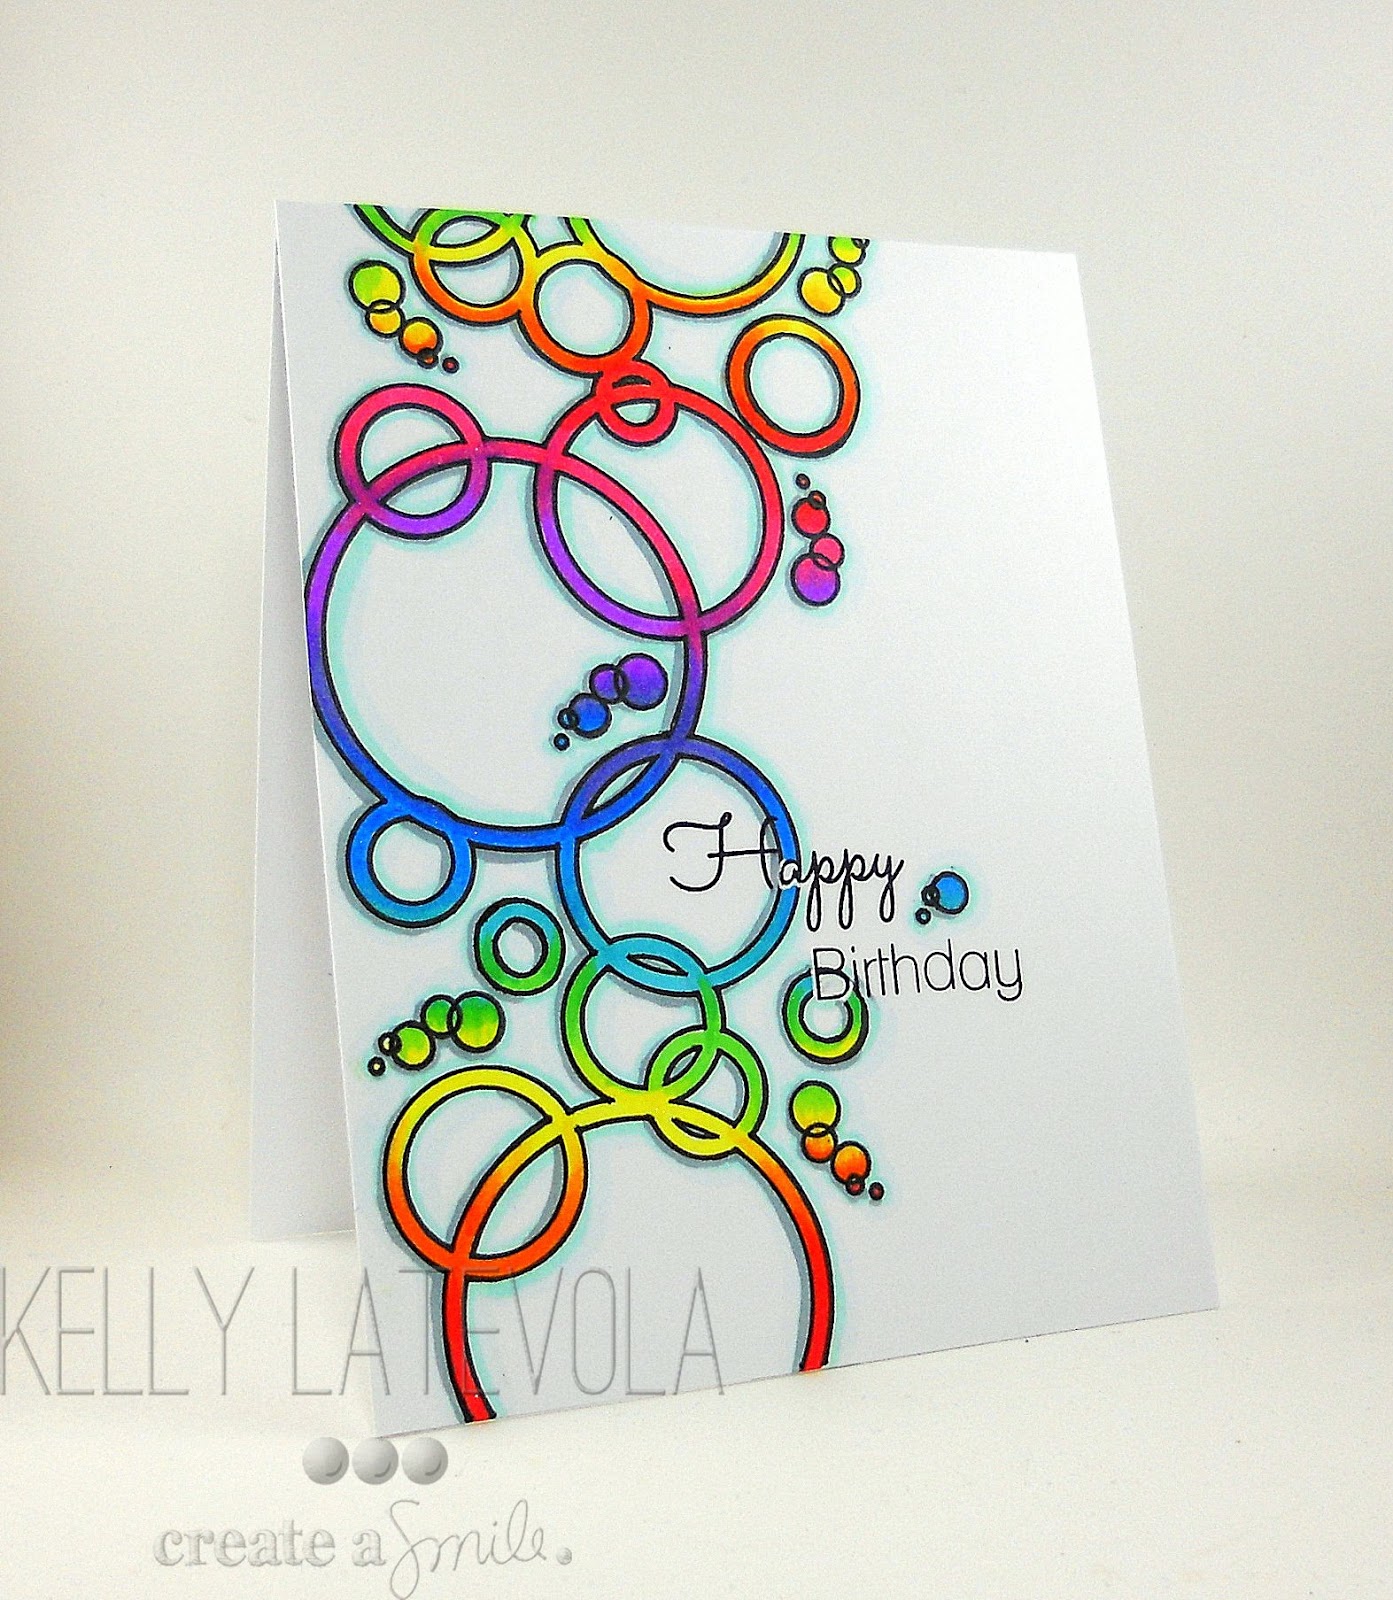
I love the colors Kelly used on these flowers.  I also love how she tried colors she wasn’t use to using.

DSCN9598

I love how Kelly’s image was placed to one side of the card.  It keeps her card CAS, which is my style of designing.
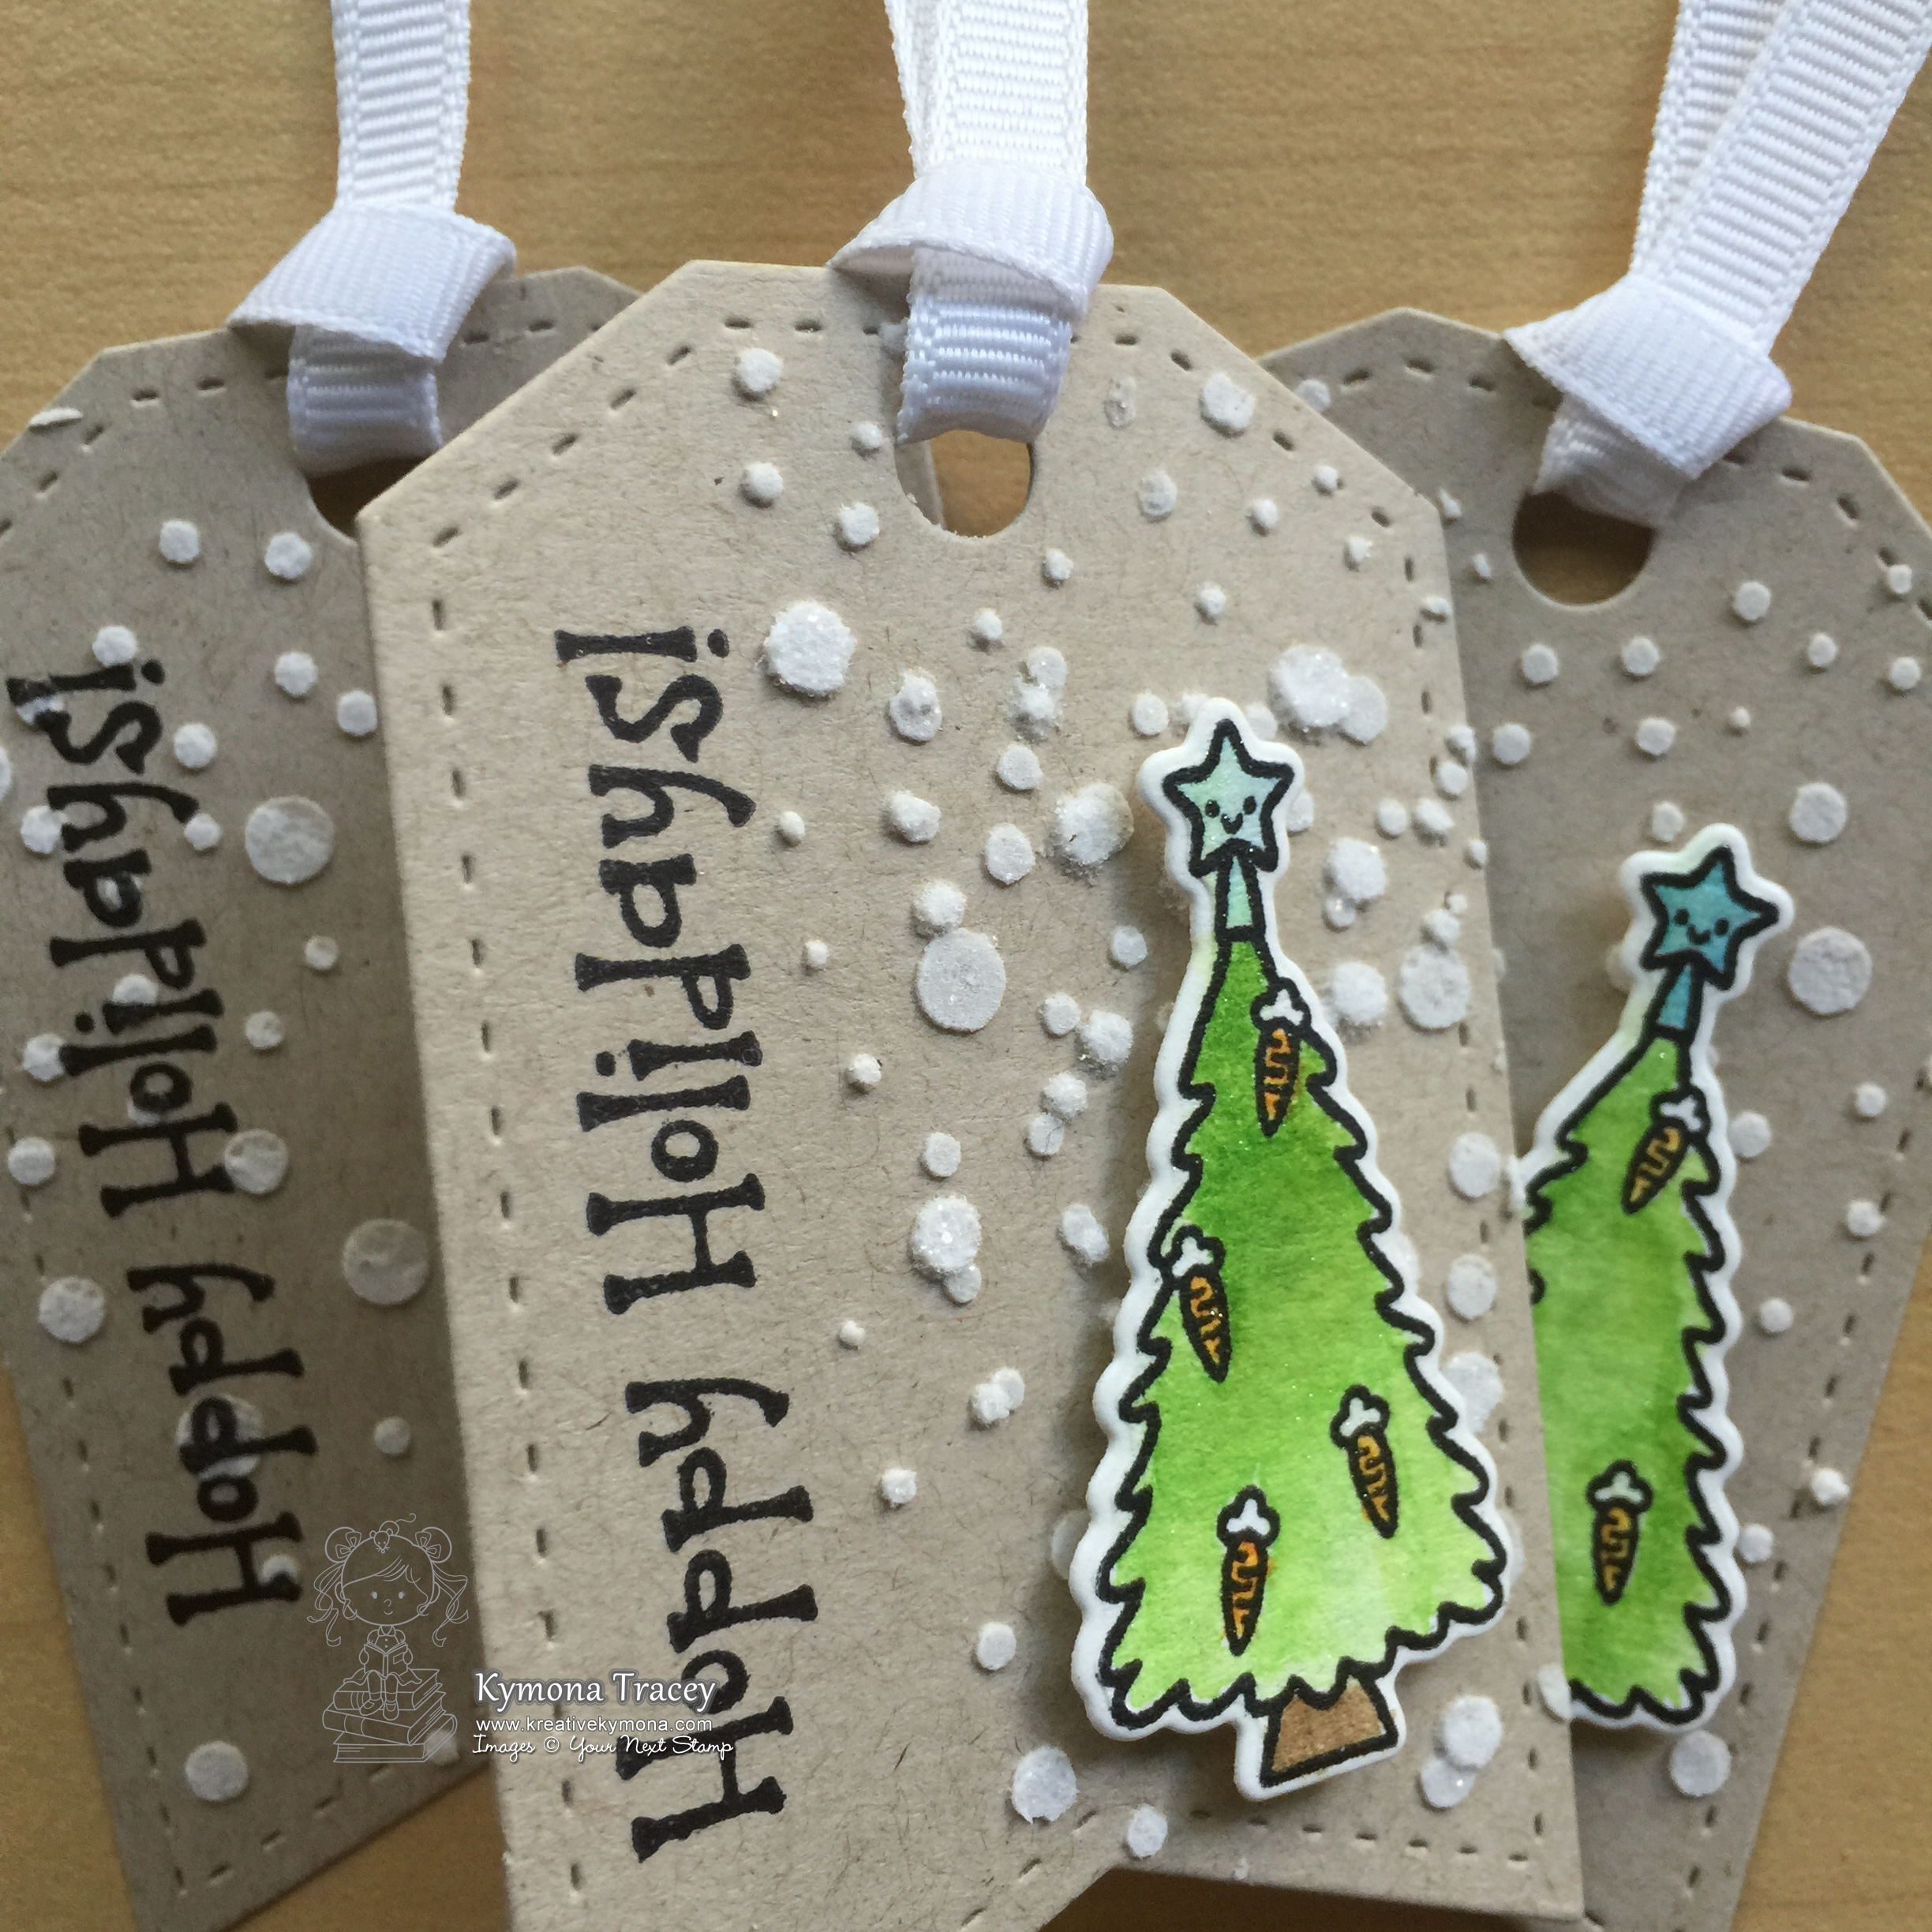
The CASE:

Be Happy (CASE)

I used the green color from card number 2 to color my leaves.  I totally love this color combo (YG01, YG03, YG17, YG67).  Thanks Kelly.  I position my images the left side of my card stock like her card 3.  I used my Brother Scan and Cut and cut out addition leaves so that I could lift some of my leaves to mimic Kelly’s raised panel on card 1!!

Take a closer look:

Be Happy close up (CASE)

I totally loved this challenge.  It was a challenging but well worth it!!  I had fun trying to come up with a card that suited my CAS style.

Thanks Kelly, for being a great teammate over on the a2z Scrapbooking blog. I love watching your periscopes as well.

What is a blog hop without some fun prizes?! Leave a comment by 11:59 pm EDT on Thursday, October 29th along each stop in the hop to increase your chances of winning a prize from one of our sponsors: a2z Scrapbooking, Altenew, Create a Smile Stamps, Dee’s Art Impressions, DJ Kard Kreations, Hero Arts, Ink Road, Lia Stampz and Simon Says Stamp,! Winners will be notified by email after October 29th.

CASEing Kelly Sponsors

Just in case your just arriving or your lost along your way here is the entire list of blog participants!!

a2z Scrapbooking

Amy Tsuruta

Ardyth Percy Robb

Brandi Hall

Char Kochensparger

Cindy Chiu

Darnell Knauss

Dawn Turley

Debra James

Deepti Malik

Donna Idlet

Elizabeth Campau

Ellen Haxelmans

Heather Ruwe

Jennifer Loftfield

Joan Bardee

Kara Vrabel

Kara-Lynne

Kathy Wade

Katie Gehring

Kristie Goulet

Kristina Beagle

Kymona Tracey

Laura Jane

Leigh Penner

Lin Brandyberry

Linda Trace

Lindsay Amrhein

Lydia Evans

Maria Sabina Raita

Marika Rahtu

Martha Lucia Gomez

Michele Cunningham

Michele Ferguson

Michelle Lupton

Michelle Williams

Monica Maier

Niki G.

Nina-Marie Trapani

Rubeena Naz

Shelly Kurth

Taunya Butler

Thordis Dogg

Vera Yates

Supplies used:

Botanical Love Copic Markers Recollections White HeavyweightBrother Scan and Cut2Lime Cordial

Thank you so much for stopping by!!

~Kymona

One Stamp Set, Two Ways!!

Hello everyone!!  I’m here today Guest Designing for Gerda Steiner Designs.  Super Doper Awesome!!!

Have you seen her latest stamps?  Totally awesome!  She has clear stamps, digital stamps and good old rubber stamps!!  You can’t bet that!

If you haven’t checked her out, you have to go on over and pay her visit!!

Today, I’m playing with a clear stamp called Peeking Friends!  Super cute images and easy to color!

Peeking Friends

I’ve created two projects.  I have a third one, but as I’m writing this post, I’m having a creative block.  Crazy right.  I just can’t figure out what I want to do with what I have.  As soon as I do, I will do a separate post on it.

Take a look at what I did create:

First up is a gift tag that doubles as a card since it opens.

No Peeking (GSD)

This is how I created this tag:

  1. I stamped the image using My Favorite Things Hybrid Ink and colored the elf in with Copic Markers; G07, R37, Y13, E11 and E25.
  2. Then I used my Brother Scan and Cut to cut him out.
  3. Then I used Pretty Pink Posh Stitched Banner Duo 2 Dies to cut out 3 tags, 2 out of white cardstock and 1 out of retired Stampin’ Up! Season of Style.
  4. I used the circle die to cut out a circle in the pattern paper.
  5. I adhered the pattern paper to one of the white tags.
  6. I used my score board to score the back tag so that I could Tombow Multipurpose Glue to hold the tag together.
  7. I stamped my sentiment in the circle.
  8. I created a shaker pocket using the We R Memory Keepers Fuse Tool, click here if you want to see a tutorial.
  9. I added random sequin to my shaker pocket and sealed it up.
  10. I attached the pocket to the back of the pattern paper using Tombow Extreme tape.
  11. Then I added 3M Foam tape to the back of the pattern paper, to add dimension.
  12. I put all of the pieces together.  Then I added my colored elf to the front of the window.
  13. I punched a hole at the top of the tag using the We R Memory Keepers Crop-A-Dile.
  14. I added some ribbon to the tag.

Awesome outcome!!

Second up is a card:

HO, HO, HO

Check out my santa!!  I love how he looks like he is peeking into your window!!  Hope you’ve been nice this year.

Check out this picture I also took of this card using some props!!  I wanted to give it a try.

Santa

I picked up this porcelain palette plate and was excited to use it!!  I love how the card looks surrounded by different embellishments.

Here’s how I created this card:

  1. I cut my front card panel to 4.25 x 5.50 and used My Favorite Things Jumbo Peek-a-Boo Circle Windows Die.
  2. I used Simon Says Stamp Falling Snow Stencil and Wendy Veechi Embossing Paste to add snow to the front of the card panel.
  3. I attached the front panel to the card base using Tombow Extreme adhesive.
  4. I stamped my the santa and used Copic Markers: R37, R39, R89, E00, E11, C1 and colored him in.
  5. I slipped the santa between the front panel and the card base to give the impression that he is peeking into your window.
  6. I stamped the sentiment and WaLa, I was done!1

Super sweet and pleasant card!!

Soooo, what do you think?  Please leave a comment below!!

Stay tune for my third card as well!

I’m entering my tag into the Tag You’re It Challenge #33

TYIC #33

Supplies used:

Peeking FriendsMFT Hybrid Black Ink Copic Markers Brother Scan and Cut2PPP Stitched Banner Duo 2 Dies Tombow Multi-Purpose AdhesiveFuse Tool3M Double Coated Foam Tape We R Memory Keepers Crop A DileRecollections White HeavyweightNeenah Desert Storm CS MFT Peek-a-Boo Circle DieEmbossing PasteTombow Xtreme

Thank you so much for stopping by!!

~Kymona

Clean and Simple Cards plus Coupon

Second Post for today
If your looking for the YNS October Feature Day – Fall post, click here

Hello everyone!!  I’m here again this month with Concord & 9th!!! Super awesome company with great folks running it.  I really appreciate that they took a chance on me and asked me to guest design for them.

Their stamps and dies are fabulous.  I’m going to showcase their Eat Cake & Celebrate Stamp Set and Dies.  I’m also playing with their Cake Edition Paper Route.

Eat Cake Celebrate                   Eat Cake     cake_paper_grande

I used pretty cardstock to go with these awesome products:

IMG_5705

Here you go:

Eat Cake (C&9)

Tell me this isn’t the cutest 4 x 4 card you’ve seen!! I used the scraps I created the other day after I made my own envelopes.

Happy Birthday (C&9)

I created two cards with the same set in the reverse colors.  I love how these colors go together. Super pretty to me.

Make A Wish (C&9)

This last card was created using the Cake Edition Paper Route!  No need to stamp a thing.  You can’t get any more Clean And Simple then this!!!

So what do you think?  Please let me know below!!

Now onto the coupon code so that you could pick up your favorite product in the store.

Concord & 9th is offering a 15% coupon code good until Monday, 10/26 at 11:59pm. The code is KREATIVE.  

Check out my Instagram feed, I might have a giveaway going on over their!!!

Other supplies used:

LID Wonky Squares Dies Seedless PreservesDistress Ink Scattered StrawGive Thanks for Sparkle Gumdrops Wink of Stella clear

Thank you for stopping by!!

~Kymona


YNS- October Feature Day

Hello everyone!!!  I’ here today with another YNS creation to inspire you and a chance to win a stamp set of your choice!!

On the 22nd of every month, YNS Design Team creates more samples featuring YNS products and shares them with all of you!!

The super duper awesome part of it all besides our awesome samples, you could win a stamp set of your choice!!  Now how super cool is that!!

Scroll to the bottom to find out how!!

This month we are focusing on “FALL”!!  The DT created projects with a school based theme.

Now take a look at the card I created to inspire you:

Autumn Greeting (YNS)

YNS Supplies: Sandy Squirrel – Autumn Greetings, Circles – Stitching Marks Die Set, Circle Die Set, Give Thanks for Sparkle Gumdrops

Other Supplies: Inktense Pencils, Lawn Fawn Sweater Weather Pattern Paper

Creating this card was easy as one to three:

  1. I die cut all of my circles using the circle die and the circle stitch die. I attached all of the pieces together.
  2. I stamped my image and watercolored it with the intense pencils.
  3. Then I stamped my sentiment, flagged the ends, added the gumdrops on both ends.

I told you it was easy as one-two-three!!

What do you think?  Let me know below.

Now on to that prize!!

DTDare2candy-547x232

All you have to do is leave a comment on the YNS blog by October 24th for a chance to WIN a YNS stamp set of your choice!!  Super simple and easy!!  You will get to see my fellow DT’s projects as well.

So head on over, you don’t want to miss this one!!

Supplies used:

Give Thanks for Sparkle Gumdrops YNS circle diesStitching marks circle dieSandy Squirrel Autumn GreetingsSweater Weather Petite Paper Pack Intense pencils

Thank you so much for stopping by!

~Kymona

Top Dog Dies – Texture

Hello everyone!!!  I’m here with Top Dog Dies!!  I’m here showcasing one of their new dies that was released 3 weeks ago!!

Lets jump right in!

Today I’m working with the Top Dog Dies Snowman Die Set!! It’s a super doper cute die set and the possibility are endless!!

TDD Snowman Die Set

Take a look at my that I created with this die:

Dashing through the snow2 (TDD)

I love this cute snowman die!!  Look at all of that stitching!  Nice texture.

Here is how I created this card:

  1. I die cut my snowman out of different colors of paper. I put the snowman together.
  2. Then I draw a hill line on my cardstock.
  3. I stamped The Ton Stamps Holiday Lyrics using My Favorite Things Hybrid Ink.
  4. After that, I place Simon Says Stamps Stencil Falling Snow  on top of the cardstock and layered Wendy Vecchi Embossing Paste.
  5. Before the paste dried, I sprinkled some Distress Glitter Clear Rock Candy on top of the snow to give it some sparkle and shine.

Super fun to create!!

What do you think? Let me know below!!

Supplies used:

holiday lyrics MFT Hybrid Black Ink SSS Falling SnowEmbossing PasteNeenah Desert Storm CS

Thank you so much for stopping by!

~Kymona

CASology 169 – Zombie

Hello everyone!!  It’s CASology Tuesday!!  We are back with another Cue Card just for you!!

This week’s cue card is:

Week 169 - ZOMBIE

Take a look at my card:

Zombie

Now, to create this card, I had to do some research on an image!  I didn’t have any stamps that that went with this cue card so I had to find one fast.

I found this image on the Make it Crafty website.  I remember watching Zoe color her zombie color on Periscope last week and figured I could find an image that I would like on her site.

Here is how I created this card:

  1. I resized my image and created my own sentiment in photoshop and printed it on Canson Watercolor paper using my Epson XP-810 printer.
  2. Then I taped the watercolor paper down and began painting the image with Distress Inks Twisted Citron, Mowed Lawn, Fired Brick, Gathered Twig and Hickory Smoke.
  3. Then I round the top two corner with my We R Memory Keepers Corner Chomper.

Now its your turn!! I can’t wait to see what you come up with!

For more inspiration, check out my fellow Design Team members blog for more awesome work.

DT Badge

Gillian Ross

Hannelie Baster

Hazel Hodgkins

Jen Wills

Joyce Mehrberg

Judy Marino

Kimberly Wiener

Kymona Tracey ←Me

Melissa Chipperfield

Tracey McNeely

Our Guest Designer this week:

Valerie

Our Sponsor this week is Concord & 9th! They are an awesome papercrafting company that I love dearly!!  The winner will love their products!!

Supplies used:

halloween-zombieCanson Watercolor Paper Distress ink mini 14Distress ink mini 2Distress Ink Mini 6We R Memory Keepers Corner ChomperEpson XP-810

Thank you so much for stopping by!

~Kymona

Watercolor Resist

Hello everyone!!  I’m here with CAS(E) this Sketch #145 Challenge today.  I don’t get to participate in challenges much so when I do, I get all excited.

Lets jump right in:

Here is the sketch:

CTS_145

Take a look at my card:

Be Kind and Thoughtful (challenge)

Creating this card was simple:

I used my powder bag and prepped my watercolor paper so that the embossing powder would stick to areas that I don’t want.

I used Concord & 9th Being Classy Stamp Set and stamped my sentiment using Versamark Ink.

I sprinkled Hero Arts White Embossing Powder on top of the stamped sentiment.  Then I heat set it.

After all of the powder melted, I taped down my Canson watercolor paper so that I can watercolor the front of the card.

I used Koi Watercolor to add the color to my Canson watercolor paper.

Since I heat set the sentiment, it resists the color and rolls of the white sentiment.  The color only lands on the paper where the sentiment isn’t.

Some of the paint settled on the sentiment, I just used a damp cloth to wipe the ink off.  Super easy.

I used Stampin’ Up! Elegant Butterfly Punch to cut out three butterflies out of vellum paper.

I attached each of the butterflies together and add two rhinestones in the center.

Super easy and pretty!!

I hope I fit the sketch!

Supplies used:

Being Classy VersamarkHero Arts Clear Embossing PowderKoi Watercolor Canson Watercolor Paper Elegant Butterfly PunchBasic Rhinestones Jewel Accents

Thanks for stopping by!!

~Kymona

Your Next Stamp DT Dare – Sparkle and Shine

Hello everyone!!  I’m here today with Your Next Stamp and our DT Dare!!!

What is a DT Dare you ask? It’s a fun monthly challenge for the YNS design team to show case more fabulous projects using the new release products!!

YNS-DARE-Badge

Fun right!!

Wait there is more!!  If you leave a comment on the YNS blog post you could Win a YNS Stamp Set of your choice!!! 

Exciting right!!  It sure is for me!!

The DT Dare Challenge this month is Sparkle and Shine!!  The design team was asked to create a project using one of the new stamp sets from the September release.

Take a look at my project:

Hoppy Holidays (YNS)

YNS Supplies: Sprinkles – Hoppy Holidays, Sprinkles – Hoppy Holidays Die Set, Stitched Fishtail Tags Two Die Set

Other Supplies: Wendy Vecchi Embossing Paste, Simon Say Stamps Falling Snow Stencil, Random Ribbon, Neenah Desert Storm Cardstock, Ranger Archival Jet Black Ink, Distress Ink Mowed Lawn, Spiced Marmalade and Broken China, Distress Glitter Clear Rock Candy, Clear Wink of Stella 

Here is how I created these tags:

I simple die cut the Stitched Fisthtails Tags Two Dies out of Neenah Desert Storm Cardstock.  Then I covered them with the Simon Says Stamp Falling Snow stencil and added the Wendy Vecchi Embossing Paste to them. Then I sprinkled some Ranger Distress Glitter Clear Rock Candy on top of the paste before it dried.

Hoppy Holiday 2 (YNS)

You can see it somewhat in this photo, on the snow.

Then I stamped my trees from the Sprinkles – Hoppy Holiday Stamp Set using Ranger Archival Jet Black Ink and used Distress inks to watercolor the image.  Once it dried I used the Sprinkles – Hoppy Holiday Die set and cut them out.  I added Clear Wink of Stella on top of the trees for some shine.  I used foam tape to adhere them to the tags.  Once everything was put together I stamped my sentiment using the same ink and added my ribbon.

Super simple and easy.

So tell me what you think of this challenge? I would love to know, let me know below!

Don’t forget tohead on over to the Your Next Stamp Store to take advantage of the online discount code below and save an extra 20% on everything in the store!!

OctHopSale2015

Don’t forget we have Blog Candy for you!!  If you leave a comment on the YNS blog today you have a chance of winning the blog candy.

DTDare2candy-547x232

Supplies used:

Sprinkles-Hoppy Holidays Sprinkles - Hoppy Holiday Die Stitched Fishtails Two Die Embossing PasteSSS Falling SnowDistress Glitter Neenah Desert Storm CS Distress ink mini 2Distress mini ink kit 1Distress Ink Mini 14Distress Ink Mini 6Wink of Stella clear

Thank you so much for stopping by!

~Kymona