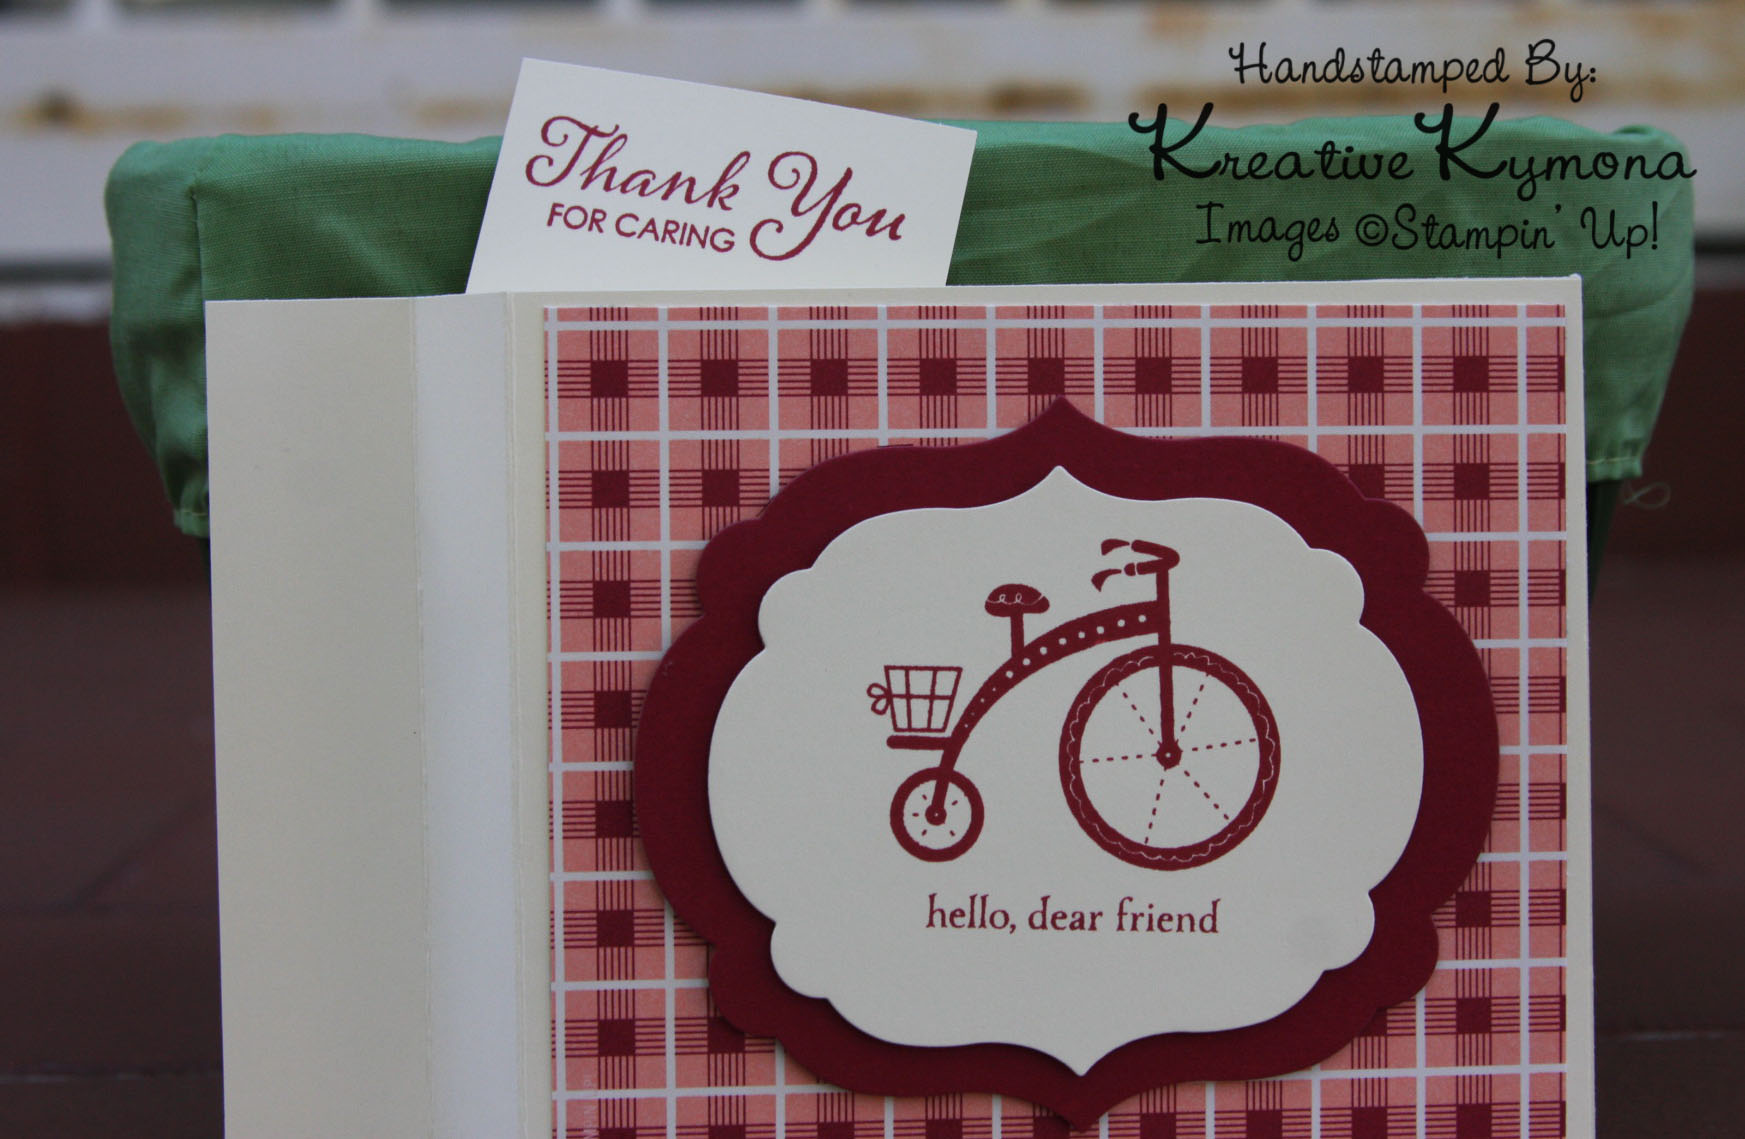
In today’s class we learned a couple of different techniques that had textural effects. The first one was Dry Embossing. I’ve seen this technique before but haven’t really played around with it until now. My card features a variation on selective dry embossing that leaves a portion of the design flat, while the remainder is embossed.
I was so excited about starting this technique, but quickly became discouraged because the embossing wasn’t coming out clean and crisped. I tried at least five times before giving up. Take a look at what I mean.

When you look at the above picture you can see where the embossed image fades out and it isn’t suppose to. The embossed image shouldn’t fade, it should only be in the area you actually want the embossed image. So, I turned to my fellow classmates and teachers for some suggestions on what I’m doing wrong. After trying again, I finally got it right. Take a look.

You can see exactly where I wanted the embossed dots and where I wanted a clean clear circle with no dots. That’s dry embossing. I’m so glad I was able to get this technique down pack.
What do you think?
Supplies used:

Classic Crest Solar White CS

Perfect Polka Dots
117335

Big Shot Die-Cut Machine
113439

Tim Holtz
Embossing Diffusers

Another Thank You
133454

Strawberry Slush
131178

Coastal Cabana
131175

Wink of Stella Clear Glitter