Hello everyone! I’m here today to show you how to create a beautiful Hand to Hand Cowl for the fall.
The cold season is upon us, and I must admit it’s not my favorite. I’m a spring and summer lady. The cold weather is not my friend. I find it harder to warm up than to cool down. So, I’m always looking for outerwear to keep me warm.
Let’s take a look at my Hand to Hand Cowl:

I just love how this Cowl looks. The best part is how easy it is to make them using just a couple of fat quarters!! Yes, I know, crazy, right!
Let’s talk about this fabric collection:
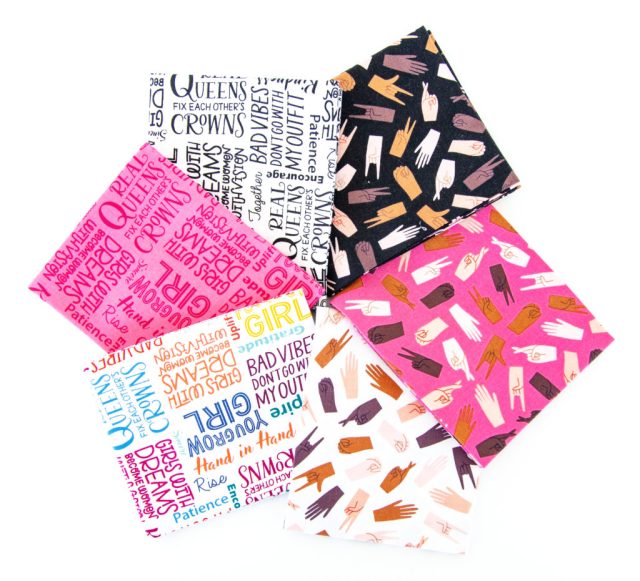
This collection celebrates common sisterhood. It comes with six patterns and two-panel options. I love the bright, bold multi-color palette that comes with this collection. Hand in hand was created by Amber Kemp-Gerstel of Damask Love. I had the pleasure of meeting Amber years ago at a craft convention in LA. Both of us were heavy in the papercraft world, so it’s nice to see her transition into the fabric world.
Materials:
Hand in Hand fabric
Sewing Machine
Thread
Cutting Mat
Pins
Sewing Needle
Rotary Cutter
Finished Size:
29.5″ x 16.75″
Here’s how to create this Cowl:
Cut out 6 fat quarters from the different fabrics. I used only two prints.
Line the prints on your table into two rows of three of the fat quarters.
With right sides together, sew the first two fat quarters on the 18″ side with a 1/2 seam allowance.
Sew the third fat quarter in the same manner to the second fat quarter in that row.
Repeat for the second row.

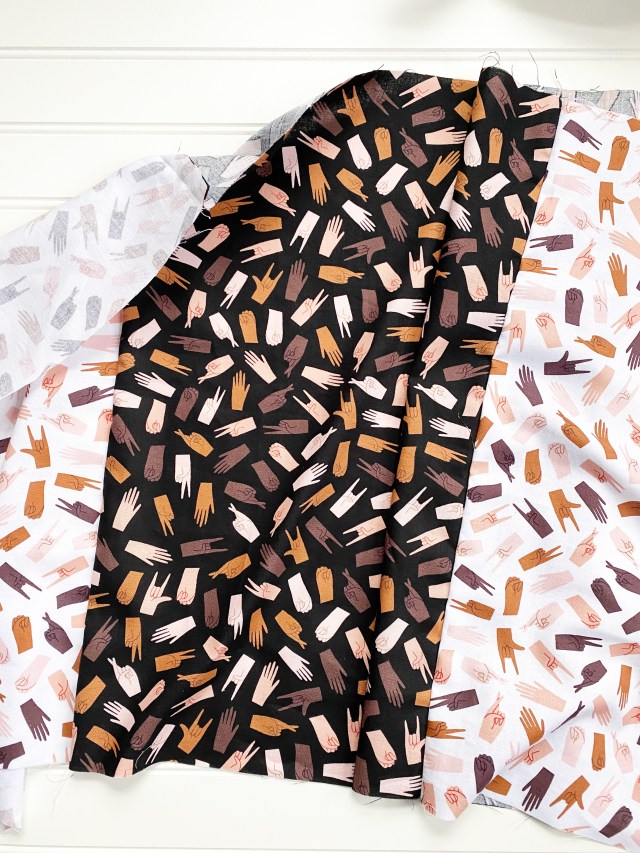
Now, place the two rows right sides together and stitch down the top of the long side with a 1/2 seam allowance. Repeat on the bottom long side.

Turn the entire piece right side out. Iron.
Now turn the piece back inside out, like your peeling a banana so that the raw edges line up right sides together.

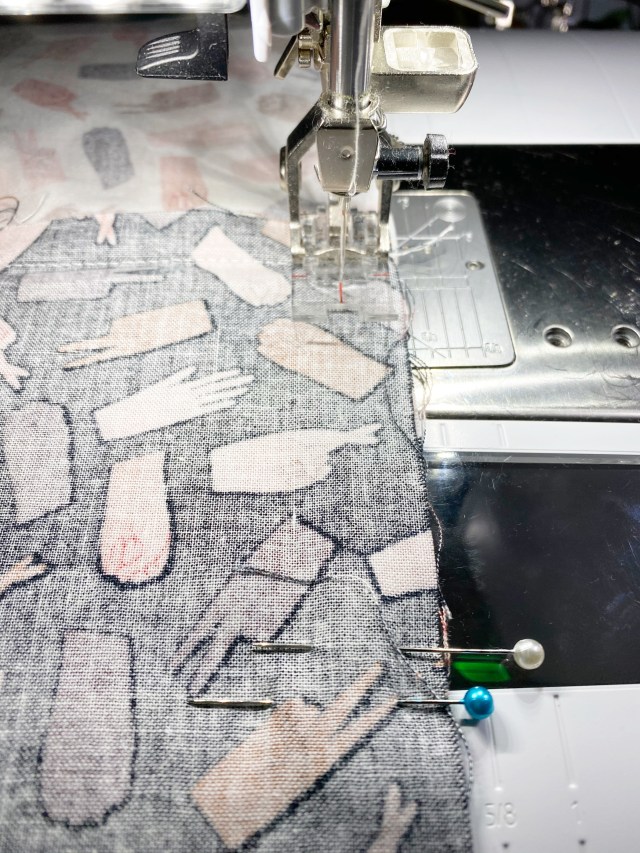
Pin in place, matching the seams. Leave a 3-inch hole for turning.


Sew in a circle with a 1/2″ seam allowance.
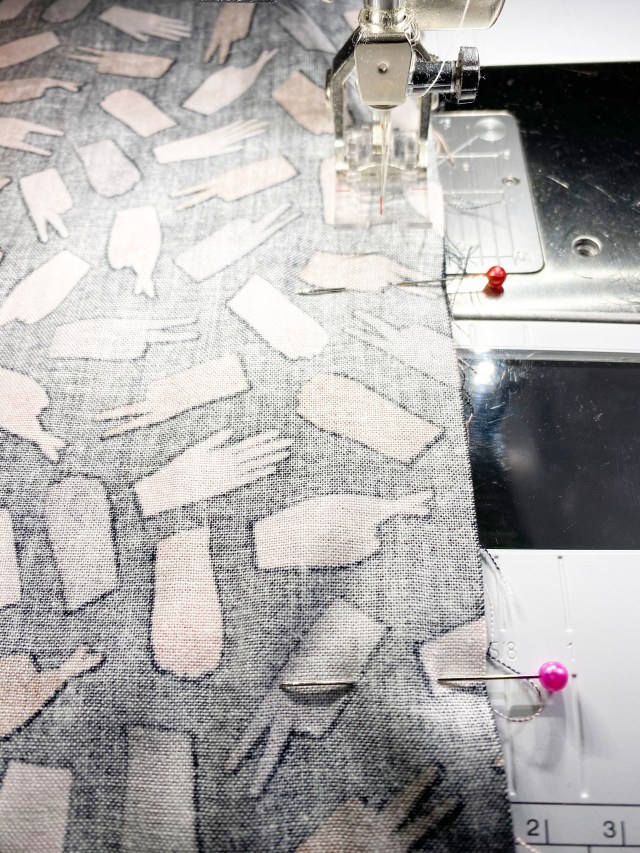
I used two pins to remind me to stop sewing here.
Turn the piece inside out through the 3-inch hole.

Hand stitch the hole closed with coordinating thread.
Now you’re done!! That was so easy, and it took an hour from start to finish.

Now it’s your turn!
Supplies Used:


Thank you so much for stopping by!