Hello everyone! I’m here today joining our friend Chaitali from Cuts, Crops and Creativity and her Coffee themed Blog Hop today.
We are celebrating National Coffee Day!!! Prior to this hop, I had no clue there was an actual day for coffee. How cute!!
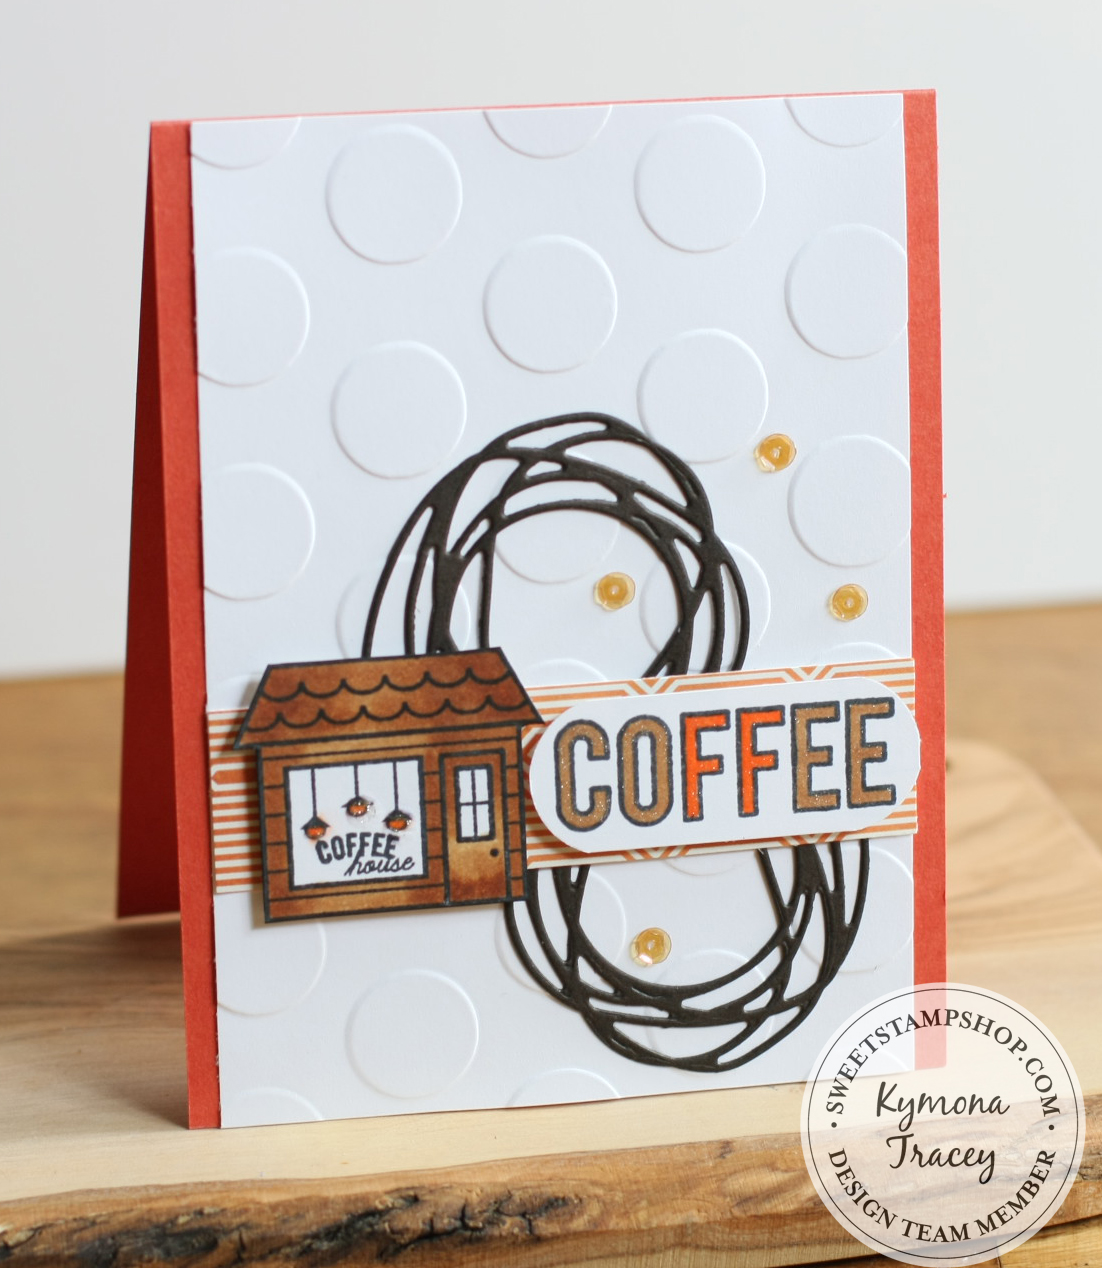
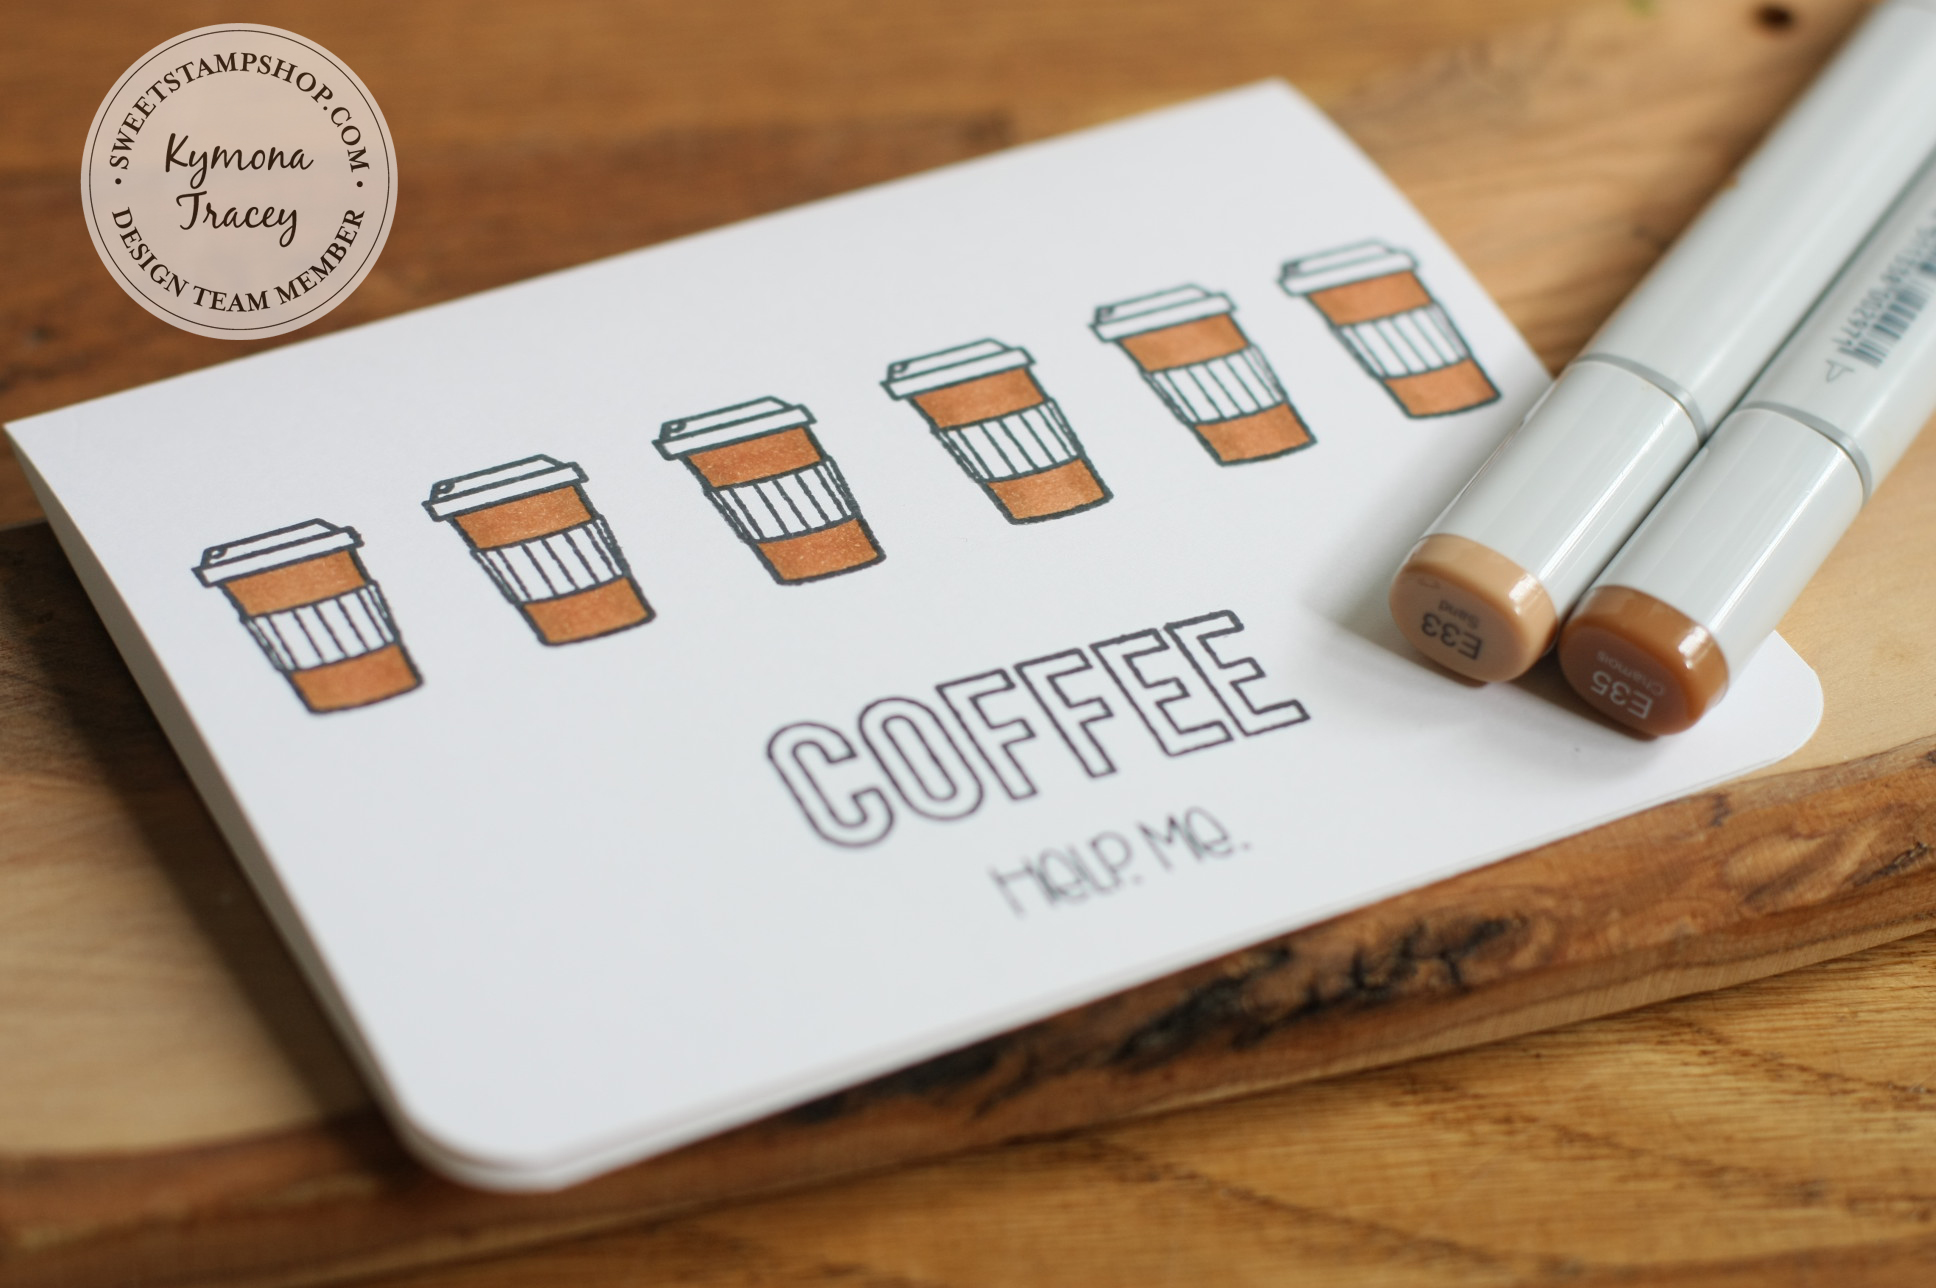
Here is my card for today’s hop:

To create my card I used Sweet Stamp Shop Coffee Town Stamp Set.
Who doesn’t like a nice coffee house to spend some times with friends. Here in NY, we have so many of those places in and around the city.
I have to admit I’m not a coffee drinker. I am a (tea) lover. Please do not yell at me but I just am. So, to really get in the mood, I asked my mom, who loves her coffee a couple of questions about her obsession with her coffee mug in the morning.
1. When did you start drinking coffee?
I started drinking coffee a couple of years ago. I’m not sure why it started but once I tried it I was hooked.
2. What is favorite brand?
My favorite brand, that is hard. I really like McDonald’s coffee. They really know how to make it right. If I have to make it myself I like Starbucks Colombia Medium coffee.
3. What is the most amazing coffee that you had? Remember where and when?
LOL, I was at a dinner party with some friends in Jamaica, WI and we were served Blue Mountain coffee and it was to die for. That was about two years ago, which was the last time I was there.
4. If I don’t drink my needed coffee, I will…?
If I don’t drink my needed coffee, I will have a headache early in the morning.
Thanks mom, for accommodating me today.
So today’s blog hop comes with a bunch of giveaways today. You don’t want to miss out on this fun event. Check out all of the hop sponsors and prize packages.

To be eligible to win a prize, you have to link your post to the list anytime during the day up to 11:59pm PST.
It would be great if you could visit at least 3 other hoppers and comment on their post.
Have fun and make sure you have a mug of coffee beside you when you are hopping!!
To participate please do so here!
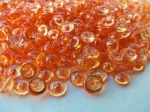
Before I go, I wanted to also share my Mug swap that I’m sending off to my surprise receiver!
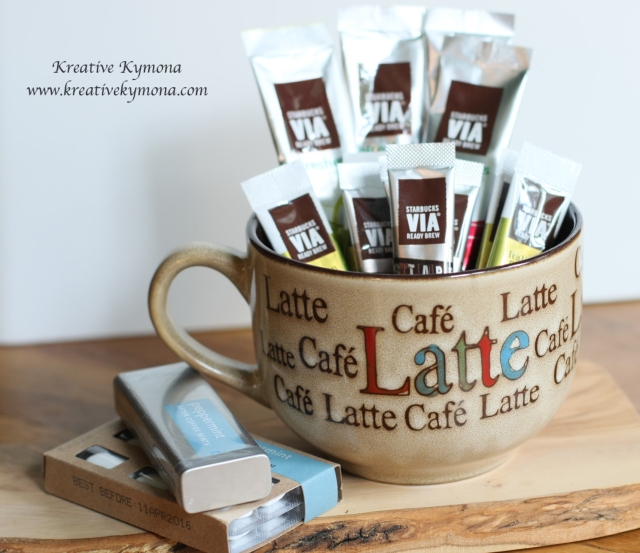
I hope she loves all of the coffee in this package!
Thanks for stopping by!
~Kymona


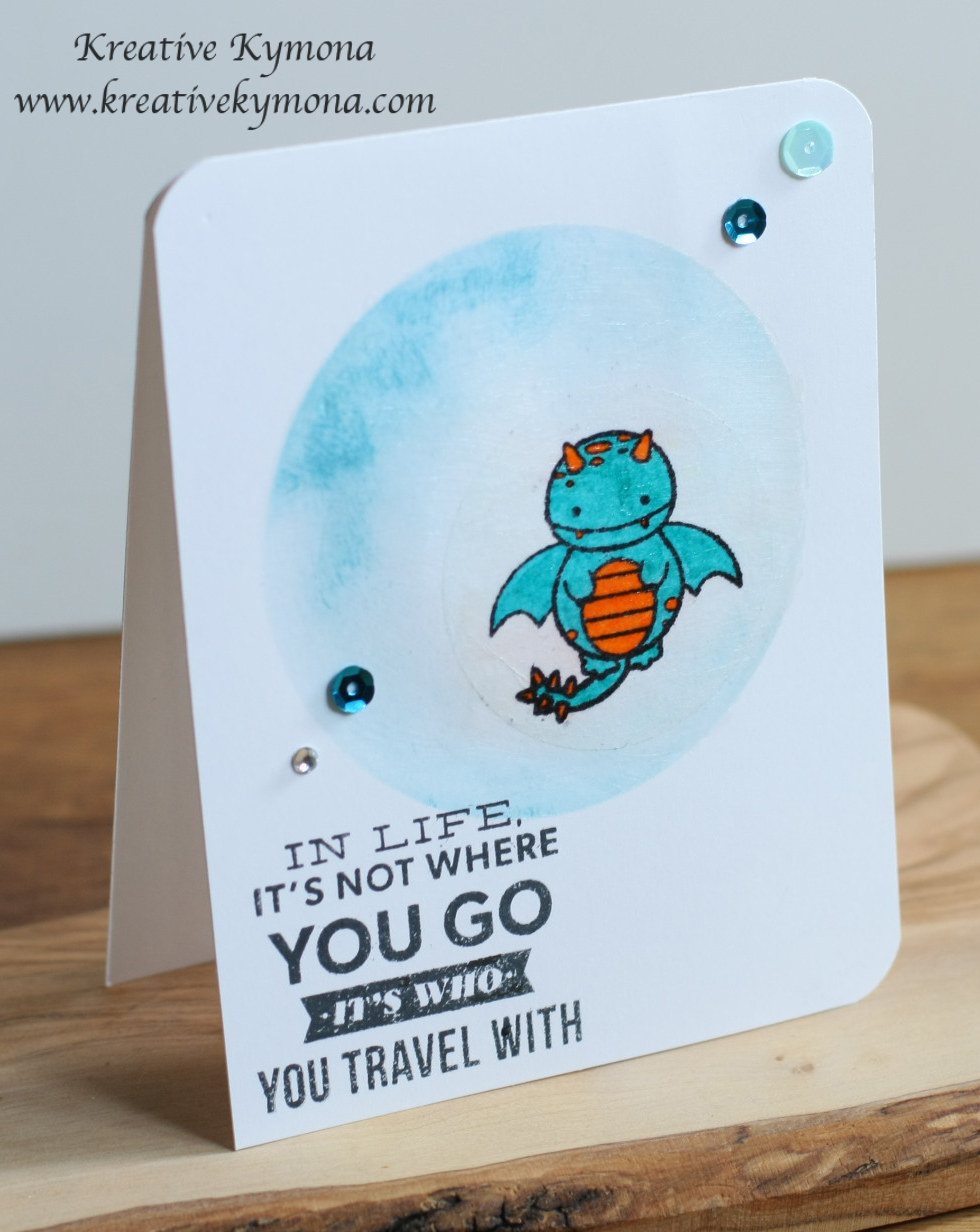
 Now that’s a deal!!! So head on over to the shop and pick up your Monster Mash stamp set or another set you would like. Don’t forget to say FREEBIE in the comment section!