Hello everyone!! I’m here with Your Next Stamp with this amazing series called 12 Days of Gift Giving!!

I’m super excited about this series because it forced me to look at YNS dies differently. I’ve always had a love for packaging but rarely get to do it.
So today I have a super easy tutorial for you: Pop Up Gift Card Holder!! I learned how to create this sometime last year and Never got a chance to try it. So why not now!!
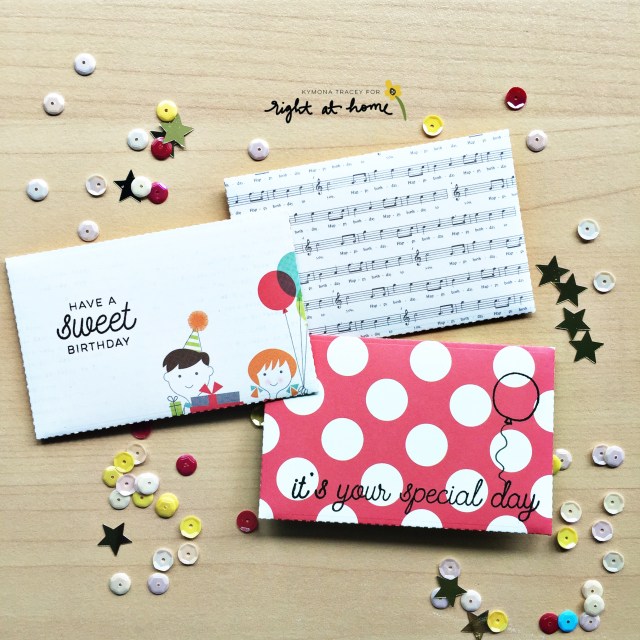
Take a look at what we are going to make:
Outside:

Inside:

Are you ready to see how this is done! Check this out:
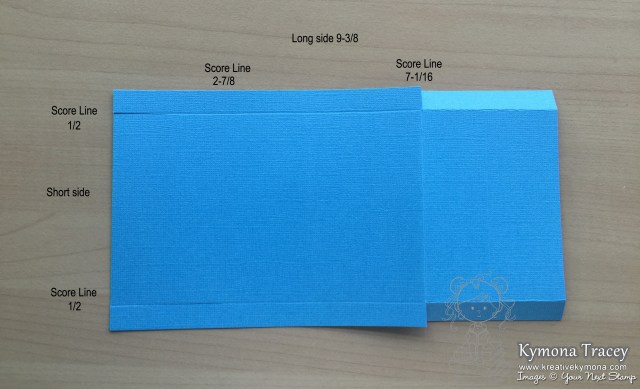
First: You have to cut your gift card holder base to 9-3/8 by 5. Then you need to score it. On the long side: 9-3/8 side, score at 2-7/8 and 7-1/16. On the short side: 5 score 1/2 on the left side and the right side.
Second: You have to cut down the 1/2 inch score line to the 7-1/16 score line. Leaving the bottom for the card holder.

Third: Then I rounded the edges of the short panel without the flaps.

Fourth: Then you add strong tape to the two bottom flaps to create a pocket.

Fifth: Then you pull the tape backing off and carefully line up the side and press closed.

Sixth: Then you have to cut a smaller card base (4-7/8 by 3-5/8) that you gift card will be attached to.

Seventh: Then you have to score this to 1/2 on one side and 3-1/2 on the other side. Then you have to round the edge on the 3-1/2 score line to match the base.

Now take a look at both pieces before we go any further.

Eighth: Now its time to add the ribbon. I cut a 20in piece of ribbon and then cut that in half and taped it down on the top flap on opposite ends.

Ninth: Then I added tape to the inside panel.

Tenth: Once you take off the backing of the tape, you have to insert the small panel inside the base. You fold the small flap and side the panel into the base.

Eleventh: Once you insert the small panel, make sure you line the small insert up with the base at the top and press down on the tape area, so that it stays.

Take a look at the closed holder.

Twelfth: Then I cut the front panel to 3-3/4 by 2-1/2 out of pattern paper. I also cut a white piece of cardstock to the same size for the backing. Then I used YNS Slider/Spinner Die to cut a opening in the patten paper.

Thirteen: Then I lined my pattern paper up with the white cardstock and placed my sentiment in place to stamp. I used the Misti to help position it.

Fourteen: Once the sentiment was stamped I placed the patten paper on top to make sure the sentiment is lined up.

Fifteen: Then I builded the slider with dimes and foam tape.


Sixteen: Once your slider is built you can decorate it later. To add it to your white backing you need to add a lot of foam tape so it doesn’t fall in.

Seventeen: Then you add the panel to the front of your gift card holder.

Eighteen: Then you add your gift card to the inside panel. I added a small strip of adhesive to the top of the gift card so that it stays in place.

Then you added what you would like to the slider for decoration. I added an embellishment.
To keep it closed I added a piece of velcro to the flap. Nice finish!!
Take another look:
When you push it closed the panel slides down into the holder.
Sorry for the long tutorial! I wanted to make sure you were able to create one for yourself!
Super cute!! What do you think? Would you like a gift card holder like this one?
Thank you so much for stopping by!
~Kymona