{Clean and Simple} – Foil

Hello everyone!!!  It’s CASology Tuesday!!  We are back with another Clean and Simple Cue Card just for you!!

Take a look at my card:

Yay Dies

For this card, I used Concord & 9th Yay Dies set to create this card. It was so easy like 1-2-3!

Here’s how I created this card:

Die cut Concord & 9th Yay Die using Altenew Mini Blossom Die Cutting Machine to cut a piece of Thermoweb PeelnStick Toner Sheet and a piece of fun foam.

Deco Foil PeelnStick Toner Sheets

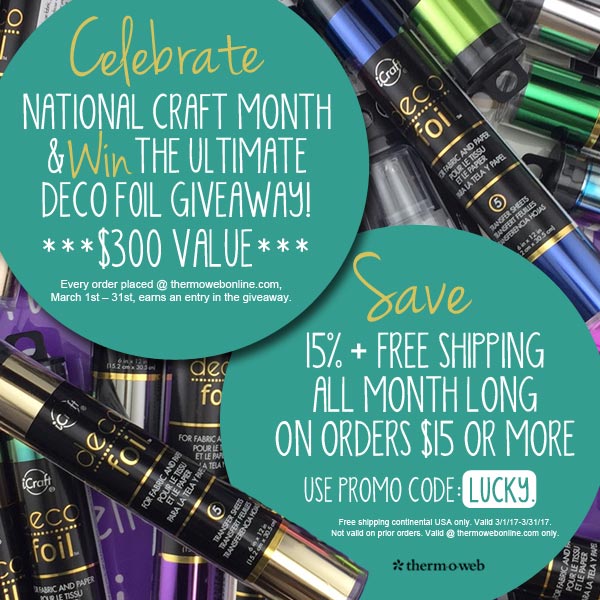
Then place a piece of Thermoweb Deco Foil Jada on top of the PeelnStick Toner Sheet and use the Cricut Easy Press (setting: temp 295 , time 15 sec) to attach the foil to the toner sheet.

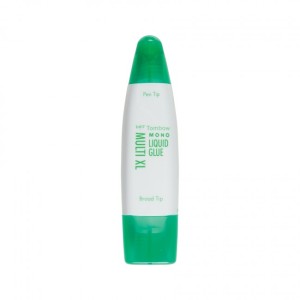
Peel the paperbacking off of the foiled toner sheet and place it on top of the die cut fun foam. Use Liquid Mono Adhesive to adhere the die cut to the card front.

deco foil jade

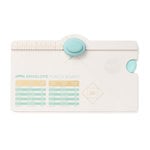
Round the corners using We R Memory Keepers Mini Envelope Punch.

Super clean and simple.

What do you think?

Are you inspired to play along?  Please let me know below!

For more inspiration, check out my fellow Design Team members blog for more awesome work.


Anna Uhras

Bharati Nayuda

Deidre Payne

Jacquie Southas

Janet Ribet

Jen Wills

Joyce Mehrberg

Karen Haman

Kevin Bray

Kymona Tracey

Melissa Chipperfield

Rachel Bergfeld

Guest Designer

Svetlana

Supplies used:

(Thank you so much for stopping by. Compensated affiliate links used at no cost to you.  All products were personally purchased.  This post was not paid or sponsored. ) 

Yay dies (15)Mini Blossom Die Cut Machine thermoweb toner sheets peel-n-stickDeoc Foil JadeCricut EasyPressWe R Memory Keepers - Envelope Punch Board - MiniTombow Mono Liquid Gluefun foam

Thank you so much for stopping by!!

Using Deco Foil and Die Cuts

Hello everyone!!  I’m here today with a super easy card using Deco Foil and Die Cuts!

While I was at Creativiation in January, my friends from Thermoweb gave me a couple of the new Watercolor Deco Foil!! I have to say they are so pretty!! I haven’t had a chance to play with them until now.

Take a look at a picture I posted on Instagram when I came back:

Aren’t these colors pretty?  Here are the names:

  1. Deco Foil Transfer Sheets Amber Watercolor
  2. Deco Foil Transfer Sheets Summer Rainbow Watercolor
  3. Deco Foil Transfer Sheets Amethyst Watercolor
  4. Deco Foil Transfer Sheets Lapis Watercolor
  5. Deco Foil Transfer Sheets Emerald Watercolor

Since its St. Patrick’s Day, I figured today is the best time to use the Emerald Watercolor Deco Foil!

Take a look at my card:

I love the watercolor effect this foil gives off.

Here is how I created this card:

  1. I measured the Simon Says Stamp Lucky To Know You die so that I could measure the Deco Foil Peel n Stick Toner Sheets and theEmerald Watercolor Deco Foil.
  2. I placed the Emerald Watercolor Deco Foil on top of the Deco Foil Peel n Stick Toner Sheet and ran it through my laminator.
  3. Once the sheet comes out of the laminator, die cut the foil sheet.
  4. Since the toner sheet is a peal and stick, all you have to do is adhere it to the black cardstock.

Take a closer look:

Nice and easy. Using Deco Foil and Die Cuts are a fun way to make a quick card in no time.

What do you think?  I would love to hear from you below!

What’s even better is a SALE!!!

Thermoweb is celebrating National Craft Month and they are doing a Ultimate Deco Foil Giveaway!!

Plus you get 15% off and free shipping all month long on orders $15.00 or more.

Now that is awesome!!  Its time to shock up on all of your favorite Deco Foil products!

I’m going to pick up the Deco Foil Transfer Gel!  I was this gel in action at Creativation.  Its a must have.

Supplies used:

Simon Says Stamp LUCKY TO KNOW YOU Wafer Die SSSD111667 Hey Love

(Affiliate links used at no additional cost to you.  Thanks!)

Thank you so much for stopping by!!

Working with Prima Rub-Ons and Deco Foil

Third Post for today
If your looking for the A Clean and Simple Mother’s Day Embroidery Apron, click here
If your looking for the 5 Minute Teacher Appreciation Gift – YNS, click here

Hello everyone!!  I’m here today with a special feature that will show you how to work with Prima Rub-ons and Deco Foil.

I usually run this feature on Instagram and decided that I need to share these feature here as well.  FullSizeRender (68)

Did You Know Series!

I’m back again this week with the same product that I talked about last month.

It’s the @primamarketinginc Christina Adolph Adhesive Rub-Ons! I can’t get enough of these rub-ons!! You can do so much with them.

1. I showed you how to use foil with them last month and this past Saturday.
2. Yesterday, I show you how to use them with embossing powder.
3. Today, I’m going to show you what they look like on top of a watercolor panel using all of the goodies you see above!

The shine is amazing!!  No stamping required!! These cards were done in 6 mins tops. The watercolor was heat set.

Here are some closeups:

image1 (10)

image2 (3)
Note: you have to rub just a little bit harder since the watercolor paper has some tooth!

I created a video to show you how I used the rub-ons with foil to create the purple card above.

Any questions?  Let me know below!!

Supplies used:

Confections The Classics InksPrima Watercolor paper 6x6.jpg DandelionDeco foil

Thank you for stopping by!

~Kymona

Adding Foil To A Watercolor Panel

Hello everyone!!  I’m here today because I’ve received a couple of questions regarding the cards I made early today with my foiled handwriting.

So I recreated a watercolor panel and used a stencil to show how I use the pen.

Check out this process:

Foiling 8

I’m using Prima Watercolor Confections Tropicals, Archers Watercolor Paper, some water, paintbrushes and clean water.

Foiling 1

I added some clean water to the watercolor panel then I added the colors to the water. I watched the colors move on the paper.

Foiling 2

Then I heat set the paint.  I would let it dry by itself but for the sake of this tutorial I sped the drying process.

Foiling 3

After that I added more color since the colors muted some during the drying process. I heat set it again.

Foiling 4

Once the panel was dry, I took a Simon Stamp Stencil Raindrops Stencil to show how you add the foil using the Thermoweb Deco Foil Adhesive Pen.  I applied the adhesive to each of the tear drops.

Foiling 5

Once I added all of the adheasive, I cut a piece of Thermoweb Deco Foil Champagne to the watercolor panel.  Then I placed it on my new Sizzix Big Shot Plus and rolled it through.

The pressure of the rollers seals the foil onto the adheasive.

Foiling 6

Look at that pretty foil tear drops on that watercolor panel.  It’s so pretty in person. Now I have to figure what I’m going to do with this panel!!  Future card front.

I hope this tutorial has helped you understand how to use the new Deco Foil Pen.

One more thing, the pen does pick up some of the watercolor when you rub it on the card panel.

Foiling 7

I just rubbed it off on a piece of scrap paper and its fine.

What do you think?

Supplies used:

Prima Watercolor Confection Archers WC Deco Foil ChampangeDeco Foil PenBig Shot Plus Simon Says Stamp Raindrop

Thank you so much for stopping by!

~Kymona