Hello everyone, and welcome to a2z Scrapbooking Birthday Blog Hop Bash!!! You should be arriving from the fabulous Kristina’s blog . If this is your first stop you’ll want to begin at a2z Scrapbooking blog so you don’t miss out on any of the fun and beautiful creations we are sharing today.
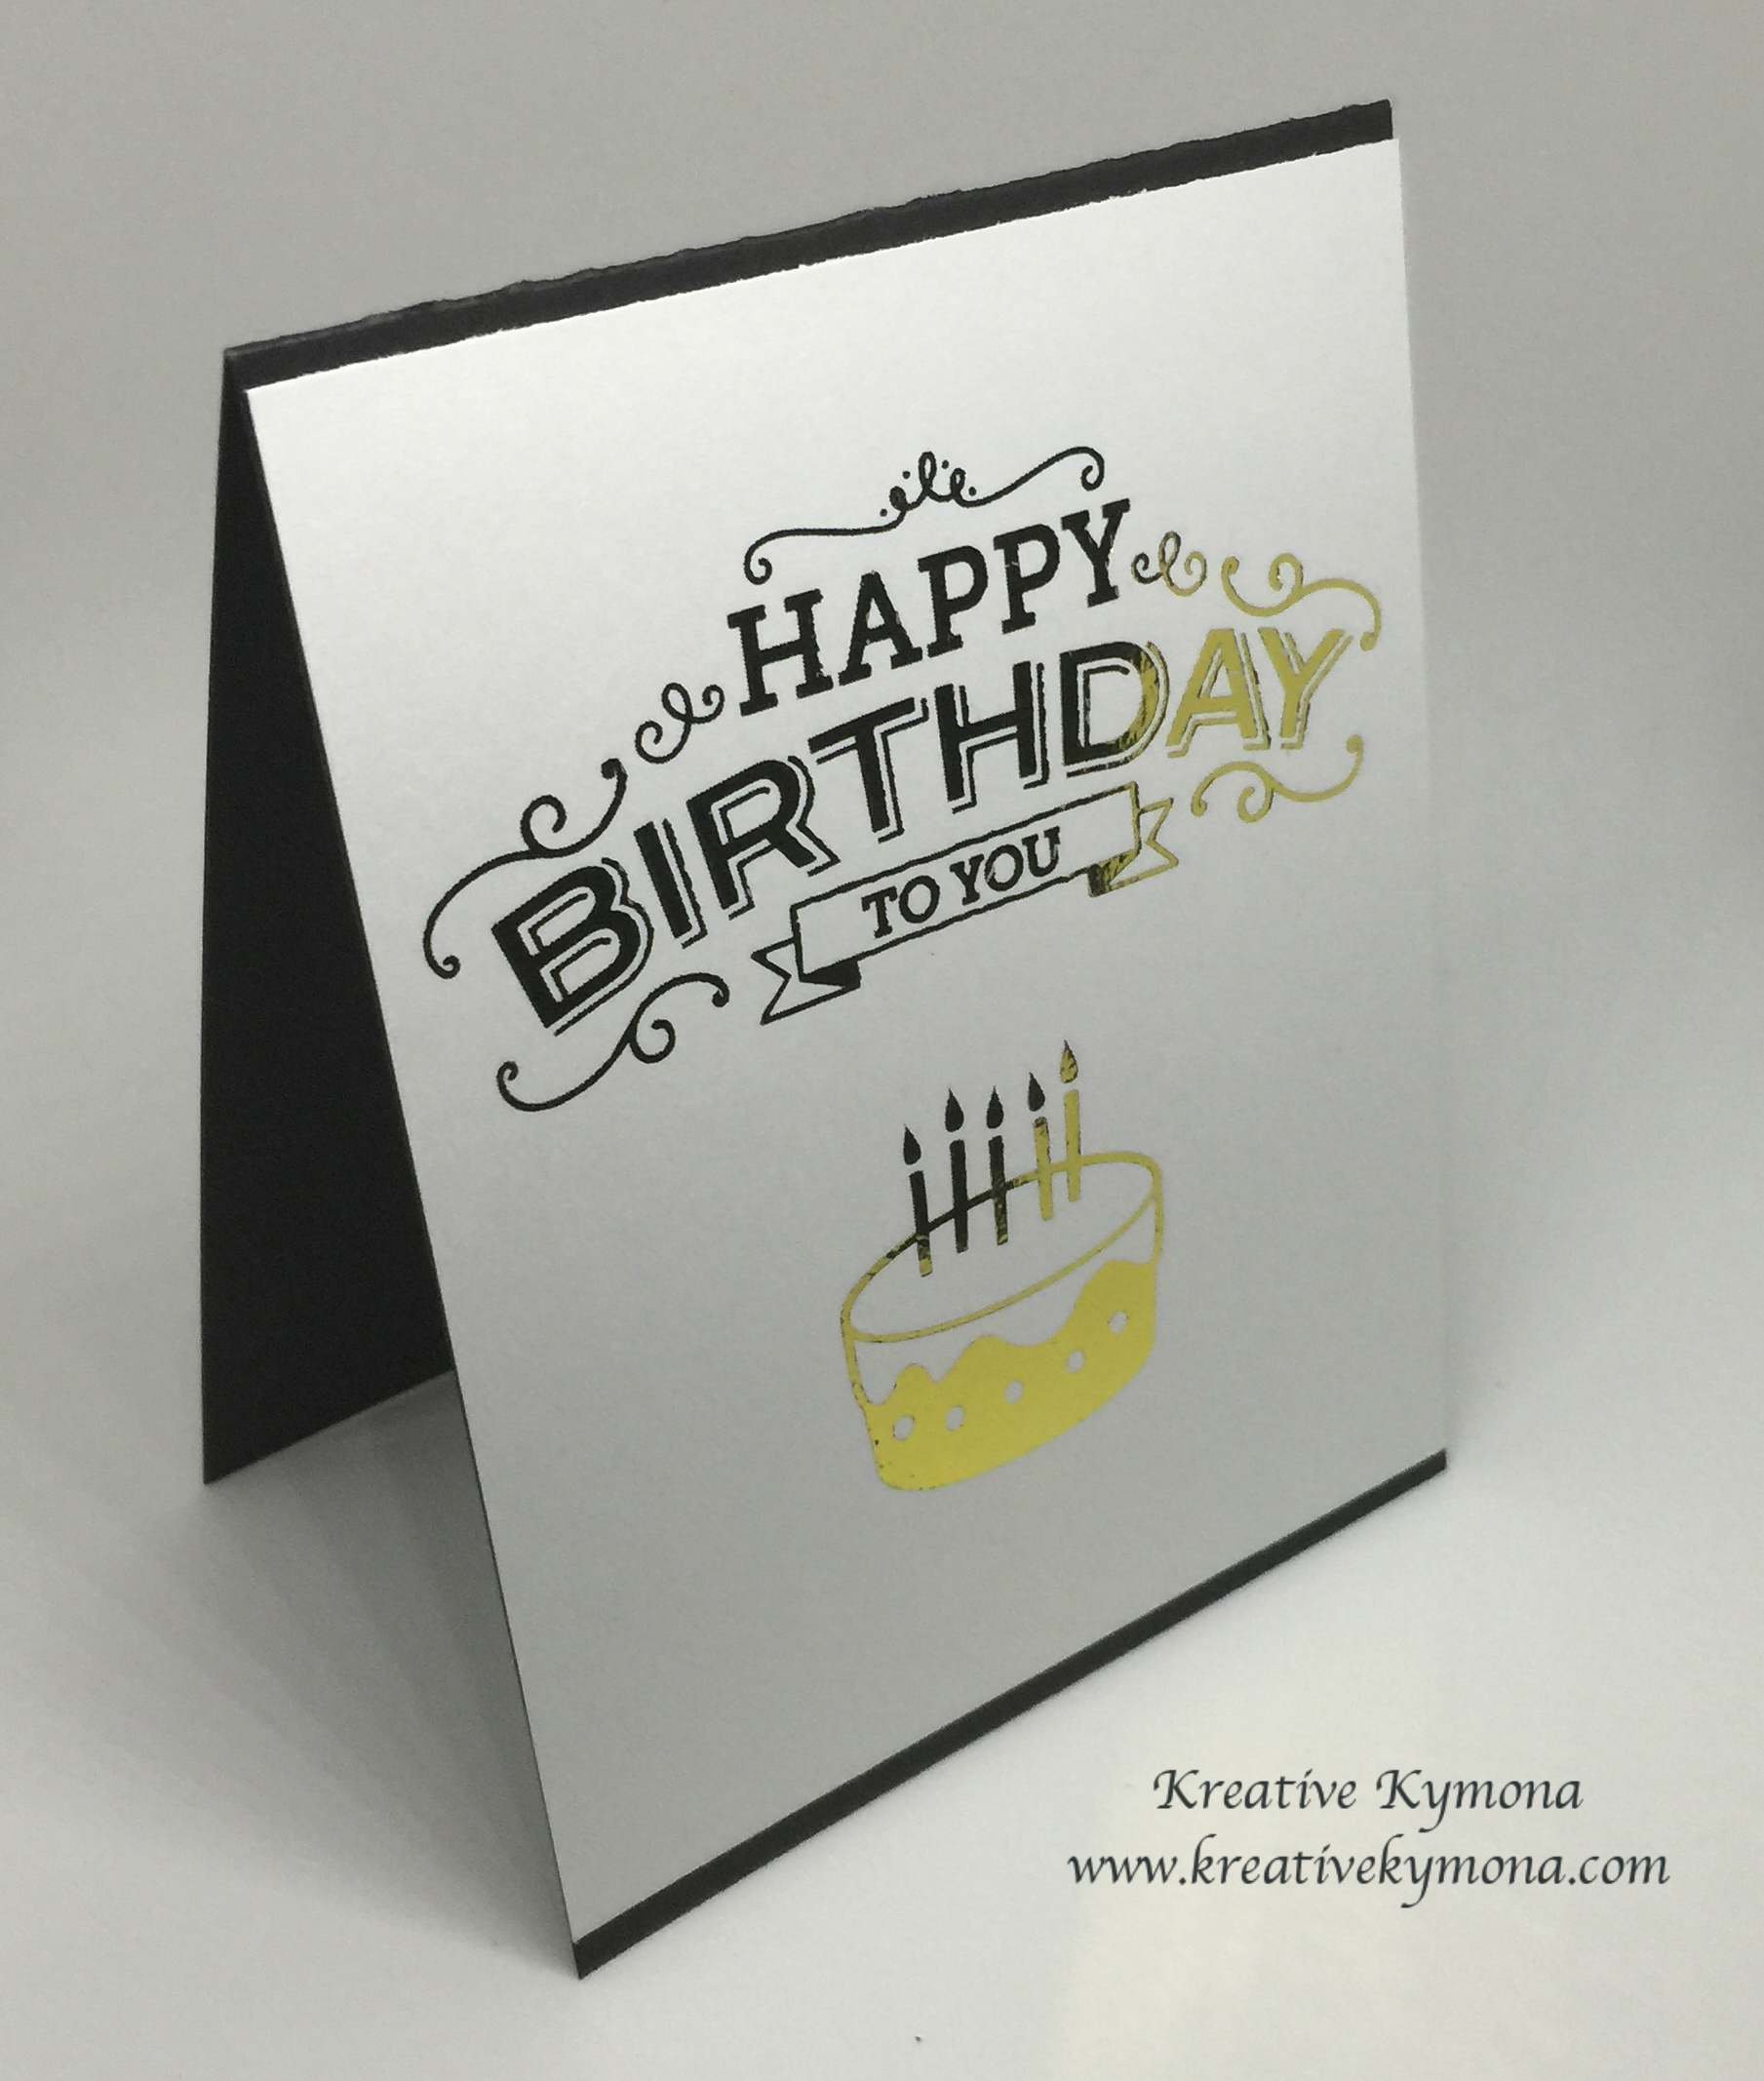
I’m super excited to share my card with you today. I’m bursting out of the seams with excitement. You want to know why? Well, check it out:
(Photographing this technique was a bit of a challenge because when I stood the card up the foil looked black so I had to lie it down.)


Yes, Foiling!!! I did some foiling!! It was super easy after I got the hang of it!! I messed up a couple of pieces of cardstock but what is perfection without errors!!!!
My first mistake was putting the foil on my image upside down. LOL!!! I ran it throught the laminator a bunch of times and couldn’t figure out what to do. Then it dawn on me to turn the up face side up!!
Magic!!! I ran it thought the laminator a couple of times to make sure I was doing it right and BAM!!! It was!!
Now I need every color they own. Especially since I bought a laser printer and laminator just for this technique!! Don’t judge me!!!! I’m addicted to crafts.
So how did I create my card:
1. I printed my Hero Arts Special Birthday Digital image and sentiment from my new Brother Laser Printer. There is a newer model to this printer but I didn’t need up to date since I will just use it to foil.
2. I cut my Deco Foil sheet to fit the size of my sentiment and image. I place each piece on top of the sentiment and images, gold side up and ran it through my Royal Sovereign 9-inch Laminator. I used regular printer paper to run my cardstock through the laminator.
Note: a2z Scrapbooking will carry the Heidi Swapp Foil which has gold and silver on one sheet!
3. I attached my foil cardstock to my black card base and that was it!!
Super duper easy. What do you think? Will you try foiling now?
Now your next stop will be the talented Lisa from the Purple Place but before you go let me tell you about our GIVEAWAY!!!
What is a blog hop without a giveaway??
a2z Scrapbooking is giveaway one $25 gift certificate to the store. All you have to to do is leave a comment on every blog in the hop to be included in the random drawing to win the $25 gift certificate to the store.
So what are you waiting for, don’t walk run to the other blogs and leave my fellow design team members some love.
Just in case you miss anyone’s blog, I’ve attached the entire list for you below.
a2z Scrapbooking
Barb
Betty
Char
Donna
Elena
Greta
Jennifer
Kelly
Kristina
Kymona
Lisa
Sandra
Sarah
Stephanie
Taru
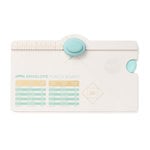
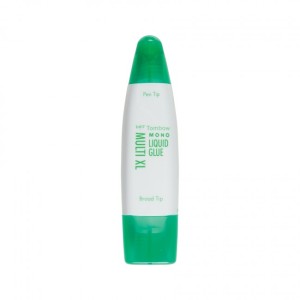
Supplies used:


One more thing before I go, did you know that we are on Twitter, Instagram and Facebook?. If you haven’t done so already, please follow us on these different social media outlets!! You don’t want to miss out on any fun promotions!!
Thank you for stopping by!