Right At Home – Handmade with Love

Hello everyone!!  Kymona here with a special post for all of you. This week the Design Team was challenged to make an actual homemade gift for someone special this spring season.  How awesome is that!!

I’m up on the Right At Home blog today!! My daughter, nieces and I have a treat for you!

Here’s a sneak peek of my unfinished gift:

Bunnies in the box (RAH)

To see the completed gift and the process in which this was create, please stop on by Nicole’s blog Right At Home!  You will not be disappointed!!  My daughter and nieces would love it too.

I hope to see you there!

Thank you for stopping by!

~Kymona

Your Next Stamp DT Dare – Anything But A Card

Hello everyone!!  I’m here today with Your Next Stamp and our DT Dare!!!

What is a DT Dare you ask? It’s a fun monthly challenge for the YNS design team to show case more fabulous projects using the new release products!!

YNS-DARE-Badge

Fun right!!

Wait there is more!!  If you leave a comment on the YNS blog post you could Win a YNS Stamp Set of your choice!!! 

Exciting right!!  It sure is for me!!

The DT Dare Challenge this month is ABC (Anything But A Card)!!  The design team was asked to create a project using one of the new stamp sets from the September release.

Take a look at my project:

Dill 1 (YNS)

YNS Supplies: Dill-ightful Stamp Set, Dill-ightful Die Set

Other Supplies: Retired Stampin’ Up Storytime DSP, Retired Stampin’ Up Kraft box, Copic Markers, Stampin Up Button, My Favorite Things Hybrid Ink 

Here’s how I created this card:

All I did was cut 4 pieces of the  DSP to 3.50 x 2.50 for the sides and the pieces for the top of the box was cut to 3.50 x 3.50 and 3.25 x 3.25.  I adhered the pieces to the box.

Then I color the pickles using my Copic Markers: YG23, YG25, R20.  I die cut them out and adhered them to the box.

After that I stamped my sentiment and adhered it behind the baby pickle.

I cut 3 strips of the same DSP and created a bow for the top of the box. I added a button in the center of the bow.

Dill (YNS)

Nice and Easy!!

So tell me what you think of this challenge? I would love to know, let me know below!

Don’t forget we have Blog Candy for you!!  If you leave a comment on the YNS blog today you have a chance of winning the blog candy.

DTDare2candy-547x232

I’m also entering my project into the NBUS Challenge #5:

NBUS
Supplies used:

Dill-ightful Dill-ightful diesMFT Hybrid Black Ink

Thanks for stopping by!!

~Kymona

Papertrey Ink Day 3 Challenge

Hello everyone!!  I’m here today celebrating with Papertrey Ink’s 8th year celebration.

This is a full circle moment for me, because my very first order with them was February 15, 2014.  That will be a year ago this month on the date their new release will drop!

So you know, its a must that I place an order on the 15th.  That will not be to hard since all of the stuff from this release are amazing so far.

My first order included:

  1. Phrase Play #1 Mini Stamp Set
  2. Building Blocks Stamp Set
  3. Phrase Play #1 Die
  4. Building Blocks Die Collection (set of 2)
  5. Text Block: Birthday Die
  6. Sketched Stars Die Collection (set of 3)
  7. Button Stacks Die (One of my favorites)
  8. Cover Plate: Stripes Horizontal

Wow right!  I was totally impressed with them so I’ve been a customer ever since.

So today’s challenge is to create a new project that includes a handmade tag with a matching gift bag.

So I jumped on this challenge since I need a break from making baby shower invitation for a custom order.

Take a look at what I created:

Hello Friend

I created a gift box for one of my coworkers who has a friend who just found out that she has breast cancer.  This box is sure to brighten up her day.

Take a look:

Hello Friend 2

I used Papertrey Ink Wet Paint Stamp Set and Summer Sunrise Dye Ink to create the sentiment.

Hello Friend 1

Check out that tag!!  I used Papertrey Ink Clip Tips Stamp Set and Memory Clips Die.  Totally not what it was design for but it works and I love it.

Tell me what you think?  I love this little box.  I would love to hear from you.

Supplies Used:


Wet Paint PTI Summer Sunrise Ink Memory Clips DieClips Tips Set Curvy Keepsake Box

The embossing folder is from We R Memory keepers.  I’m not sure what the name of it is.

Thank you so much for stopping by.

~Kymona

Top Dog Dies Dotted Tags

Hello everyone!!  Happy Wednesday!! Friday is in sight now, yes!  I need a day off!!  LOL!!

Wednesday’s are my Top Dog Dies days!!  I’m here today to share another new die they released last week!

Take a look:

TDD Dotted Tags Die SetTop Dog Dies Dotted Tags Die Set

They are super cute and will fit on any box, card and scrapbook page.  The stitched edges are so pretty!

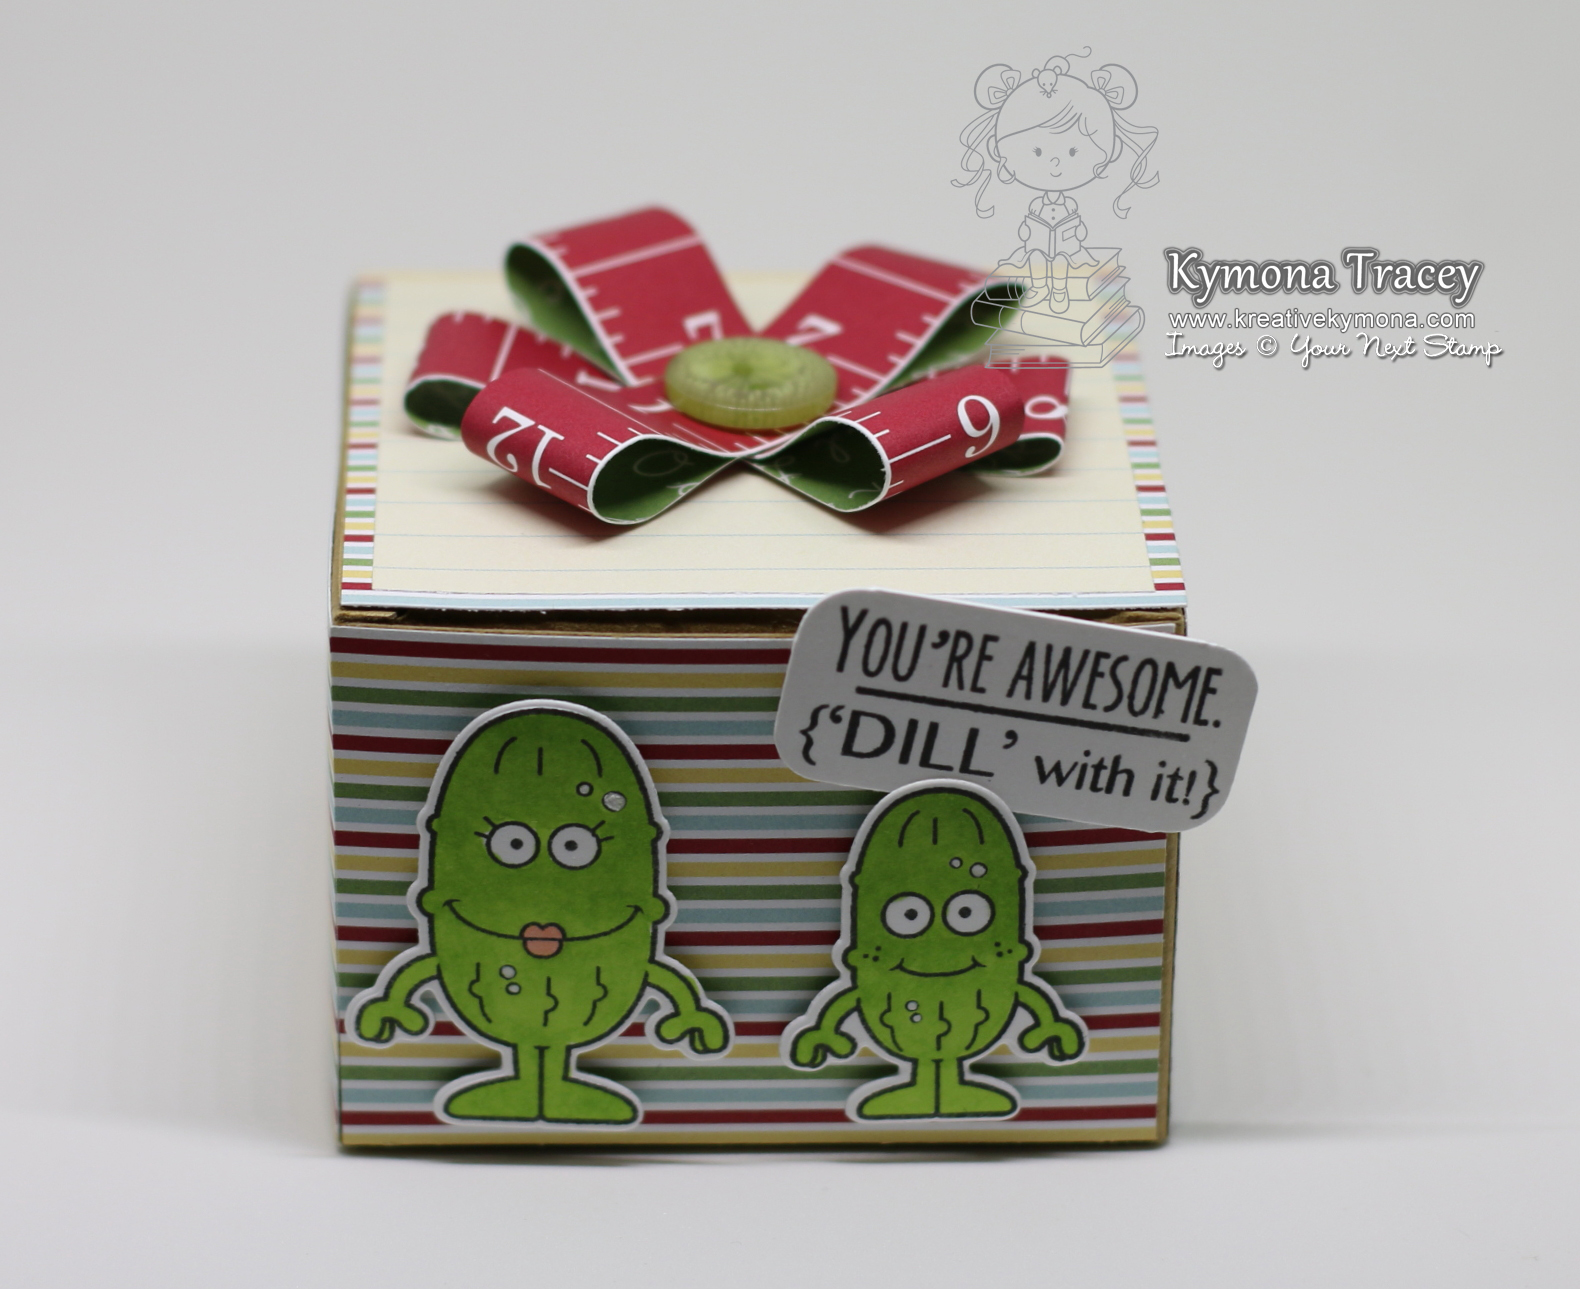
Take a look at my totally awesome gift box:

Be Mine box

You can give this box to anyone, simply change the sentiment from “Be Mine” to something that would suit your recipient.

I used the heart die from Top Dog Dies Heart Mini Album Finishers Die Set, to create all of those small hearts on my box!!

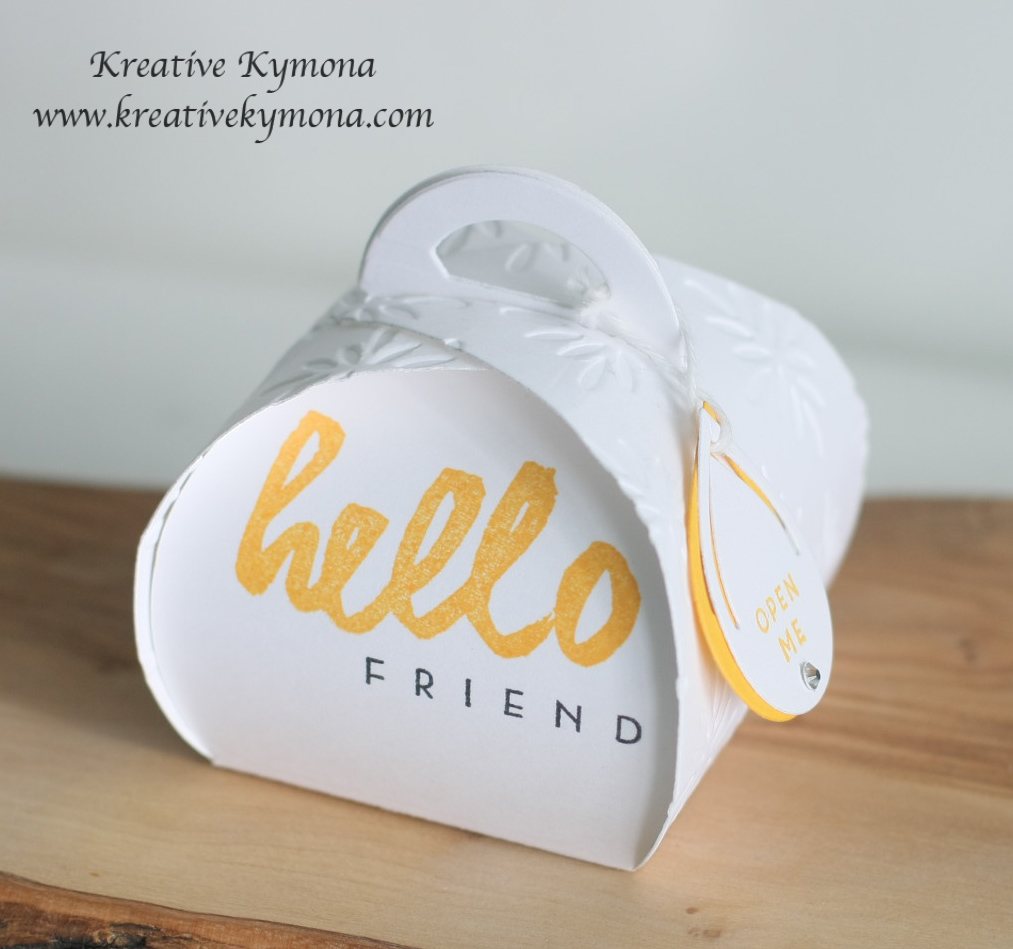
Take a closer look at my box:

Be Mine box closeup tag

I attached the tag under one of the glitter hearts and it fit perfectly.  No string needed!!

Be Mine box side view

I added the glitter hearts on both sides of the box.  This box is big enough to hold a nice size gift!!

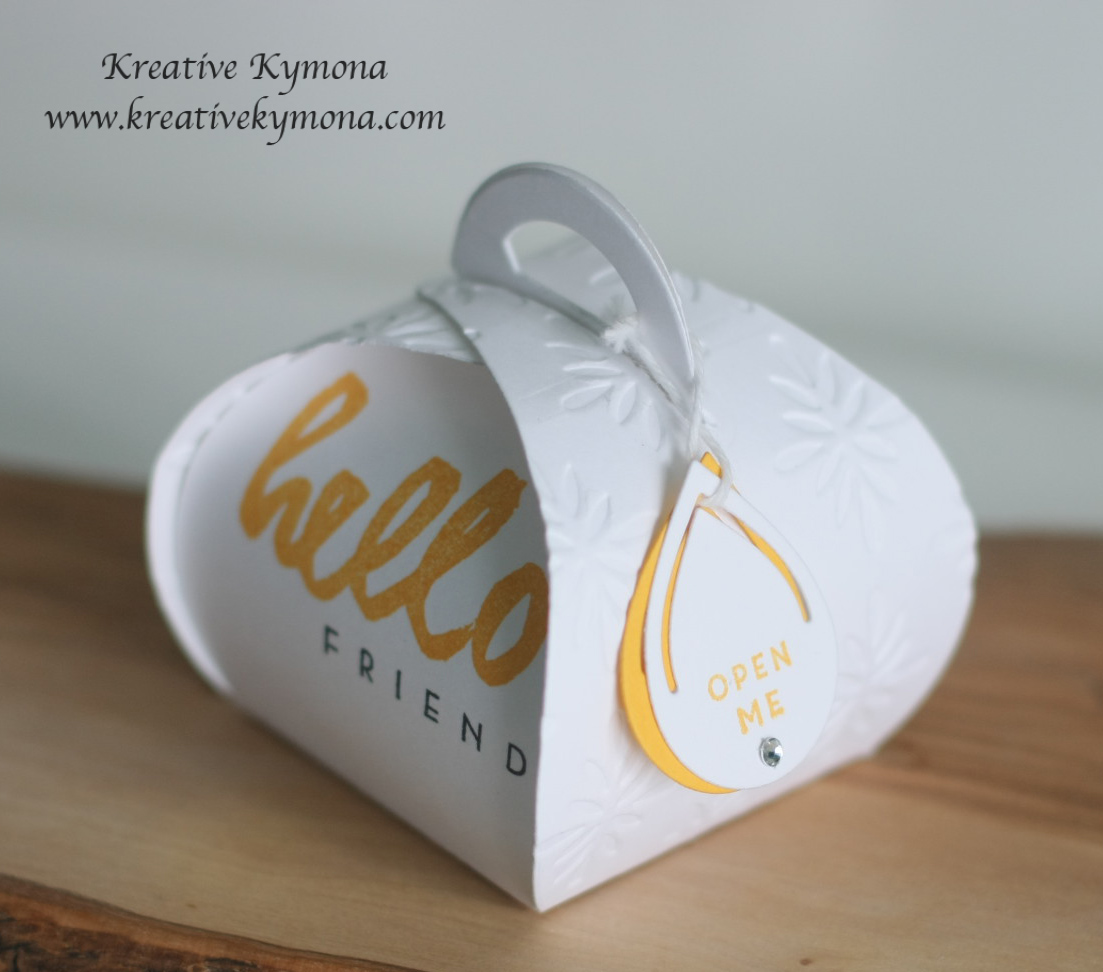
I added a bag fill of chocolate to this box.  I’m giving my box to my daughter.  I have to make another one for my son.

Here is how I created this gift box:

1. I stamped the big and small heart from Waffle Flower Crafts DT Mix Stamp Set on my box using Versamark Ink.

2. I put the box together buy folding on the score lines. I added my chocolate to the box now because when I add the decorations to the box, you can’t open it back.

3. I used my retired Stampin’ Up! Scallop border punch to create the scallop border out of Stampin Up! Cherry Cobbler cardstock.

4. I attached the border punched cardstock to the edge of the white cardstock.  Then I adhered the entire piece to the takeout box using Tombow X-treme adhesive.

5. I attached 5 pieces of Stampin’ Up! Cherry Cobbler Baker’s Twine around my box.

6. I die cut 16 small hearts from Top Dog Dies Heart Mini Album Finishers Die Set and attached them to the bakers twine with glue dots.

7.  I die cut my tag from Top Dog Dies Dotted Tags Die Set and stamped my sentiment from Stampin’ Up! You Plus Me stamp set. I adhered it to my box.

That was super easy to create and the recipient will love it.  Head on over to the Top Dog Dies shop to see what they have to offer. You will not be disappointed.

So what do you think?  Let me know below.

Supplies used:

TDD Heart Mini Album Finisher Die SetTDD Dotted Tags Die SetTake out boxCherry Cobbler Baker's TwineRed Glimmer PaperCherry Cobblerclassiccrestsolarwhtieae540-versamarkBasic RGB Tombow XtremeYou Plus Me


Thanks for stopping by!!

~Kymona