Hello everyone!! I’m here with So Suzy Stamps. Welcome to the full reveal and blog hop of So Suzy Stamps April Release!! If you arrived here from So Suzy Stamps blog, then your on the right track. If you arrived randomly, the blog hop starts at So Suzy Stamps blog. Yuu don’t want to miss out on any of my design team members cards. They did a fabulous job.
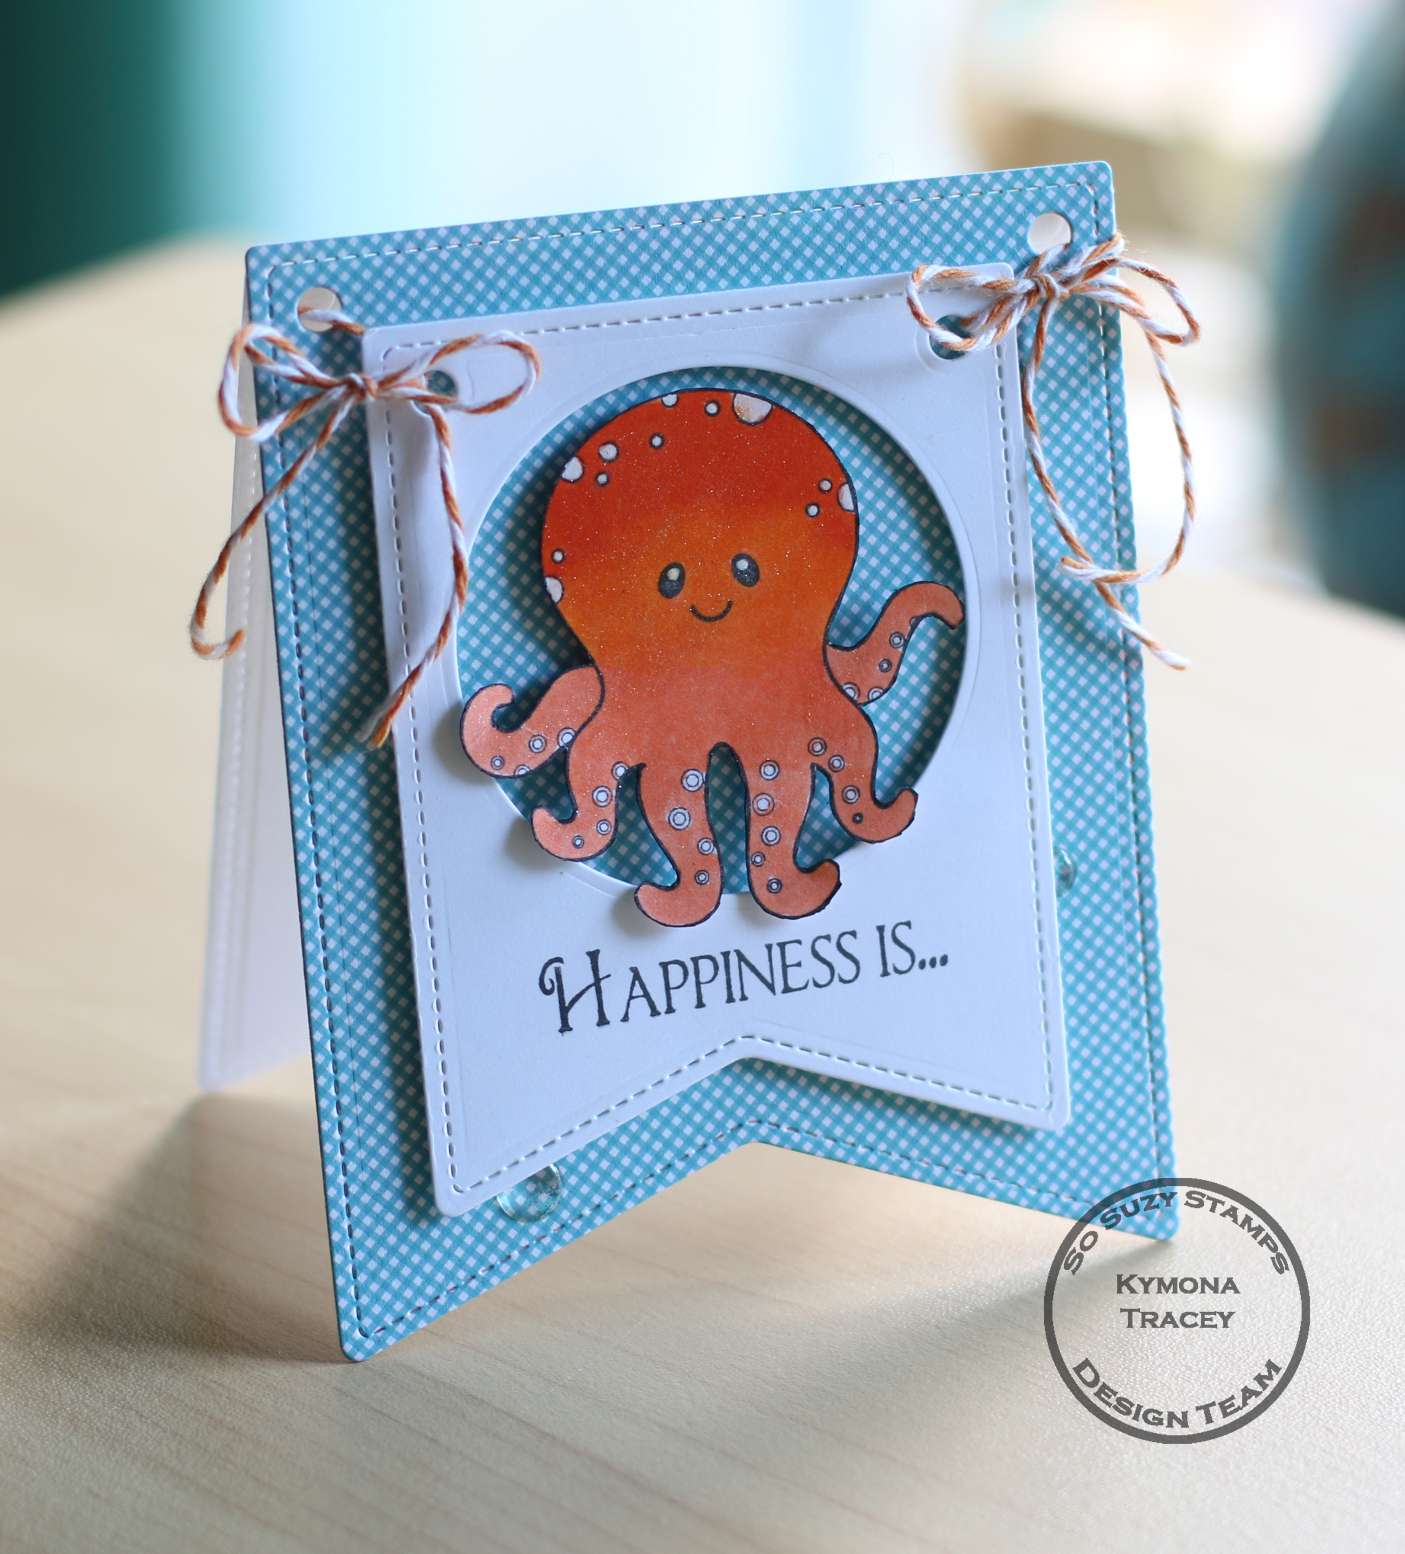
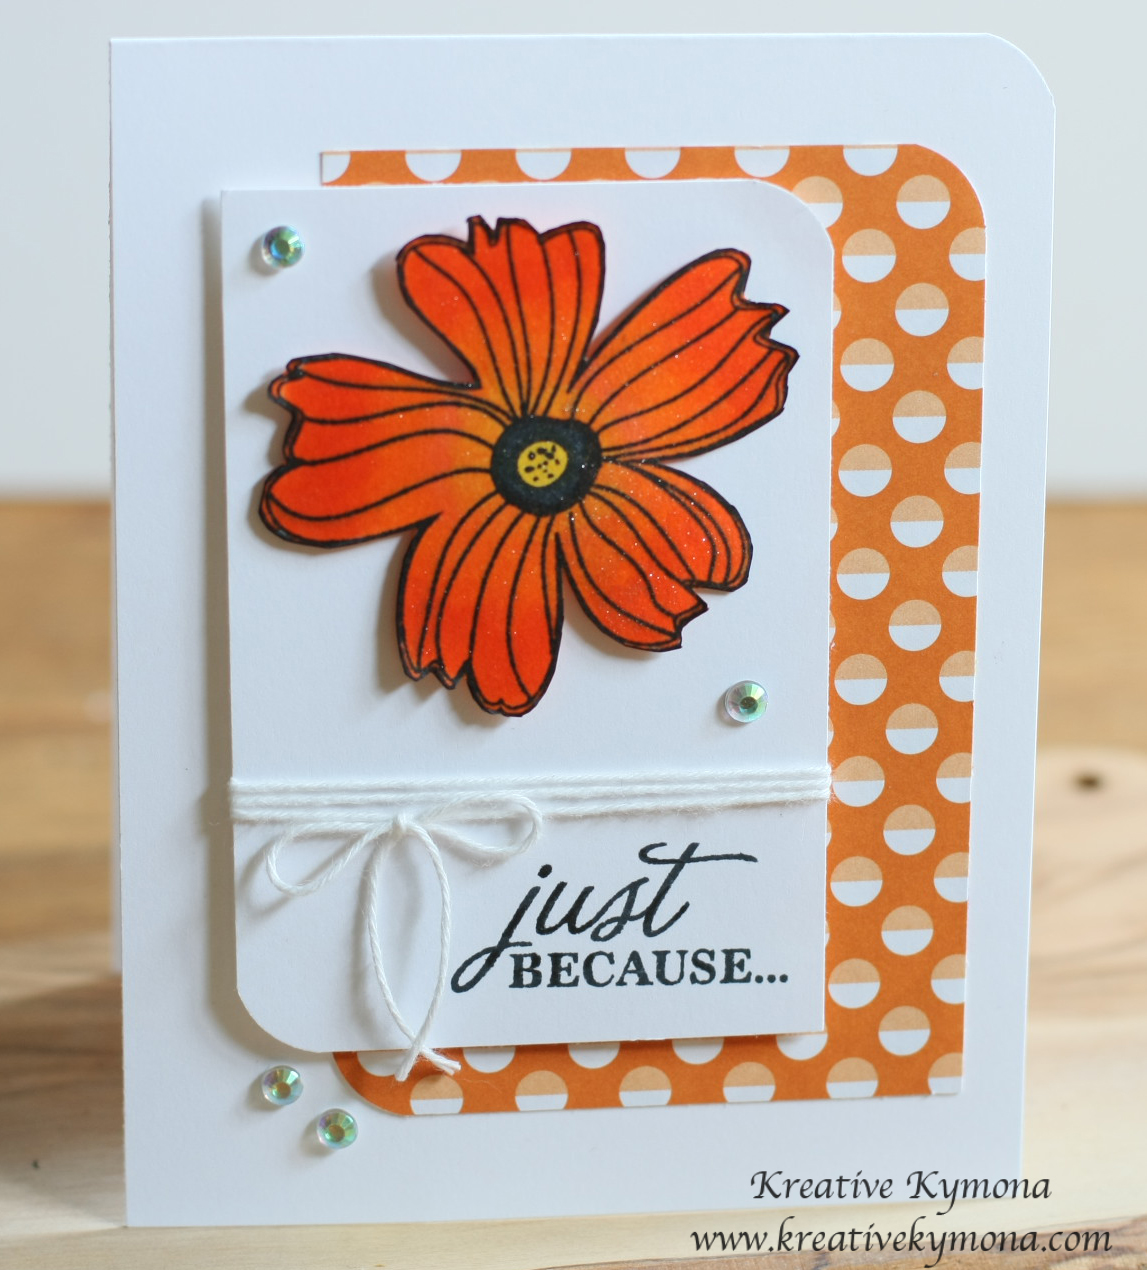
Check out the card I created for this hop:

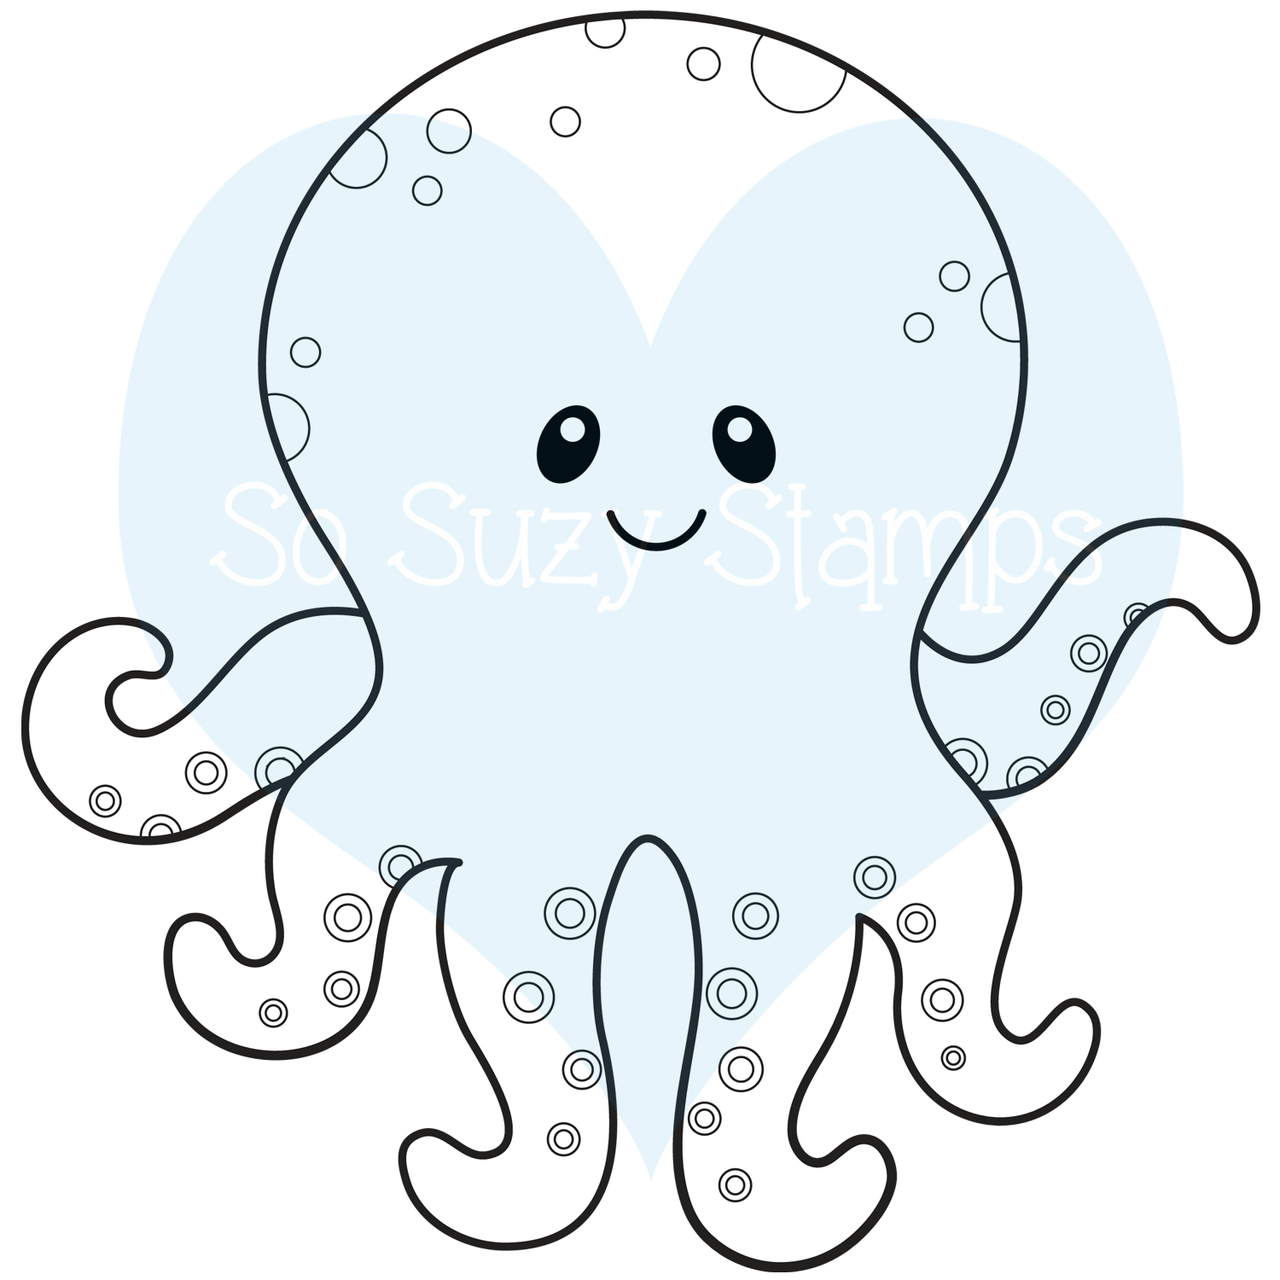
I used the Girl on the Swing Stamp to create my card. This little girl is so cute. I had to take my time and color her.
I have to admit I messed up just a little bit. Instead of using my new MFT Hybrid Black Ink or my Memento Black Ink, I used the VersaFine Black Onyx and stamped my image.
Big no, no! The black ink bleeds. When I realized what happen, I was already to far gone with my coloring. I just took my sweet time and tried not to touch the stamped edge.
That was hard to do. The image is so intricate that I had to get really close. Never again will I make that mistake!!
In any case, she turned out well. This card is a very CAS card. Your attention is drawn to the girl on the swing.
Here is how I created this card:
1. I cut my cardstock to 4.25 x 5.50 scored at 4.25.
2. I used Simon Says Stamp Stitched Circle Die to cut out my circle off of the side of my card front.
3. I stamped my So Suzy Stamps Girl on the Swing image inside the circle cut out.
4. I used Copic Markers to color my image:
Dress, shoes and antennas: V01, V04, V06
Winks: BG11, BG13, BG15
Swing Bench: E13, E15
Swing String: C3
Skin: Eoo, E11
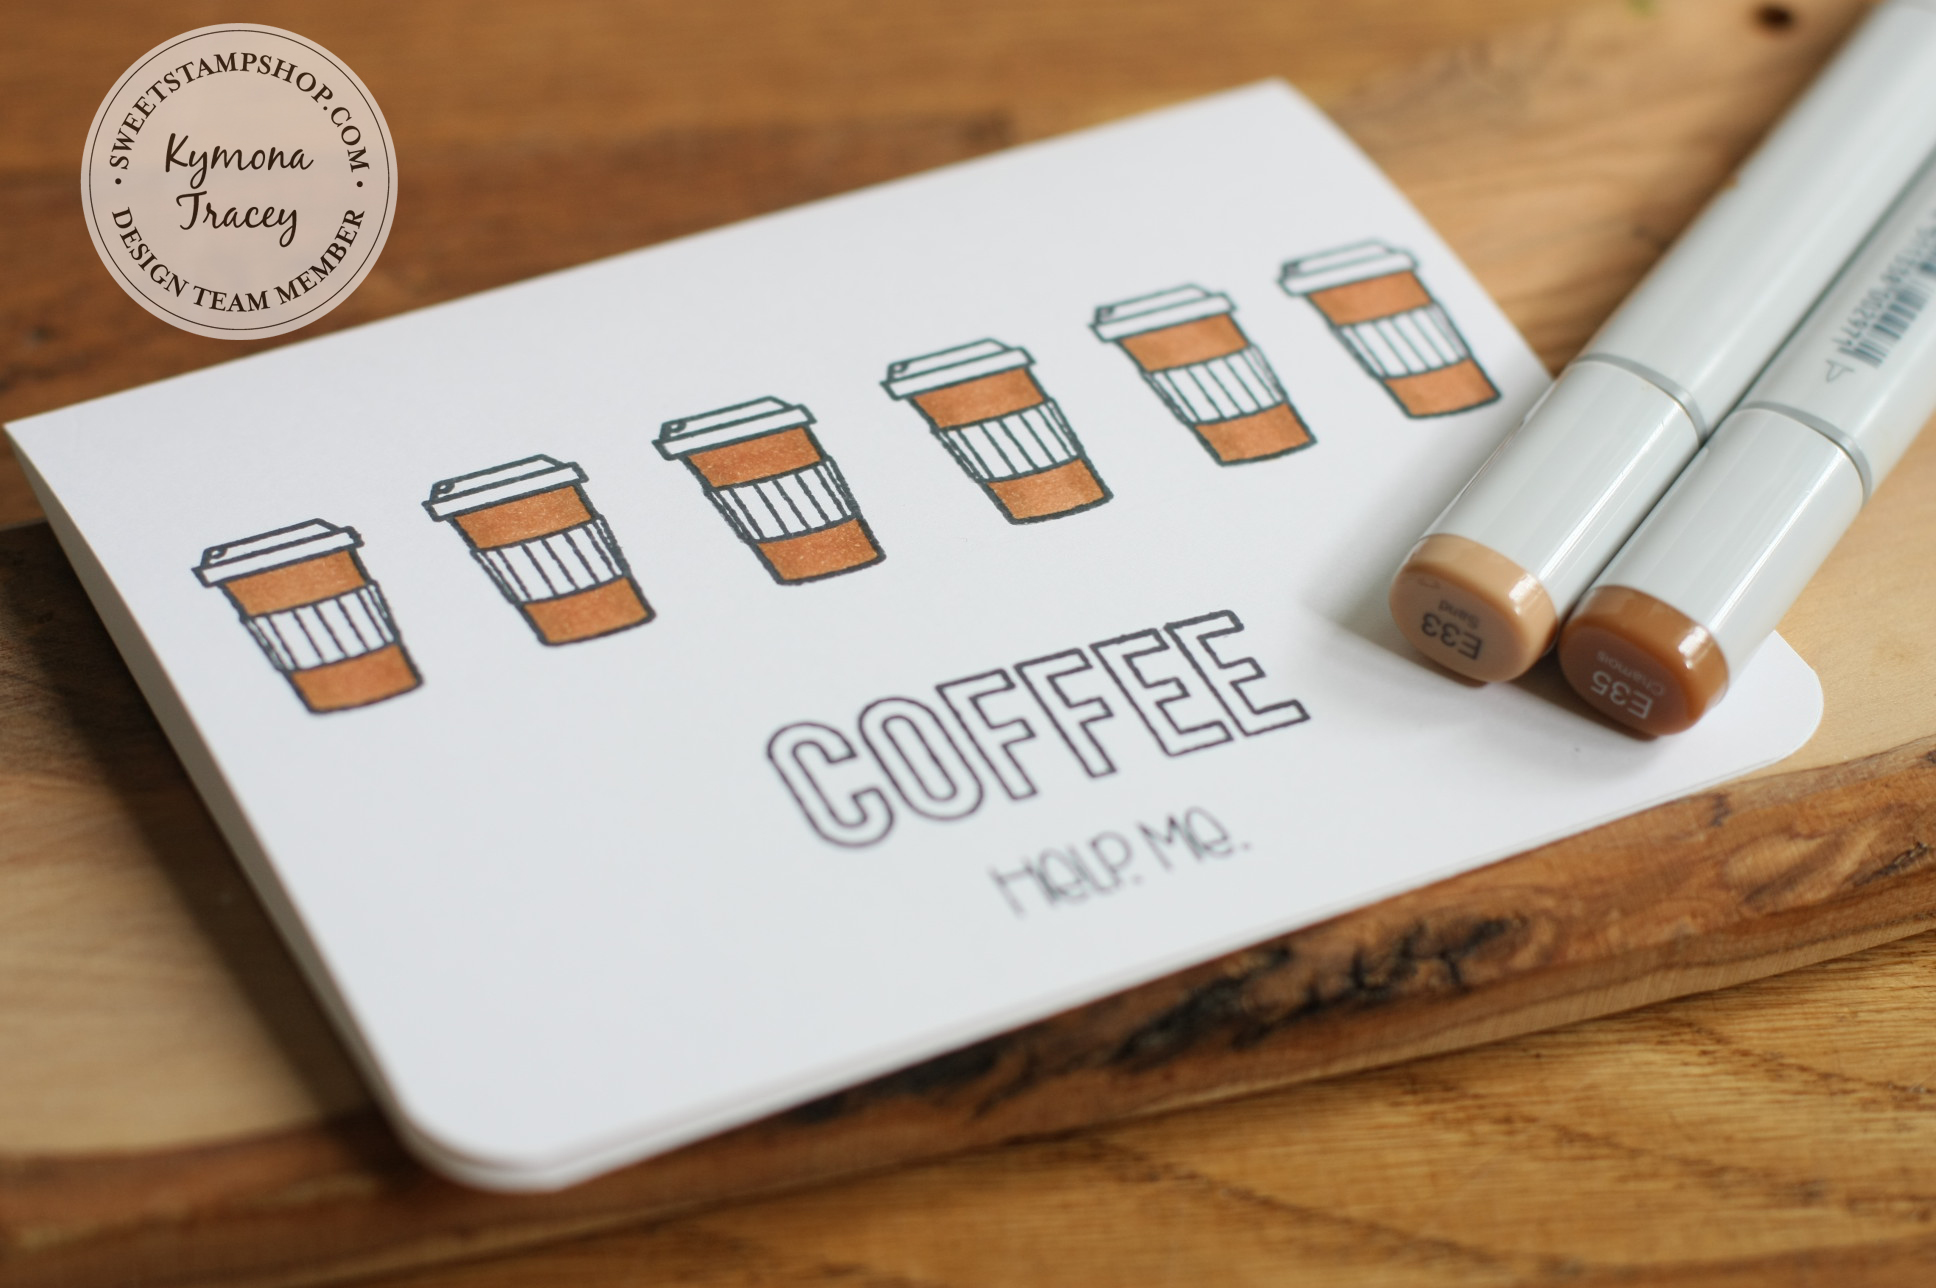
Hair: E33, E35
5. I attached Stampin’ UP! Coastal Cabana Bakers Twine to the top of my card.
6. I added Your Next Stamp Crystal Clear Gumdrops for added interest.
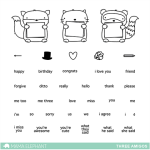
7. The sentiment is from Your Next Stamp Whatnot Sentiments Set.
I did a sneak peak of one of the new stamps a couple of weeks ago. Check out that card here.
Easy Peasy!! Now its your turn to play along with us! Oh wait, I didn’t tell you what the new challenge will be this month!!
Our new challenge is all about Birthday’s. So come one and all and create those super awesome birthday cards. You can link up your project on So Suzy Stamps blog.

Your next stop is the fabulous Jenny Johnson, who shares the same birthday with me April 4! You don’t want to miss what she created for you.
Just in case you get lost along the way, here is a complete list of blog hoppers:
So Suzy Stamps
Kymona Tracey ←Me
Jenny Johnson
Steph Ackerman
Jennifer Loftfield
Sharon Smith
Kim Rippere
Martha Lucia Gomez
Monica Taylor
Justine Hovey
What is a blog hop without a Giveaway??
Giveaway:
So Suzy Stamps blog is hosting a giveaway, she will be giving away a $15 Gift Certificate to a random winner who comments on all of the blogs in the hop!
The Giveaway expires April 5, 2015 at 11:59pm. The winner will be posted on So Suzy Stamps Blog and Facebook page on April 6th, 2015.
I hope you enjoy what you see and hop along with us. You won’t be disappointed!!
Supplies used:


Thank you for stopping by!
~Kymona