Day 2 of my Watercolor for Card Makers was just as much fun as the first. The teachers are amazing and they have so much information to share with us.
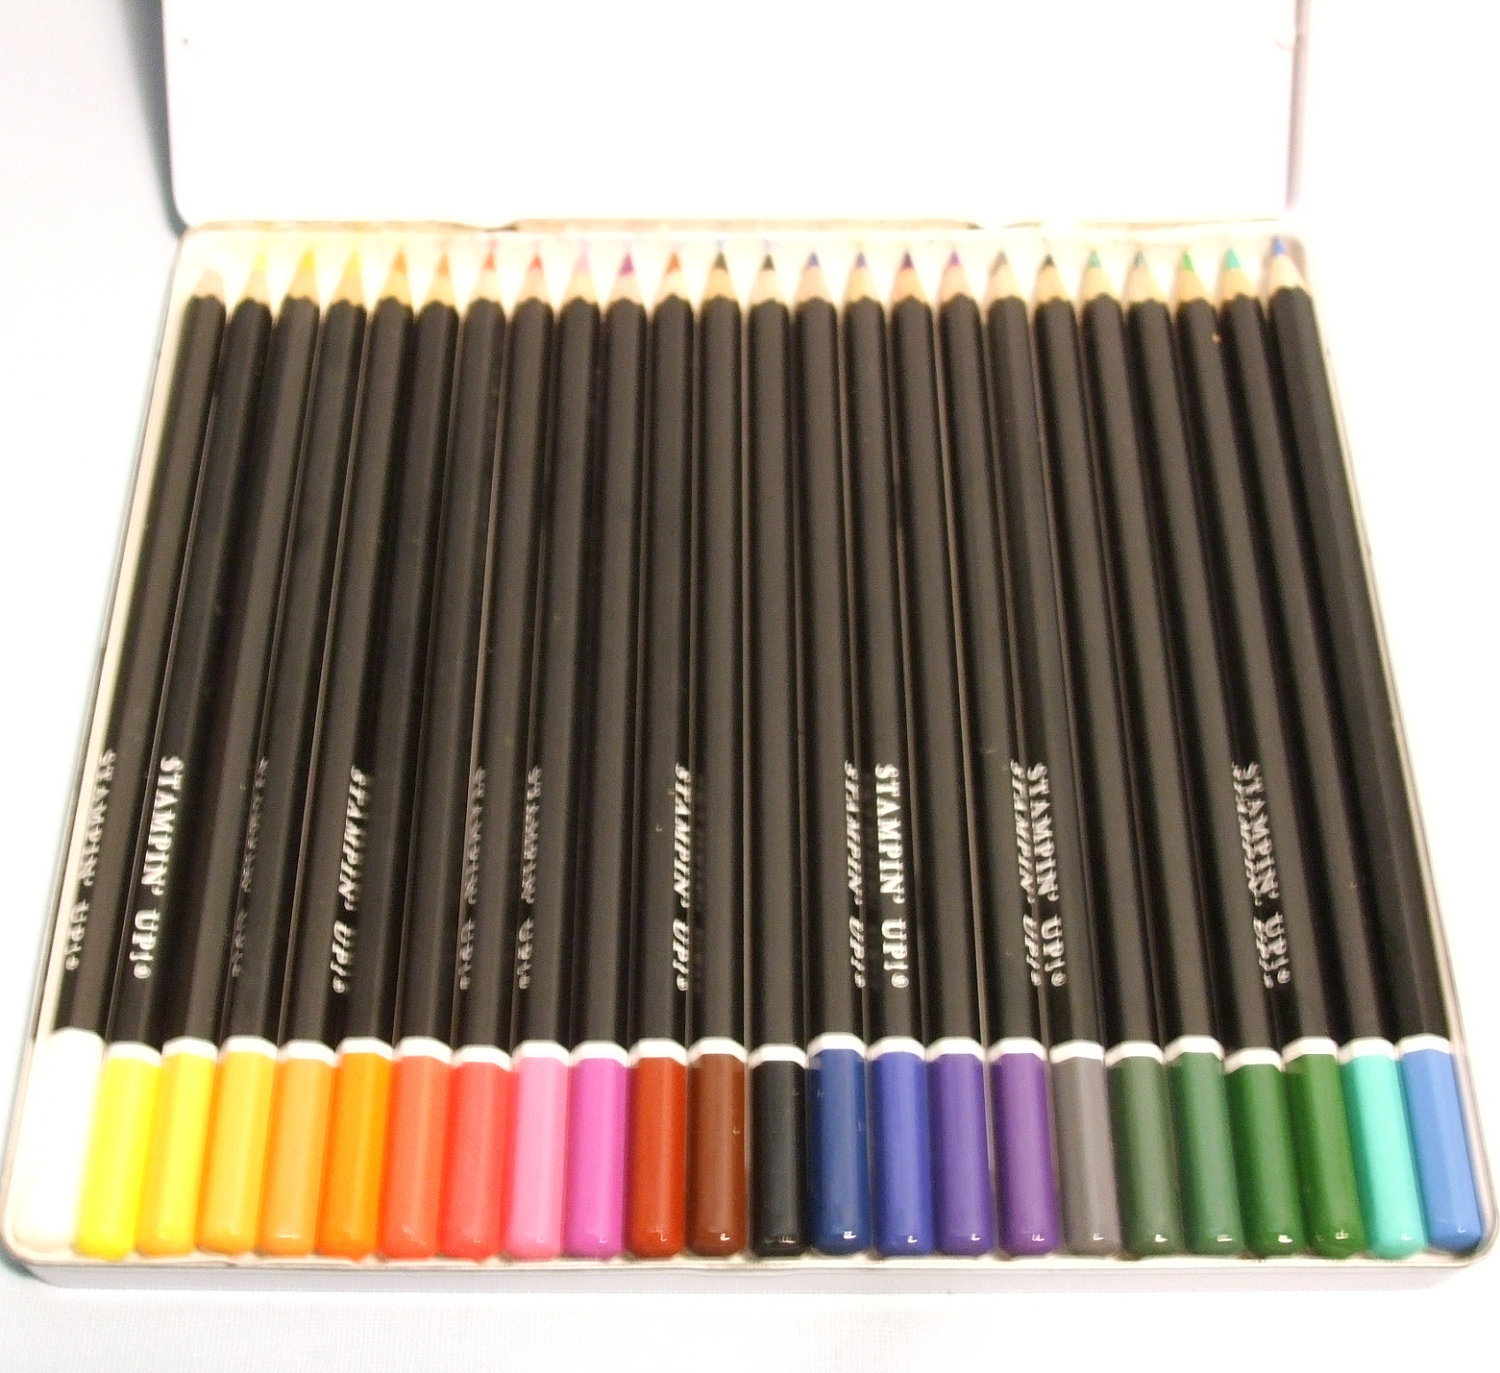
Today I choose to focus on the Soft Watercolor Wash Background technique. The beauty of this technique is to not have any pencil lines showing in the color wash. I used my Stampin’ Up! watercolor pencils (Retired), watercolor paper and a brush.
I love how my card turned out. I choose to use colors that I hardly use which were orange, light green and yellow. The combination turned out beautiful.
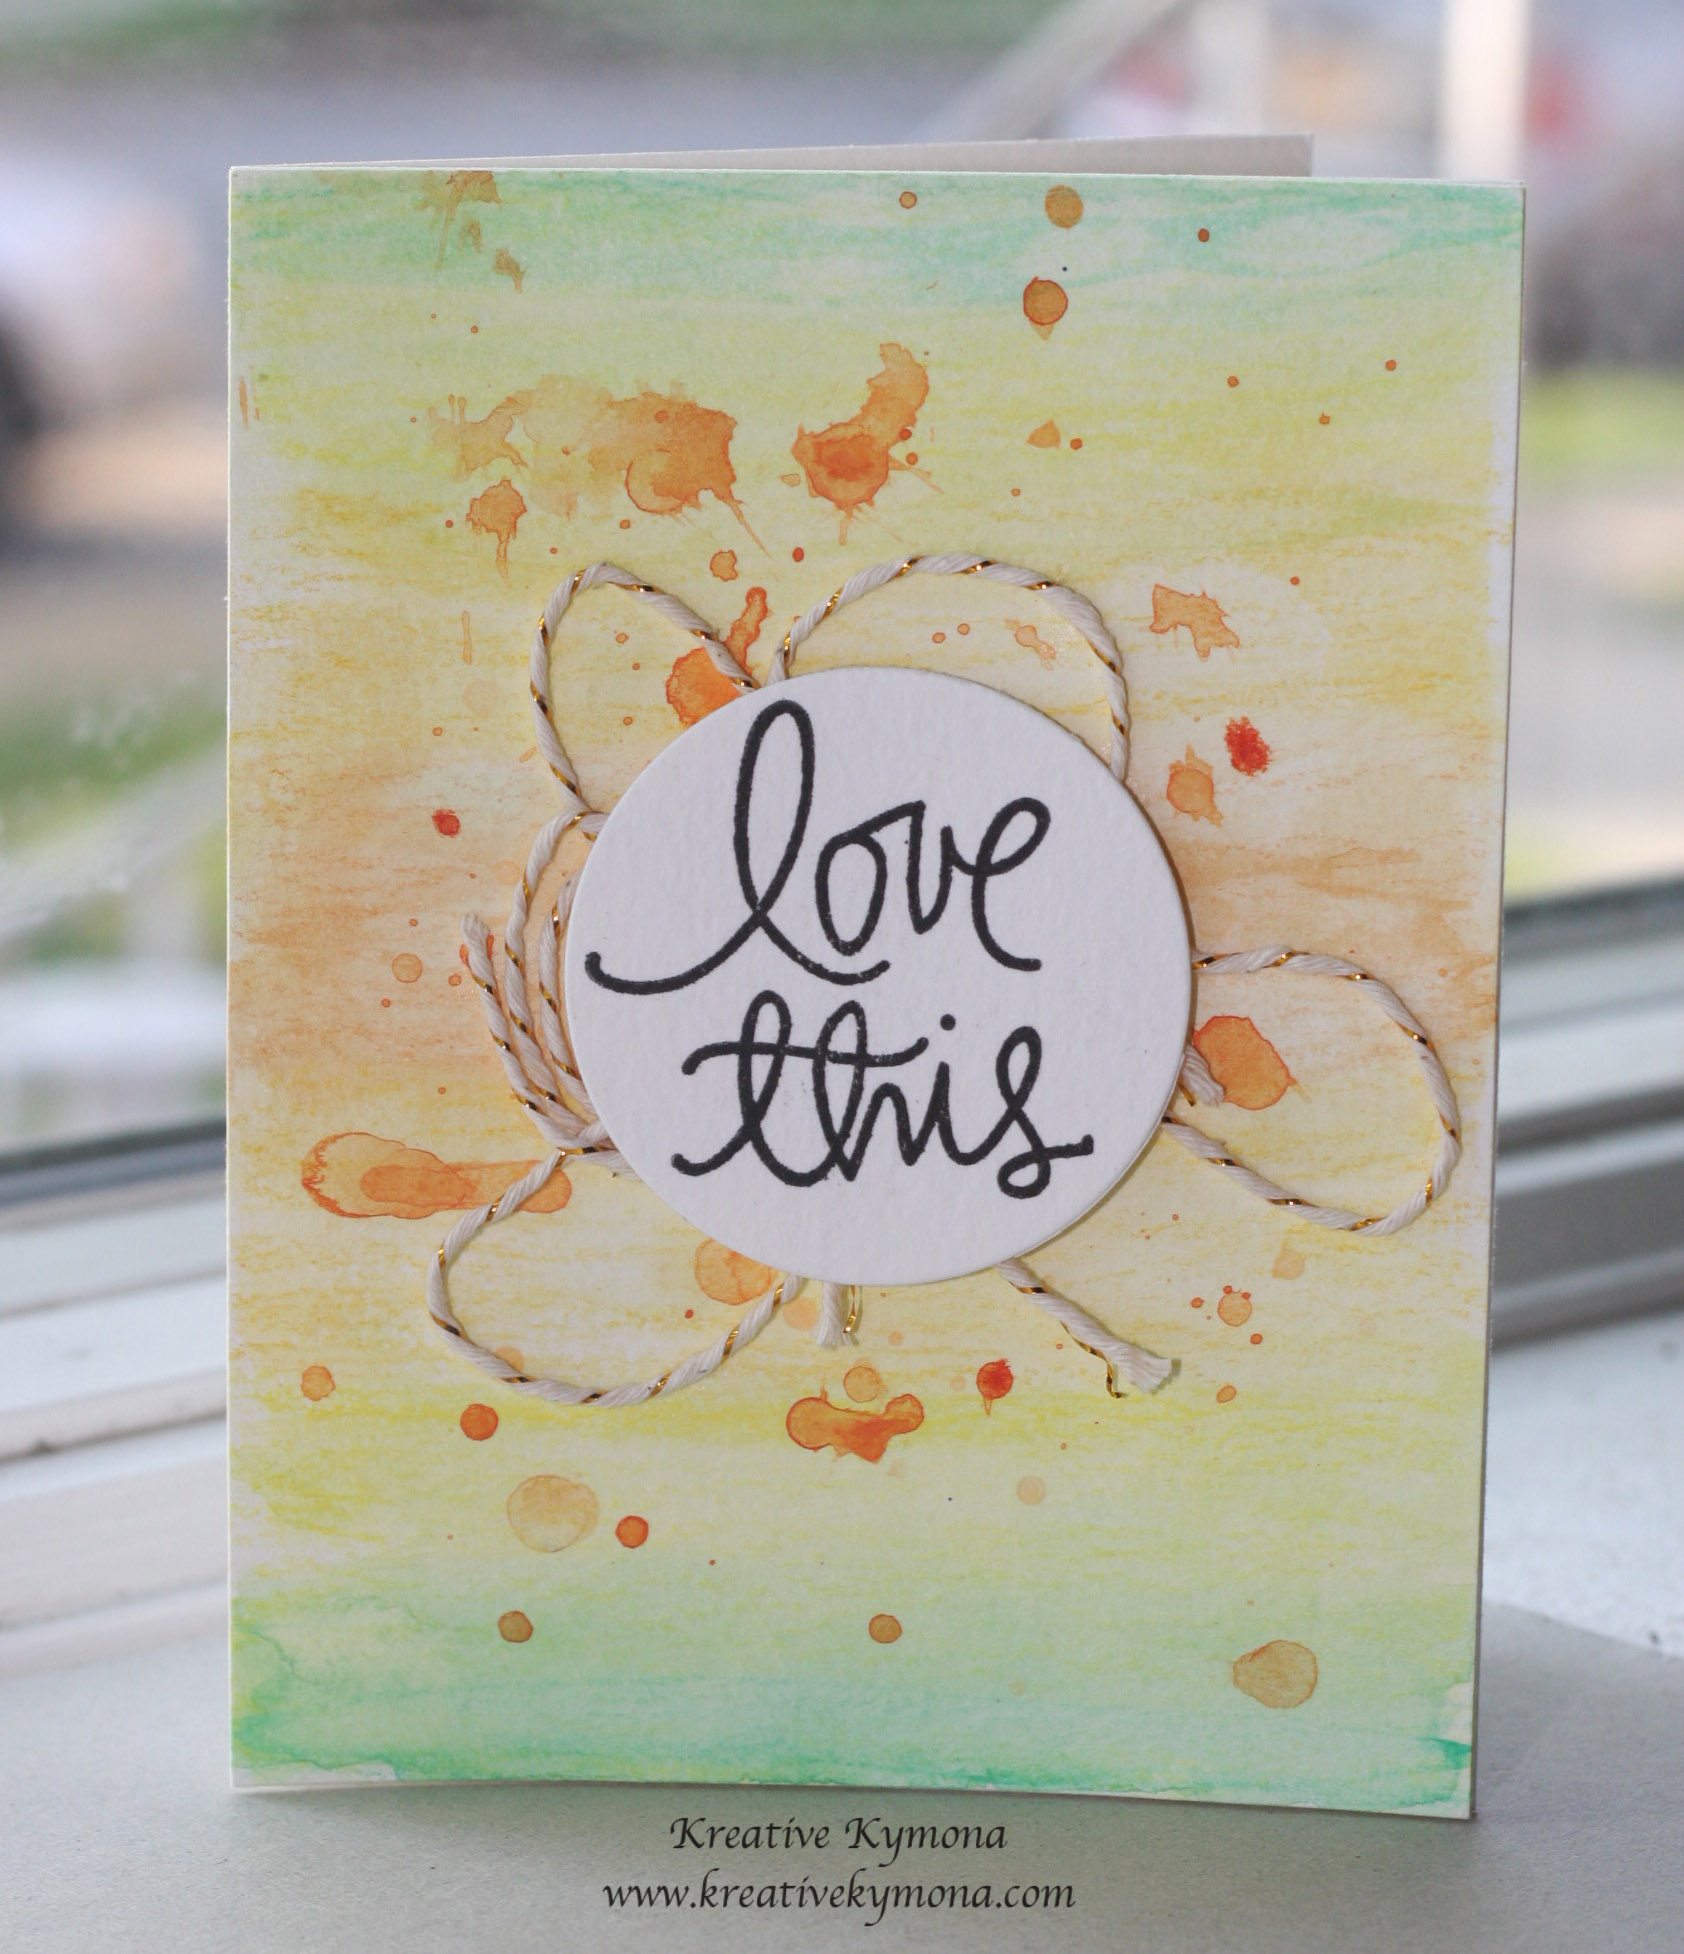
Sooooo, what do you think? I can’t believe I created that all by myself. I amaze myself sometimes!!
This is how I created this card:
1. I used the watercolor pencils to simple color on the watercolor paper in the different colors. I didn’t mix the colors while coloring them.
2. I used my brush and applied water to my card to soften the watercolor lines. I allowed the colors to mix a little to have some blending where the colors met.
3. I used my heat gun to dry the paper. Once the paper was COMPLETELY dried I added orange waters splats to the card.
4. To add the water splats, I touched my water brush to the tip of my orange watercolor pencil for color. Then I lightly flashed the brush above the paper.
5. I used the heat gun again to dry all of the water splats.
6. I placed gold bakers twine down where I wanted it to be. I added a little bit of adhesive as to hold it in place.
7. I stamped my sentiment, punched it out and adhered it to the bakers twine.
8. I adhered the mask to the card base for a complete Soft Watercolor Wash Background Card!
Truly Amazing!!!
Supplies used:


~Kymona

your card is gorgeous!!
Thank you!!
Thank you for your nice comments on my blog, I love this card and the colors you used, I made a very different card with this technique compared to the teacher.