Hello everyone!! I’m here today with a watercolor card for the Pretty Pink Posh Watercolor Blog Hop!!

Take a look at my card:

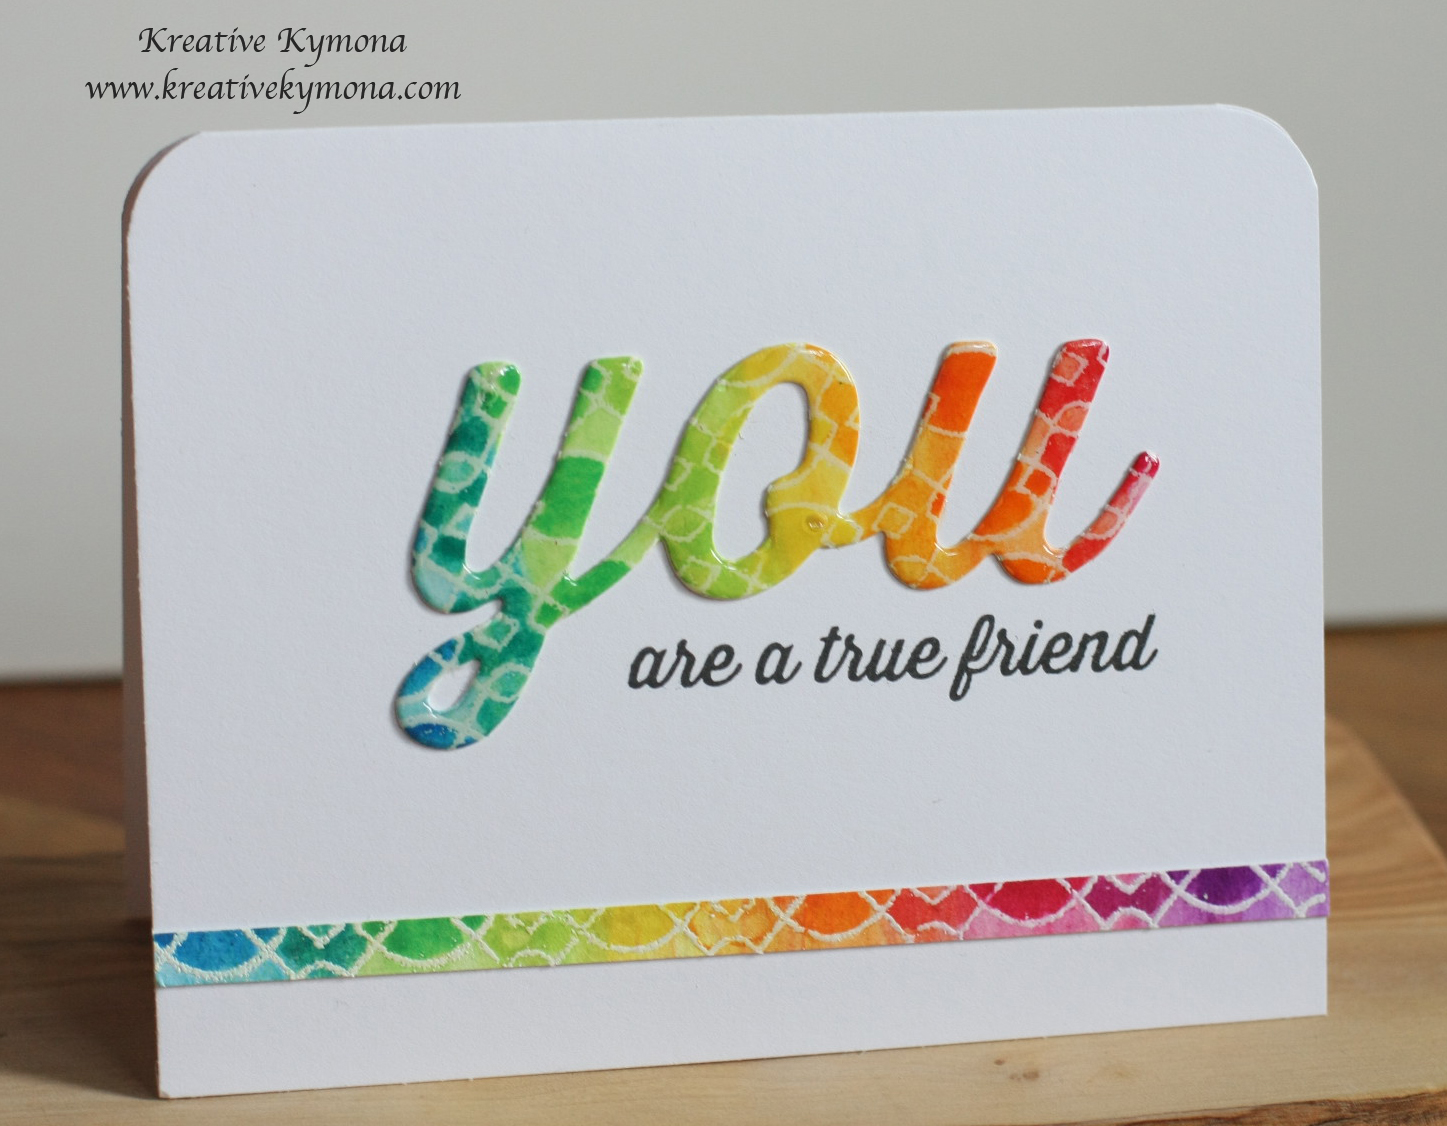
Take a look at that vibrant crimson color!! I totally love it. That watercolor background was so easy to create.
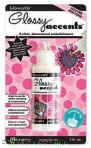
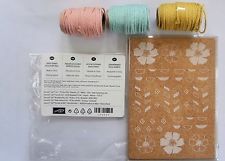
I used Ken Oliver Color Burst – Alizarin Crimson!!

This little bottle is full of power!! All it takes is a small amount to create the background above.
Ken Oliver has 6 colors!
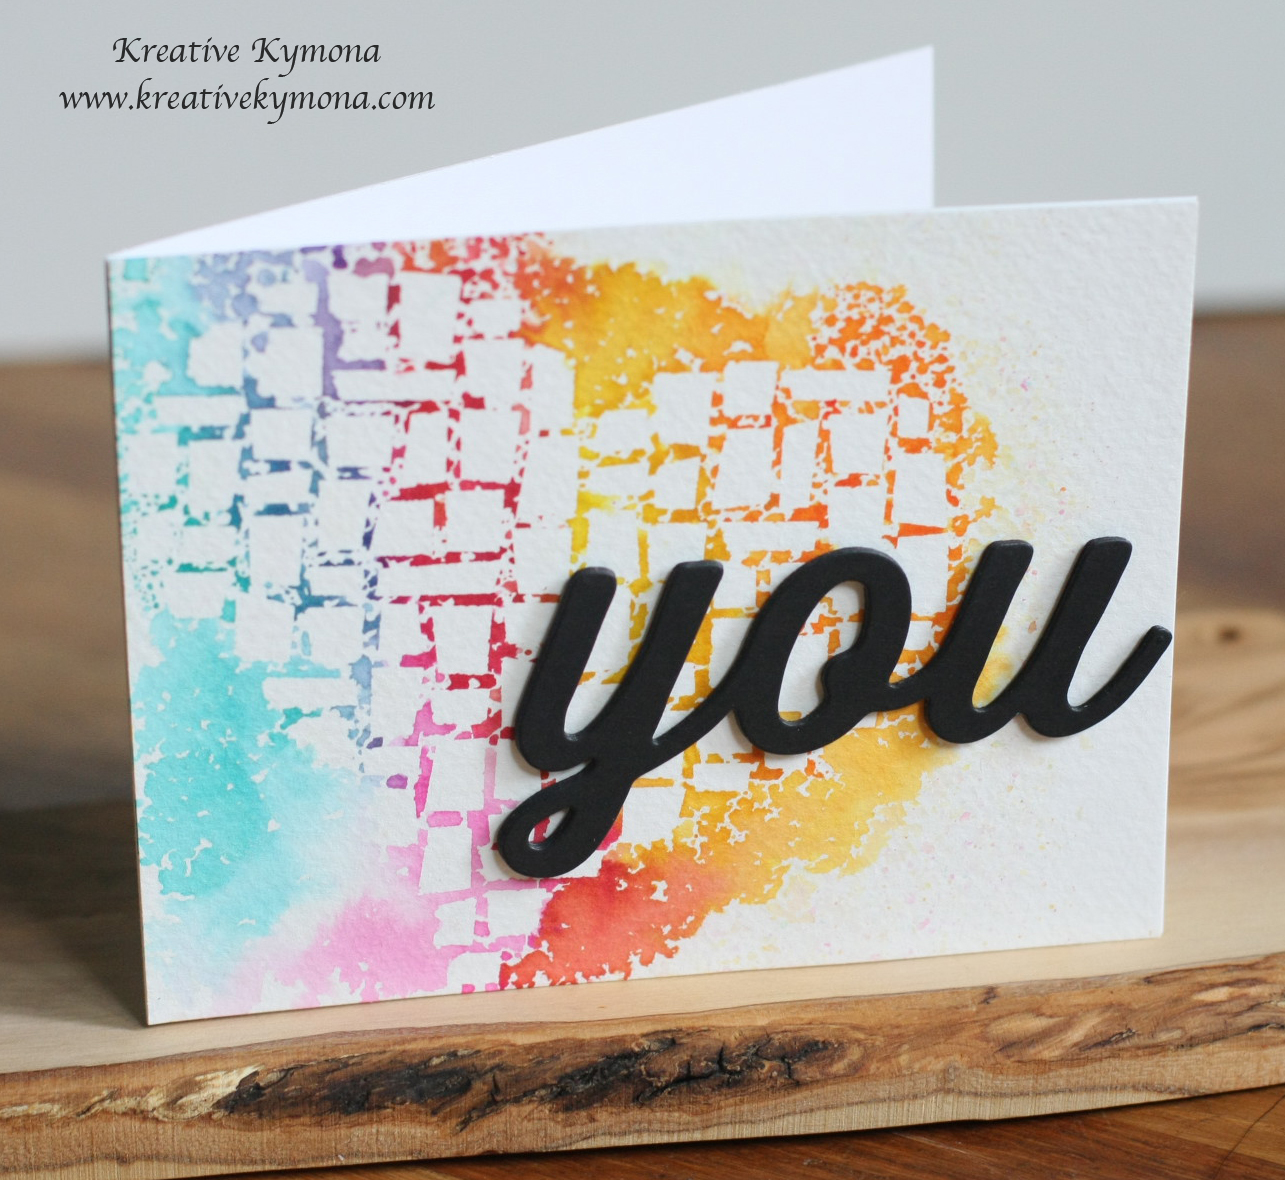
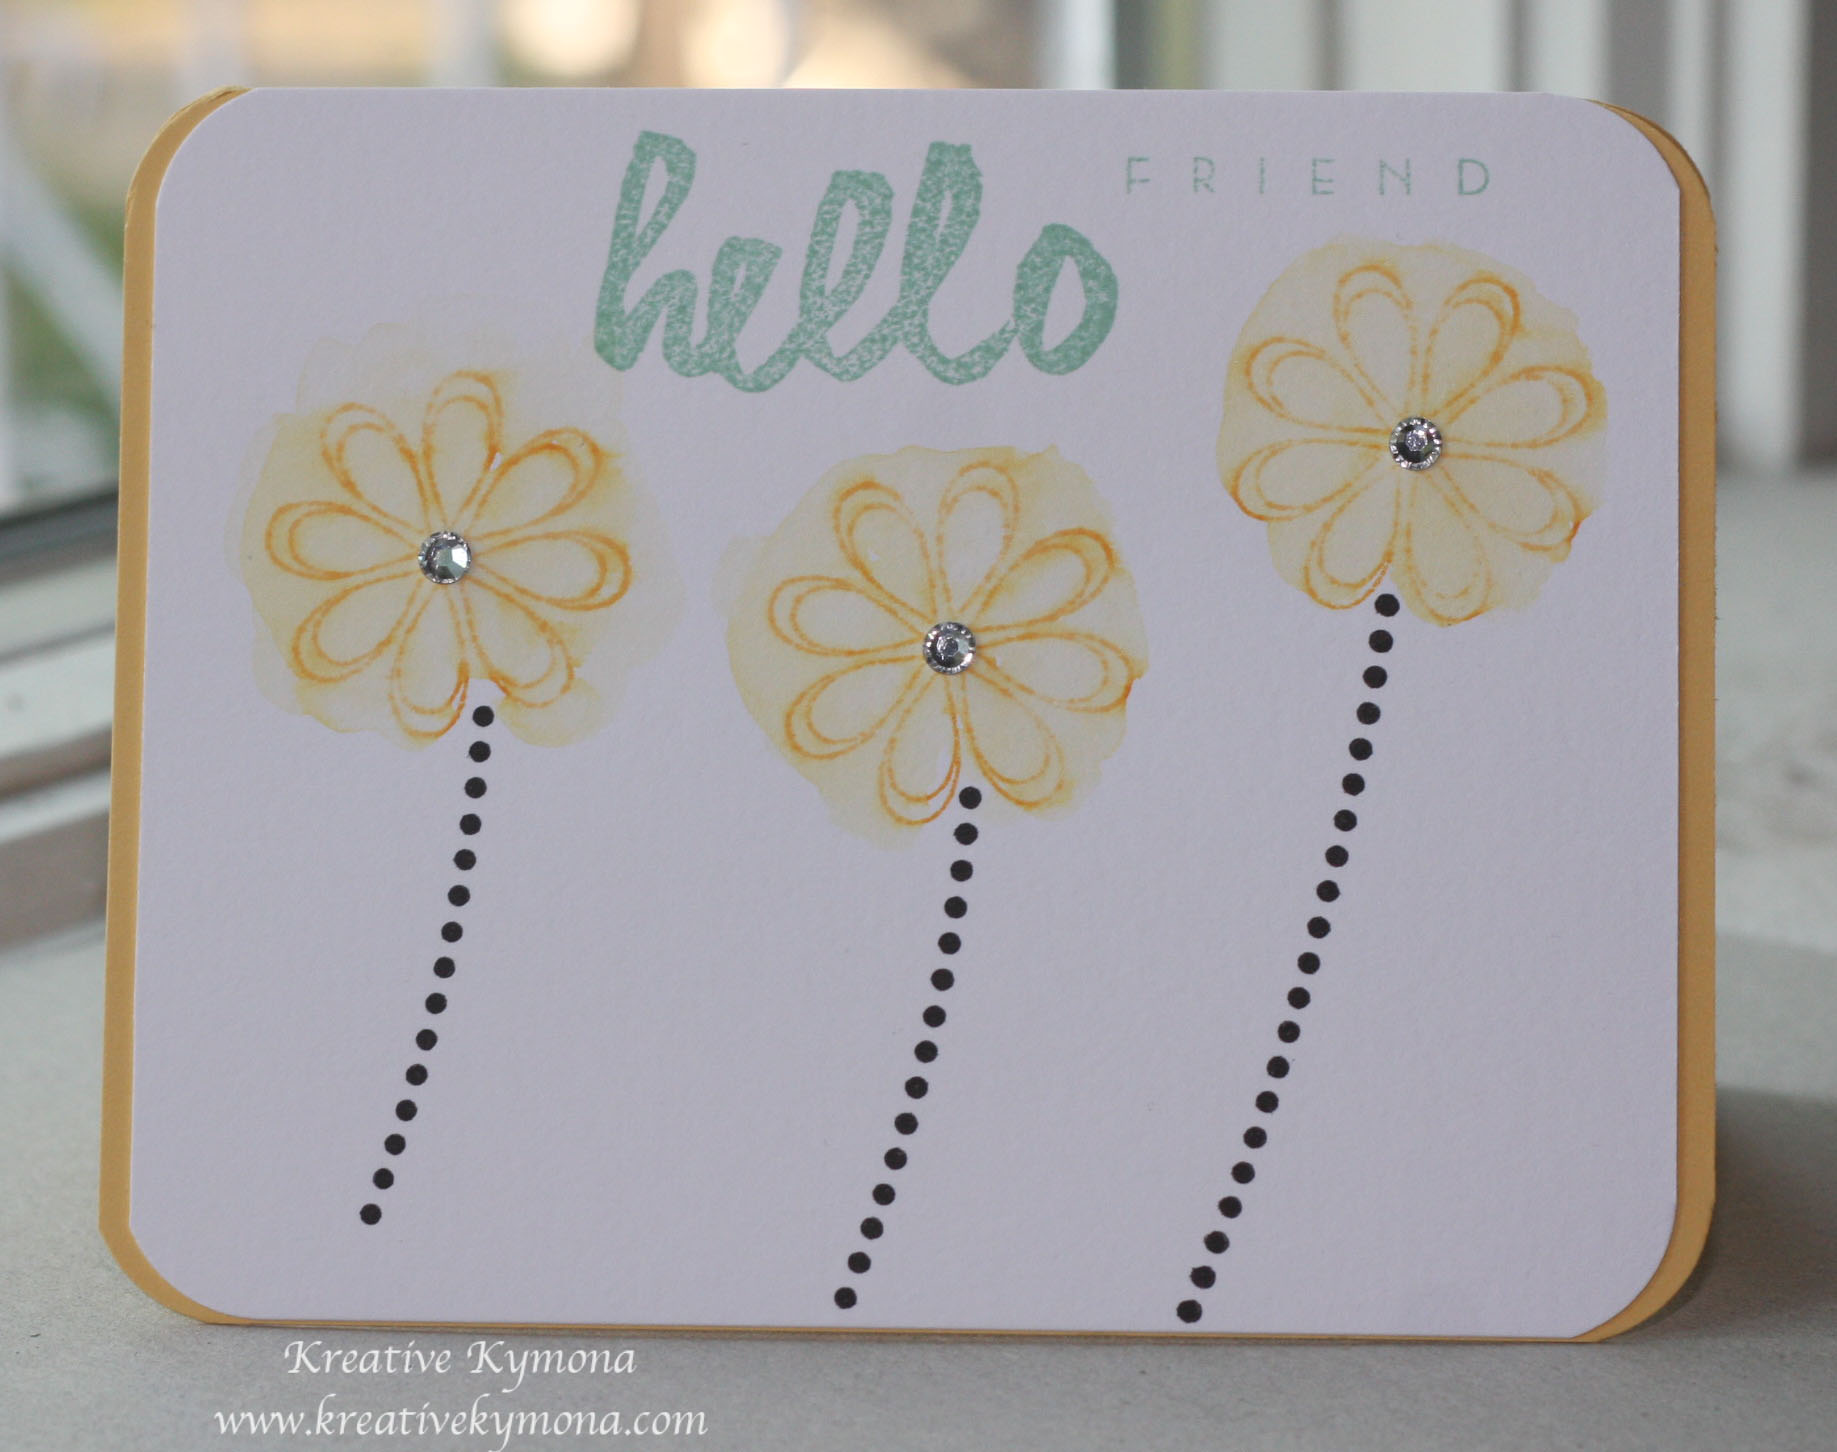
Take a look at what I created:

Totally love this new way of watercoloring!!
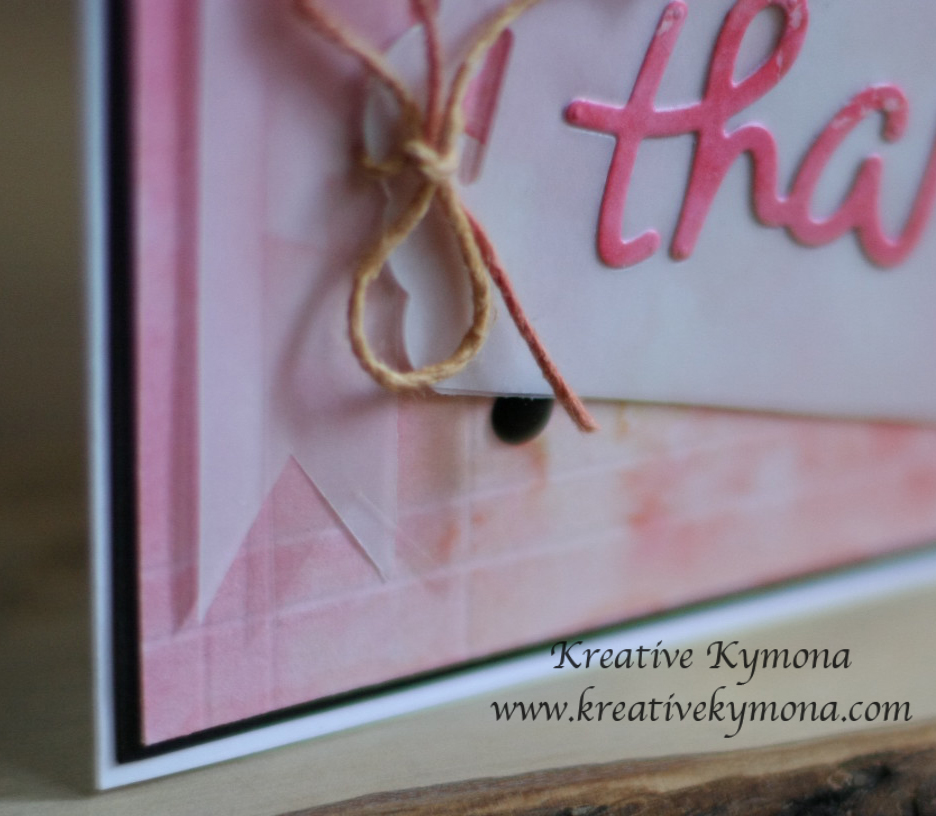
Lets take a closer look at my crimson piece.

Here is how I created these watercolor pieces:
I didn’t take pictures of the crimson color, sorry about that. You can follow with these photos below.
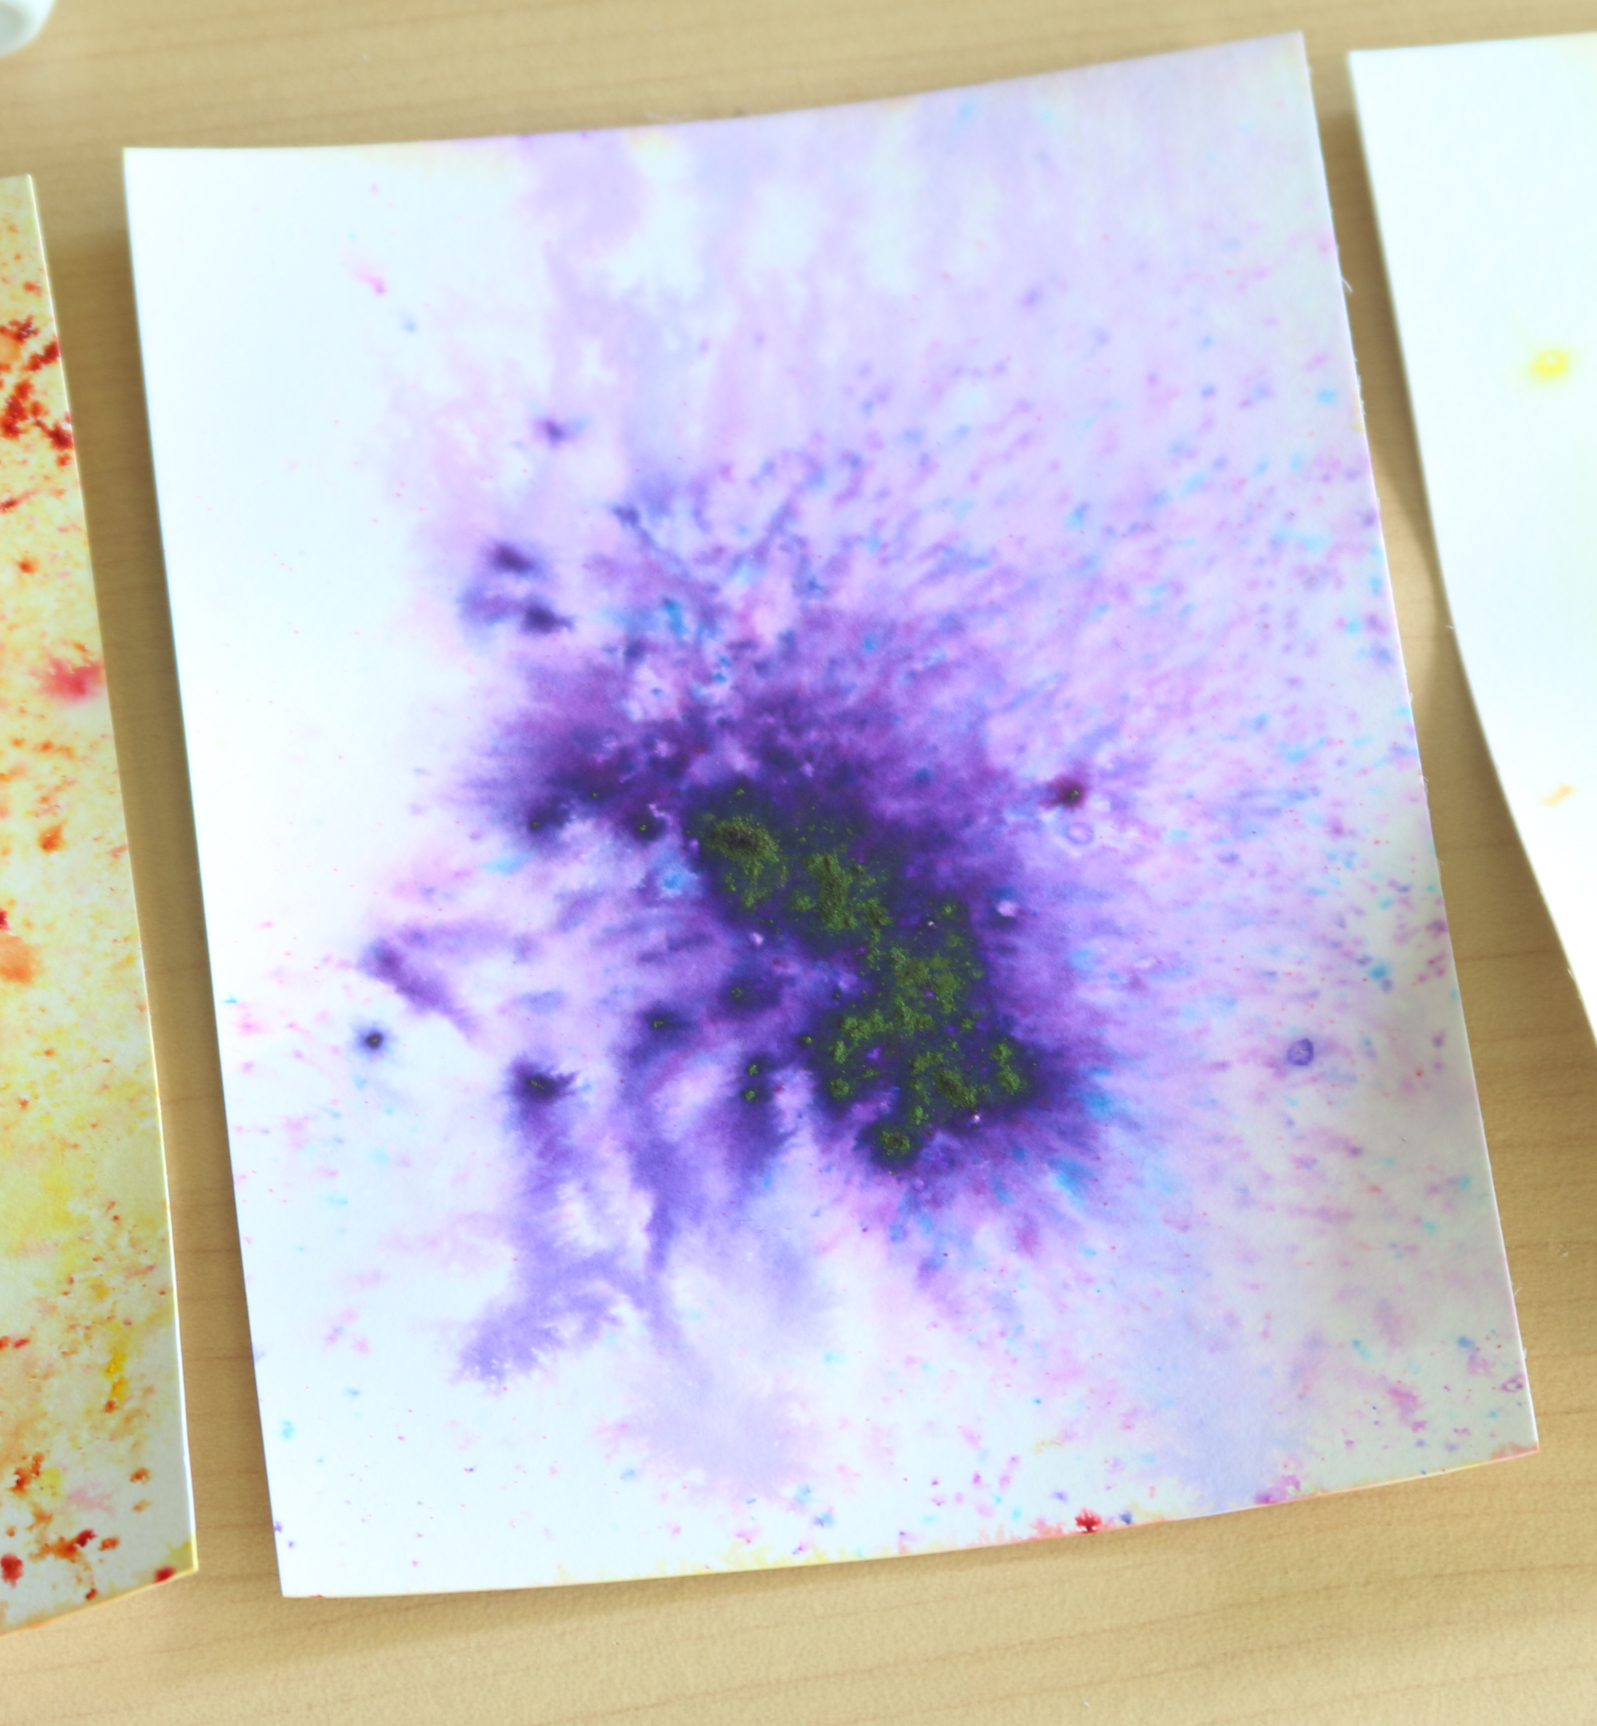
1. I placed my watercolor paper in a shoe box and add a good amount of crimson powder to my paper, similar to what you see in the photo below.

In this photo I added two colors inside of one.
2. I took my spray bottle and sprayed a lot of water on my paper to activate the powder.

The more water sprayed the more the color moves. Much like the crimson I’m showcasing.
3. I used my heat tool and heat set my watercolor paper because I couldn’t wait.
4. Once the paper dried, I added fun foam behind it and added it to my card base.
5. I used Papertrey Inks Enclosed Star Die Set and die cut the star heart.
6. I added the die cut to the front of my watercolor paper with liquid glue.
7. I used Papertrey Inks Enclosed Star Stamp Set and stamped my sentiment on black cardstock using Versamark ink.
8. I added Hero Arts White Embossing Powder and heat set it.
9. I cut the strip down, flag the end and added it to the front of my card base.
The watercolor paper that I used was from The Ink Pad in Manhattan. Its the stores paper. Its super smooth, so I think its hot press. The weight is lighter then the Canson paper that I usually use.
That was super easy to do and all of you should give these new powders a try.
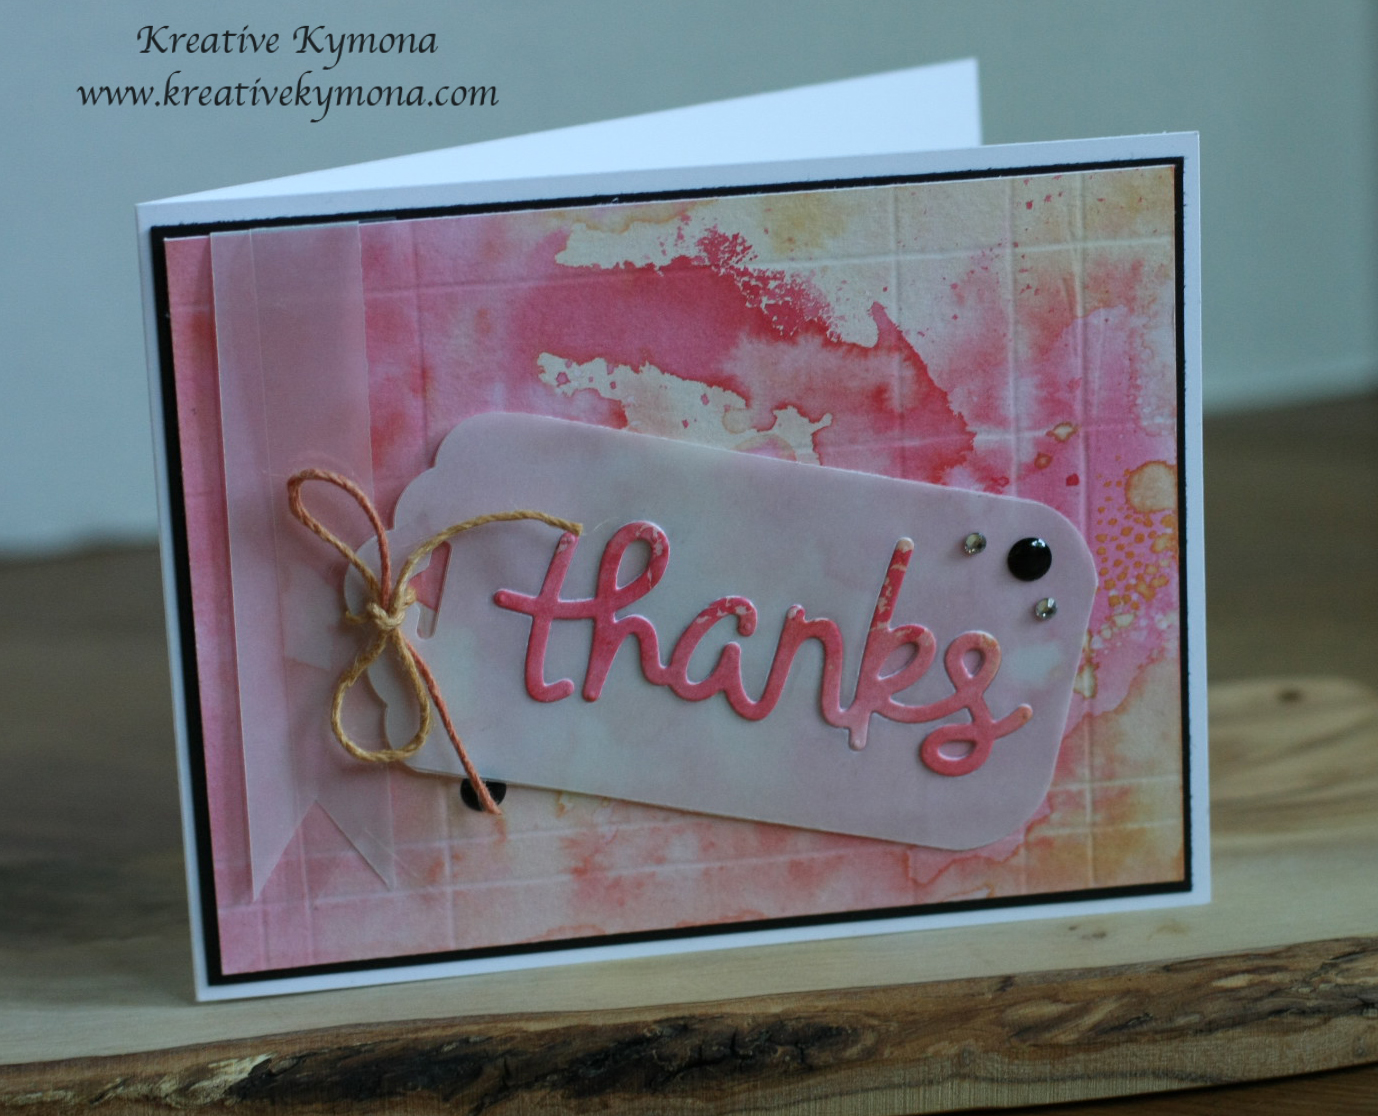
I only have one compliant. When I add the powder to the paper, it comes out thick in some places and when wet with water, it didn’t react. So the powder stayed on top of the paper.
Look here:
After it dries, it doesn’t spread its just textured. I’m not sure what to do about this but I will figure it out.
So what do you think? Let me know below.
Supplies used:


Thanks for stopping by!
~Kymona