Rubber Dance Stamp May 2017 Color Challenge

Hello everyone!! I’m here today with Rubber Dance Stamp March 2017 Color Challenge!

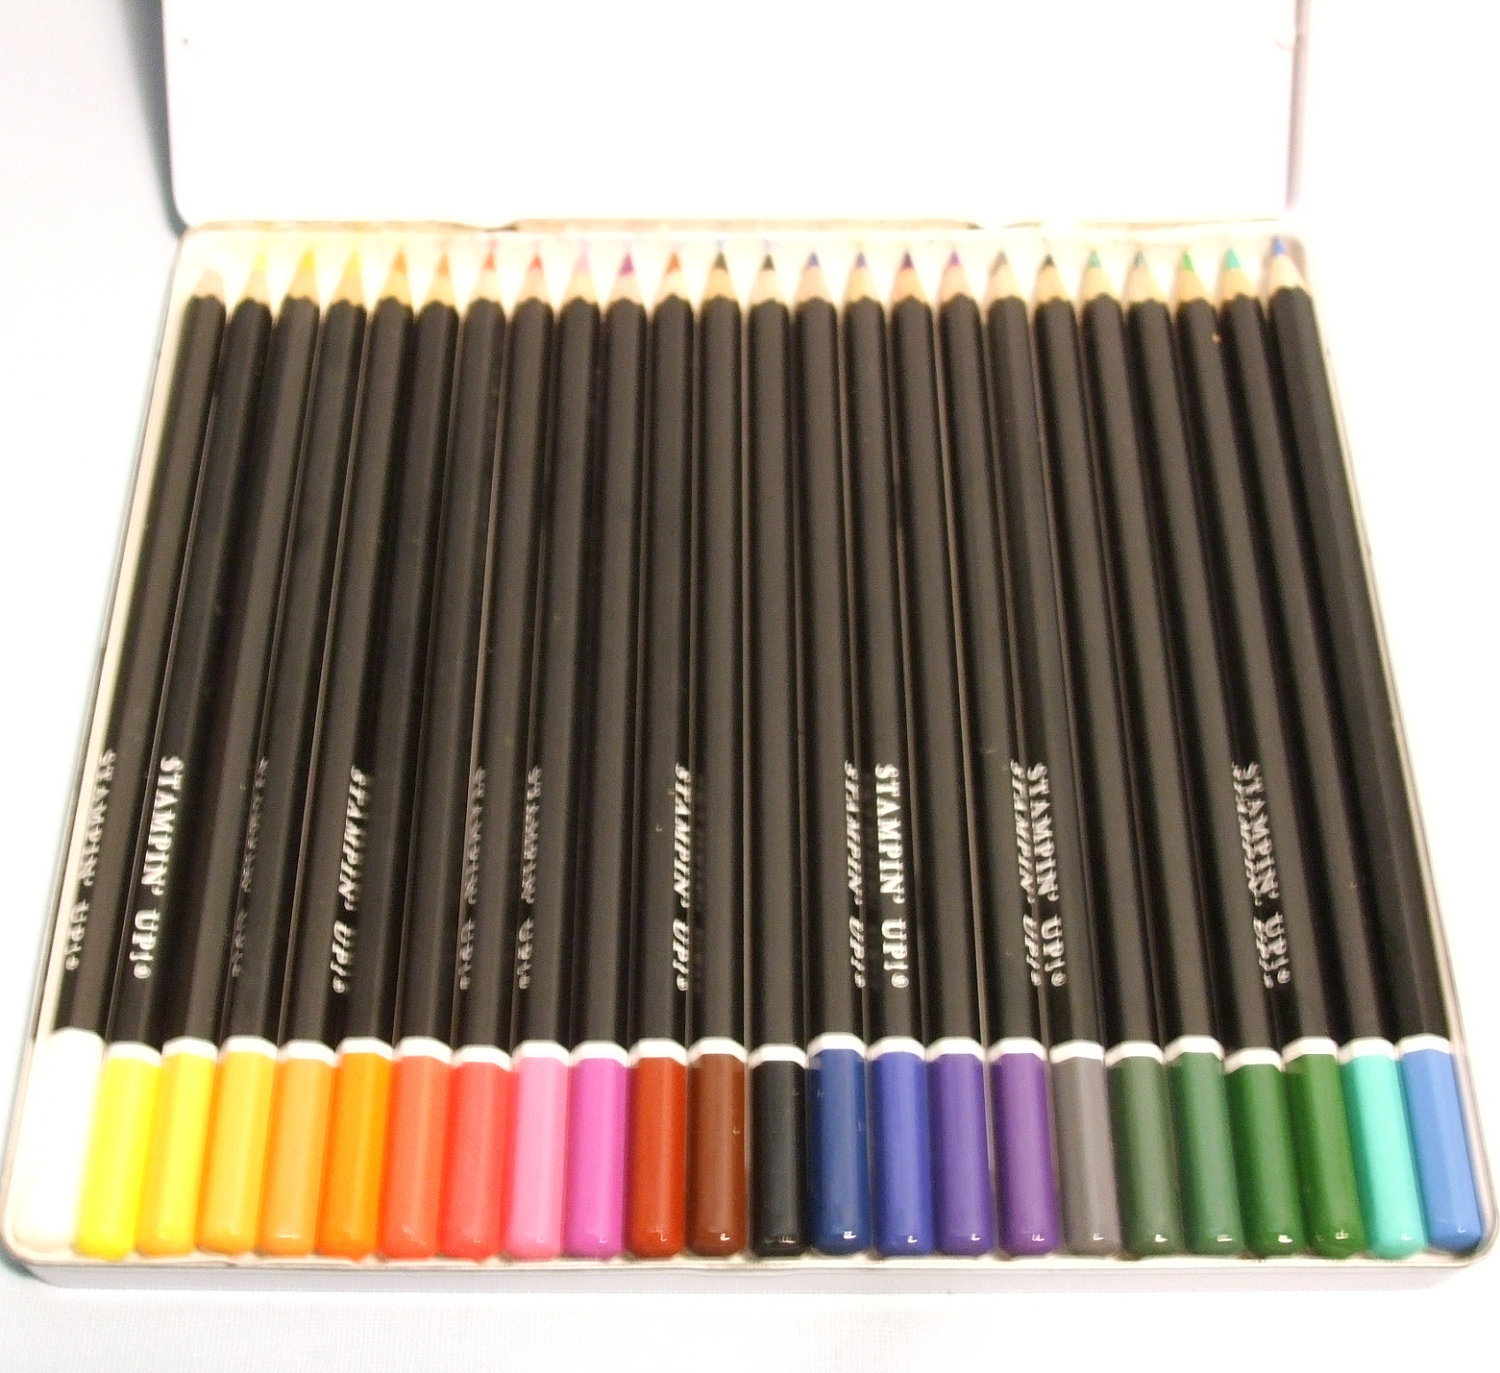
Take a look at the colors for this challenge:

Now, these colors are amazing.  They remind me of spring and summer time, which are both my seasons.
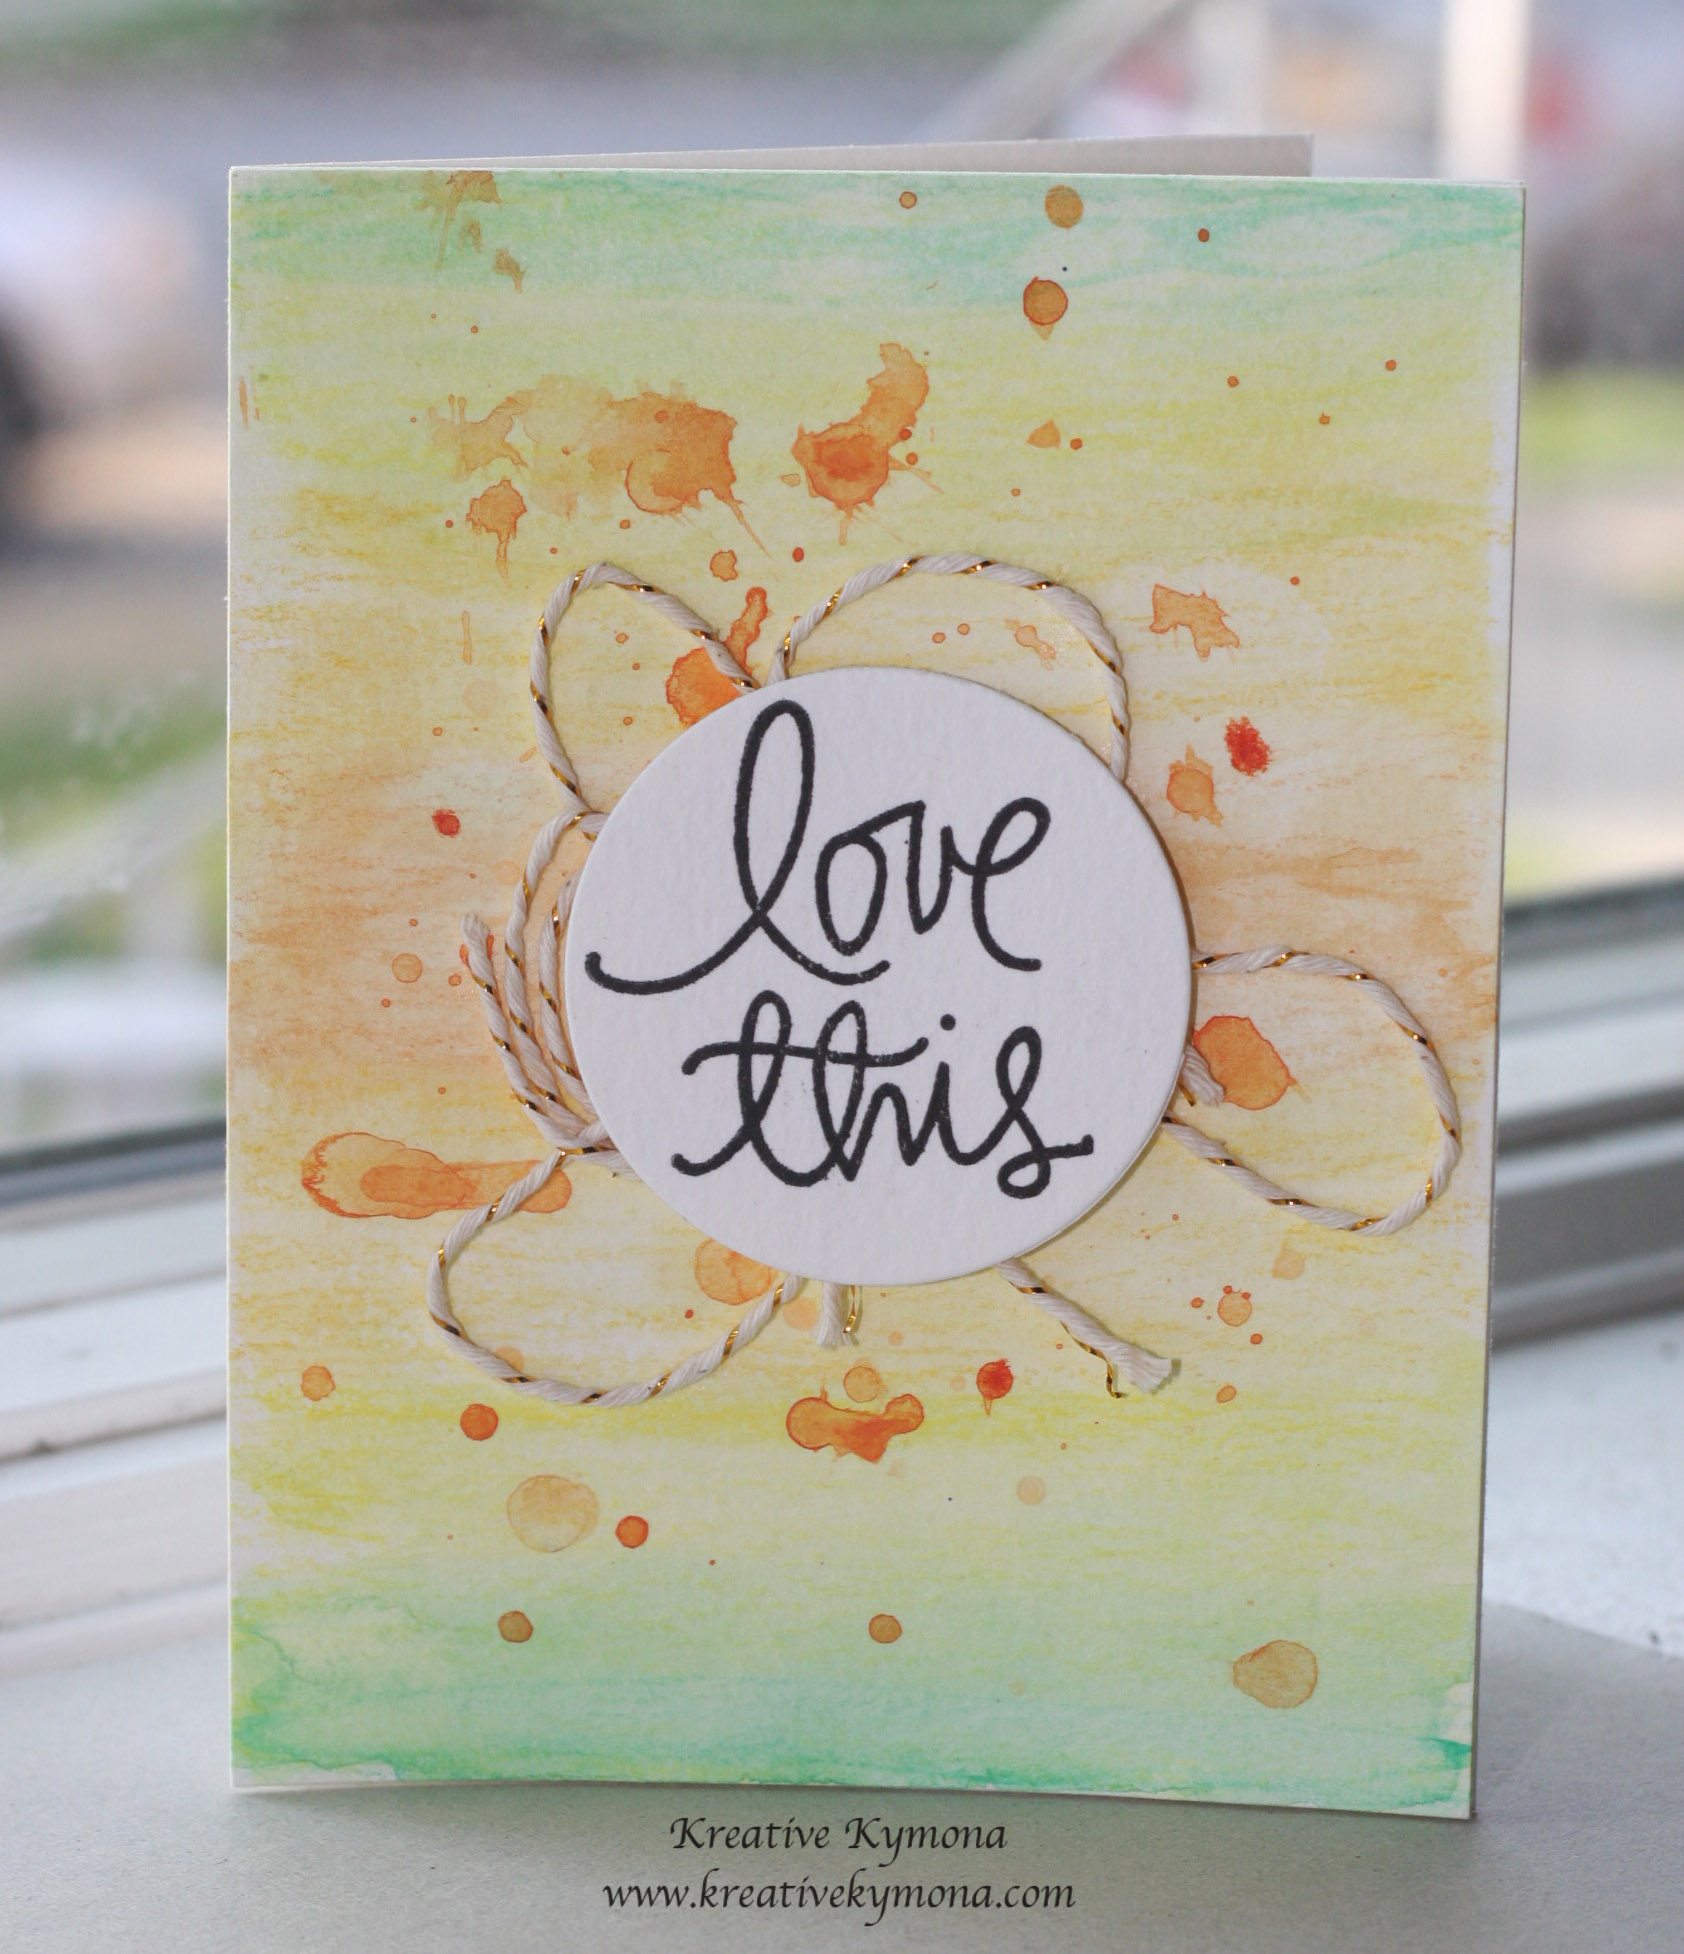
Check out my card:

To create this card:

Super easy and fun.

Guess what!!!  If you like this stamp set or any other stamp set from Rubber Dance Stamp, use coupon code: KTFreeShip for free shipping!!  YES, Free Shipping.

Now onto the challenge prizes!

The winner will win five fabulous stamps fromRubber Dance Stamp!! Wait, if the winner used stamps from Rubber Dance Stamp, they will winner another five stamps! That’s a total of 10 stamps!! Wow!!!

You have until May 14, 2017, midnight Central European Time.  Which is 6:00 PM, May 14, 2017!! Please pay attention to this time. Here in NY, we are 6 hours behind Norway! 

Supplies used:


Paper Artsy Fresco Finish BUBBLE GUM Chalk Acrylic Paint 1.69oz FF116Paper Artsy Fresco Finish TANGO Chalk Acrylic Paint 1.69oz FF72Paper Artsy Fresco Finish CHERRY RED Chalk Acrylic Paint 1.69oz FF86 Tsukineko Stazon JET BLACK INK PAD SZ-31

Thank you so much for stopping by!!

{Clean and Simple} CASology – Season

Hello everyone!!!  It’s CASology Tuesday!!  We are back with another Clean and Simple Cue Card just for you!!

This week’s cue card:

Take a look at my card:

I love the spring and summer season!  The trees and flowers bloom and makes me feel happy.

I used Waffle Flower Crafts Leafy stamp set to stamp the flowers and Papertrey Ink Ways to Say Thank You stamp set for the sentiment.  The perfect ink to represent spring and summer colors are Clearsnap Color Box Petal Point Pinwheel.

To finish the card off, round the top corners with We R Memory Keepers Corner Chomper.

Super Clean and Simple!!

What do you think?

Are you inspired to play along?  Please let me know below!

For more inspiration, check out my fellow Design Team members blog for more awesome work.

Deidre Payne

Hannelie Bester

Hazel Hodgkins

Jacquie Southas

Janet Ribet

Jen Wills

Joyce Mehrberg

Judy Marino

Kymona Tracey

Melissa Chipperfield

Rachel Bergfeld

Sherrie Mannion

Guest Designer

Donna

Our sponsor this week is Uniko!

Supplies used:
Waffle Flower Crafts - Clear Acrylic Stamps - Leafy We R Memory Keepers - Crop-A-Dile - 2 in 1 Corner Punch Chomper Tool - Stub and Scallop
Thank you so much for stopping by!!

a2z Scrapbooking February 2016 Challenge

Second Post for the day
If your looking for So Suzy Stamps January Challenge, click here

Hello everyone!!  I’m here with a2z Scrapbooking today with our February Challenge!!!

  Our new challenge is all about Masking!!!!!

Check out the card I created for this challenge:

You're Pretty Sweet

First let me tell you that my daughter, really had me dying with laughter.  She said, “Mom, why did you color the watermelons orange”?  I said, “because they are oranges”.  Then she said, “Mom those aren’t oranges, they are watermelons.  Look at the seeds and the rim”. I had to laugh!!  So yes, they are watermelons that I turned into oranges.

In any case, all I did was:

  1. Stamp the two fruit on some masking paper then cut them out by hand.
  2. I stamped the apple first, then covered it with the masking paper then stamped the orange on both sides.
  3. Then I removed the masked and covered the right orange, with its mask, then stamped the last apple.
  4. Some of the fruit are in front and some are in the back.  That is what masking does.  It prevents you from having lines in the images.
  5. Then I colored them with Copic Markers E27, G07, R46 and YR68.
  6. After that I stamped the sentiment and added some gems.

Easy peasy!!

Great trick, right? I hope you love what you see and that it inspires you to join us this month. You have the entire month to create a new project and enter it into our challenge. By entering you will have a chance to win a $25 Gift Certificate to the a2z Scrapbooking Store. Winner will be announced on the 7th of March.  Good Luck!

The Hero Arts Stamp Your Own Fruit Stamp SetHero Arts Clear Gemstones and Hero Arts Snow Layering Paper that I used can be found at the a2z Scrapbooking Store. If you would like to purchase any thing please head on over to the store and use the coupon code KYMONA15 to get 15% off your purchase.

Supplies used:

HR Stamp Your Own Fruit Hero Arts GemCopic Markers Inkadinkado Stamping Mask Paper MFT Hybrid Black Ink Hero Arts Snow Layering Paper

Thank you for stopping by!!

Kymona

CS Take It Make It: Take a Stamp Challenge and Coupon Code

Second Post for today
If your looking for the YNS Sketch and Color Challenge, click here

Hello everyone!  I’m here today with CS Take It Make It Design Team for our CS Take It Make It: Take a Stamp Challenge for the month of September.

This month’s theme is Take a Stamp!!  That means take any stamp and create something, anything goes!! Now if that isn’t easy, I’m not sure what is!!

Take a look at my card:

Sending Warm Wishes (TIMI)

I love how my little tree turned out!!  I love the look of all of those fall colors.  I’m a Summer girl but Fall sure is pretty too.

Here is how I created this card:

I used Lawn Fawn Small Stitch Square Stackables to die cut my stitched square panel.

I used Hero Arts Color Layering Fall Trees Stamp Set and layered stamped my leaves.  I used Lawn Fawn Freshly Cut Grass, Lobster, Fake Tan and Walnut.

I stamped my sentiment from the same stamp set and stamped it with the Walnut ink.

I added Lawn Fawn Trimming around the card panel.

I attached the card panel to an orange panel then added those panels to my card base.

I added Lucy Abrams Just Peachy and Rainforest Sparkly Shaker Sequin to the card front.

I love how this turned out!!  Now its your turn to play along with us!!!

We have two prizes to offer this month, the first is our sponsor prize. This winner will be chosen randomly from all of the entries in the challenge! The sponsor for July is: STAMPlorations!

STAMPlorations have been incredibly generous and have supplied a coupon code for Craft Stamper challenge players to take advantage of free shipping from the store! The code is: CSTAKEITMAKEIT and is good for free shipping on orders over $20 (£12.90). The coupon will work all through September, and can be combined with any other STAMPlorations coupon.

Here are the prizes this month:New plate

2 Stencils: Bold Florals and Leaf Print
2 Stamp Sets: Boxed Blooms and Bold Sentiments

Our second winner is our Design Winner. This winner is chosen by our DT, who all vote for their favorite design from all of the entries. This winner will have their winning project published in Craft Stamper Magazine, they will have a GDT slot for an upcoming challenge, and will also feature in their very own Winners Profile blog post!

Now if that isn’t a reason to play along I’m not sure what is!!

I can’t wait to see what you come up with.

Supplies used:

Hero Arts Color Layering Fall Trees Freshly Cut Grass Ink Pad Lobster Ink pad Fake Tan Ink Pad Walnut Ink Pad Just Peachy Rainforest SmallS titched Square Stackables

Thank you so much for stopping by!

~Kymona


Its All About Orange!!

Hello everyone!!  I’m here today with AAA Cards Challenge again.

Guess what??? I won their Love challenge!!  How exciting is that!!  I was totally shocked when I saw my name!!

Thank you ladies for that pleasant surprise.

The new challenge is all about Orange!!

Game33

Take a look at my cards:

Just for you

Thank you

I added a touch of orange to both of my cards. I also added a touch of glitter as well.  I decided to use some of my Stampin’ Up! stuff.  I have tons of it and I hardly use them.

I love how they turned out.  What do you think?

Supplies used:

Work of artHello Honey InkBlackberry Bliss InkTangerine TangoItty Bitty Accents Punch PackBasic Rhinestones Jewel AccentsStampin Up glue dotsWink of Stella clear

Thanks for stopping by!

Kymona

I Love You Birdie!!

Hello everyone!! I’m here with a brand new stamp company based in Germany called Create A Smile.  They have fun designs, cute images and punny sentiments that you will love.

Blog-Badge

Over on their Create a Smile blog, they are having a Guest Designer Search for their September Release!!

How exciting is that!!  When I saw that, I knew I would love to be Guest Designer for them.  So I created a project with their free digi birdie to be included in the running!

Take a look at my card:

I Love You Birdie

When I saw this little birdie on their blog, I fell in love with him.  He is the cutest bird I’ve seen.  His big eyes pulled me in.

I used Copic marker Y13 and Y19 to color him in.

I fussy cut him out because I wanted him to pop him off of my card.

I created my tag using Pretty Pink Posh Stitched Duo 1 and Simon Says Stamp Audrey Blue cardstock.

I stamped my “I Love You” sentiment from Papertrey Ink Building Blocks stamp set in Versafine Black Ink. I added foam adhesive to the back of my birdie and adhered him to the tag.

I used my white gel pen to create eyes on my birdie.

I punched a hole in the top of my tag and add some retired So Saffron ribbon and Tempting Turquoise bakers twine.

For my card base, I used Simon Says Stamp Medium Dots Stencil to create a subtle background with Spiced Marmalade Distress Ink and my mini distress blending tool on a piece of Bazzill Marshmallow cardstock.

I added foam adhesive behind my tag and WaLa, I was done.

So what do you think?  Will my card win over anyone’s heart?  I hope so!!

Let me know what you think below.


Supplies used:

Stitched Duo 1 DiesCopic MarkersBuilding BlockOnyx Versafine InkSSS Medium DotsSpiced MarmaladeBlending tool3M Mounting TapeStampin' TrimmerBazzill Marshmallow CSSSS Audrey Blue CSWhite gel pen

Thanks for stopping by.

~Kymona

What’s Your Favorite Watercolor Color?

watercolor for card makers

I must say this Watercolor for Card Makers is an awesome class.  I’m learning so much and sharing it with my daughter has been even better.  Both of us are having a lot of fun learning about colors and how the work with one another.  Once her cards are posted I will link them here in my blog so you can see what her take on the lessons were.

Today’s card is a Stamped Emboss Resist and Watercolor Wash Card.  Kristina Werner taught us how to add ink on top of an embossed image, the ink just happens to be watercolor.  I’ve practice this technique a couple of weeks ago and it took me a while but I got it down pack and my card came out really nice. You can check out my post on April 30.

For my new card, I wanted to create a male card.  I don’t have many of those, I wanted to make sure I tried colors that were suited for men.  I love blues, yellow, and coral.  I also tried something new.  ADDING STITCHING TO MY CARD!!!  I’ve never done that before but I wanted to finally try it.  It was exciting!

Love to call you my friend

I love how the colors blended to make colors that weren’t in my original palette.  When I added the yellow to the tip of the blue it create that pretty green.  The same when I added the coral to the yellow, it created the orange.  It was amazing.

Creating the background was pretty easy.

I used Impression Obsessions Honeycomb Stamp to create my background.  I stamped it with VersaMark and embossed it with Stampin’ Up! clear embossing powder.

I used my Koi Watercolors,  I used number 23, 24 and 8.

My vellum and card stock was attached with my small sewing machine.  I had that sewing machine for two years and never used.  I pulling it out to create this card and I’m so glad I did.

Guess what, I didn’t know how to use the sewing.  I had to ask my daughter to help set up the machine.  I thought that was funny and she loved teaching me.

All and all, my card came out the way I had hoped it would.  I’m very pleased with the look.  I hope you are too!


Supplies used:

Canson Watercolor PaperKio WaterColorsCover-a-Card HoneycombExpressions Thinlits Diesgumball-green-stampin-emboss-powderSnail AdhesiveStampin' TrimmerStampin' DimensionalsPacific PointSewing MachineLawn Fawn SequinExchanging FriendsTombow Multi-Purpose Adhesive

How Much Do You Love Amazing Colors?


watercolor for card makers

Day 2 of my Watercolor for Card Makers was just as much fun as the first.  The teachers are amazing and they have so much information to share with us.

Today I choose to focus on the Soft Watercolor Wash Background technique.  The beauty of this technique is to not have any pencil lines showing in the color wash.  I used my Stampin’ Up! watercolor pencils (Retired), watercolor paper and a brush. 

I love how my card turned out.  I choose to use colors that I hardly use which were orange, light green and yellow.  The combination turned out beautiful.

Love this

Sooooo, what do you think?  I can’t believe I created that all by myself.  I amaze myself sometimes!!


This is how I created this card:

1. I used the watercolor pencils to simple color on the watercolor paper in the different colors.  I didn’t mix the colors while coloring them.

2. I used my brush and applied water to my card to soften the watercolor lines. I allowed the colors to mix a little to have some blending where the colors met.

3. I used my heat gun to dry the paper.  Once the paper was COMPLETELY dried I added orange waters splats to the card.

4. To add the water splats, I touched my water brush to the tip of my orange watercolor pencil for color.  Then I lightly flashed the brush above the paper.

5. I used the heat gun again to dry all of the water splats.

6. I placed gold bakers twine down where I wanted it to be.  I added a little bit of adhesive as to hold it in place.

7. I stamped my sentiment, punched it out and adhered it to the bakers twine.

8. I adhered the mask to the card base for a complete Soft Watercolor Wash Background Card!

Truly Amazing!!!

Supplies used:

Canson Watercolor PaperStampin Up Watercolor PencilsGold Bakers TwineCircle FramelitsSnail AdhesiveStampin' TrimmerBig Shot Die-Cut MachineLoveThis

~Kymona