What do you think? Did I follow the sketch pattern? Let me know below.
So are you ready for the new challenge?
You have until September 1, 2016 at midnight EST to play along and submit your project on the YNS Blog post. One random participant will win a $15 gift certificate to the Your Next Stamp Store. If YNS stamps or dies are the focal point then the winner receives and additional $5 gift certificate f0r a total of $20. The winner will be announced on the YNS Blog the Sunday after the challenge closes.
All you have to do is leave a comment on the YNS blog by June 24th for a chance to WIN a YNS stamp set of your choice!! Super simple and easy!! You will get to see my fellow DT’s projects as well.
So head on over, you don’t want to miss this one!!
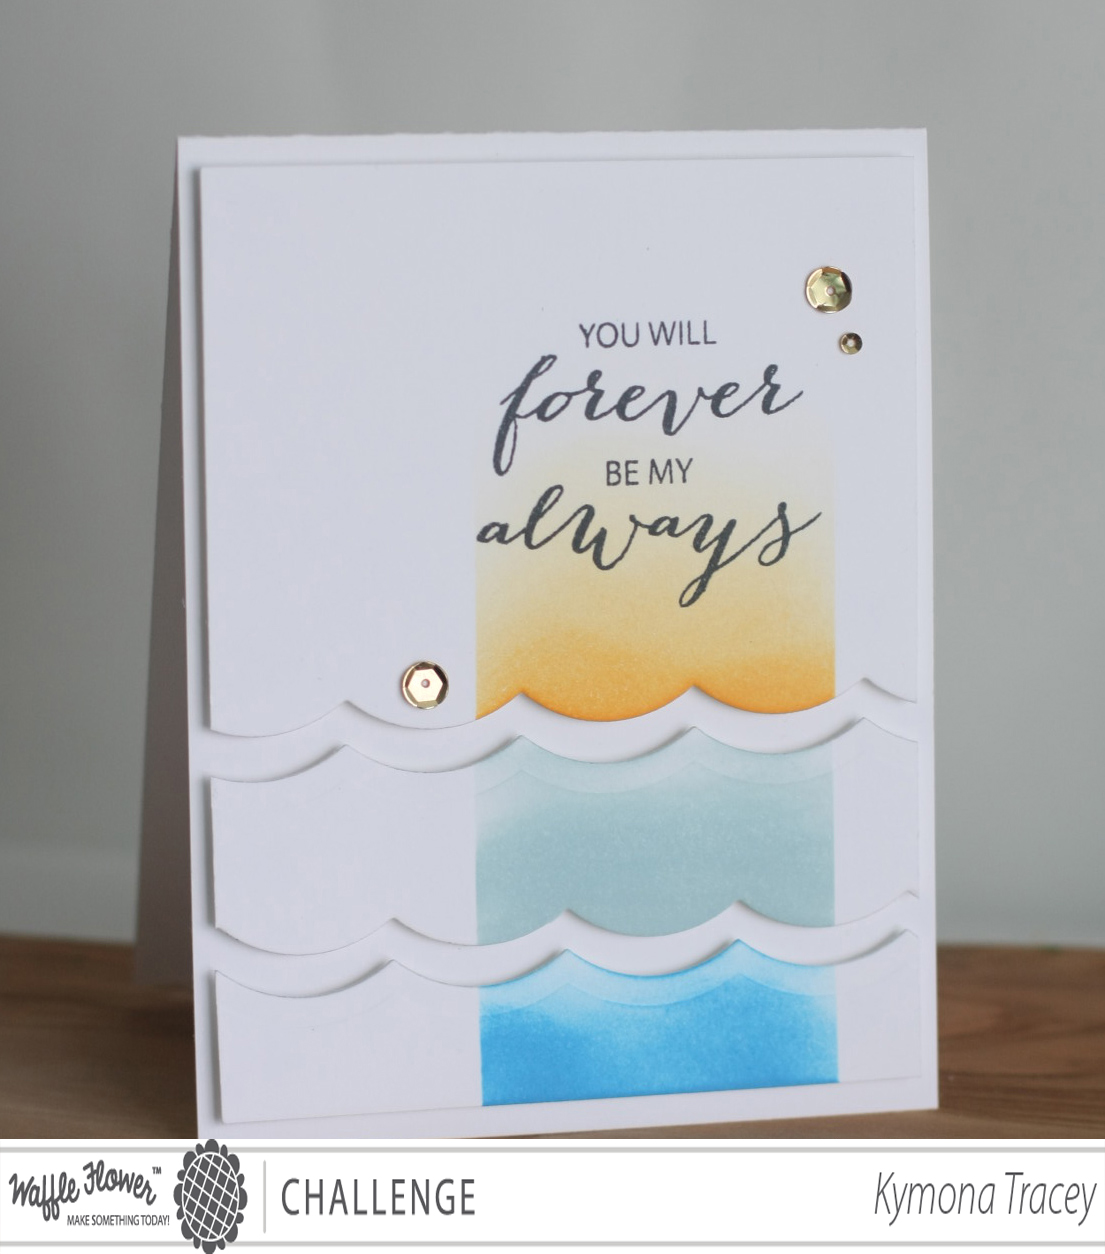
Hello everyone!! I’m here today with Waffle Flower Crafts New Photo Challenge!! The colors for this challenge are so pretty. I was in awe when I say the colors. They are so deep and very rich!
I thought long and hard about what I wanted to create using these colors. It had to be meaningful because the colors called for it. So I decided that I wanted to use the new DT Mix Stamp Set.
The sentiment ” You Will Forever Be My Always”, has a deep sentimental meaning in the corners of my heart. I have a small story for you, you might need a tissue. So get ready.
A couple of years ago before my daughter was born, her father and I use to listen to the radio in the car all the time. There was one song that use to come on all the time. It was a country song by a women I didn’t recognized.
At first we didn’t realize that song played each and every time we were in the car together. One evening he picked me up from work and the song was on and I asked him if he knew what the name of the song was or who sang the song. We loved the song but didn’t know the name of it. So right there and then, I called that radio station to find out who sang the song and the name.
The DJ said it was Forever And For Always by Shania Twain. He asked me if I wanted to hear it and I said yes, and dedicated it to Ray! That song became our song. He always said we will be together “forever and for always”, because “we just fit”.
December 25, 2005 we found out that we were going to have a baby, on December 28, 2005 he died from cardiovascular disease. He never did get chance to see our daughter who is going to 9 this year, but he did keep his promise. He is with me through her “Forever and for Always”!
So I made my card in memory of him!
Take a look:
Thanks Tessa for creating that sentiment just for me! I love how this card turn out. Its a CAS card with a lot of sophistication.
Hello everyone!! I’m here with a new challenge that I’ve wanted to play along with for awhile now but haven’t had a chance. So, today is that day!! I’m a bit excited about it.
The new challenge is Lawnscaping Challenge No. 91: Patterned Paper. How much fun will this be! I have so much pattern paper that has never been touched. I’m hoping I can really search my stash an come up with some great cards.
I decided to use some of my retired Stampin’ Up! Welcome Neighbor DSP for this challenge. I have tons of it and this is such a great way to use it up.
I added some new DoubleClick Skittles Sunshine Yellow for added interest. Are they just the cutest thing you’ve seen. That yellow color is awesome.
So, I have another first that I can’t wait to share with all of you. I videotaped myself coloring with my Copic markers!!
Take a look at my very first video. I am truly excited about this. I’ve wanted to create videos for a long time but was afraid and now I’m super excited about it.
Hello everyone!! I’m here with a brand new stamp company based in Germany called Create A Smile. They have fun designs, cute images and punny sentiments that you will love.
Over on their Create a Smile blog, they are having a Guest Designer Search for their September Release!!
How exciting is that!! When I saw that, I knew I would love to be Guest Designer for them. So I created a project with their free digi birdie to be included in the running!
Take a look at my card:
When I saw this little birdie on their blog, I fell in love with him. He is the cutest bird I’ve seen. His big eyes pulled me in.
I used Copic marker Y13 and Y19 to color him in.
I fussy cut him out because I wanted him to pop him off of my card.
I must say this Watercolor for Card Makers is an awesome class. I’m learning so much and sharing it with my daughter has been even better. Both of us are having a lot of fun learning about colors and how the work with one another. Once her cards are posted I will link them here in my blog so you can see what her take on the lessons were.
Today’s card is a Stamped Emboss Resist and Watercolor Wash Card. Kristina Werner taught us how to add ink on top of an embossed image, the ink just happens to be watercolor. I’ve practice this technique a couple of weeks ago and it took me a while but I got it down pack and my card came out really nice. You can check out my post on April 30.
For my new card, I wanted to create a male card. I don’t have many of those, I wanted to make sure I tried colors that were suited for men. I love blues, yellow, and coral. I also tried something new. ADDING STITCHING TO MY CARD!!! I’ve never done that before but I wanted to finally try it. It was exciting!
I love how the colors blended to make colors that weren’t in my original palette. When I added the yellow to the tip of the blue it create that pretty green. The same when I added the coral to the yellow, it created the orange. It was amazing.
Creating the background was pretty easy.
I used Impression Obsessions Honeycomb Stamp to create my background. I stamped it with VersaMark and embossed it with Stampin’ Up! clear embossing powder.
I used my Koi Watercolors, I used number 23, 24 and 8.
My vellum and card stock was attached with my small sewing machine. I had that sewing machine for two years and never used. I pulling it out to create this card and I’m so glad I did.
Guess what, I didn’t know how to use the sewing. I had to ask my daughter to help set up the machine. I thought that was funny and she loved teaching me.
All and all, my card came out the way I had hoped it would. I’m very pleased with the look. I hope you are too!
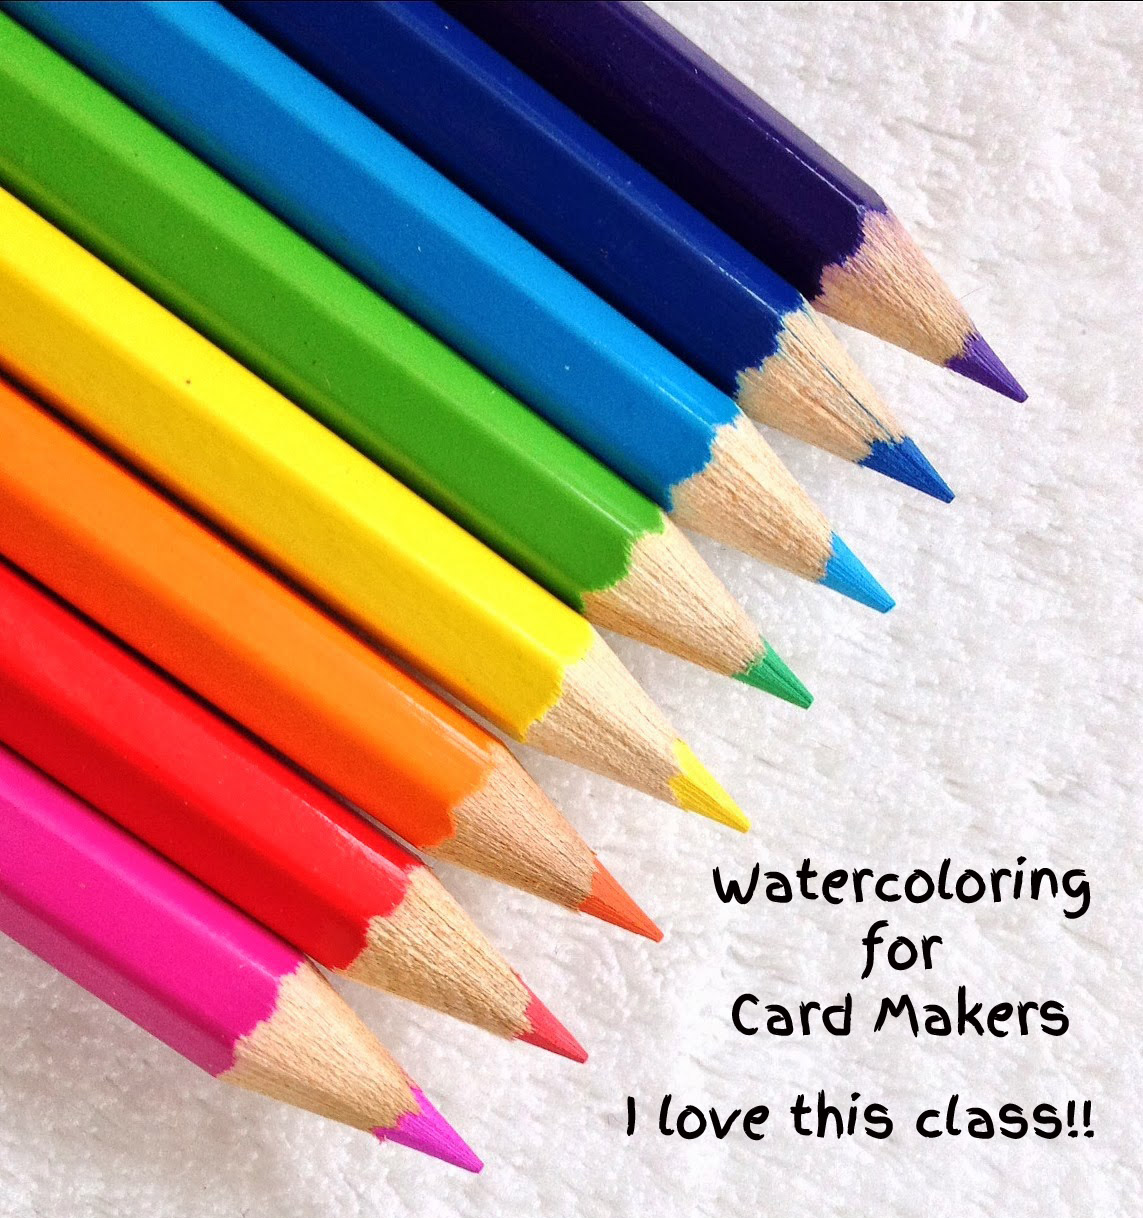
Day 2 of my Watercolor for Card Makers was just as much fun as the first. The teachers are amazing and they have so much information to share with us.
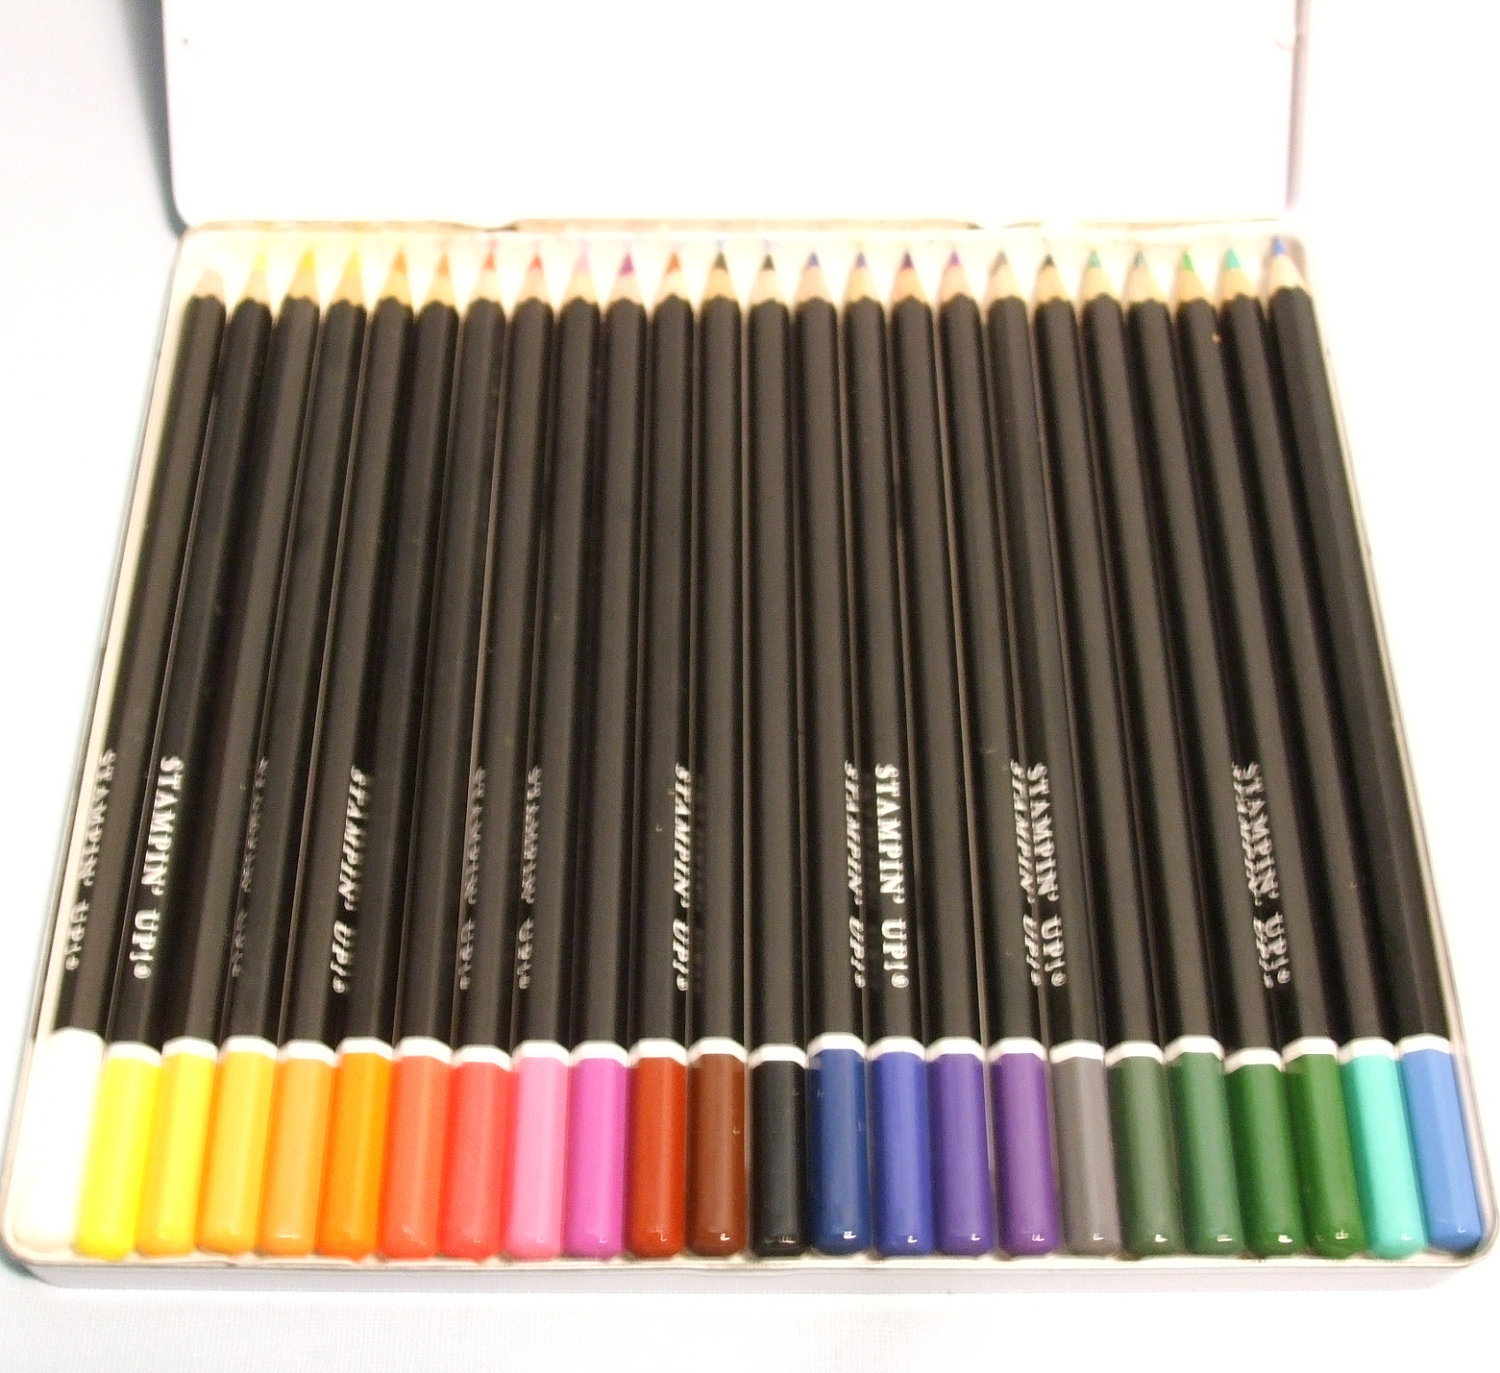
Today I choose to focus on the Soft Watercolor Wash Background technique. The beauty of this technique is to not have any pencil lines showing in the color wash. I used my Stampin’ Up! watercolor pencils (Retired), watercolor paper and a brush.
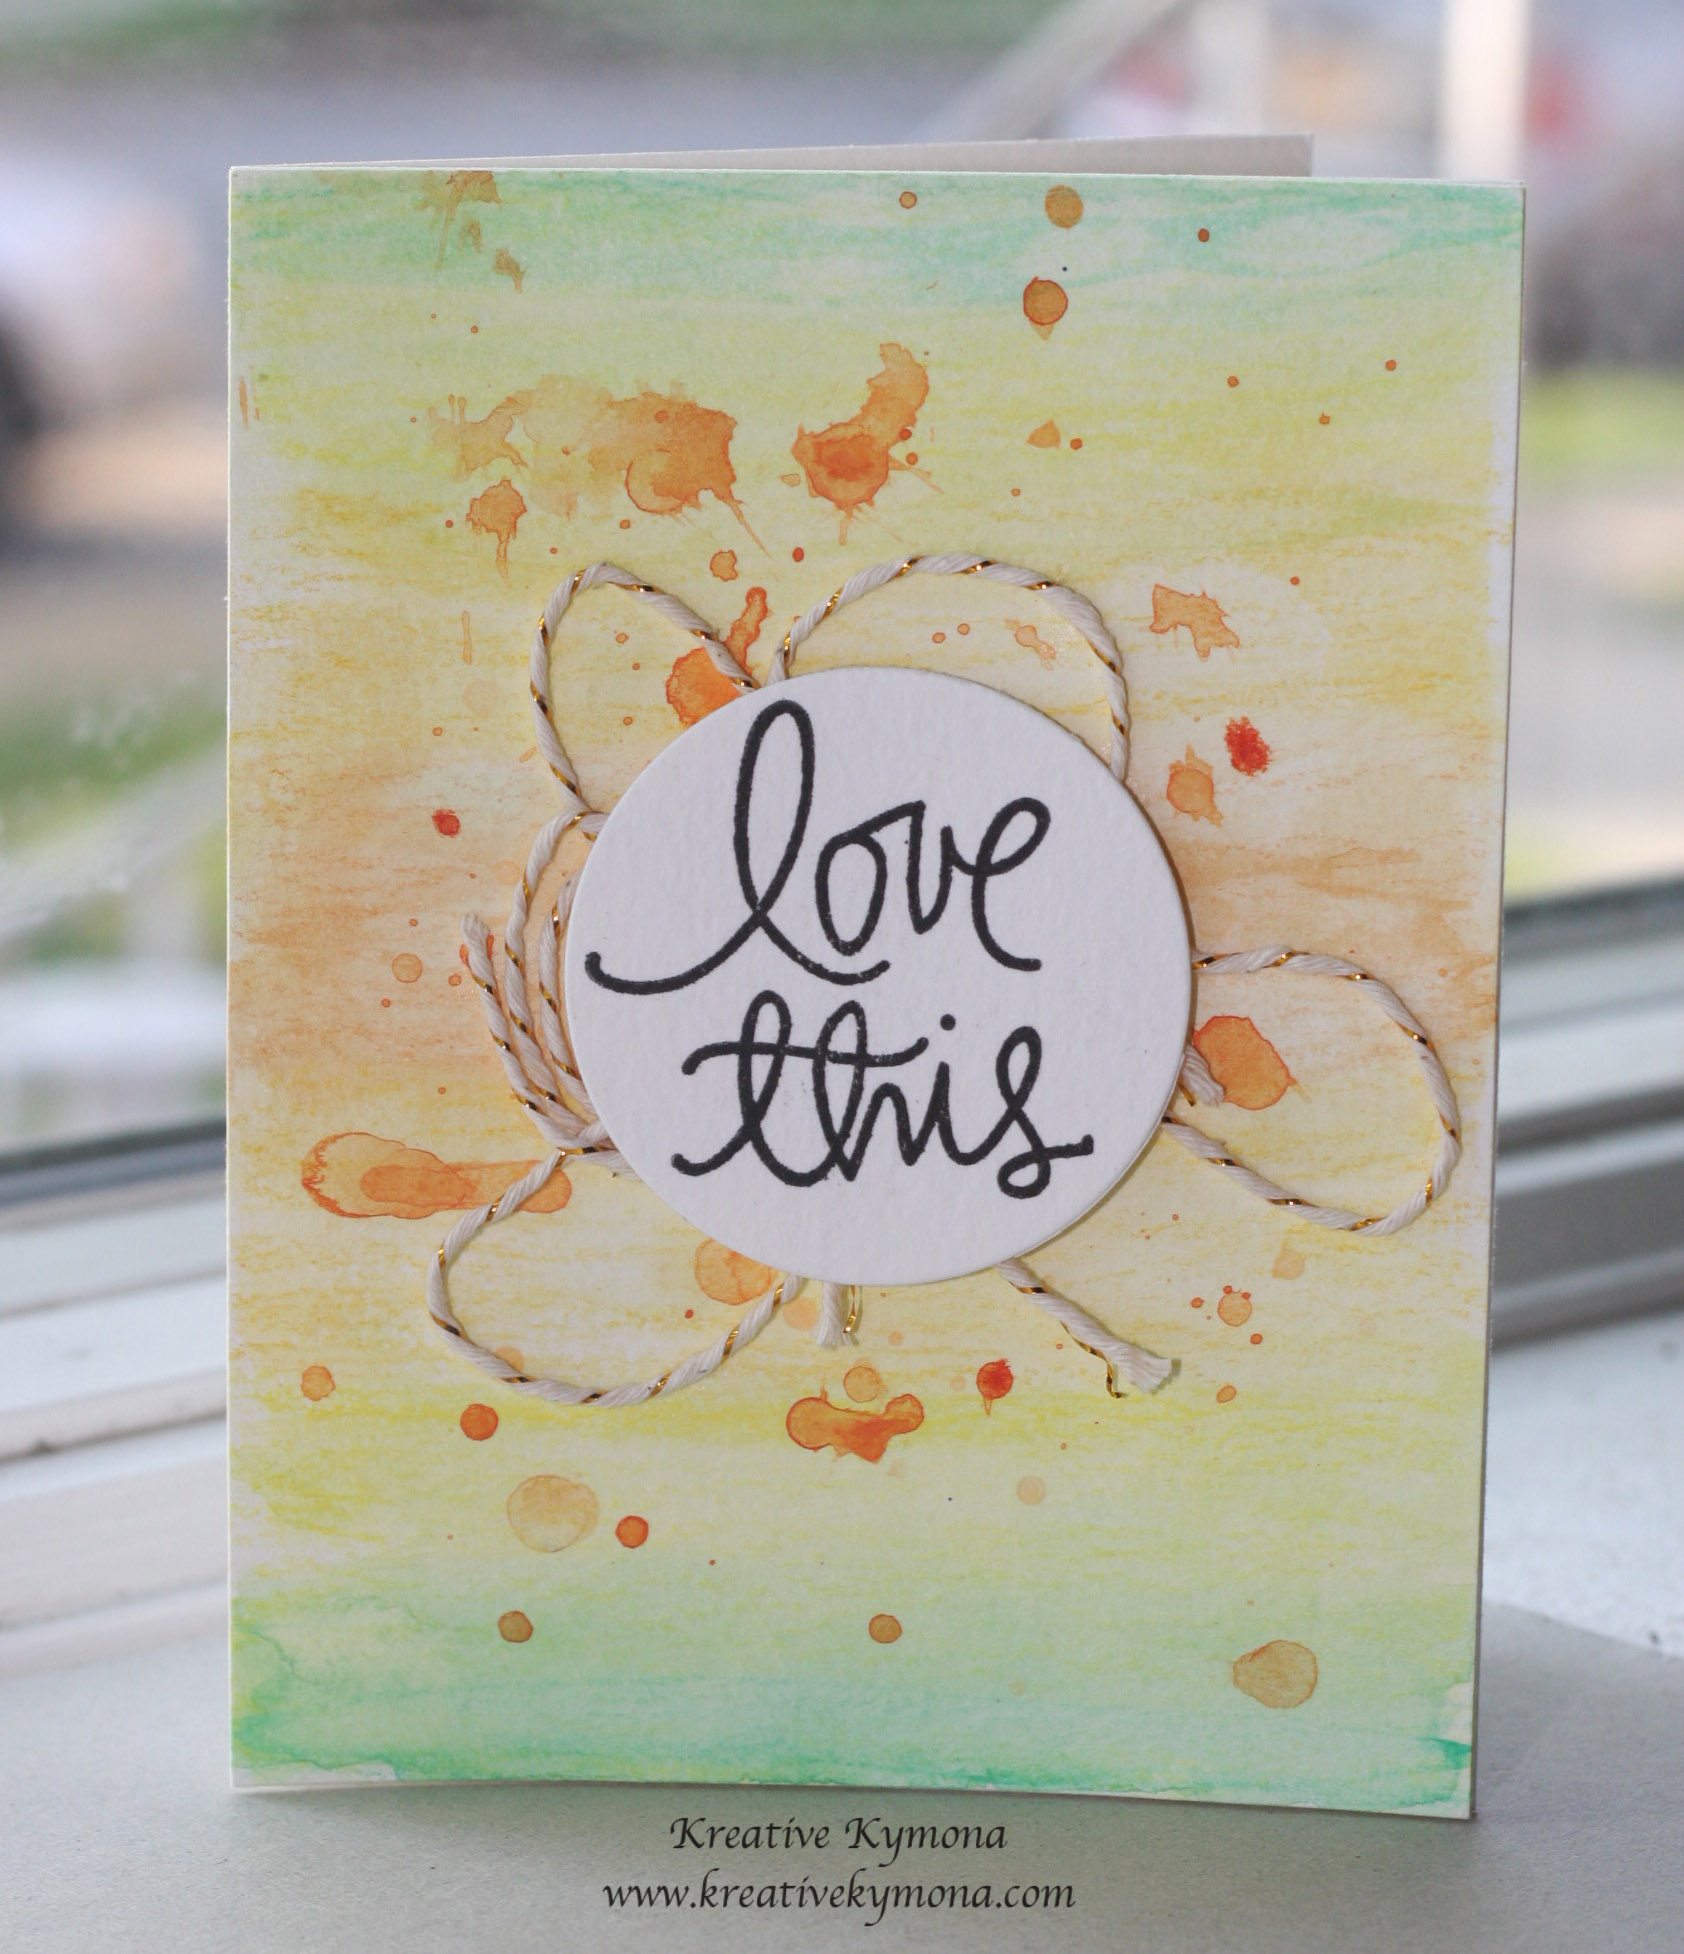
I love how my card turned out. I choose to use colors that I hardly use which were orange, light green and yellow. The combination turned out beautiful.
Sooooo, what do you think? I can’t believe I created that all by myself. I amaze myself sometimes!!
This is how I created this card:
1. I used the watercolor pencils to simple color on the watercolor paper in the different colors. I didn’t mix the colors while coloring them.
2. I used my brush and applied water to my card to soften the watercolor lines. I allowed the colors to mix a little to have some blending where the colors met.
3. I used my heat gun to dry the paper. Once the paper was COMPLETELY dried I added orange waters splats to the card.
4. To add the water splats, I touched my water brush to the tip of my orange watercolor pencil for color. Then I lightly flashed the brush above the paper.
5. I used the heat gun again to dry all of the water splats.
6. I placed gold bakers twine down where I wanted it to be. I added a little bit of adhesive as to hold it in place.
7. I stamped my sentiment, punched it out and adhered it to the bakers twine.
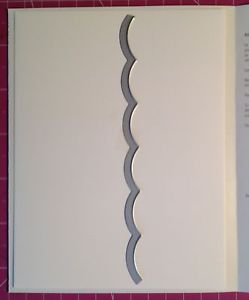
8. I adhered the mask to the card base for a complete Soft Watercolor Wash Background Card!