Second Post for today
It your looking for the Right At Home post, click here
Hello everyone!! It’s CASology Tuesday!! We are back with another Cue Card just for you!!
This week’s cue card is:

When I saw this cue card, I thought of the Living Magazine I saw standing in line at the supermarket. I had to snap a picture of it.

Look at how pretty those easter eggs look! This was the inspiration for my watercolor easter egg.
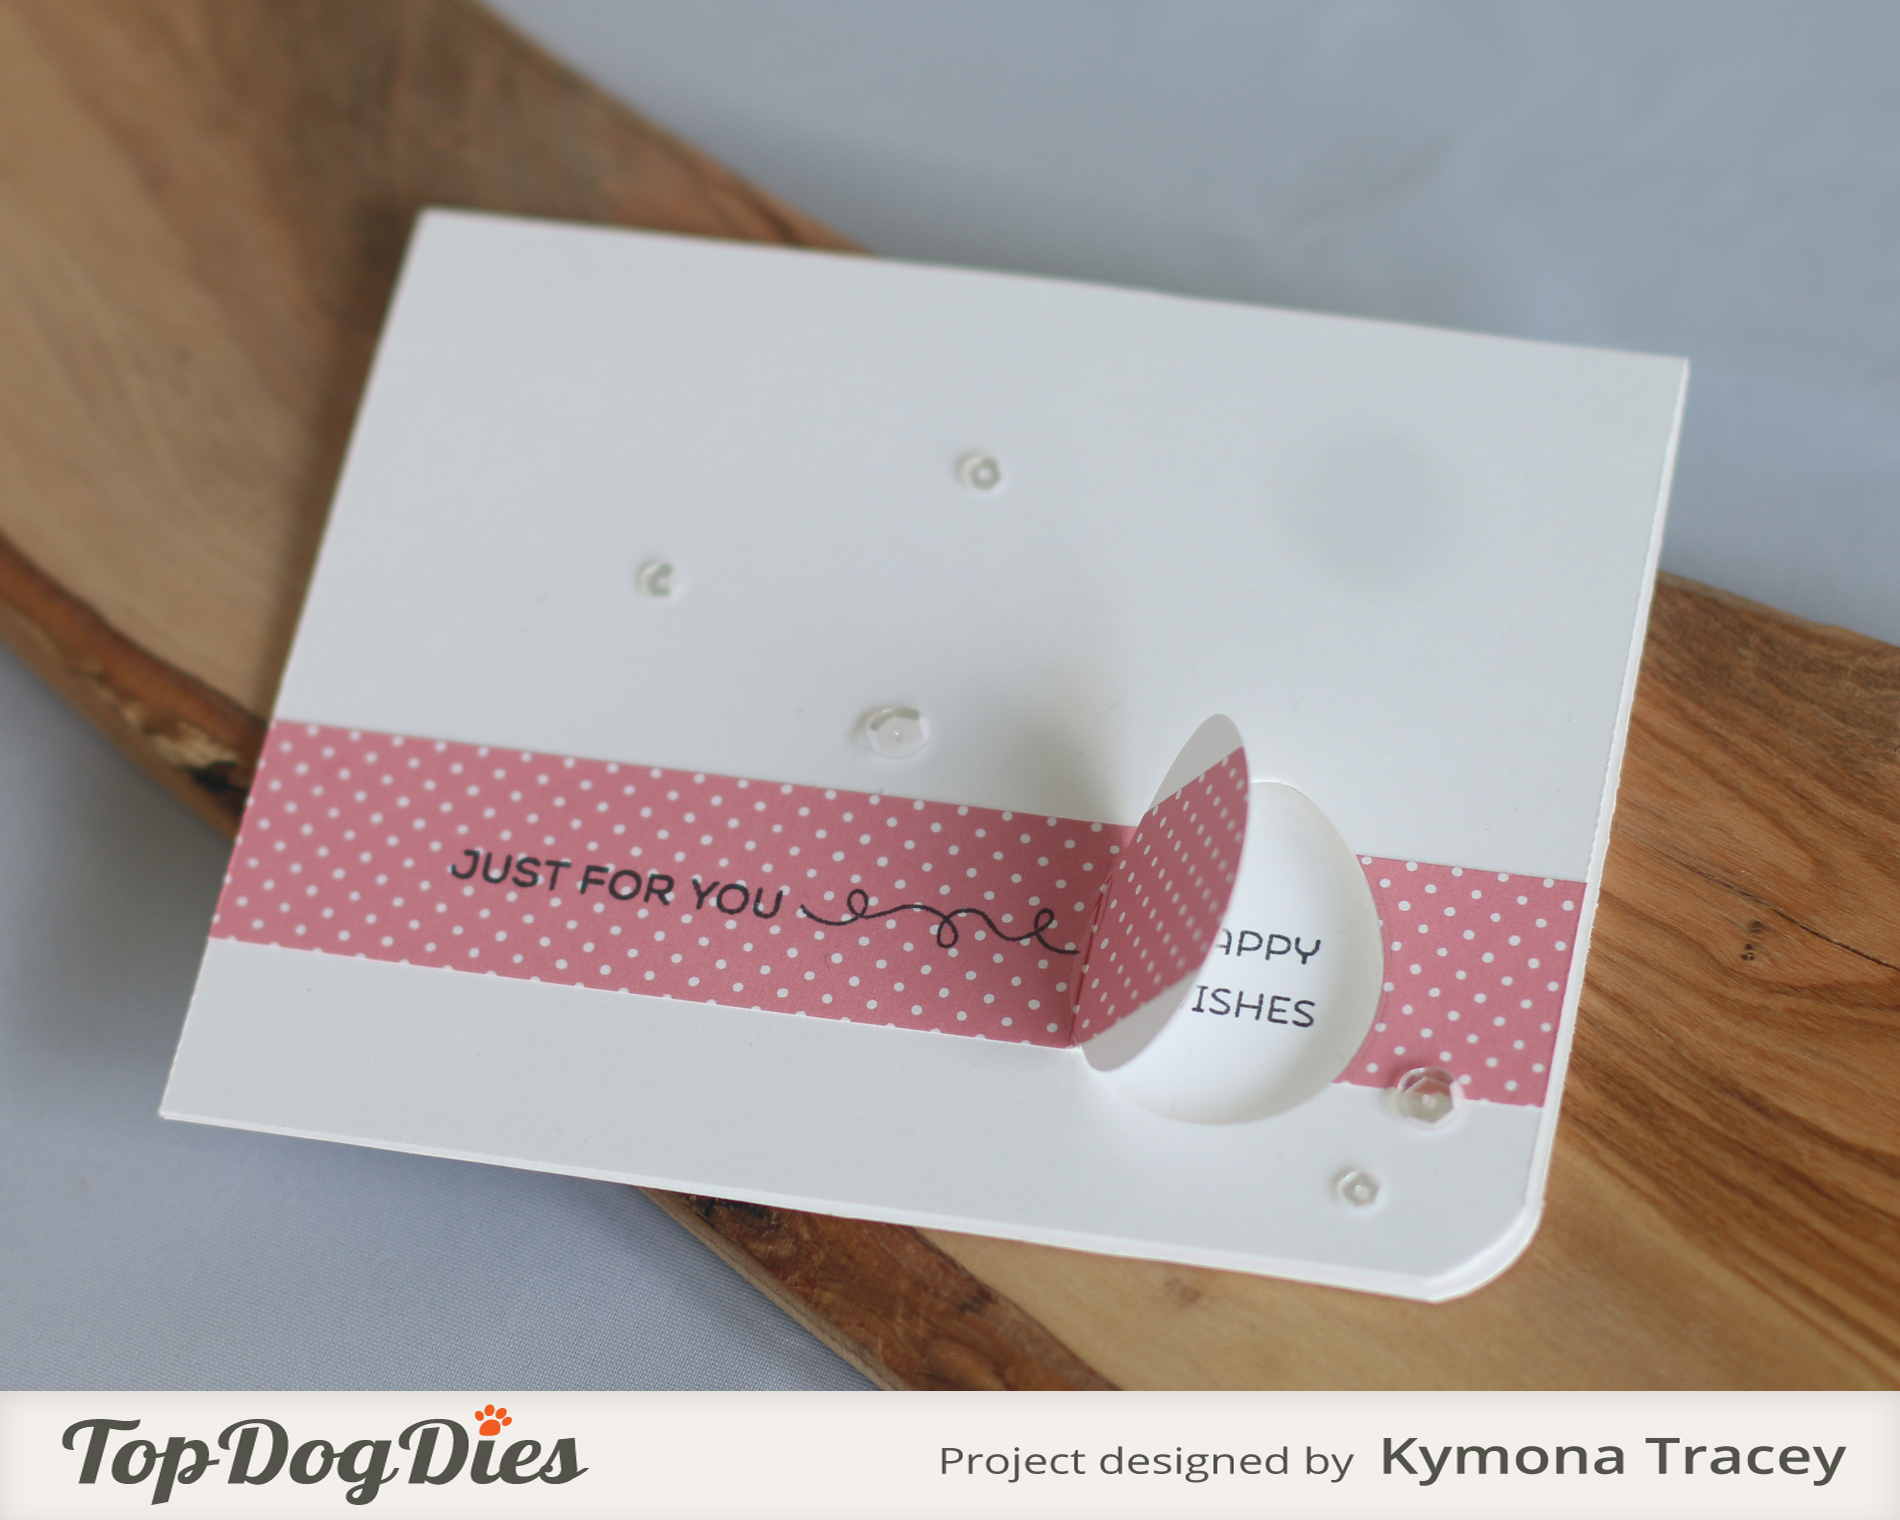
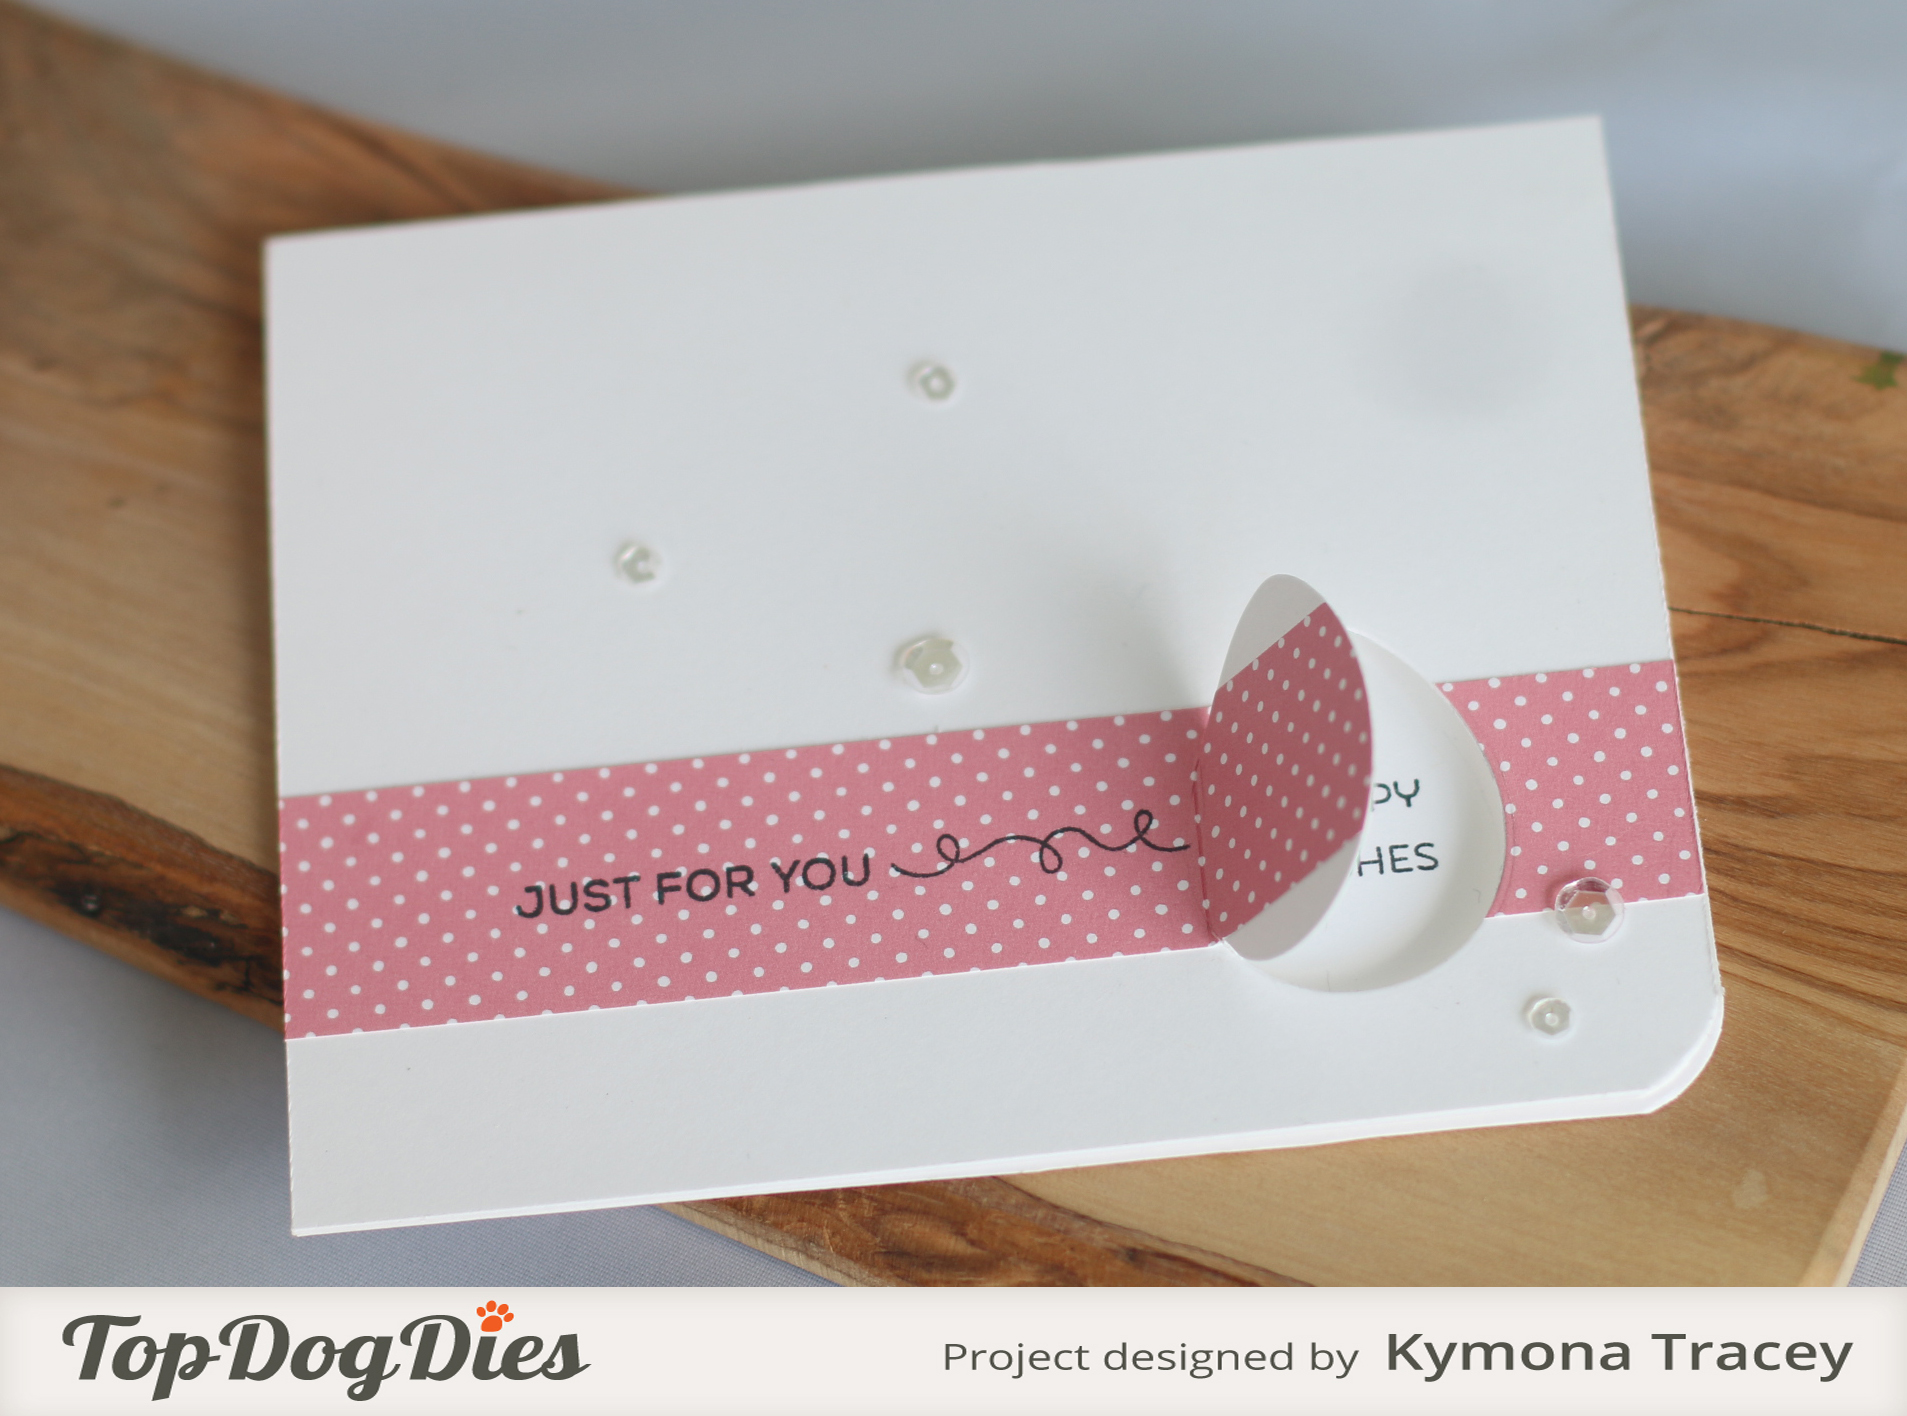
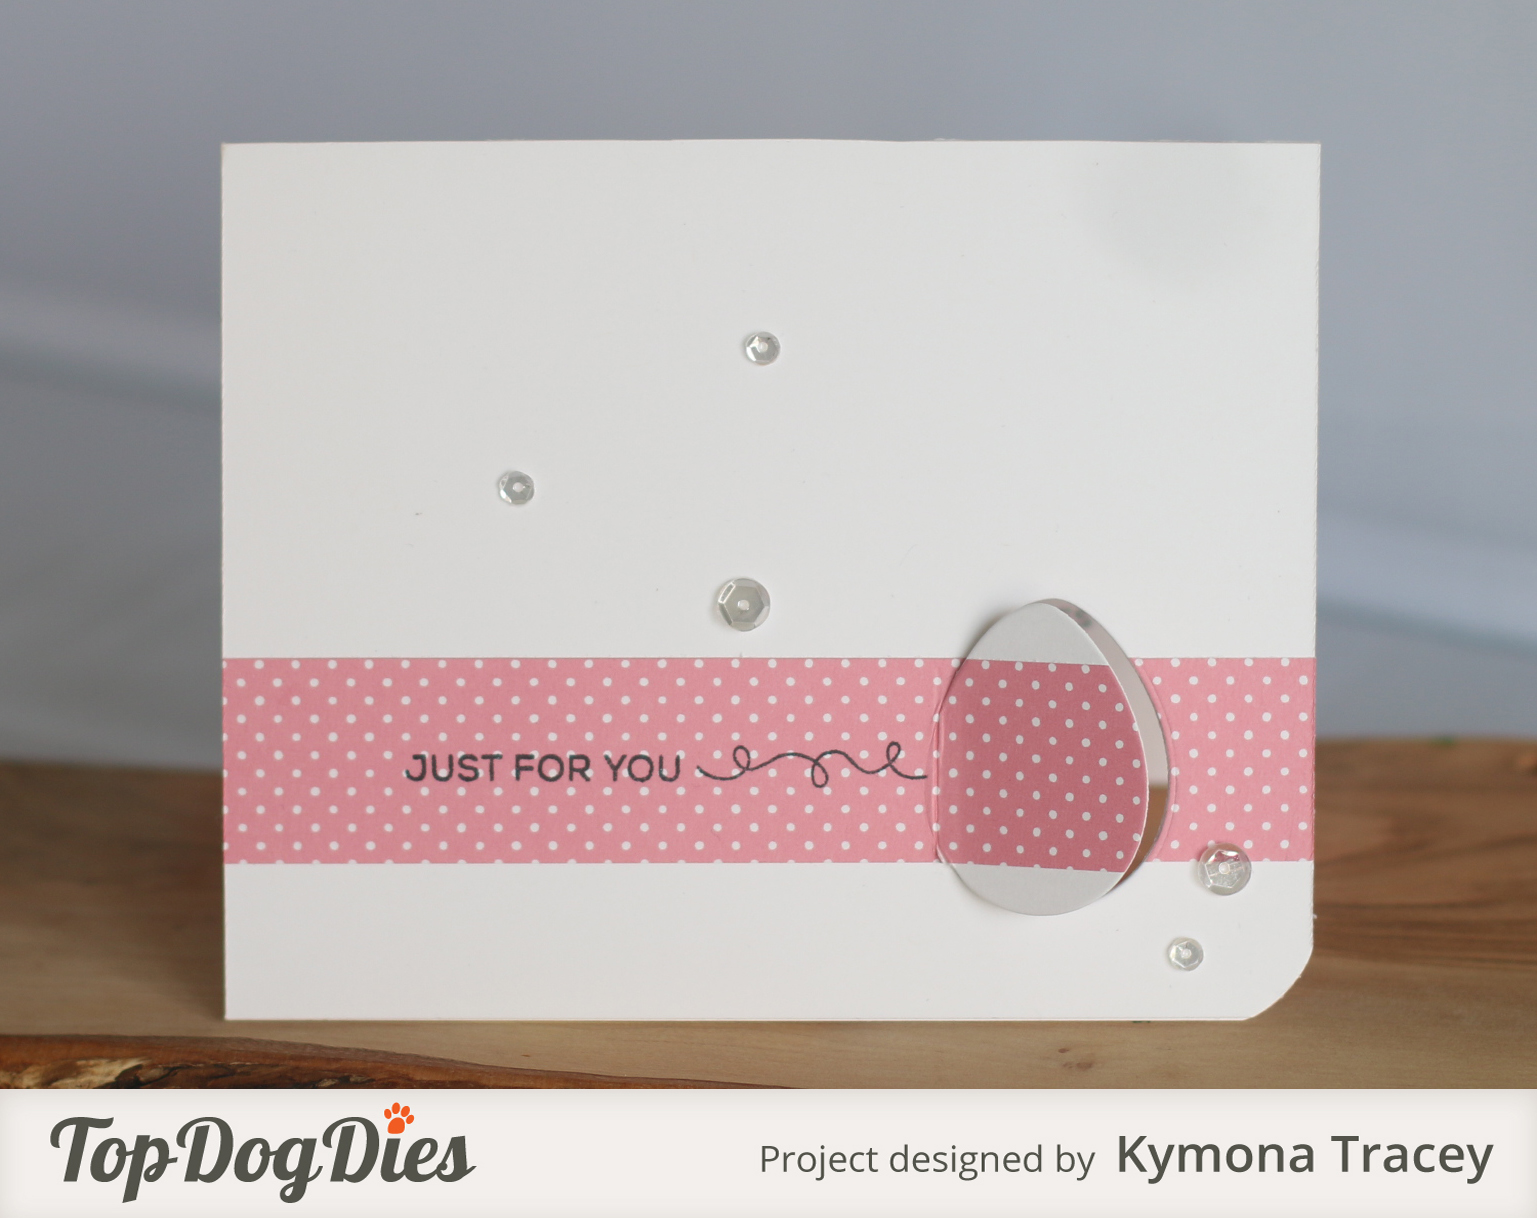
Take a look at my card:

Creating this card was very easy.
I created a watercolor panel using my new Tombow Yo-i Crayons. These crayons are water soluble so its easy to play with.

All I did was add color to the white cutting board. Then use the wet paintbrush to pick up the color and add them to the wet Arches watercolor paper.
Super easy and fun. You add color according to what you want. I love the softness of my palette since its an egg for Easter.
Then I used Your Next Stamp Stitched Ovals Die Set to create cut out an large oval shape that looks like an egg.
I used Right At Home Hoppy Easter Stamp Set to stamp my sentiment right in the middle of the egg.
I adhered the egg to the Recollection Heavyweight Black card base with 3M Foam Tape.
To finish my card off, I rounded the corners with the We R Memory Keepers Corner Chomper.
All done!!
What do you think? I can’t wait to see what you come up with!
For more inspiration, check out my fellow Design Team members blog for more awesome work.
![]()
Supplies used:


Thanks for stopping by!
~Kymona