Top Dog Dies Pocket Letter Tutorial

Hello everyone!!  It’s Top Dog Dies Tutorial Day!!  I’m here today showcasing Top Dog Dies Flip Flop Die Set.

TDD Flip Flop


I love this die set.  Its super cute and it represents the summer for me.  I love wearing flip flops.  They slip on and off.  No hassle at all.

The one thing I don’t like about flip flops are, they are super slippery when they are wet!!  When I was 7 months pregnant with daughter, I slipped and fell in a store because the floor was wet and the slippers had no grip.

Crazy right!!  The baby and I were fine but that was super scary!!

Ok, I digress.  On to my project.  I created this pocket letter last week for the collaboration but I wanted to give you a tutorial on how I created it.

Take a look at my pocket letter:

Flip Flops (TDD)

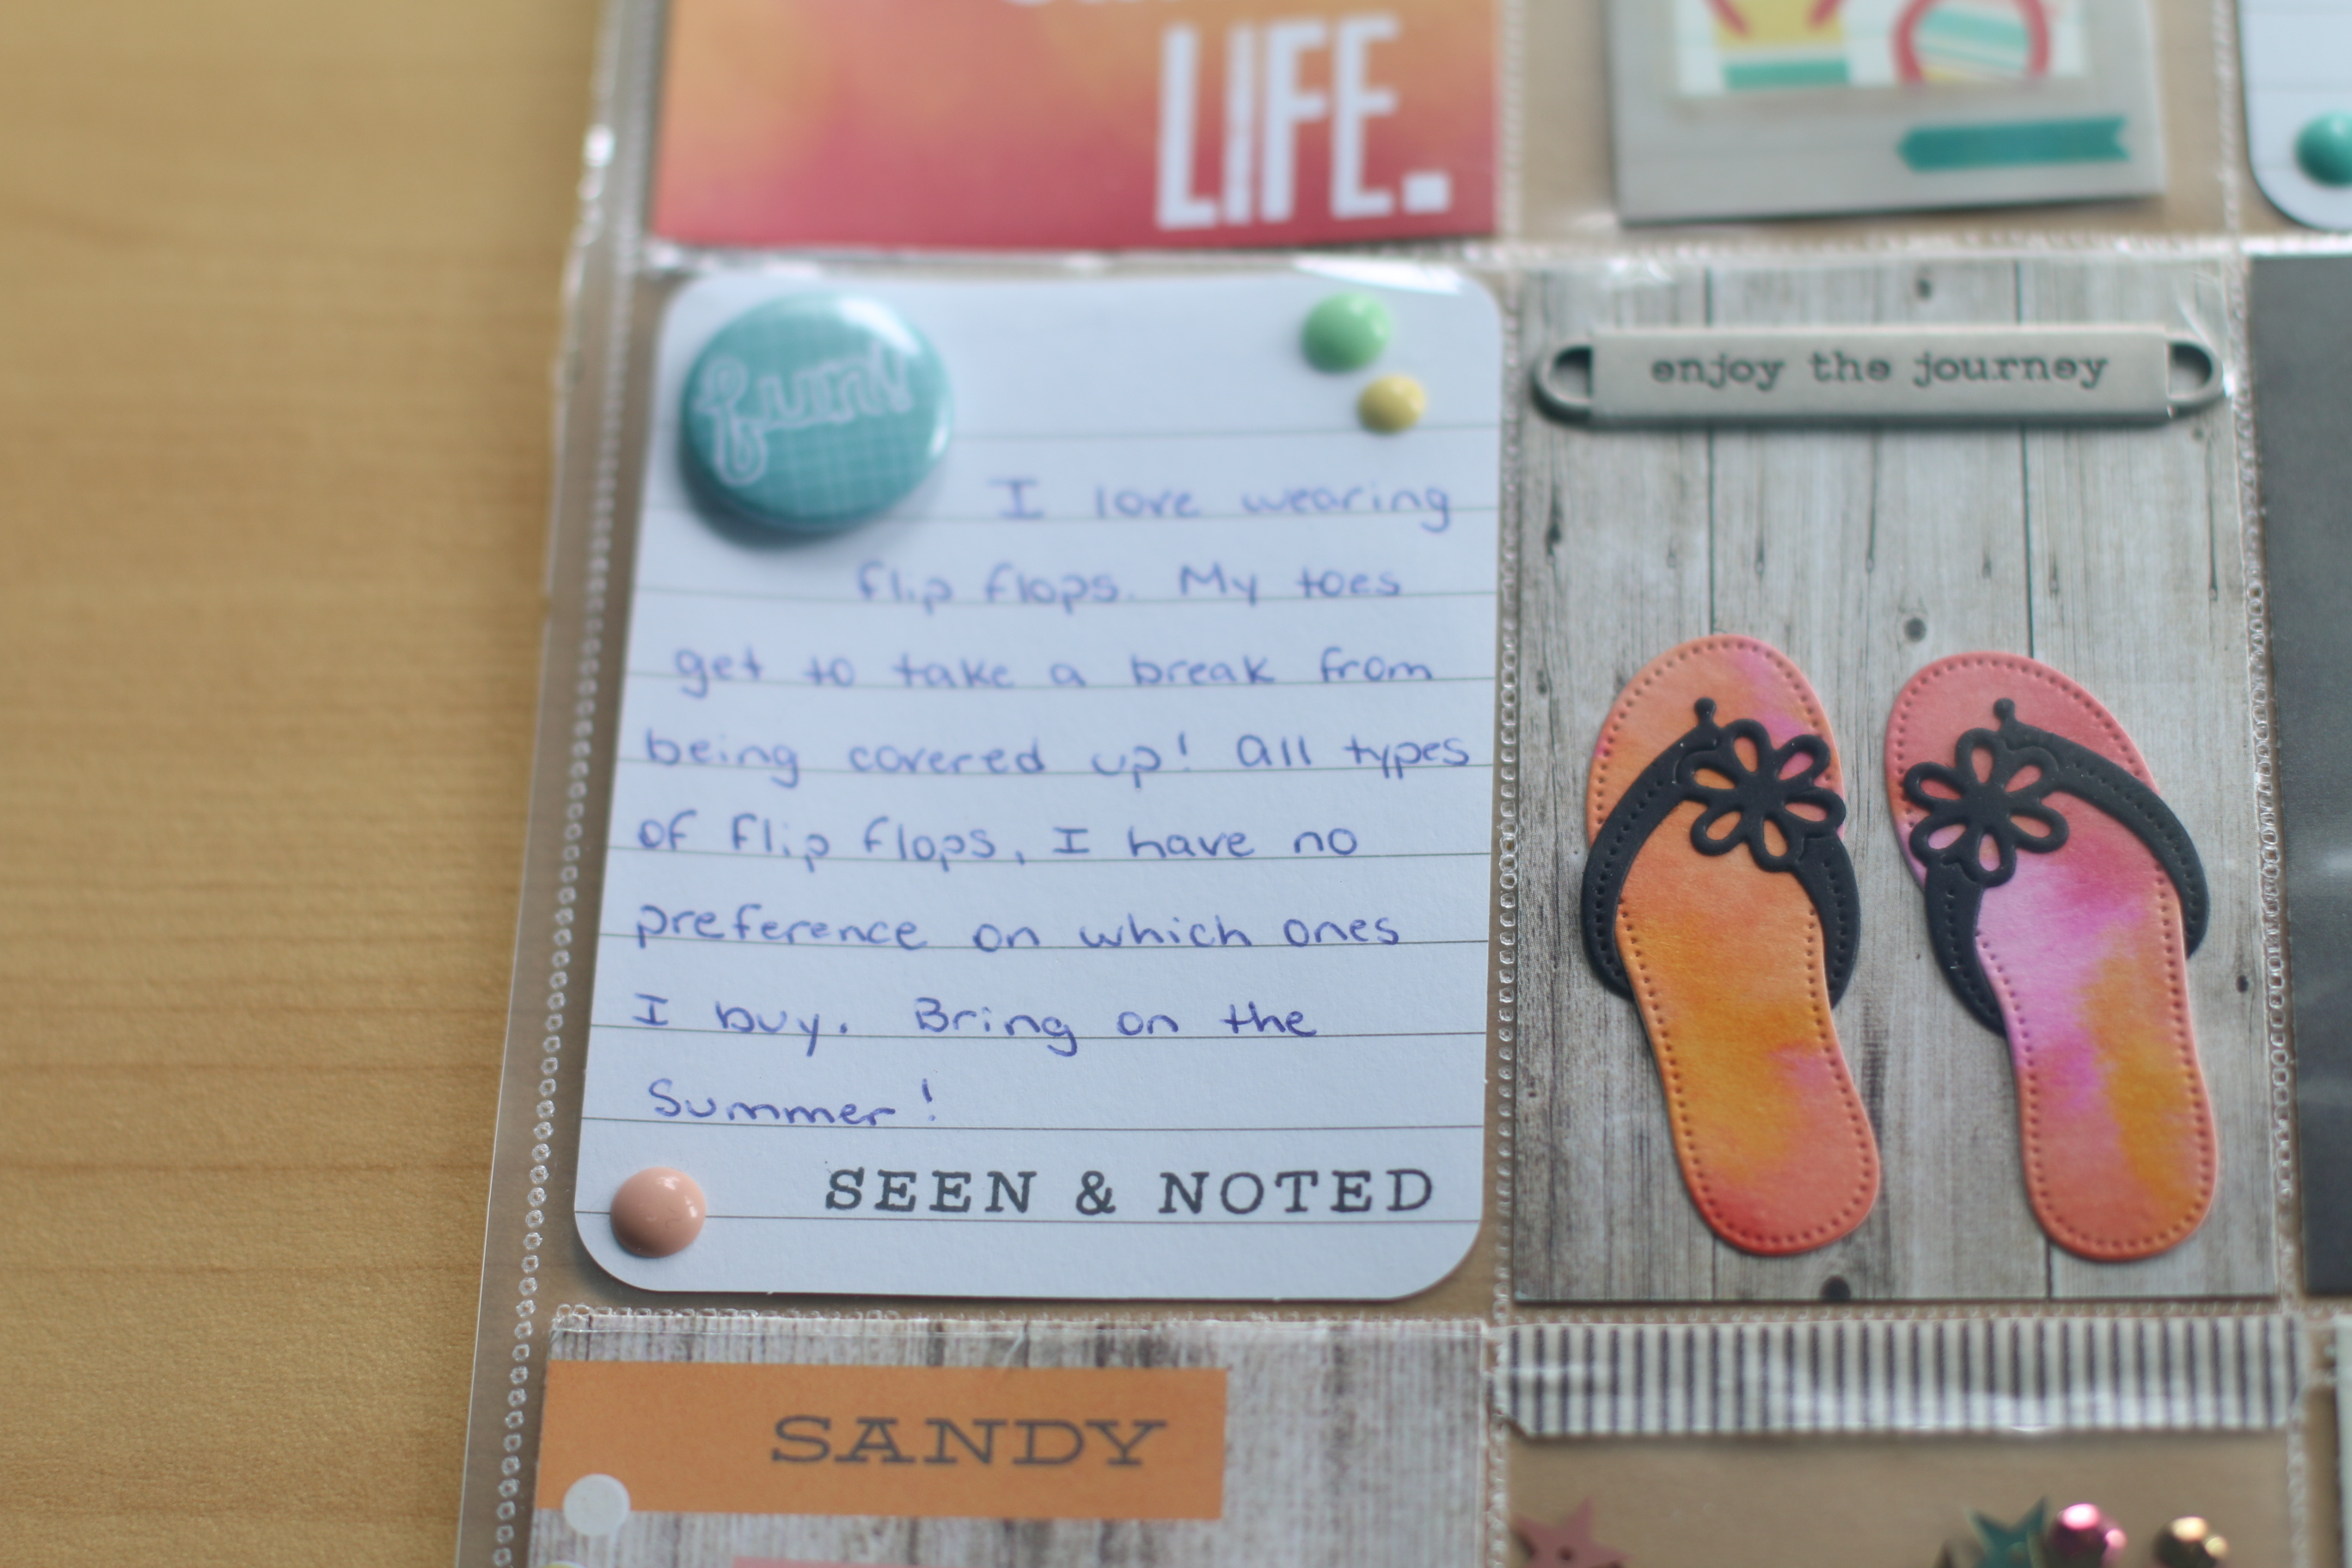
Those flip flops are so cute.  I watercolored them! I need a pair of those.

Here is how I created it:

1. I took a piece of scrap paper and divided my paper evenly.  I added the dimension to my paper for future use.

IMG_3859

2. After I divided my paper, I put the scrap paper inside the We R Memory Keepers page projector. So that I could cut the plastic where it need to be open, only on one side.  Without the paper you will cut through the plastic.

IMG_3867

3. The fuse comes with two tips: the fuse tip and the cutting tip.  This tip cuts the plastic open.

IMG_3869

4. Here you can see that I cut the top and the bottom of my pocket.  I had to laugh.  Why didn’t I think of that.  I had a solution.

IMG_3873

5. I took the paper out of the page protector, taped it to my glass mate. If you do not remove the paper, the plastic can’t fuse together.

I then placed my page protector on top of the paper lining up the cut line with the lines on my paper.  I fused the plastic back, one quarter above the cut line on both sides.

IMG_3879

6.Once I finished prepping the page protector, I added my inserts in the pockets. I added sequin to this pocket and fused it closed.

IMG_3880

7.  I used an old piece of watercolor paper and die cut my flip flops from that.  I attached it Simple Stories Summer Vibes pattern paper.  I added a Tim Holtz word band.

IMG_3892

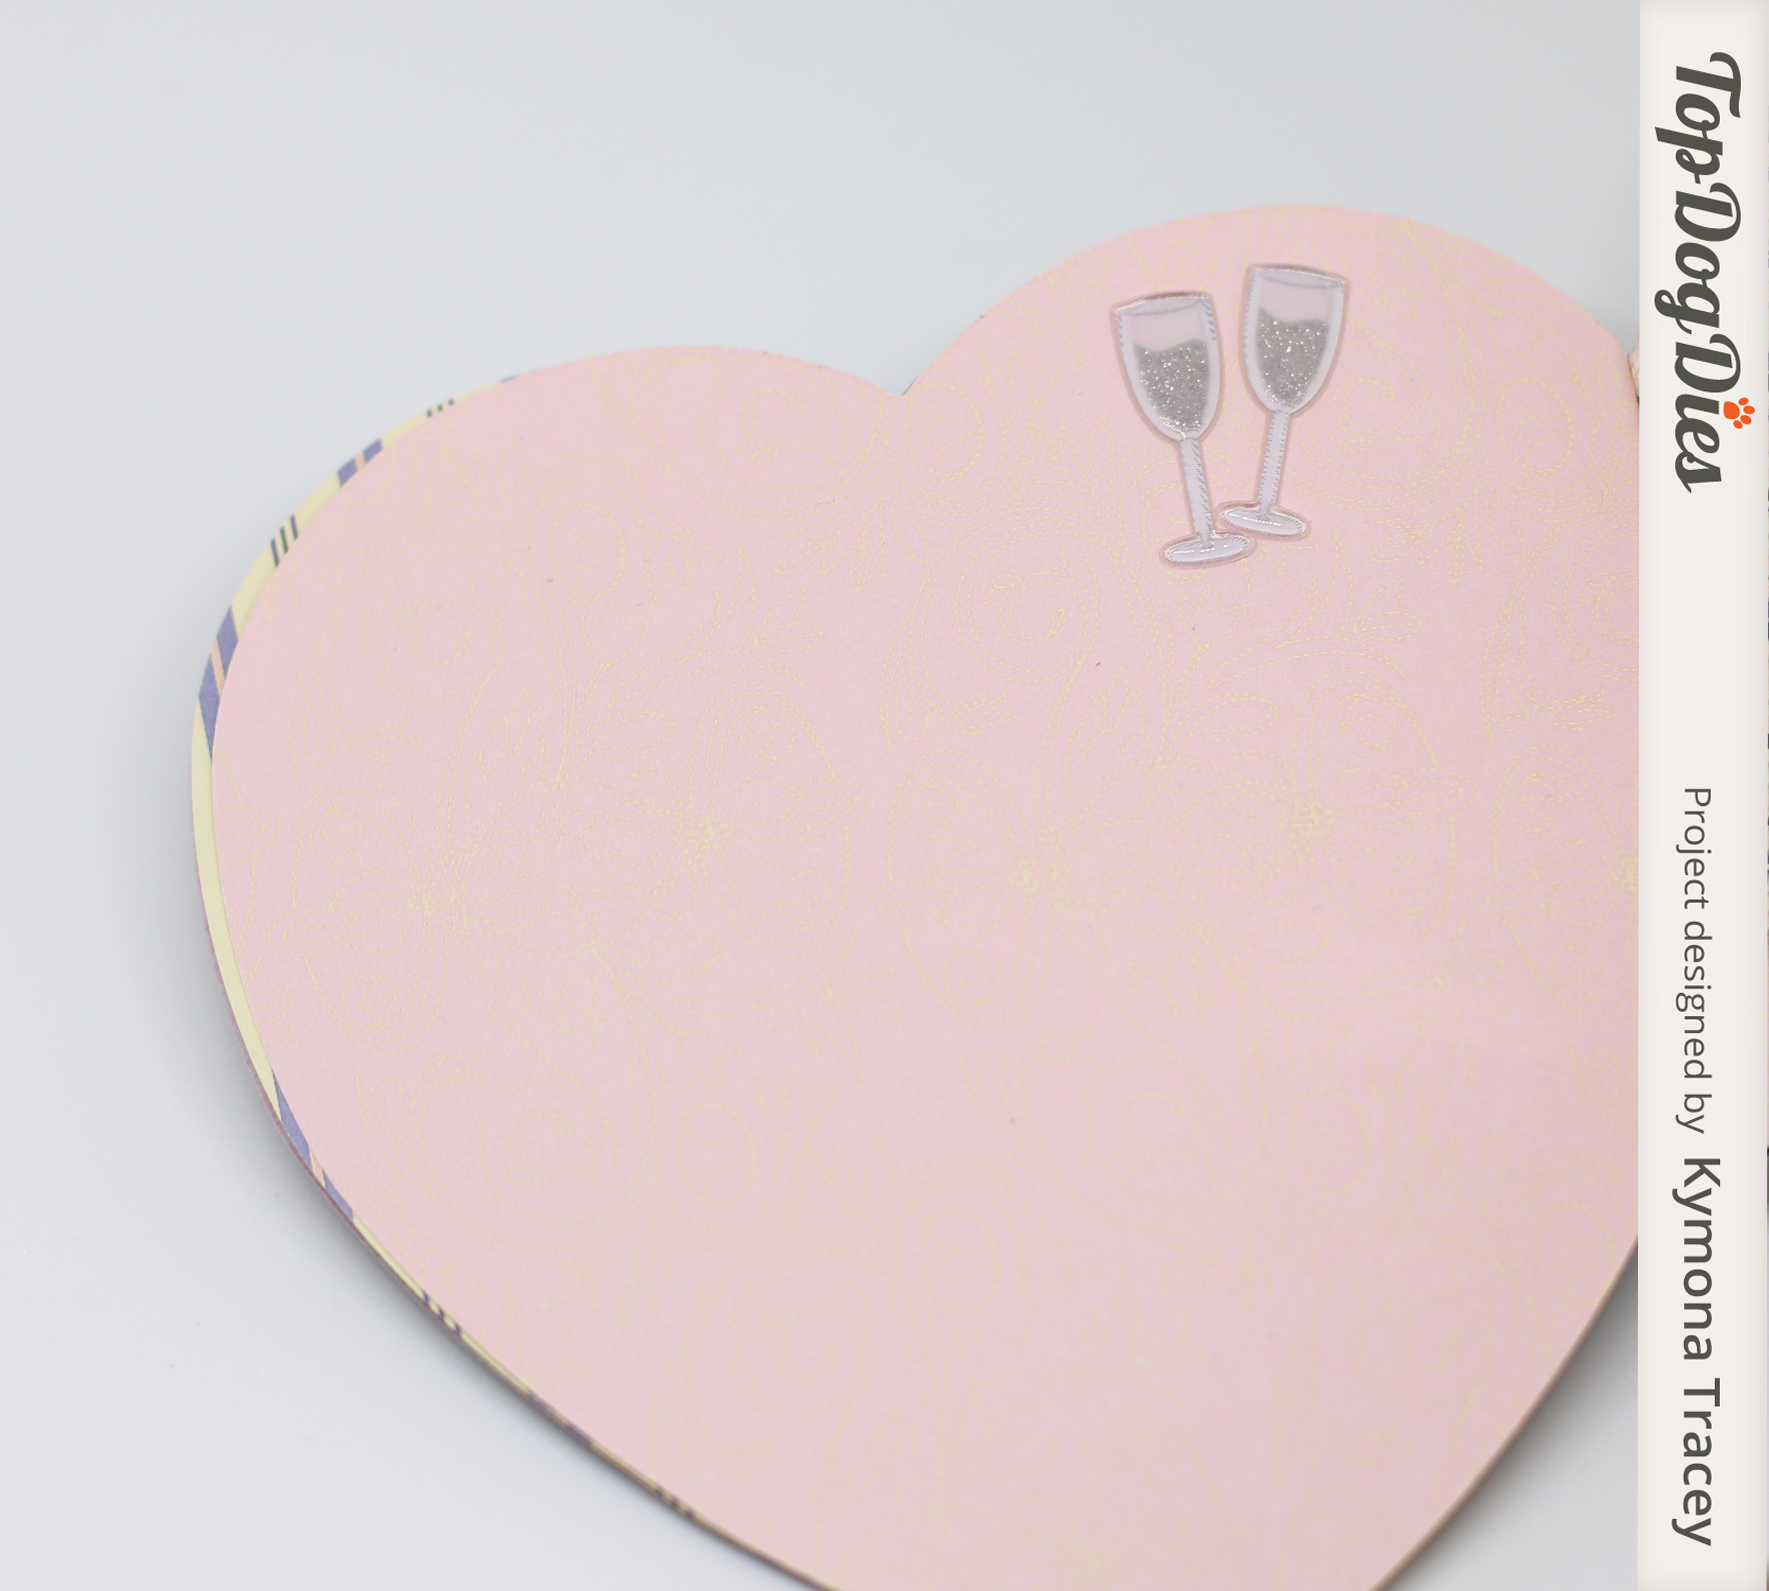
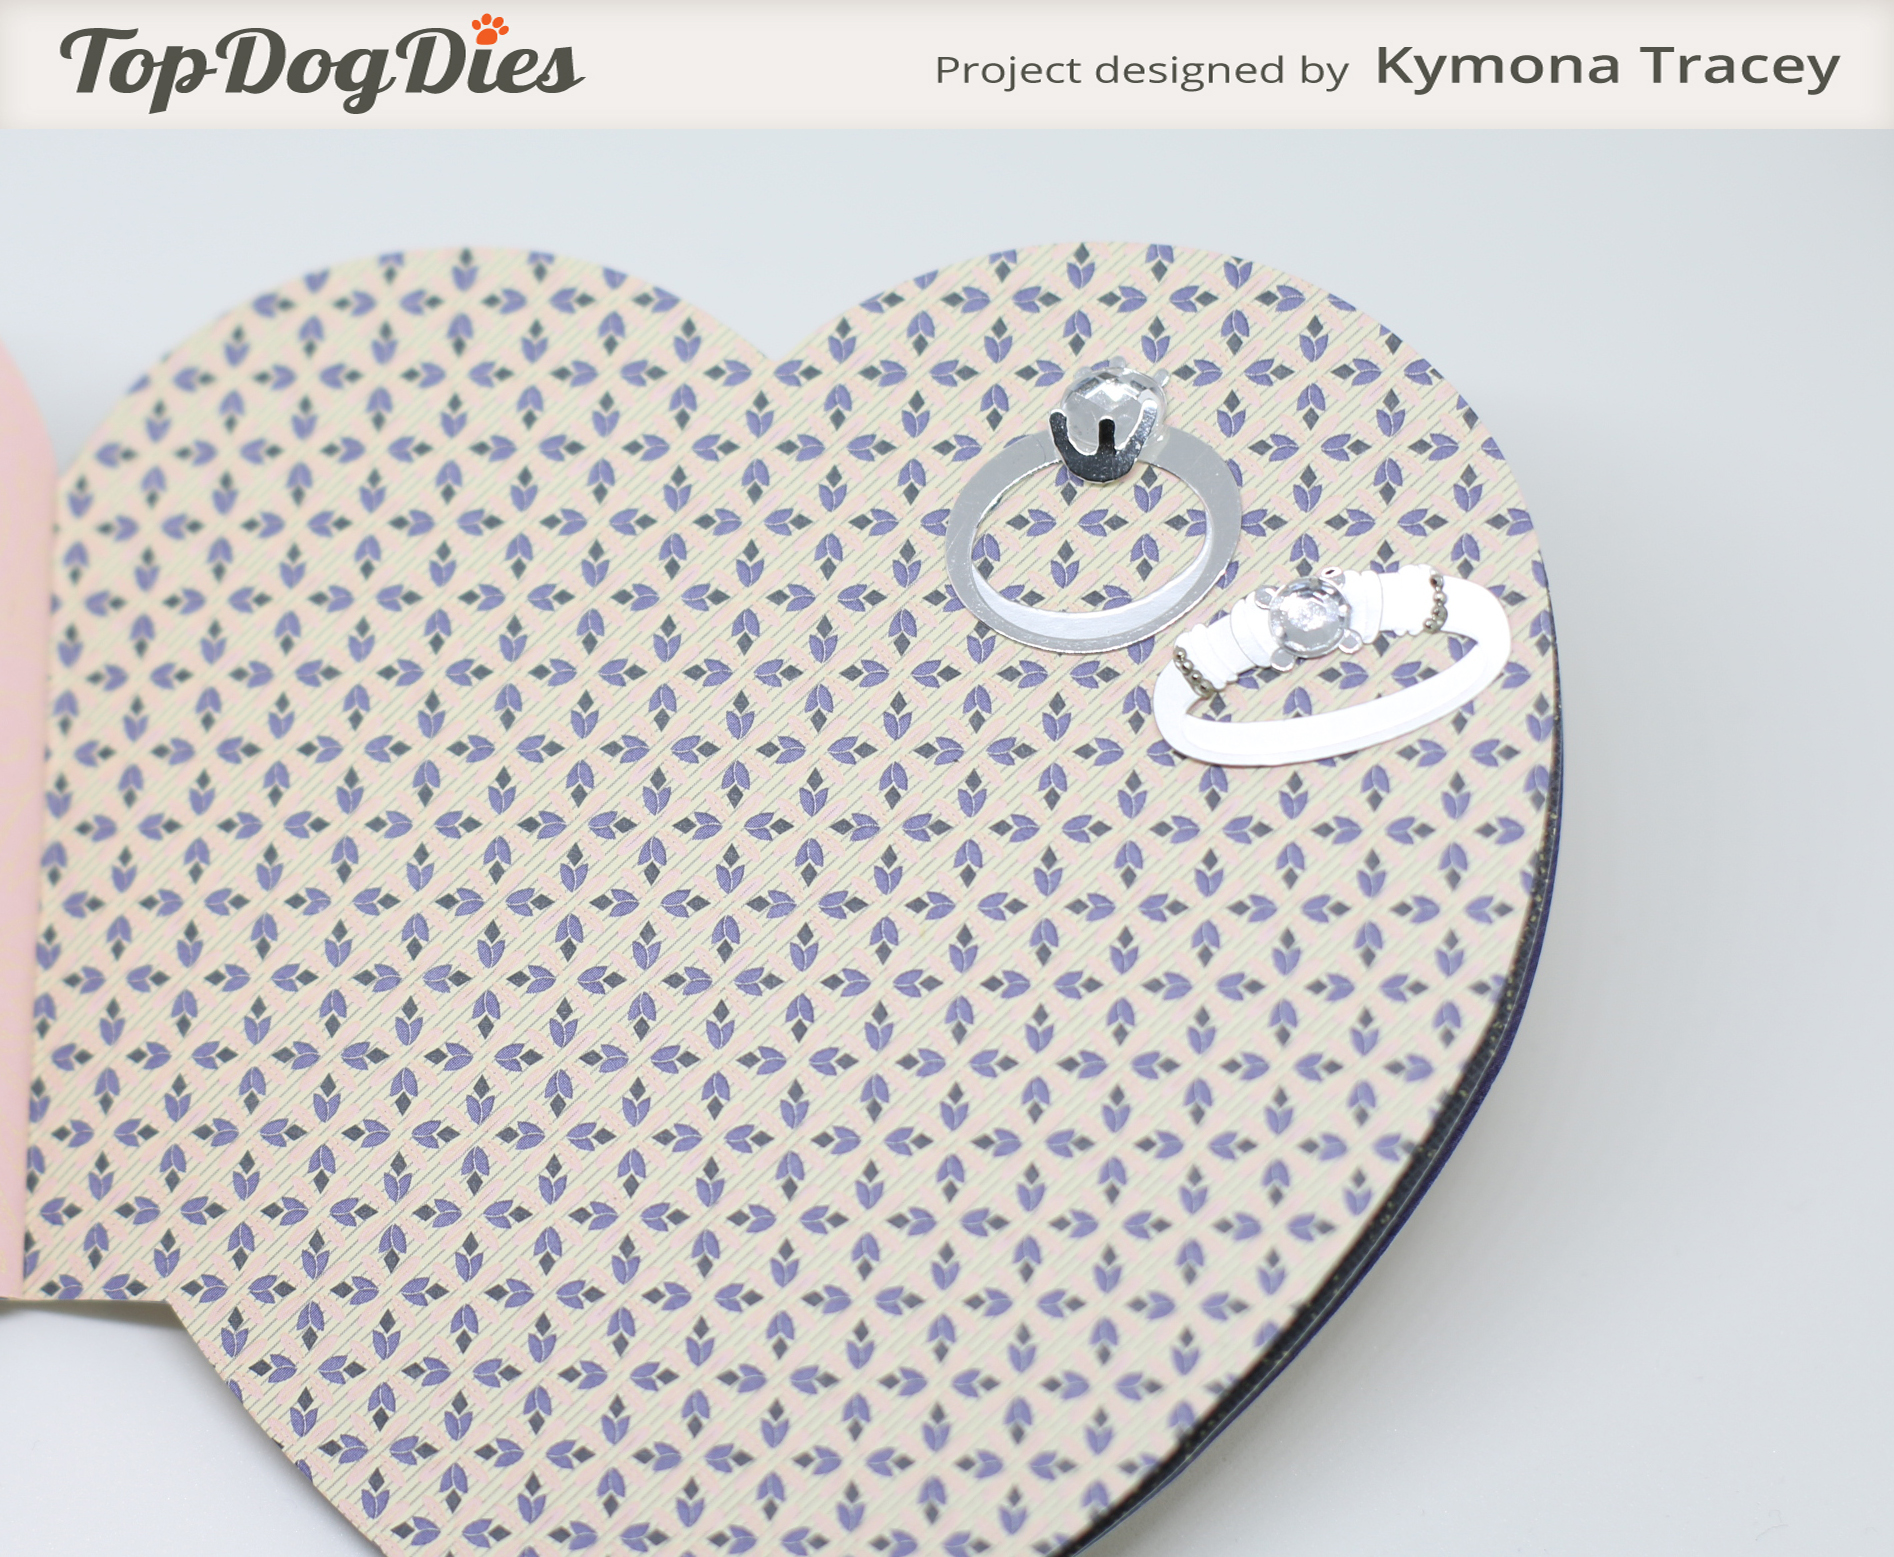
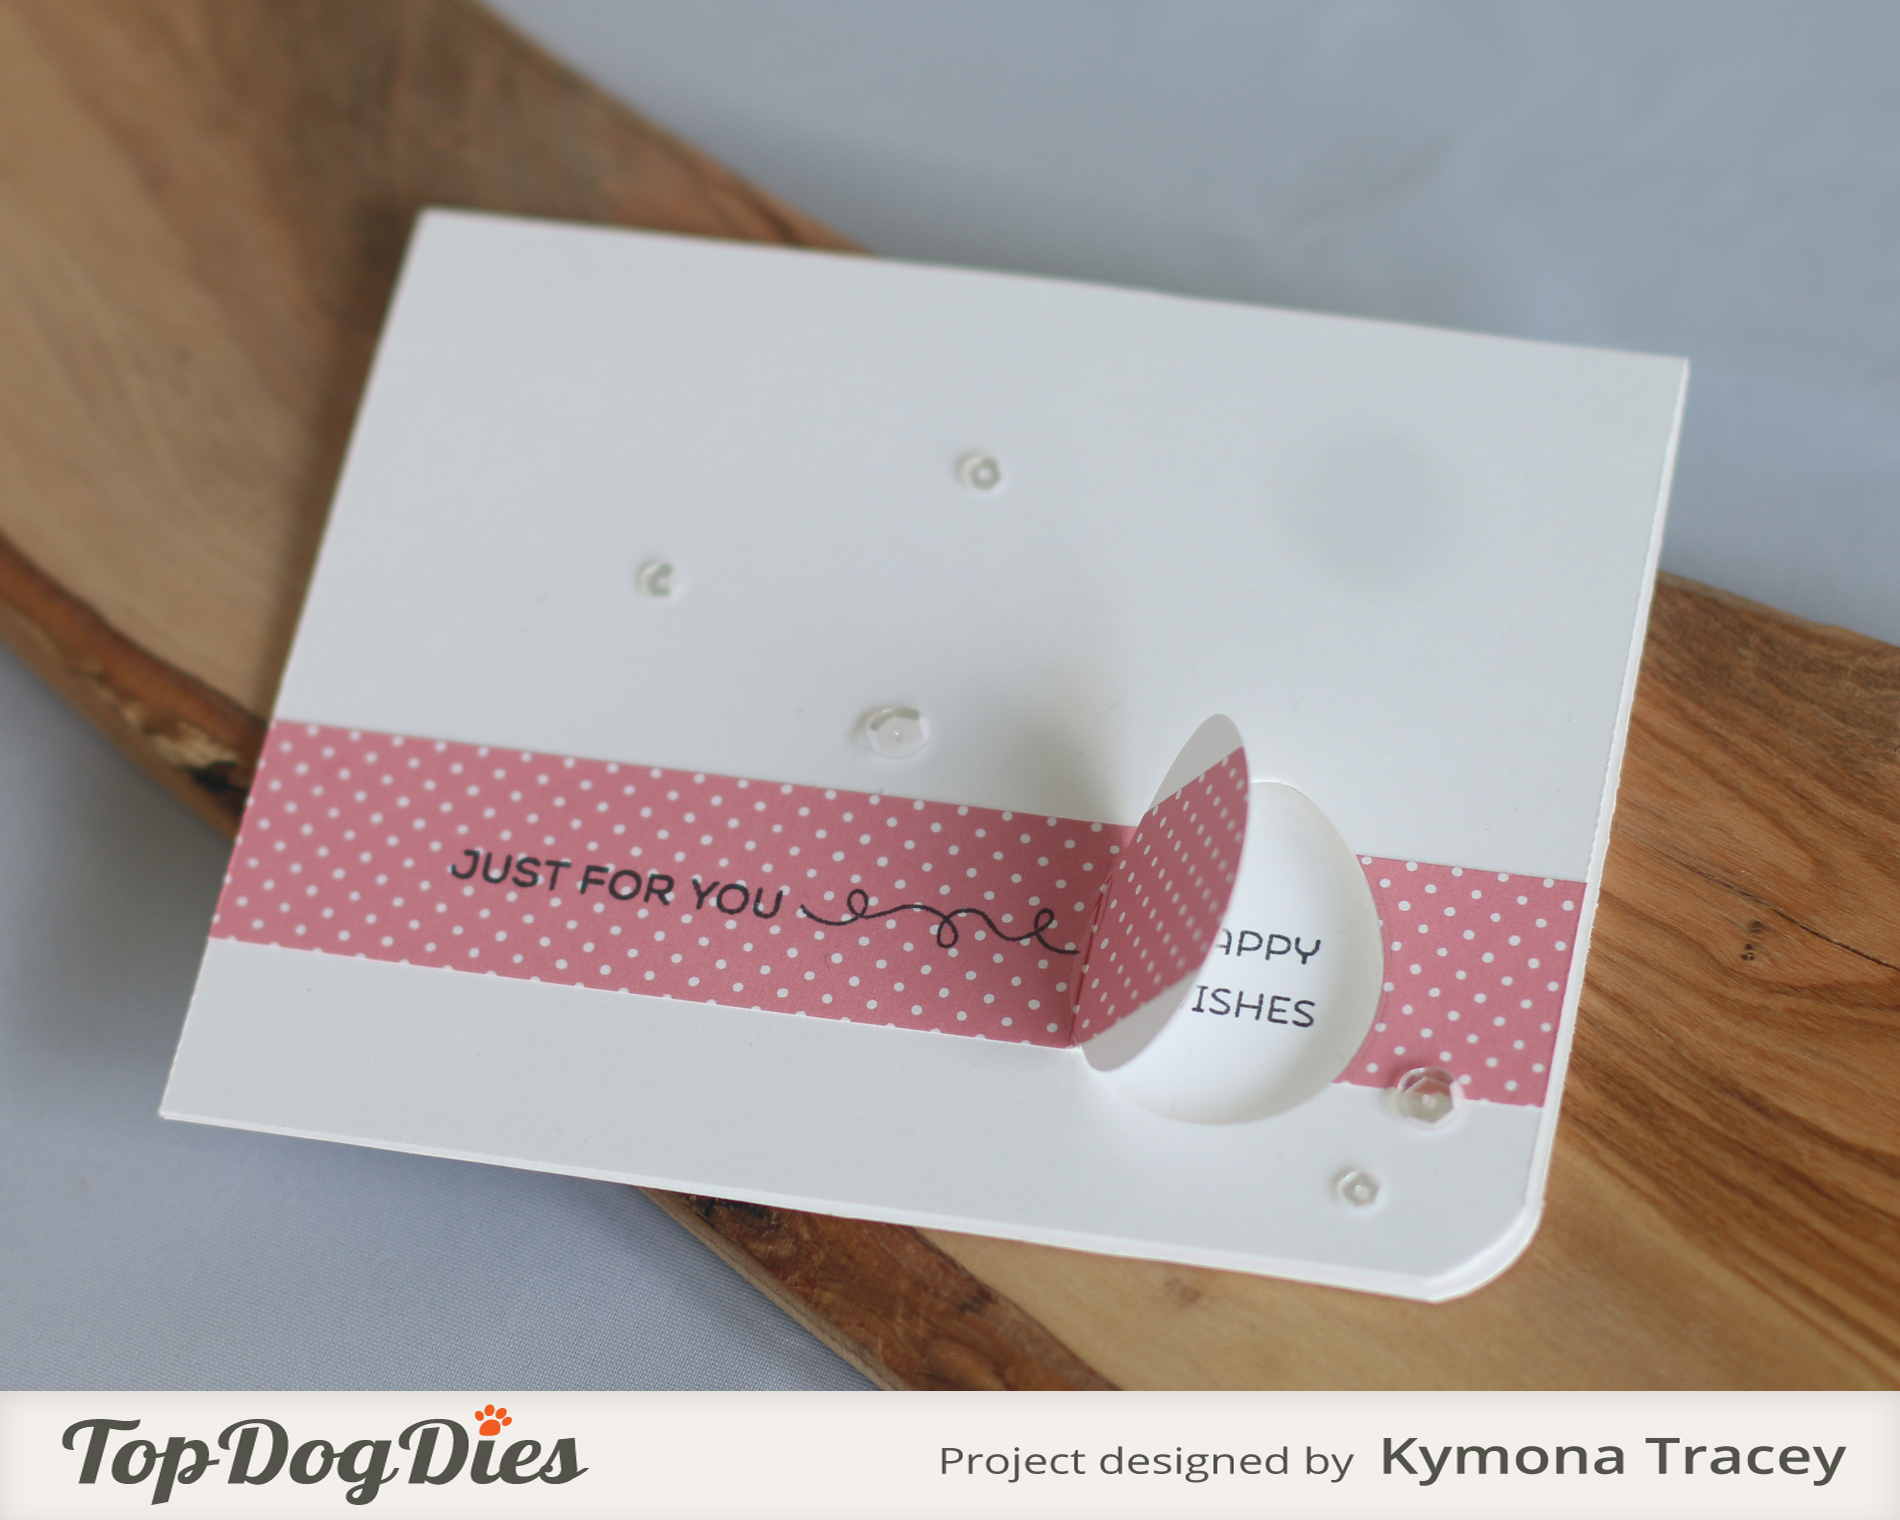
8. Here are some close up of the different pockets.

IMG_3893

IMG_3897

IMG_3903

IMG_3905

I just can’t get enough of this pocket page!  The flip flop die and the pattern paper just works so well.  I love it when things come together!!

I will surely make more of these very soon.

I’m entering my project into the Fairytale Challenge.

Its all about flip flops!! Perfect!

Fairytale Challenge

Supplies used:

TDD Flip Flop Summer Vibe 3x4cards fuse bundle2013-2015 In Color Sequin Feel good flairSummer Vibe Enamel dotsTim Holtz Word Band Studio Calico Wood Veneer tim holtz arrows


Thanks for stopping by!!

~Kymona

Top Dog Dies – Insta Mini Wedding Brag Book

Hello everyone!!  Its Top Dog Die Wednesday!!  I’m here today showcasing Top Dog Dies Heart Mini Album Die!!

TDD Heart Mini Album DieThis die is amazing.  Its so easy to use and you could mass produce mini albums/brag books with no problem.

As you know, these days easy is what I need and this project fit perfectly in my schedule.

Take a look at the mini brag book I created:

Just Married Brag Book

Yes, its a mini wedding brag book perfect for a new bride to show off her wedding at anytime.

Lets look at some of the inside pages:

Mini Brag Book 1

Mini book 3

Mini Brag Book 4

Mini Brag Book 5

Mini Brag Book 6

Mini Brag Book 9

Mini Brag Book 10

Here is how I created this mini brag book in 3 easy steps:

1. I used Top Dog Dies Heart Mini Album Die to cut 6 pages of some retired Stampin’ Up! DSP.

2. I punch 3 holes on the side panel of the book and add 3 retired Making Memories Mini Silver Brads to bind the pages together.

3. I added some random stickers I had left over from years ago to each page of this book.

That’s it!  No stamping or anything fussy!

So I know your asking, what size pictures will fit in this mini brag book?

I have the solution for that.

Check out my new Instax Mini 8 Camera!!  I love the size and the sizes of the pictures.  They are Instagram perfect pictures. This camera comes in many different colors: black, blue, yellow, pink and white.

Instax Camera

The pictures are instant so you can snap and add to your book all in one swoop! You can’t beat this!

So what do you think?  Let me know below!  I would love to hear from you.

Supplies used:

TDD Heart Mini Album DieInstax Camera   Making Memories mini brads

Thank you so much for stopping by!

~Kymona


Top Dog Dies – Warm and Cozy

Hello everyone!!  Its Top Dog Die Wednesday!!  I’m here today showcasing Top Dog Dies Coffee Die Set.

TC096-DThis die set is super cute and what I love about it is, coffee and tea drinkers can use it.  Personally I’m not a coffee drinker so tea is a much better option for me.

Today’s technique is super clean and simple, just the way I like it.

Take a look at my card:

Warm and Cozy (TDD)

I told you, super clean and simple.

I went with the white on white tea cup because I wanted the Audrey Blue heart to pop.

Here is how I created this card:

1. I started with an A2 size (4.25 x 5.50, scored at 4.25) card base.

2. I die cut the coffee cup, band and lid out of white cardstock.

3. I die cut the heart out of Simon Says Stamp Audrey Blue cardstock.  I put the cup together with Tombow Extreme Adhesive.

4. I stamped the sentiment from Mama Elephant Cup of Wishes stamp set using My Favorite Things Hydrid Ink and Simon Says Stamp Audrey Blue Ink.

5. I adhered the cup using foam adhesive.

6. I rounded the corner using We R Memory Keepers Corner Chomper.

See nice, clean and simple.   You can make a set of these cards for a coffee/tea lover.  Awesome gift set.

So what do you think? Let me know below. I would love to hear from you.

Supplies used:

SSS Audrey Blue CSCUP_OF_WISHES MFT Hybrid Black InkAudrey Blue InkTombow Xtreme

We R Memory Keepers Corner Chomper

Thanks for stopping by!

~Kymona

Watercolor Easter Card

Hello everyone!!  I’m on the Top Dog Dies Blog today with another card that I created using one of their new dies.

Were do you draw your inspiration from?  I look everywhere for inspiration.  On my way to work, while at lunch, at my workplace, the internet,  while on the train and most certainly while I’m outside.  Their are so many things we missed because we never take the time to observe the world around us.

For my card today, I used a gift card that was given to me by my sister who works at Starbucks. Anytime she sees creative things that she likes, she brings them to me because she wants me to recreate what she sees.

Check out the gift card:

Now check out my card:

TDD Finished Card

To see how I created this card, head on over to the Top Dog Dies Blog for the full photo tutorial!

I’m linking this card up to the NBUS Challenge #4!

NBUS

I’m also up to Day 13 of Kathy’s #thedailymarker30day coloring challenge.  I used watercoloring this time around.

Supplies used:

tambi36_largeCanson Watercolor Paper Top Dog Die EggTC087-DBig Shot Die-Cut Machine 

 Thank you so much for stopping by! 

 ~Kymona

Top Dog Dies – Just for you

Hello everyone!!  Its Top Dog Die Wednesday!!  I’m here with a die technique that I learned in my new Online Card Class called Stretch Your Dies!!

Carissa Wiley taught us how to create a window card using a die-cut opening!!  I was super excited when I saw that technique.

I went with Top Dog Dies Decorated Eggs Die Set to create my card today!

TC095-DTake a look at my card:

Just for you (TDD)

How cute is that!!  I used the solid egg die to create that window.

Take a closer look:

Just for you 4 (TDD)

I partial die cut on that egg so that the egg would be a door to my sentiment inside the card.

Here is how I created this card:

1. I cute a strip of Lawn Fawn Let’s Polka, Mon Amie patten paper and adhered it to the front of my card front.

2. I placed the die to the right side of the card front.

That’s when I remembered I wasn’t going to be able to partial die cut the egg because my cutting plate was too big and my card could fold or the die cut would go through the whole card.

So I cute my card in half.  Once I’m done cutting my die I will adhere the card panel to the front of a new card front to stay with a one layer card.

3. Before attaching the card panel to my card front, I die cut the egg on my card front so that the card panel matches the card base.

4. I used Papertry Ink  Swoosh Stamp set to stamp my sentiment inside the egg and Technique Tuesday Smile Borders to stamp my sentiment on the strip of pattern paper using Memento Tuexdo Black Ink.

5. I added Pretty Pink Posh Sparkling Clear 4mm sequins  and 6mm sequins to added interest.

Just for you 2 (TDD)

Just for you 3 (TDD)

So what do you think?  Are you fascinated as much as I was.  Never thought to use my dies in this manner.  This is why I love learning!!

Supplies used:

LetsPolkaMonAmiePetitePaperPack Swoosh Smile Borders Pretty Pink Posh Sequins 4mm Pretty Pink Posh 6mm Sequins Memento Black Ink

Thank you for stopping by!!

~Kymona

Maximize Your Top Dog Dies!

Hello everyone!!  I’m on the Top Dog Dies Blog today with another card that I created using one of my new dies.

Did you see that awesome release yesterday?  Top Dog Dies released 10 new dies and they are really to “die” for!!  Just in case you missed it you can find it here.

They are giving away all of the dies to one lucky winner!!  That is $122.00 worth of great dies!! You don’t want to miss that.

Today I’m here to show you how to maximize your dies.  I used the new Top Dog Dies Typewriter Uppercase Die!

How many time do we use a die for it’s intended purpose but throw the negative piece away?  Well not today.  I’m going to show you how to use that negative piece on your project.

(I saw a card with this technique and I knew I need to give it a try.  I wish I knew whose card it was but if anyone knows please let me know.)

Now take a look at my card:

Your So Nice

To see how I created this card, head on over to the Top Dog Dies Blog for the full photo tutorial!!

Supplies used:

LID Seriosly Awesome Stamps halloween sprinkles TC091-DWild HoneyPicked Raspberry InkclassiccrestsolarwhtieWe R Memory Keepers Corner Chomper

Thanks for stopping by!

~Kymona