Clean and Simple Cards using Heffy Doodle Stamps

Hello everyone!! Kymona here with some clean and simple cards using Heffy Doodle Stamps!

For those of you who do not know or haven’t heard of Heffy Doodle let me give you some history!

Heffy Doodle produces high quality, versatile stamps and dies for the crafting world. Lesley Oman, aka Hungry Heffy is the companies creative and energetic founder. Lesley’s husband Craig tried to convince Lesley to turn her doodles into stamps, but she was way to busy making cards to listen. It was July 2017, when Lesley realized her husband had a great idea and hence Heffy Doodle was born!!!

Take a look at some of the goodies you can find in their online shop:


Let’s take a look at my clean and simple cards:

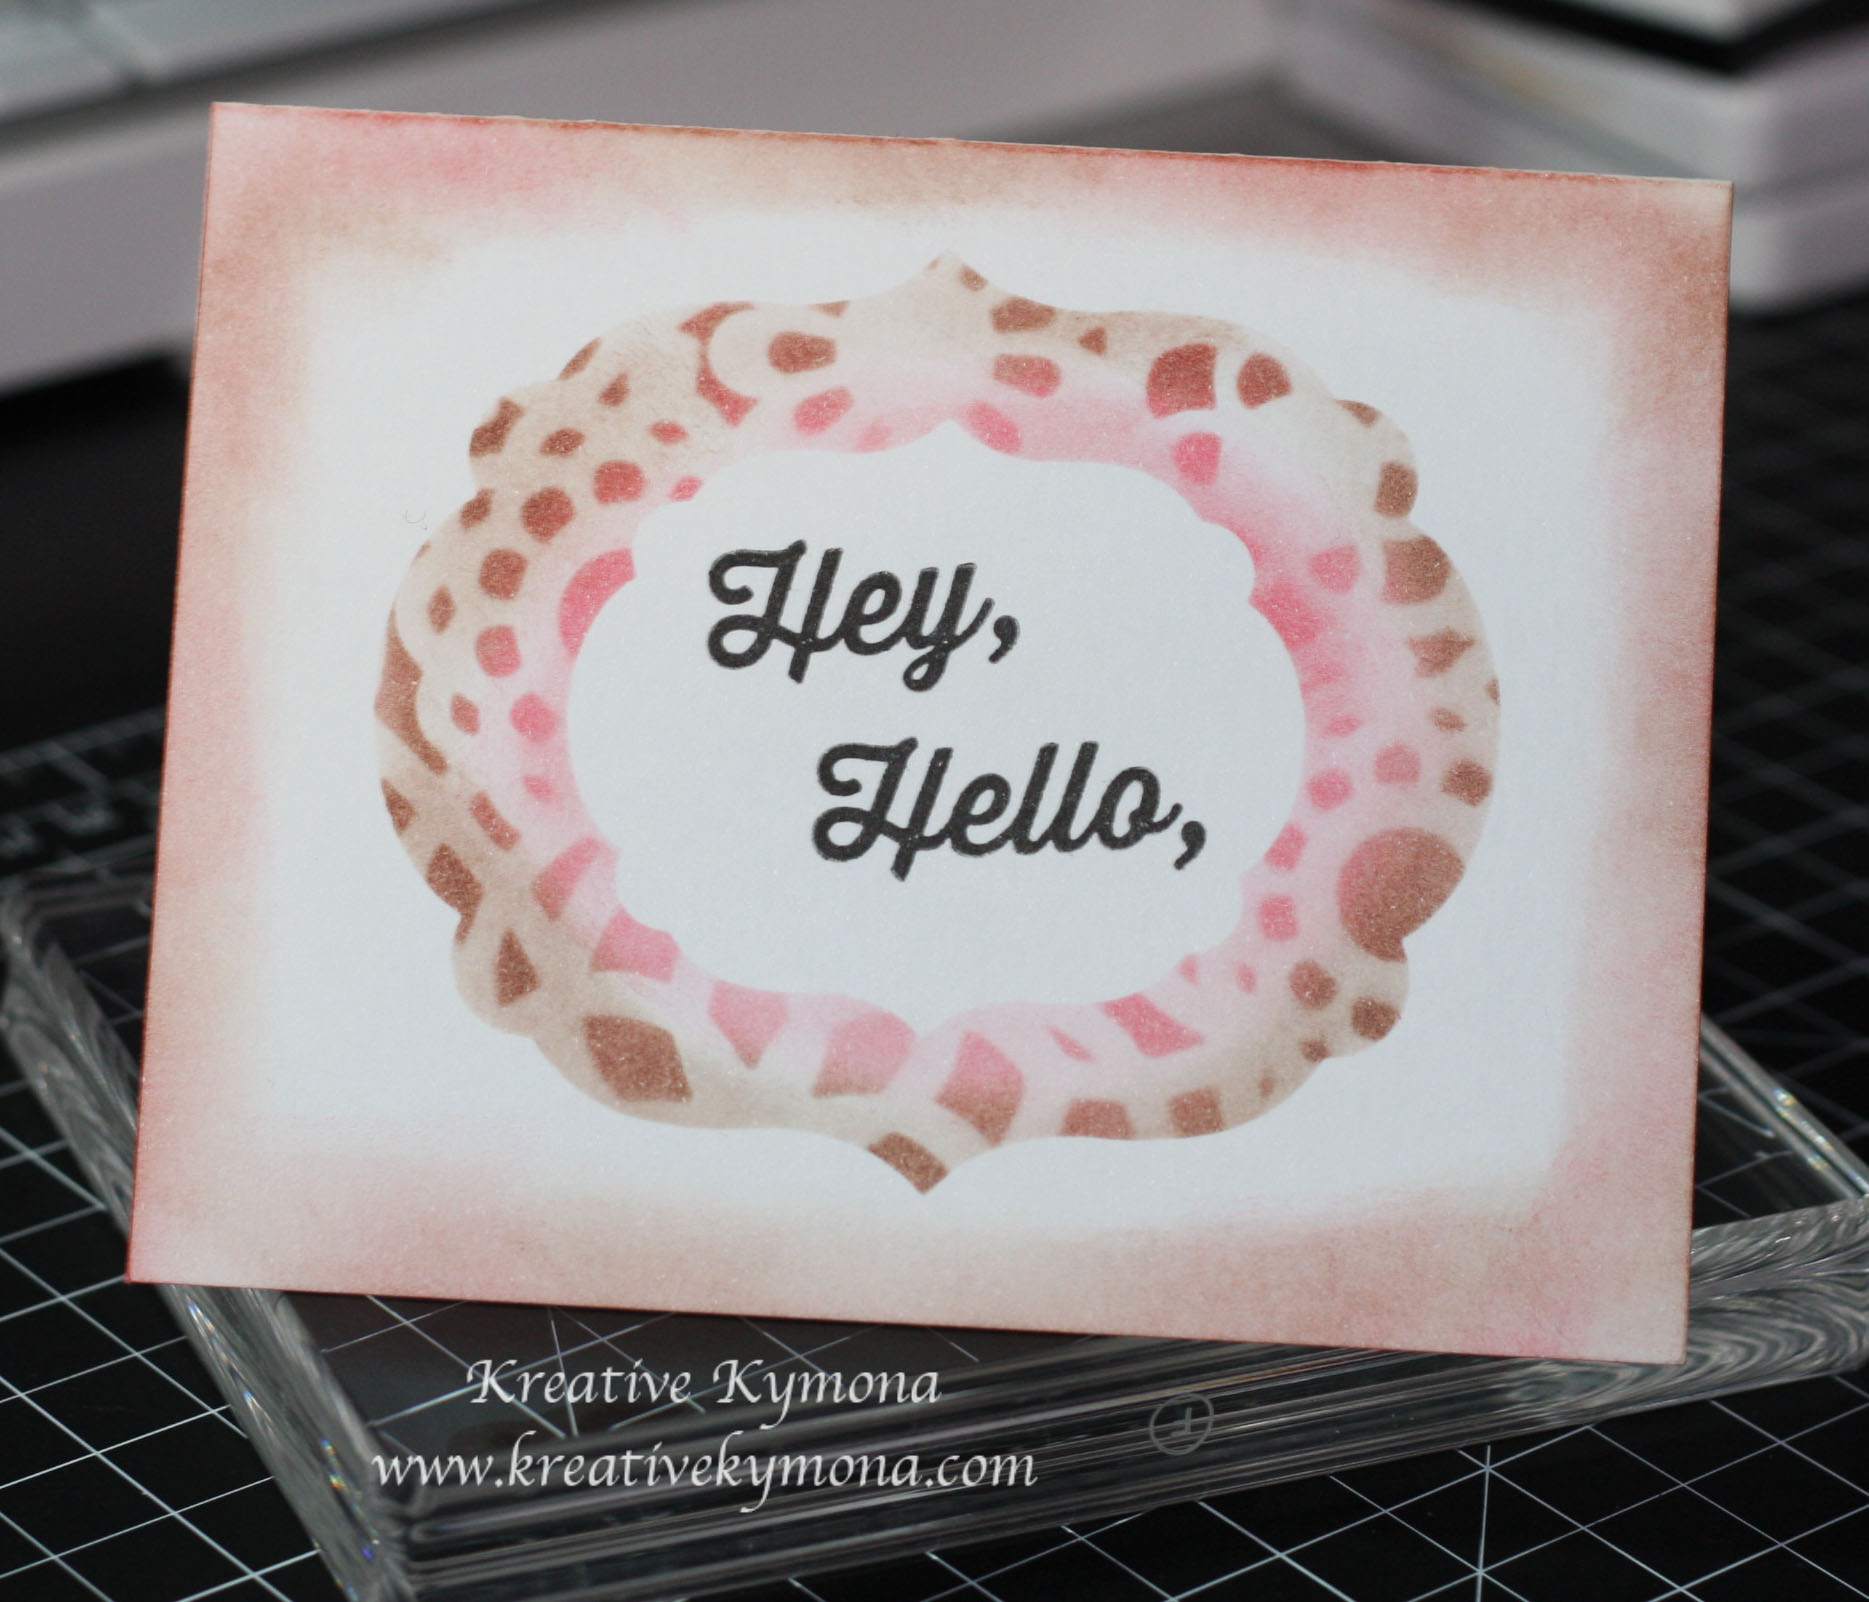
For the first card, I used the Numicon Stencil to create a very colorful background for a unique birthday card.

Stamping the sentiment from the Big Bold Words Stamp Set with Versamark Ink and then embossing it with Silver Embossing Powder packs a powerful punch.

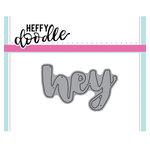
For the second card, I simple die cut both the Hey and Honey die out of glitter paper and adhered it to the card front.

Super simple and easy.

Both cards turned out beautiful! They didn’t require much work either. They can be reproduce over and over in no time.

I hope you check out the other stamps, dies and goodies from Heffy Doodle. Let me know what you think of these clean and simple cards and the products I shared with you today.
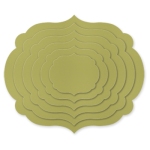
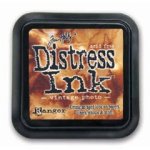
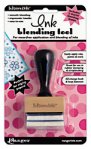
 

Supplies used:

(Thank you so much for stopping by. Compensated affiliate links used at no cost to you.  The Heffy Doodle  products were given to me.  The other products were personally purchased. This post was not paid or sponsored.)

Heffy Doodle - Heffy Cuts - Dies - HoneyHeffy Doodle - Heffy Cuts - Dies - HeyHeffy Doodle - Stencil - NumiconHeffy Doodle - Clear Acrylic Stamps - Big Bold WordsTsukineko - VersaMark Watermark Ink Stamp Pad - Large - ClearCardstock - 8.5 x 11 - Neenah, Solar White - 25 Pack Hero Arts - Embossing Powder - Silver
Thank you for stopping by!

Layered – Where Creativity Meets C9

Second post for today
If your looking for the Altenew Design Team announcement post, click here

Hello everyone!!  I’m here today with the Where Creativity Meets C9 Blog Challenge Design Team!! Our challenge this month is Layered!

Take a look at my card:

turnabout stamp set

To create this card, I used Concord & 9th Oh, Hello Turnabout stamp set paired with Clearsnap Colorbox Archival Die Inks.

  1. I followed the directions on the back of the stamp set packaging as to ensure that I stamped correctly on my card panel.
  2. I used 3 different color inks from Clearsnap to stamp each turnaround.
  3. When using this stamp set, once you stamp the first set, you turn the cardstock not the stamp to make the right stamp marks.
  4. Once card panel was completed,  I die cut a piece of vellum using a circle die.
  5. Then I stamped the main sentiment using Versamark and added white embossing powder. Heat set.
  6. Adhere the vellum to the card front using foam dots.

Super quite and easy.  I love this stamp set for the sentiments included.  They are so powerful and encouraging.

What do you think?  Please let know below.

I can’t wait to see how you interpret our challenge theme this month.

c9-banner

Did you know that we have a giveaway going on? Yes, we do!! Our sponsor Concord and 9th is giving away a $25 gift certificate to their shop!!  Yes!!!  Isn’t that big.  Plus the winner gets to be a guest designer for a future challenge.

Here’s how: Create a project using Concord and 9th and upload it on the Where Creativity Meets C9 blog by the 29th of every month of for a chance to win.  A random winner will be chosen and it could be you!!

Are you ready?  So, go and create!!

Please don’t forget to follow Where Creativity Meets C9 on Facebook, Instagram and the Blog.

Supplies used:

(Thank you so much for stopping by. Compensated affiliate links used at no cost to you.  All products were personally purchased.  This post was not paid or sponsored. ) 

Oh, Hello Turnabout Stamp Set

Thank you so much for stopping by!!

CS Take It Make It: Multicoloring Stenciling

Second Post for today
If your looking for the YNS Color and Sketch post, click here

Hello everyone!!  I’m here today with CS Take It Make It Design Team for our CS Take It Make It: Take a Stamp Challenge for the month of July.

This month’s theme is Take a Technique: Stenciling or Masking!!  That means you can use a stencil or mask somewhere on your creation with a stamped image or sentiment anywhere on your creation.

Take a look at my card:

Hello Hey You (TIMI)

Stenciling is so pretty to me.  I just love how easy it is to create a super nice and simple background that looks so elegant!!

Here is how I create this card:

  1. I place Create a Smile Boxes Stencil on top of an A2 size card and held it down with post it tape.
  2. Then I used Distress Ink Wild Honey and Scattered Straw and applied ink using an ink blending tool.
  3. I started in the bottom right hand corner with wild honey and move my way up the card getting lighter with scattered straw.
  4. Then I stamped the sentiments from a retired Stampin’ Up! stamp set with Clearsnap Colorbox Archival Wicked Dye Ink.

Super simple and easy!!!

Sooooo, what do you think? Please let me know below.

Prizes:

We have two prizes to offer this month, the first is our sponsor prize. This winner will be chosen randomly from all of the entries in the challenge! The sponsor for August is: GiogioCraft!

Prize: Bundle of 4 Stencils

Our second winner is our Design Winner. This winner is chosen by our DT, who all vote for their favorite design from all of the entries. This winner will have their winning project published in Craft Stamper Magazine, they will have a GDT slot for an upcoming challenge, and will also feature in their very own Winners Profile blog post!

Now if that isn’t a reason to play along I’m not sure what is!!

I can’t wait to see what you come up with.

Supplies:

Create a Smile Boxes Stencil   Wicked Black

Thanks for stopping by!!

~Kymona

Clean and Simple 3 Card Class – Day 4 Optical Illusion

Did I say how much I’m enjoying this online card class.  Well here it is, I’m having an awesome time in this CAS 3 Card Class.  I’ve learned so much so far and we have weeks to go.  Enough about me, today’s card focused on a different type of optical illusion, Masking!!  Jennifer McGuire taught us how to use our die cuts to mask of areas and apply ink.  I had fun, so much so, that I ink the side of my card stock with the distress ink that I had to ink the sides of the cards too.  I love how it came out, despite my mistake.

Take a look:

Hey, HelloHey Hello 2

Supplies Used:

classic crest solar white CS

classic crest solar white CS

Labels Collection Framelits Die 125598

Labels Collection Framelits Die 125598

Vintage Photo Distress Ink

Vintage Photo Distress Ink


Worn Lipstick Distress Ink

Worn Lipstick Distress Ink

Ink Blending Tool

Ink Blending Tool

Post-It Full Adhesive Roll

Post-It Full Adhesive Roll


SSS Hello You

SSS Hello You

Inkadinkado Stamping Mask Paper

Inkadinkado Stamping Mask Paper


Please let me know what you think about my masked card.

Signature