Creative Way To Have Fun With Watercolors


watercolor for card makers

OMG!!!  In my Watercolor for Card Makers class, Julie Ebersole, showed us how to do some creative watercolor stamping!!  I was blown away.  The card she made was so playful and nice.  I had to make my own version of the card.  She used some inks, watercolor paper, a beautiful butterfly wings die by Memory Box and a pencil eraser.  Yes, a pencil eraser, talk about non-tools in my tool box.

The only thing I didn’t have, was the butterfly wings die, so I ordered it and it arrive today.  I’m so lucky because that die is out of stock now.

When I saw the die on my desk, I knew I had to create this card today!

Fly away with me

Butterfly side

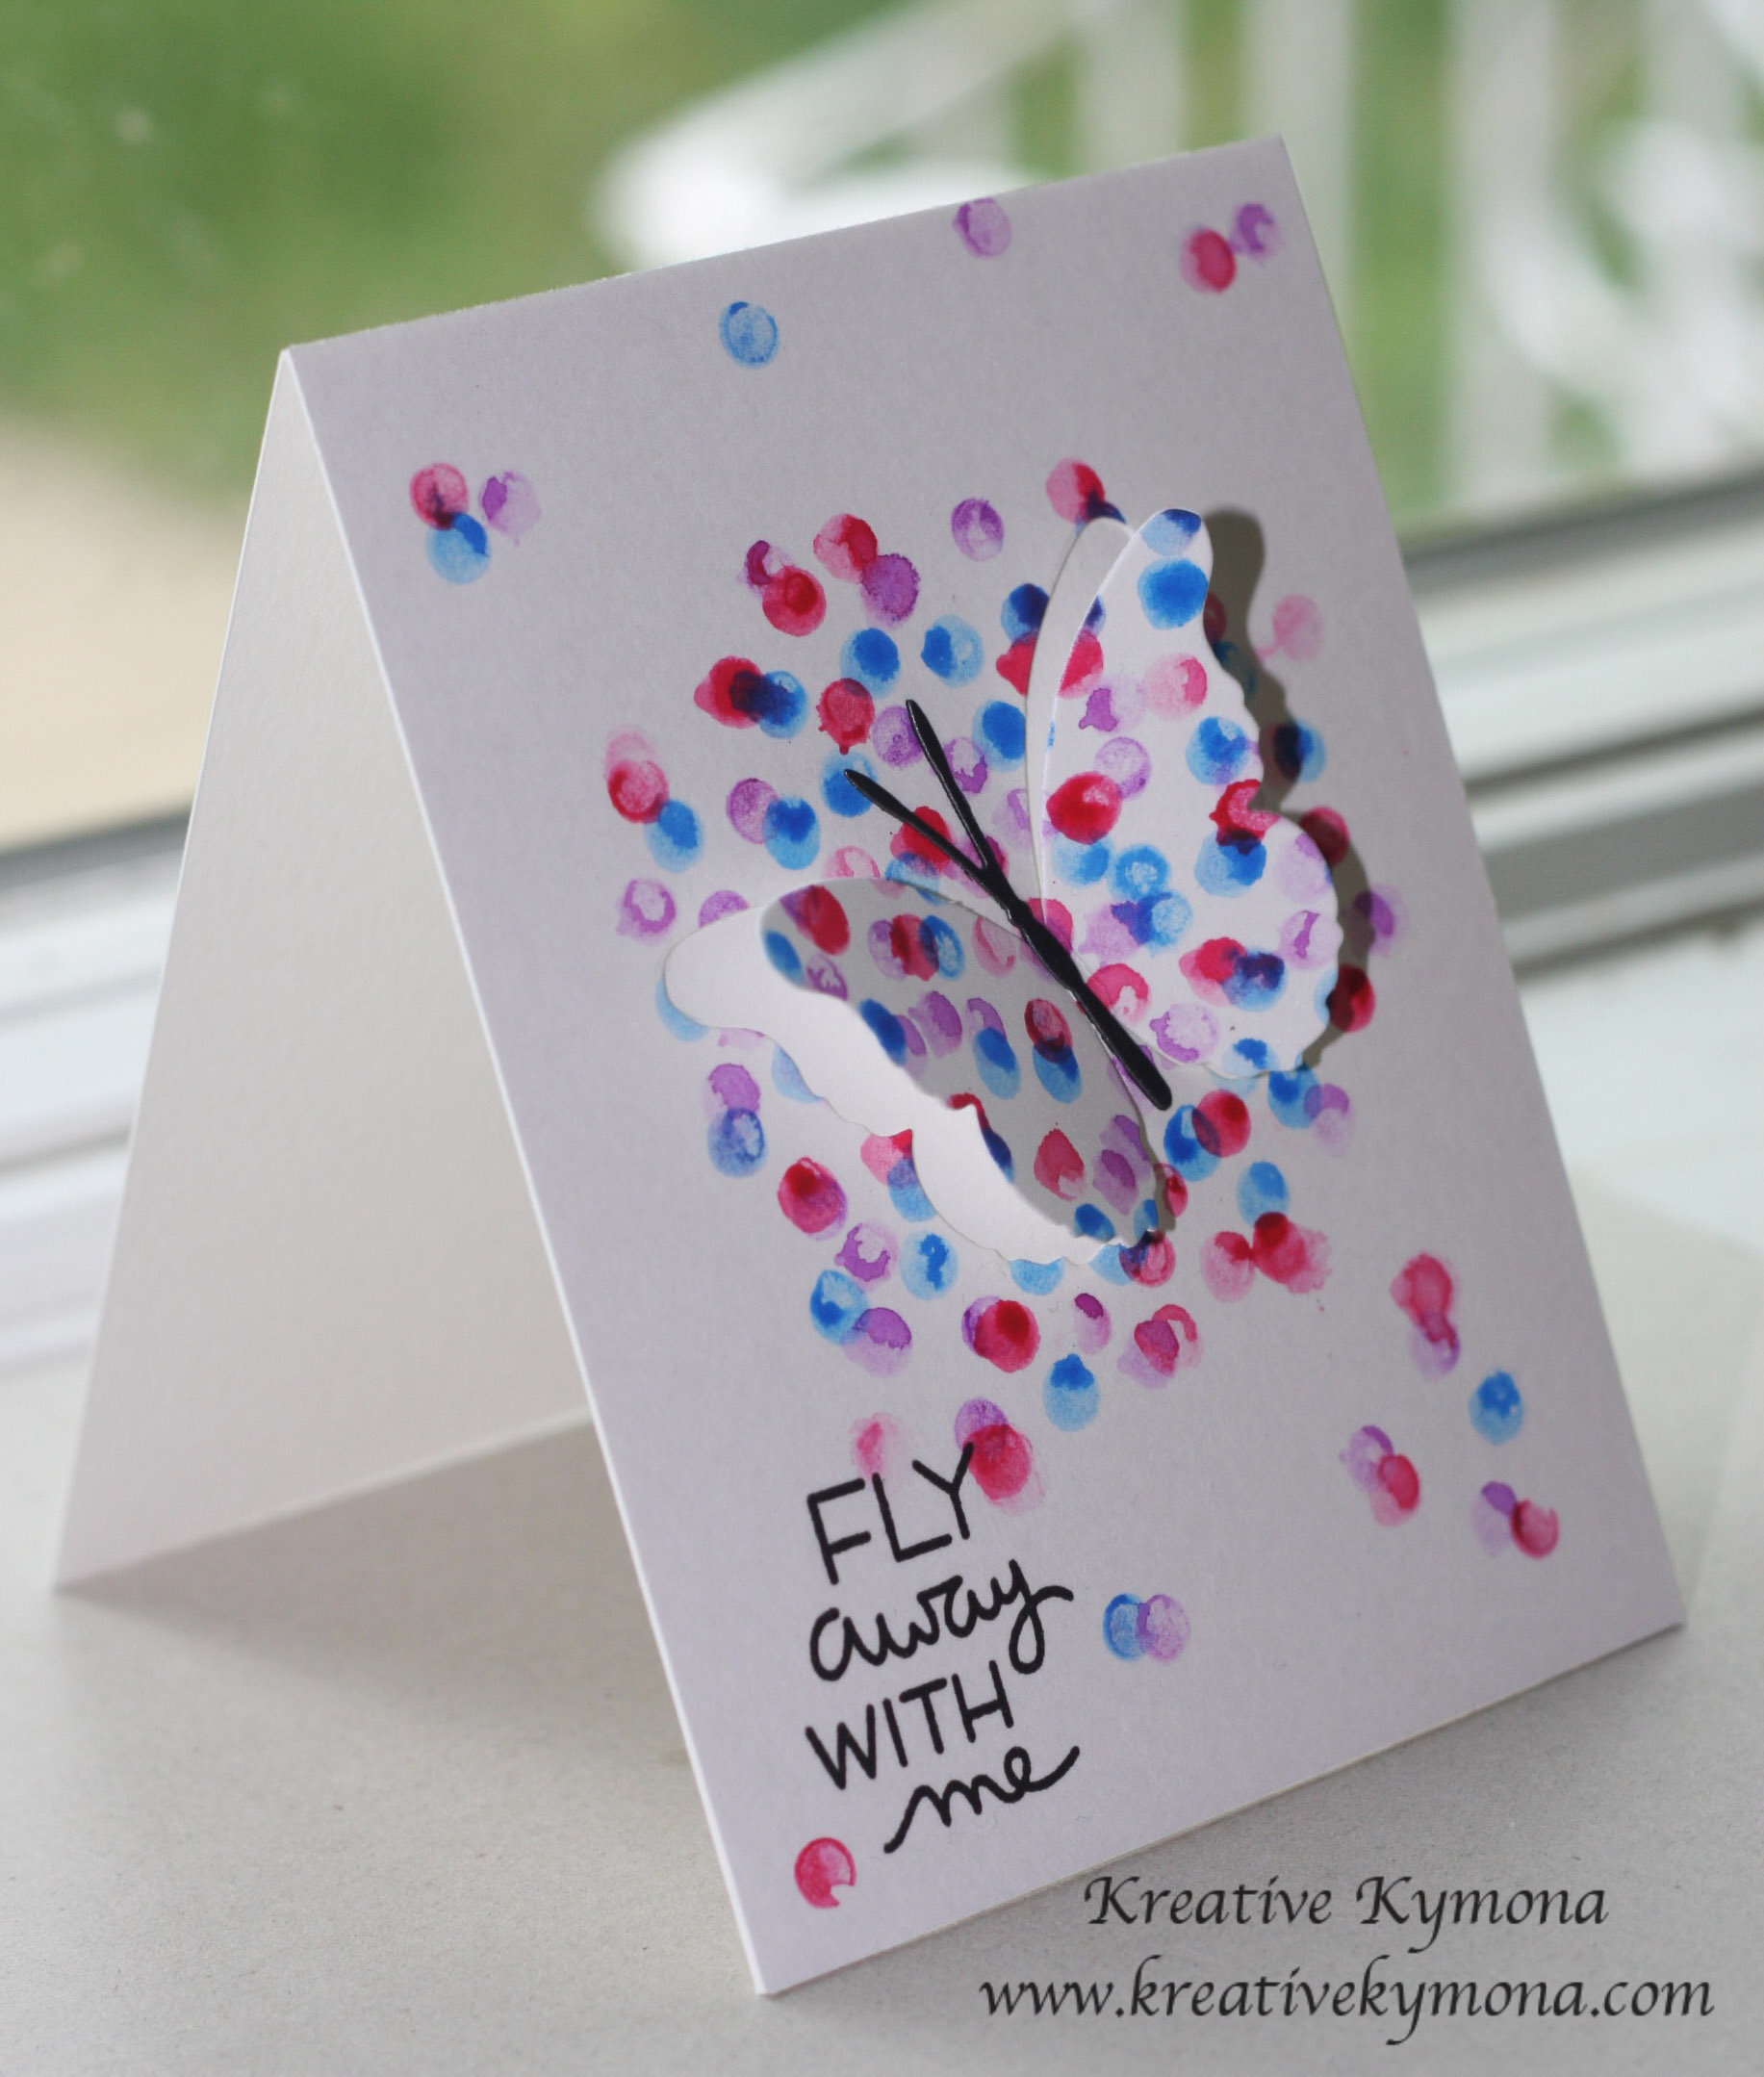
Aren’t you amazed!!! The butterfly wings just pop right off the paper.  It gives the card a 3 dimensional look.  It looks amazing.

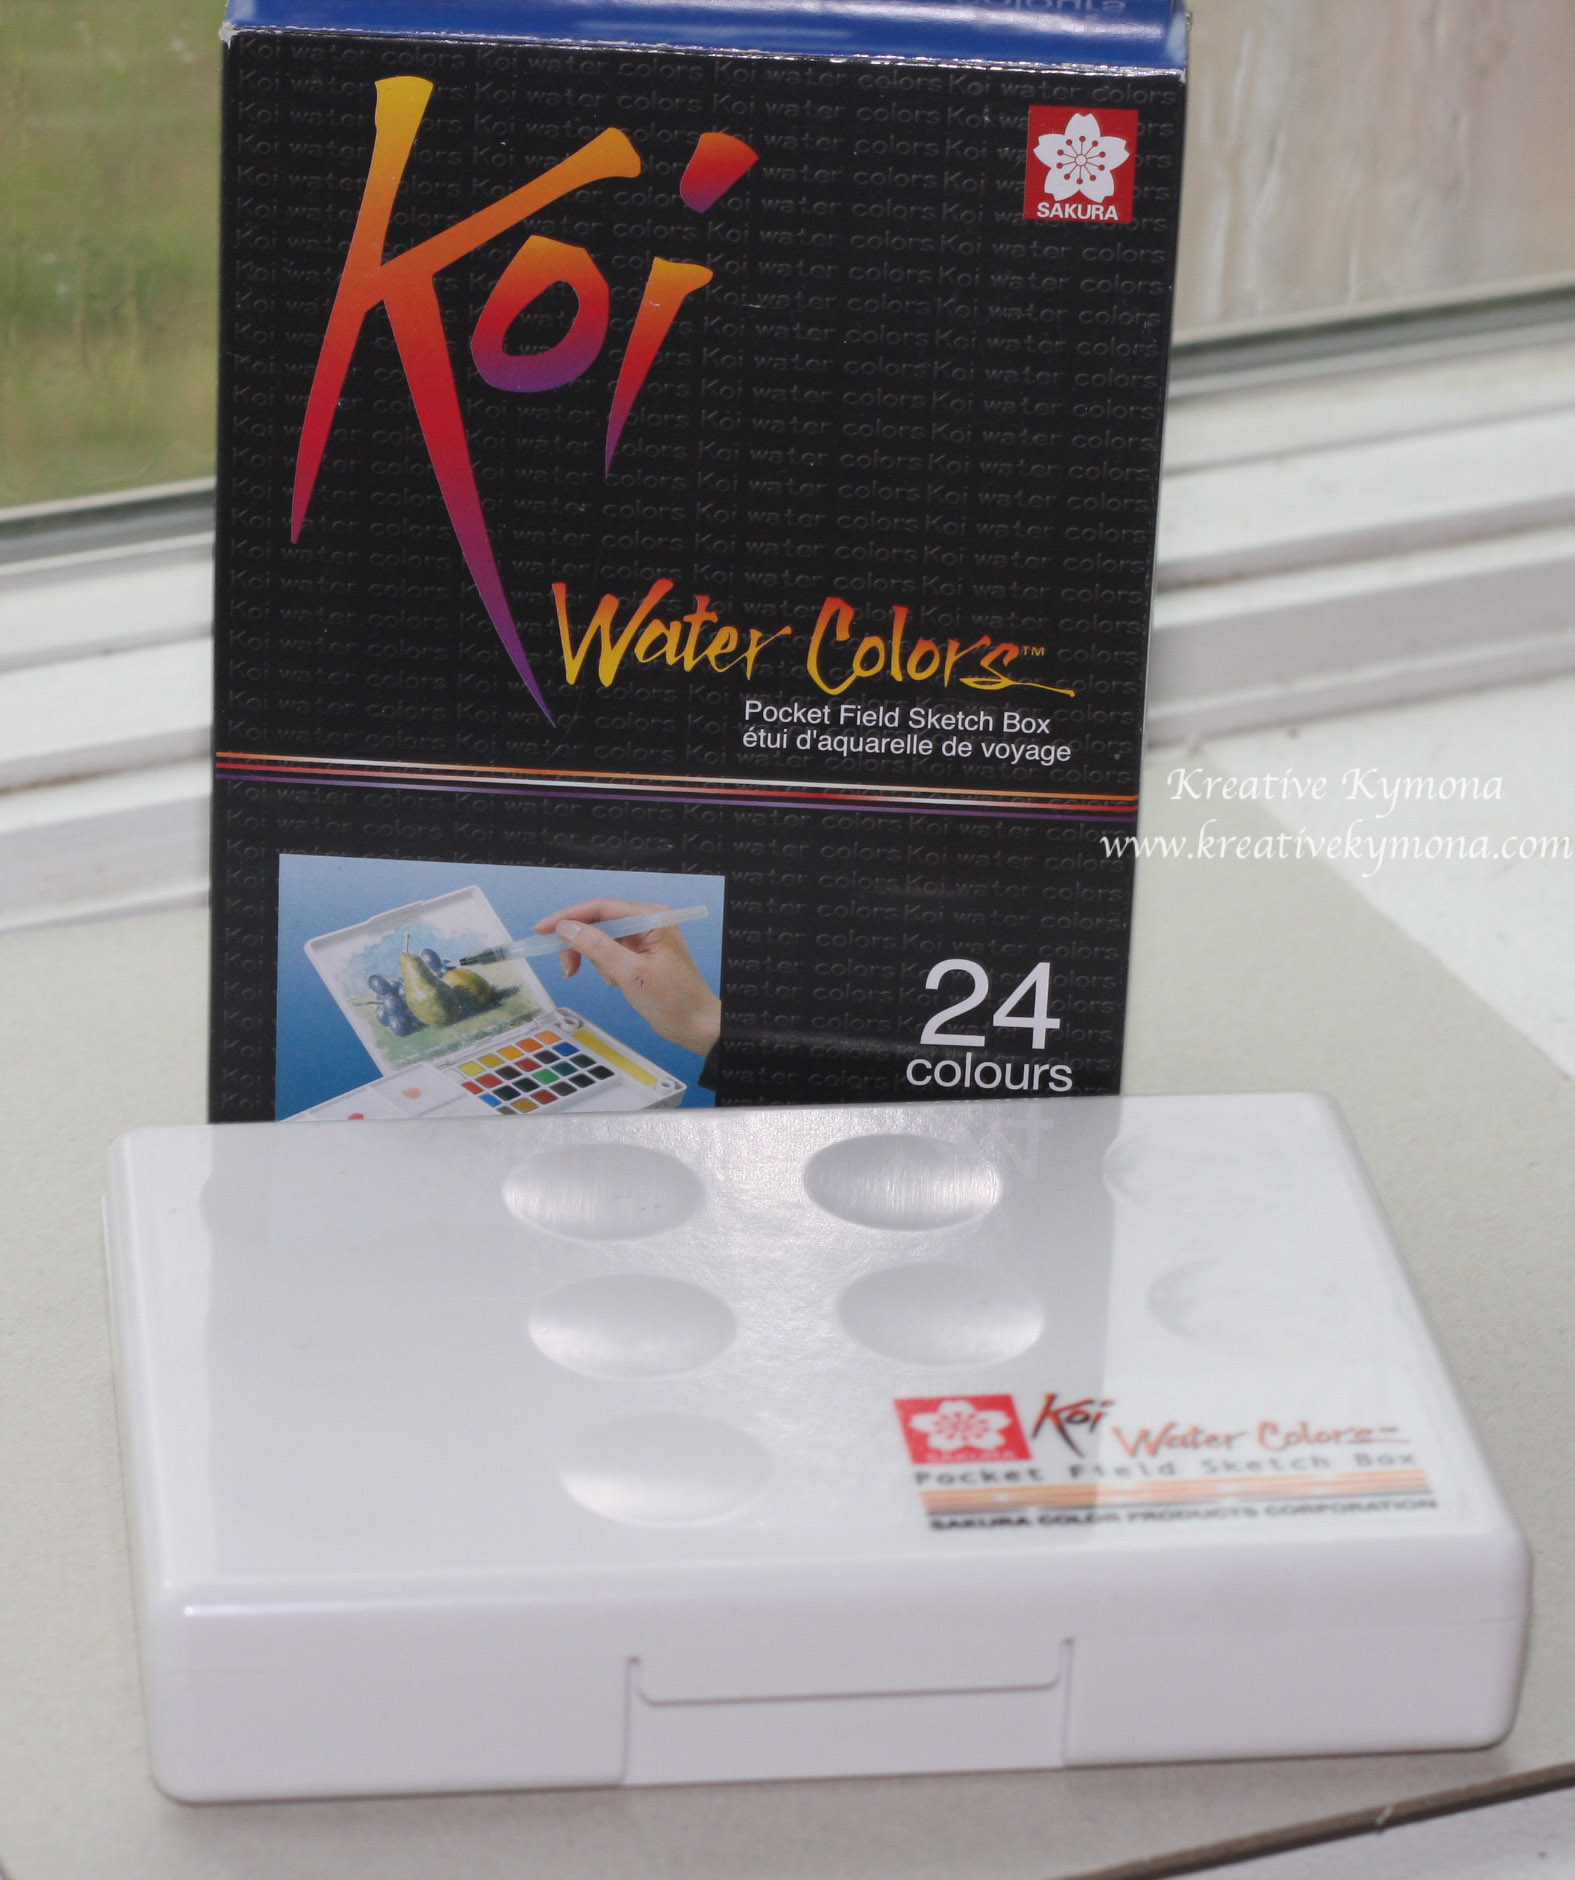
Instead of using inks, I used my Koi watercolors to create my dots.  The dots were made with the pencil eraser.  I added the three colors to my color palette and then I dipped my pencil eraser into each of the three colors and applied it to my paper.  I made sure to place the dots in one area so that I can cut my butterfly wings for dimension.

Let me know what you think.


Congrats to Lizzie T she won the SSS Wrapped Mailing Label Die.  Lizzie T I will contact you so that I can send you the die.  Thanks for visiting my blog.


Supplies used:

Canson Watercolor PaperKio WaterColorsStampin' TrimmerSnail AdhesiveMemory Box Asti Butterfly WingsHelloSunshineTiconderoga pencilBig Shot Die-Cut MachineMagnectic PlatformOnyx Versafine Ink

Watercolor Embossed Thank You

Second Post for the Day

I’m back again today with a card that I made with my new Koi Watercolors.  In my last post, I introduced that set of watercolors and the colors that I used to create this card.

I stamped the “Thank You” with VersaMark and embossed it with clear embossing powder.  By doing that, I created a watercolor resistant area.  Which means the watercolor will roll off the embossed area.  It is so cool to see.  It took me awhile to create this effect but I finally got it.

Take a look:

Thank You Watercolor

I just love it.  I love how the thank you has small splotches of watercolor on it.  I could have wiped the color off the sentiment but I really loved how it looks.  I used the colors that I said I loved in my last post. Numbers 15, 19, and 23. They combine so pretty.

I decided that I wanted to add a border around the card mask before adhering it to the card base.  I used Papertrey Ink’s Stitching Lines Die.  I love them.  The die made it easier to add dimension to my card.

Please let me know what you think? I would love to hear from you.

Supplies used:

Stitching Lines DieAnother Thank You Photopolyer Stamp SetclassiccrestsolarwhtieKio WaterColors

-Kymona

Koi Watercolor Swatches

I’m back today after a couple of days off!  I’ve been working with my daughter to set up her blog.  I’m so excited about it and so is she.  She can’t wait to go live!!!  I will let all of you know when her blog goes live.

My Watercolor for Cardmarkers Online Card Class starts Monday coming and I can’t wait!  Monday, May 5th can’t come fast enough.

So in the meantime, Kristina Werner wanted us to play with all of the watercolors we have.  Our homework was to create color swatches to familiarize ourselves with the colors we have.  I have five different sets of watercolors for this class.  I want to use all of them.

My first swatch was made with my new Koi Watercolors.  It comes in a small portable case that has a removable palette inside.

Take a look:

Box and SwatchesKio Water Colors Koi Watercolor Swatches

These colors are so vibrant and pretty.  My favorite colors are numbers 15, 19 and 23!!! I used those color to create the card that is behind my swatch.  I will post that card next.

Let me know what you think.

Supplies used:

Kio WaterColorsclassiccrestsolarwhtie

-Kymona