Hello everyone!!! I’m up on Craft Fantastic blog today sharing how to create a glass bling bookmark.
Take a look:


Stop on by Craft Fantastic blog to read all about these glass bling bookmarks!!
Thanks for stopping by!!

Hello everyone!!! I’m up on Craft Fantastic blog today sharing how to create a glass bling bookmark.
Stop on by Craft Fantastic blog to read all about these glass bling bookmarks!!
Thanks for stopping by!!
Hello everyone!! I’m up on Where Creativity Meets C9 blog today showing you how to create a clean and simple thanks card.

For the full tutorial post, head on over to Where Creativity Meets C9 blog.
Supplies used:
(Thank you so much for stopping by. Compensated affiliate links used at no cost to you. All products were personally. This post was not paid or sponsored.)

Thanks for stopping by!
Hello everyone!! I’m here today sharing how to create a magnetic try using Deflecto’s Craft Magnetic Sheets.

I created this tray for my new office at my new job. I’m so thankful for my new job and my new opportunity at a new hospital closer to home. You can’t bet that.
Each morning I will write a note to myself documenting what I’m thankful for. I will complete one for each day so at the end of the month, I will add them to my grateful notebook.
I collected all the supplies that I needed to create this tray:
Deflecto Magnetic Sheets
Deflecto’s VersaGrip Magnetic Sign Holder
Warm and Cozy Pattern Paper
Craft Fantastic Glass pieces
Tombow Tape Runner
Wilson Cookie Sheet
To start, measure the cookie sheet so that the pattern paper can be cut to that size.

Cut the pattern paper and the magnetic sheet to 12 x 7.

Add adhesive to the back of the pattern paper using Tombow Permanent Adhesive Plus. Once that is done, adhere the paper onto the magnetic sheet.

Once that is done, adhere the paper onto the magnetic sheet.

Place the large mat inside the tray.
Once that is done, create sentiment magnetics and place them on the tray.

For the notepad magnetic holder, pull use Deflecto’s VersaGrip Magnetic Sign Holder. Take your time and pull the long metal pieces out and clip the clip to the magnetic base.

Glass magnets can be created using the magnetic craft sheets.

Nice and easy!!

So what do you think? Would you create a magnetic tray for your home or office? I would love to hear from you.
Thanks for stopping by, I hope you were inspired here today.
Supplies used:
(Thank you so much for stopping by. Compensated affiliate links used at no cost to you. All products were personally purchased. This post was not paid or sponsored.)


Thanks for stopping by!

Hello everyone!! I’m here to announce the winner of the Altenew Crafty Friends Blog Hop!
Thanks to everyone who participated and left all of the wonderful comments on my blog. I wish everyone could win but I can only choose one winner.
Are you ready to see who won? Here you go:
Congratulations, Maria!!! You are the lucky winner of the $20 gift certificate from Altenew! Please contact Altenew at winner@altenew.com with the subject line “Altenew Crafty Friends Blog Hop Winner from Kymona Tracey.
Once again, thanks to all of you for stopping by and leaving some love on my blog.
Hello everyone!!! I’m up on Craft Fantastic blog today sharing my love for Craft Fantastic Glasses Part 3!!! Today I’m sharing the different shapes Craft Fantastic Glasses come in.

Stop on by Craft Fantastic blog to read all about these two different shape glasses Craft Fantastic sells!!
Thanks for stopping by!!
Hello everyone!!! I’m up on Craft Fantastic blog today sharing my love for Craft Fantastic Glasses Part 2!!! I’m sharing what you can do with the glass pieces besides making jewelry.

Stop on by Craft Fantastic blog to read how I use these glasses to create other things besides jewelry.
Thank you so much for stopping by!!

Hello everyone and welcome to Altenew’s October 2017 Release Blog Hop!! Today we are showcasing the all of the new Embossing Powders and the Scrapbook Collection. If you’ve arrived here from the talented Dana Gong blog, then you are on the right track. If you arrived here on your own, then you will want to start at the beginning, the Altenew Scrapbook Blog so that you don’t miss a thing!
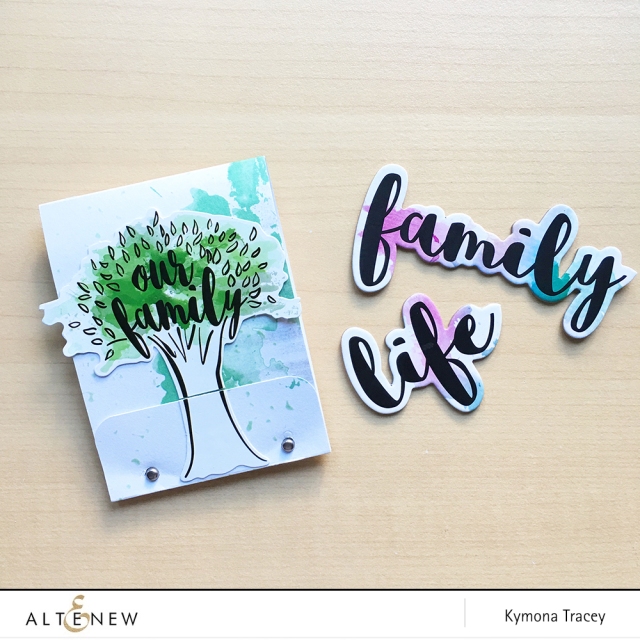
I used the new scrapbook collection called Our Family Scrapbook Collection to create this DIY Matchbook Mini Album.
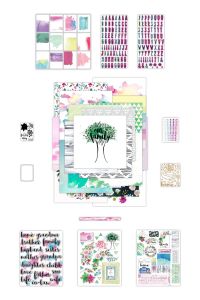
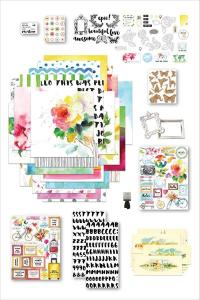
This scrapbook collection is right on trend with fresh colors, watercolored elements, geometric designs, and florals (of course!). The papers and embellishments have been designed to help you document your precious family memories, but are versatile enough to use on any layout, journal, or card project.
36 Sheets of 12″x12″ patterned paper (2 of each design)
One 3″x4″ photopolymer stamp set
12 3″x4″ watercolor journaling cards
One 8.5″x11″ sheet of 20 cardstock stickers
One 8.5″x11″ sheet of 15 cardstock die cuts
One 8.5″x11″ sheet of 16 chipboard stickers
Two 6″x12″ sheets of chipboard alphabet stickers
One 5″x6″ sheet of 17 adhesive wood veneers
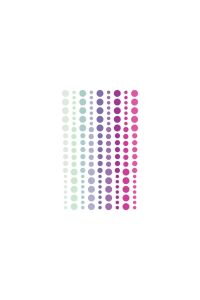
One 4″x6″ sheet of adhesive enamel dots
One metal die (approx. 3.5″x4.5″)
One roll of washi tape (15mm x 10m)
Last week I saw this amazing idea created by Aly from We R Memory Keepers and asked if I could CASE her idea. I love what she created and wanted to give it a try.
For this project, I used one sheet of cardstock from the Our Family Scrapbook Collection. It created the cover of the matchbook and the pages inside.
To create the cover, I cut a piece of cardstock to 3 x 9. Scored at 3 5/8, 3 3/4, 7 3/4 and 7 7/8.
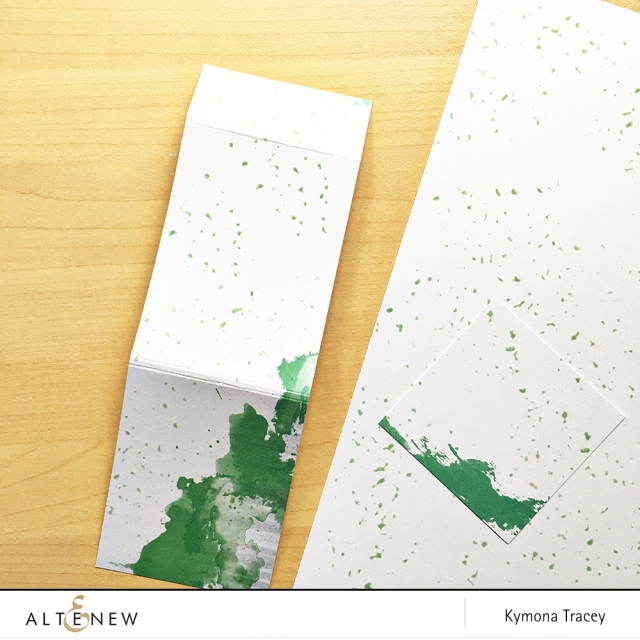
To create the pages inside, cutting the same piece of cardstock 9 times to 2 7/8 x 3 7/8.
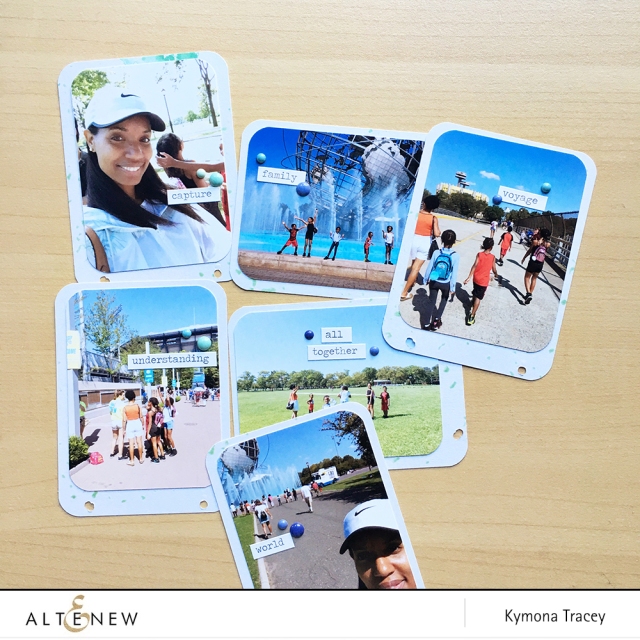
Cut your photos to 2 1/2 x 3 1/2 and adhere one to each page. Use the We R Memory Keepers Crop-A-Dile, punch holes at the bottom of each page.
Add word stickers and some of the Our Family Enamel Dots to add texture to each page.
Round the corners of the cardstock and photos using the We R Memory Keepers Corner Chomper.
Punch holes in the bottom portion of the cover and the pages with two brads.
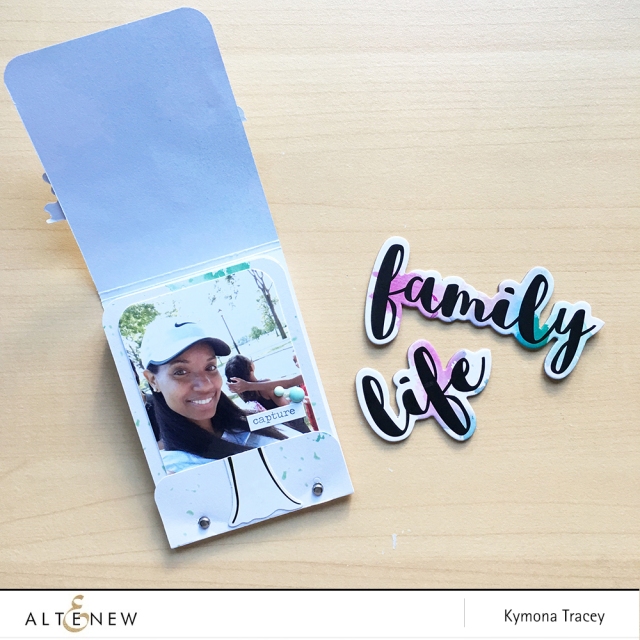
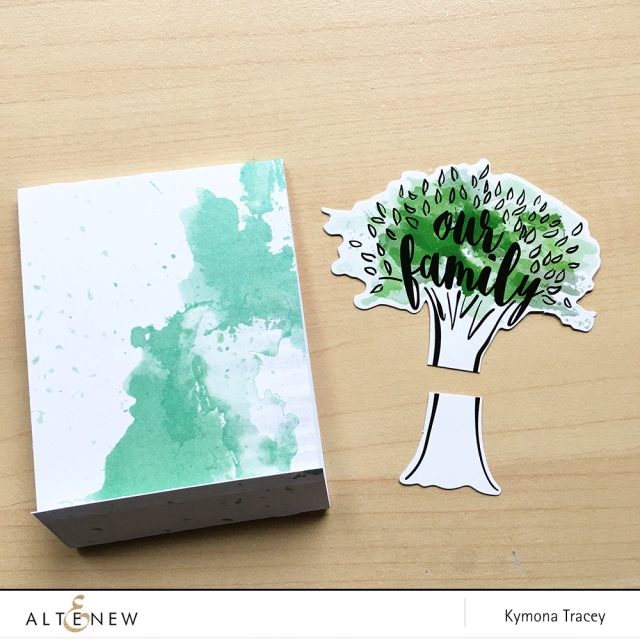
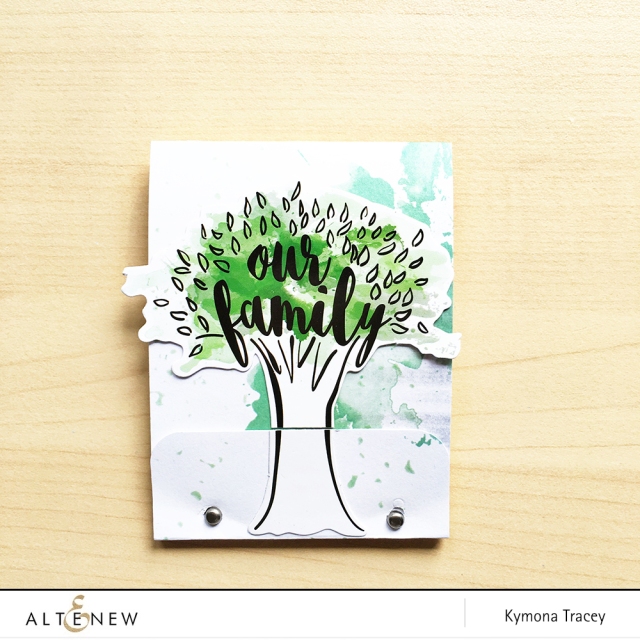
To dress up the cover, add the tree die cut to the front of the matchbook.
Measure the tree and trim it so that the two pieces meet when the matchbook is closed.
Nice and easy!!

You do not want to miss out on her amazing creations!!
Just in case you lose your place along the way, here is the complete list of participants so that you can find your way back:
Kymona Tracey ← you are here
(Thank you so much for stopping by. Compensated affiliate links used at no cost to you. The Altenew products were given to me since I’m on the design team. The other products were personally purchased. This post was not paid or sponsored.)


Thank you for stopping by!!
Hello everyone!!! It’s CASology Tuesday!! We are back with another Clean and Simple Cue Card just for you!!

For this cue card I went with Darkroom Door Fine Butterflies Stamp Set paired with Altenew More Than Words Stamp Set.
When I think of the word cherish, I think of something special. Love is special and so are are butterflies. I thought about leaving the butterfly uncolored but quickly changed my mind. Watercoloring this image really made the image pop. I used Jane Davenport Mermaid Markers.
Nice, simple and easy.
What do you think?
Are you inspired to play along? Please let me know below!
For more inspiration, check out my fellow Design Team members blog for more awesome work.

Guest Designer
PJ
Our sponsor this week is So Suzy Stamps.
(Thank you so much for stopping by. Compensated affiliate links used at no cost to you. All products were personally purchased. This post was not paid or sponsored.)


Thank you for stopping by!

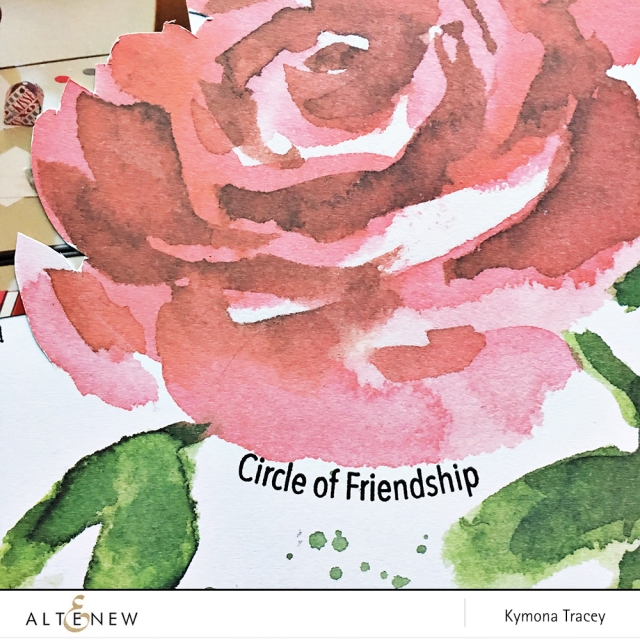
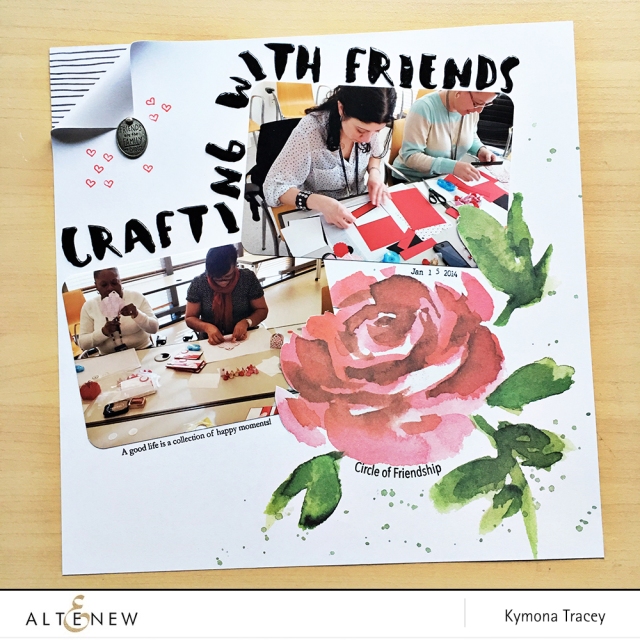
Hello everyone and welcome to Altenew’s Crafty Friends Blog Hop!! Today we are sharing our love of crafting with friends. If you’ve arrived here from the talented Pretty Pink Posh blog, then you are on the right track. If you arrived here on your own, then you will want to start at the beginning, the Altenew Scrapbook Blog so that you don’t miss a thing!
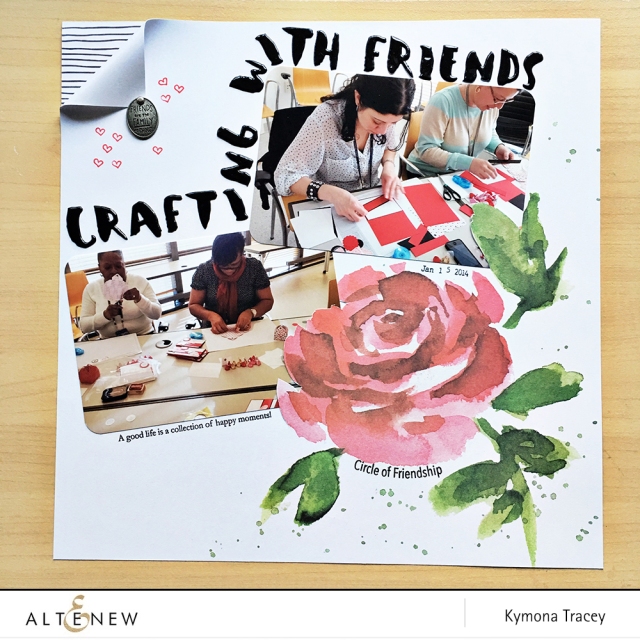
The layout above is all about crafting with friends. I use to do lunch Make-n-Take’s with my coworkers and they loved it. We laughed and they learned how to create cards, boxes, ornaments, etc. They really treasured our time together. I love sharing my love of crafting with them.
My duties at worked changed so these lunch Make-n-Take’s dwelled away. Looking back on these photos allow me to be grateful for these moments with my friends.
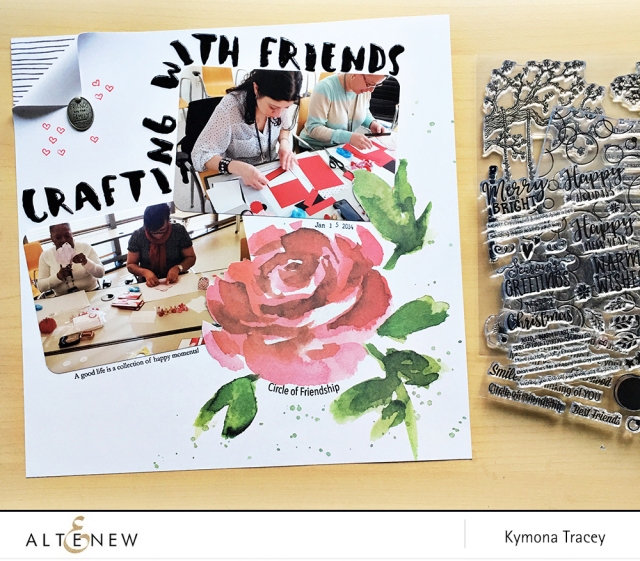
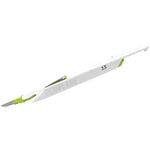
Using the PenBlade 15, cut some of the rose and the leaf so that the photo can rest behind them for dimension.

Then rounded all four corners of each photo. Add some adhesive behind the photo and adhere them to the page behind the cut outs.

After that, cut a small piece of pattern paper. Adhere it to the top left hand corner of the layout by adding tape to the bottom right corner of that piece.
Then pull the top layer corner down about an inch and pin it down by placing a charm and a brad.

To add the title, use the puffy stickers from the Reflection Scrapbook Collection and run the title around the top of the photos.

To finish off the layout, using stamps from Altenew Pattern Play- Circle stamp set, Altenew Happy Holidays stamp set and Altenew Moments in Time stamp set to add a couple of sentiments to the bottom of the layout with the Memory MISTI.

So what do you think? I would love to hear from you below.

FREE U.S. shipping with code CRAFTY or $5 OFF international shipping with code FRIENDS at checkout. Offer valid from October 17th at 12:01 am EDT through October 19th at 11:59 pm EDT. Not valid on prior purchases. Cannot be combined with other promo codes.

Jennifer McGuire Ink: 1 prize pack of three Altenew stamp sets
Online Card Classes: 3 class spots
Create and Craft TV: £50 gift certificate
My Sweet Petunia: Mini MISTI
Ellen Hutson LLC: $30 gift certificate
Pretty Pink Posh: $30 gift certificate
Simon Says Stamp: $30 gift certificate
Chameleon Pens: 1 pack of 5 Chameleon pens
Tombow USA: 1 pack of 10 dual brush pens
WOW! Embossing Powder: $25 gift certificate
Butterfly Reflections Ink: $25 gift certificate
Freckled Fawn: $20 gift certificate
Papercraft Magazines: One copy of each of the latest issues of four magazines
Scrapbook & Cards Today Magazine: 1-year subscription.
Be sure to leave comments by Friday, October 27th, 2017 at 11:59 PM EDT for a chance to win! 21 WINNERS will be chosen at random from the comments left on all of these blogs listed below and will be announced on the Altenew Card Blog and Altenew Scrapbook Blog on October 28th, 2017.
Kymona Tracey ← you are here
Supplies used:
(Thank you so much for stopping by. Compensated affiliate links used at no cost to you. All products were personally purchased. This post was not paid or sponsored.)


Thank you so much for stopping by!!
Hello everyone!!! It’s CASology Tuesday!! We are back with another Clean and Simple Cue Card just for you!!


For this cue card this week, I went with So Suzy Stamps Herb 2 stamp set and Sweet Stamp Shop Condolences stamp set.
Making these types of cards are hard but they are needed. So I will create more of these cards just to have when the times comes. Better to be prepared then not.
Nice, simple and easy.
What do you think?
Are you inspired to play along? Please let me know below!
For more inspiration, check out my fellow Design Team members blog for more awesome work.
Guest Designer

Thank you so much for stopping by!!


