Hello everyone!! I’m here with CS Take It Make It: Take a Technique Challenge Inspiration for February.
Our theme is Take a Technique: Text Me!!
For this month’s challenge the technique we would like you to use text or script background stamps, or text paper in your projects. Any language, any style. Old book pages, bits torn from magazines, scrapbooking papers.. whatever you can find! … The ‘text’ part does NOT include sentiments, phrase or single word stamps…. think backgrounds!!
This should be super fun to see what you come up with.
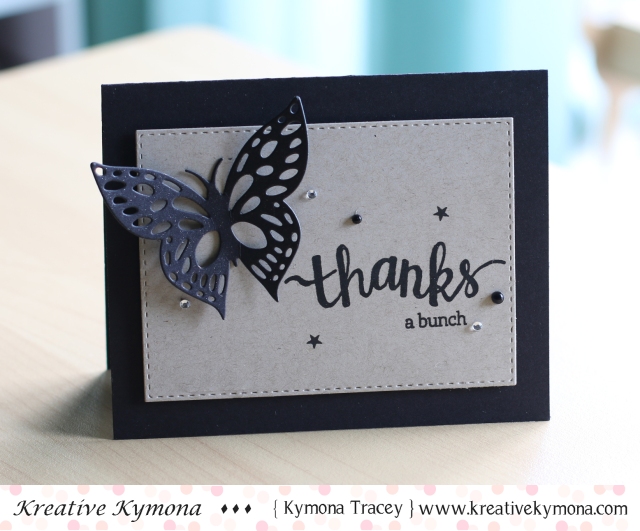
Take a look at my card:

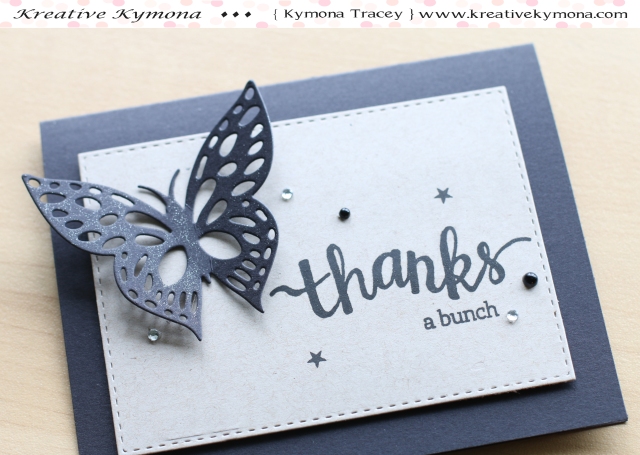
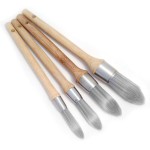
I love how this card turned out!! I used Clarity Stencils-Chinese Lantern and Clarity Stencil Brushes to create the pattern on the texted pattern paper. These two products are my favorite supplies this year thus far.
This is how I created this card:
I placed the stencil over the pattern paper and used two different brushes to apply the Distress Ink Salty Ocean, Peacock Feathers and Mowed Lawn.

Here is where the magic happened, I moved the stencil over slightly to the right and applied BoBunny Sugar Glitter Paste, Yummy!!
I let the glitter paste dry and cut the unknown text pattern paper down to 4 by 5.25.
I adhered the pattern paper to the black cardstock with Tombow Extreme Adhesive because I needed the pattern paper to stick securely to the card base because of its weight.
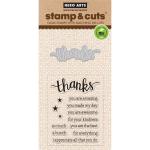
Then I die cut Lawn Fawn Scripty Thanks three times and adhered them together and onto the pattern paper using Tombow Mono Liquid Glue.
I placed a heavy book on top of the finish card to assure the die cut sticks to the pattern paper.
Take a closer look:


There you go! That’s how I created this card.
So what do you think? I’m in love, are you?
We have two prizes to offer this month, the first is our sponsor prize. This winner will be chosen randomly from all of the entries in the challenge! The sponsor for February: A Sprinkle Of Imagination

The prize is a £25 voucher to spend in the online store.
Our second winner is our Design Winner. This winner is chosen by our DT, who all vote for their favorite design from all of the entries. This winner will have their winning project published in Craft Stamper Magazine, they will have a GDT slot for an upcoming challenge, and will also feature in their very own Winners Profile blog post!
Now if that isn’t a reason to play along I’m not sure what is!!
Wait!! Wait!! I have more: ASOI are also offering an extra 10% off for my blog readers! The code is CSBlog10% and will work from 5-25th of February, with a minimum £5 spend excluding P&P.
Tell me that isn’t good!!
I can’t wait to see what you come up with.
Supplies used:


Thanks for stopping by!
~Kymona