Second post for today
If your looking for the a2z Scrapbooking blog post, click here
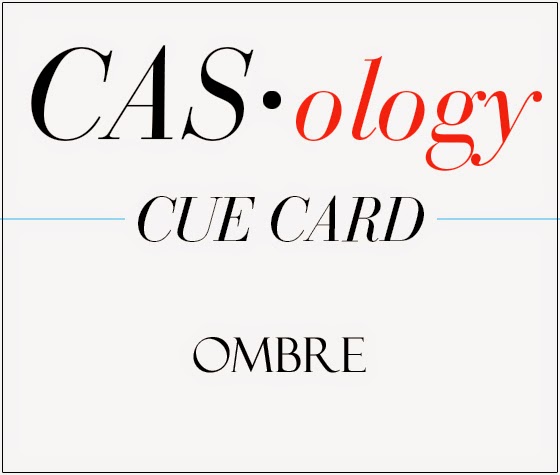
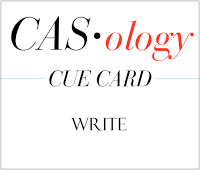
Hello everyone!! It’s CASology Tuesday!! We are back with another Cue Card for you!!!
I have to say I really love this week’s cue card. I love to write but handwriting is the worst!! LOL!! I wish I took penmanship classes more seriously when I was in grade school.
I just hated writing, “The quick brown fox jumped over the lazy dog“. Do you remember writing that over and over and over again. I never understood why we had to write that. The reason is, that sentence contains every letter in the alphabet!! Writing it, allowed us to write every letter!!!
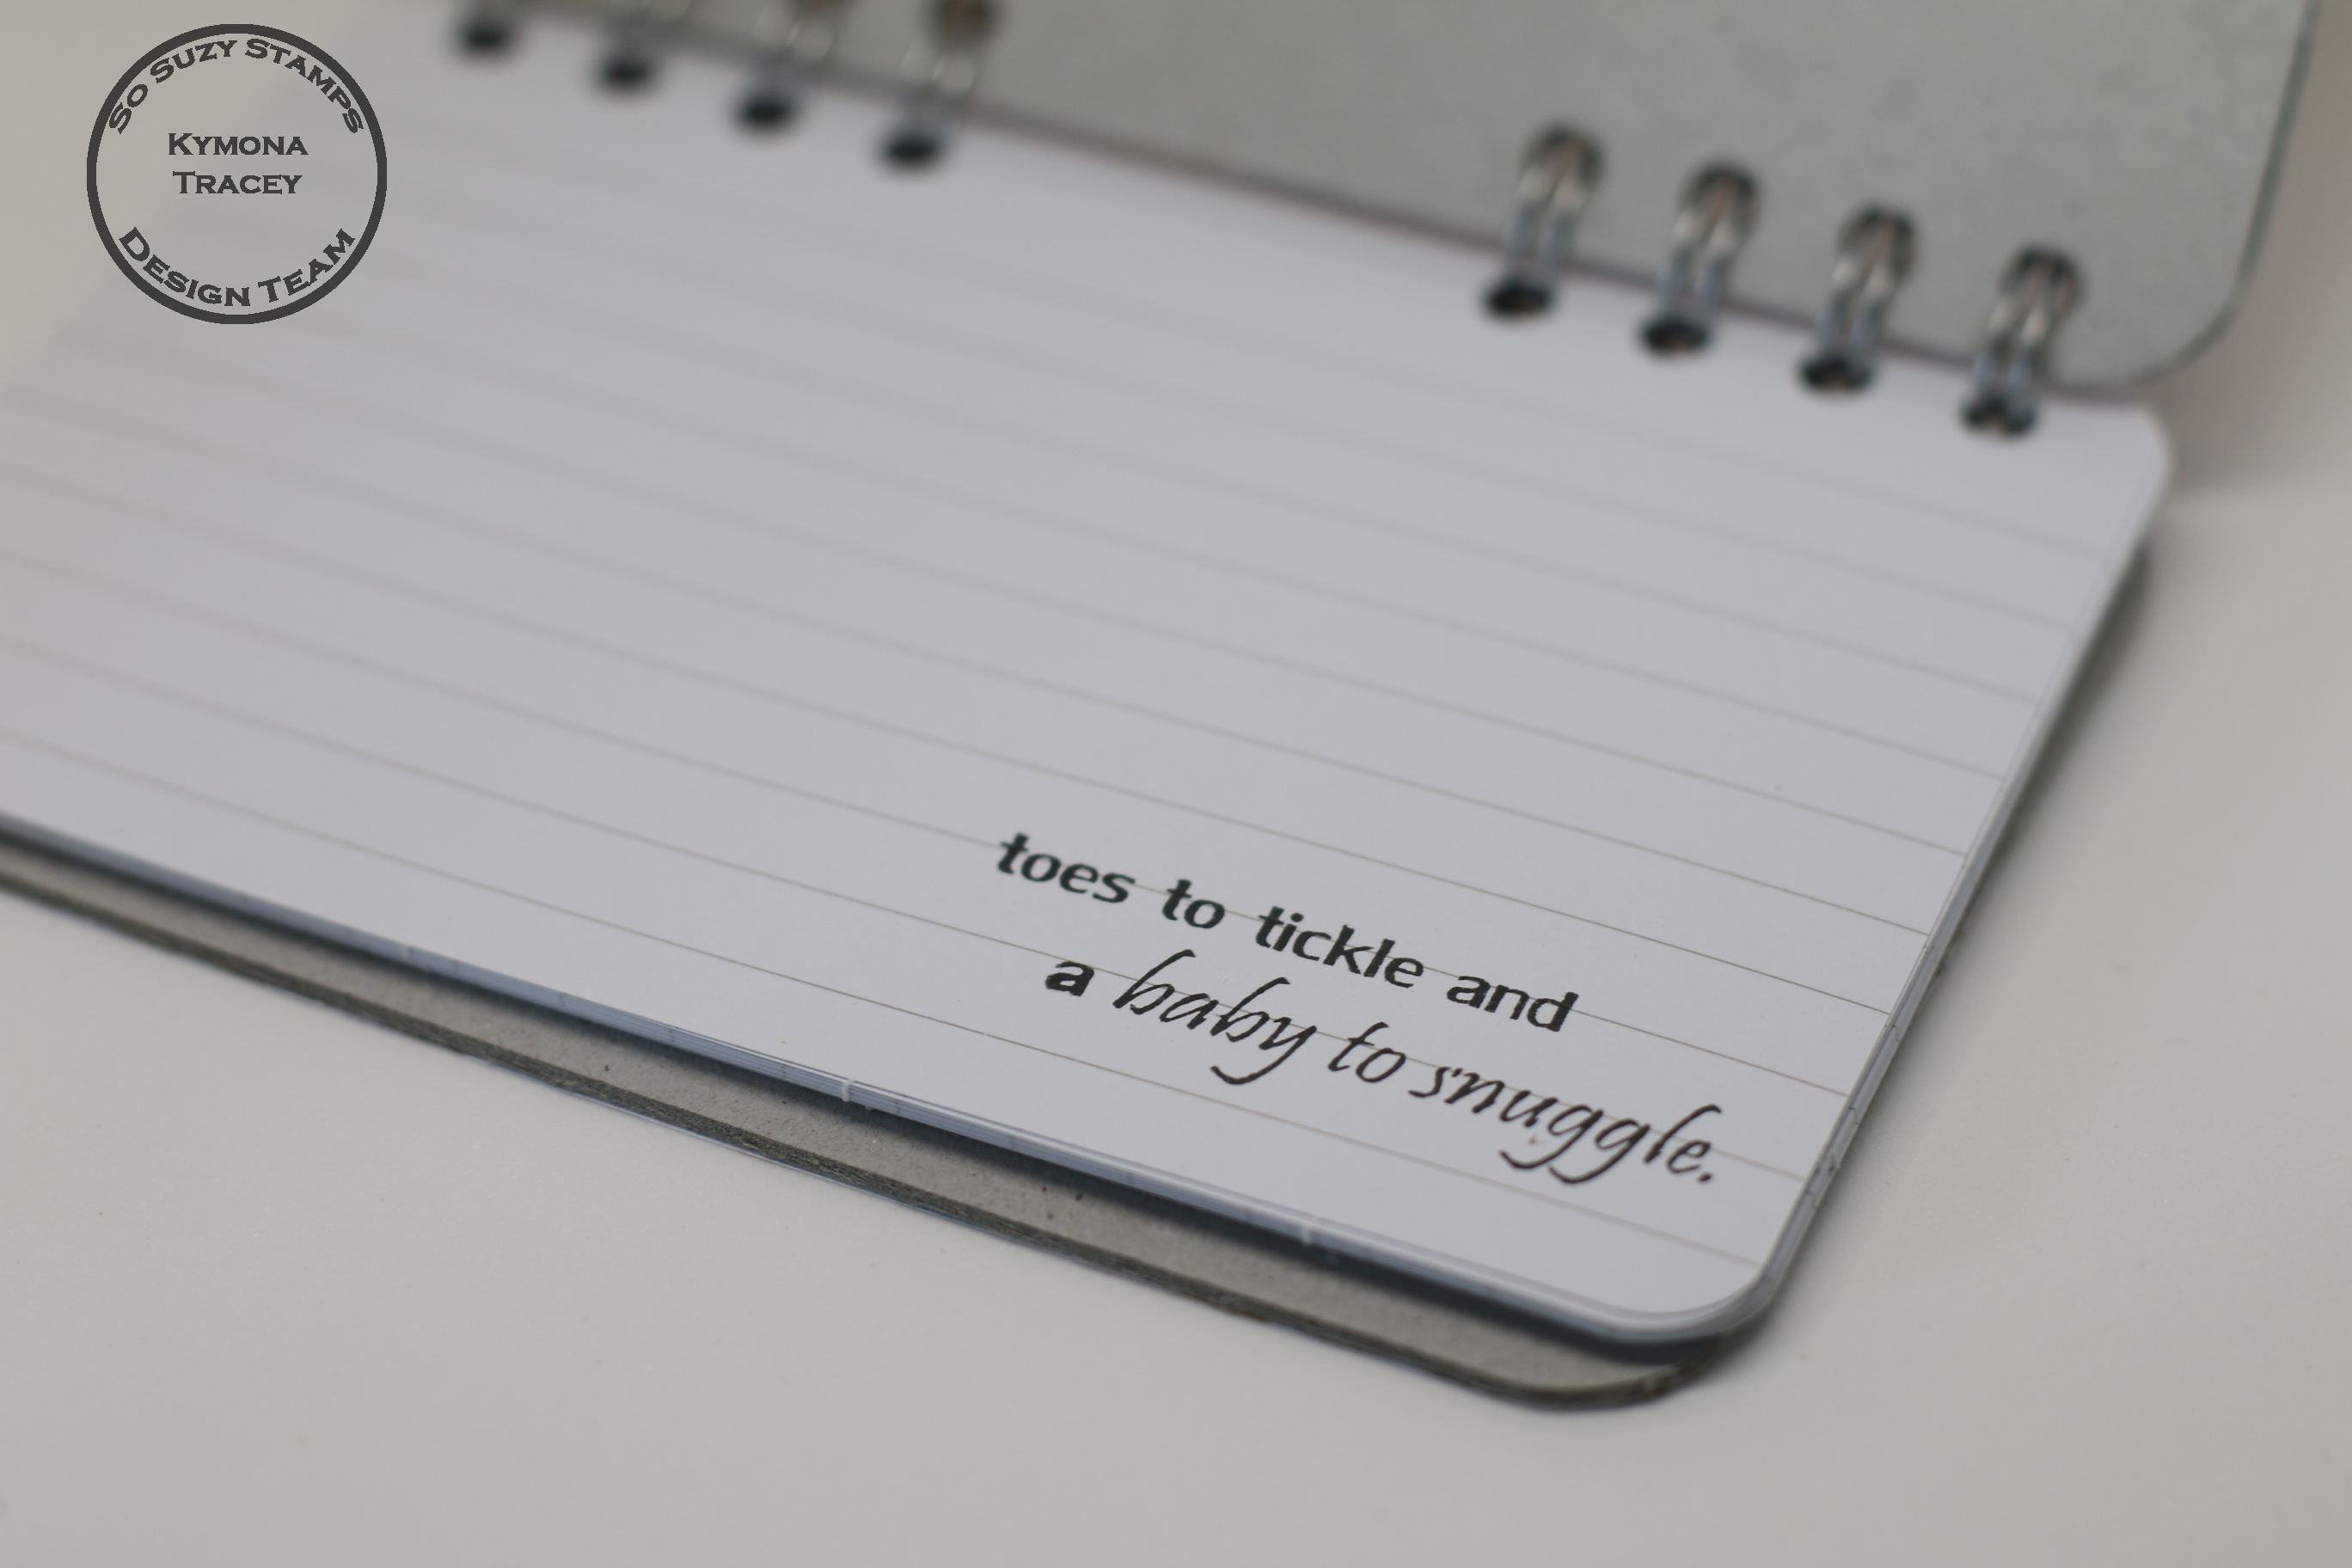
We had a entire penmanship book. The pages were similar to this but with more space to write:

If I knew what I know now, right, LOL!!!
This week’s cue card is:
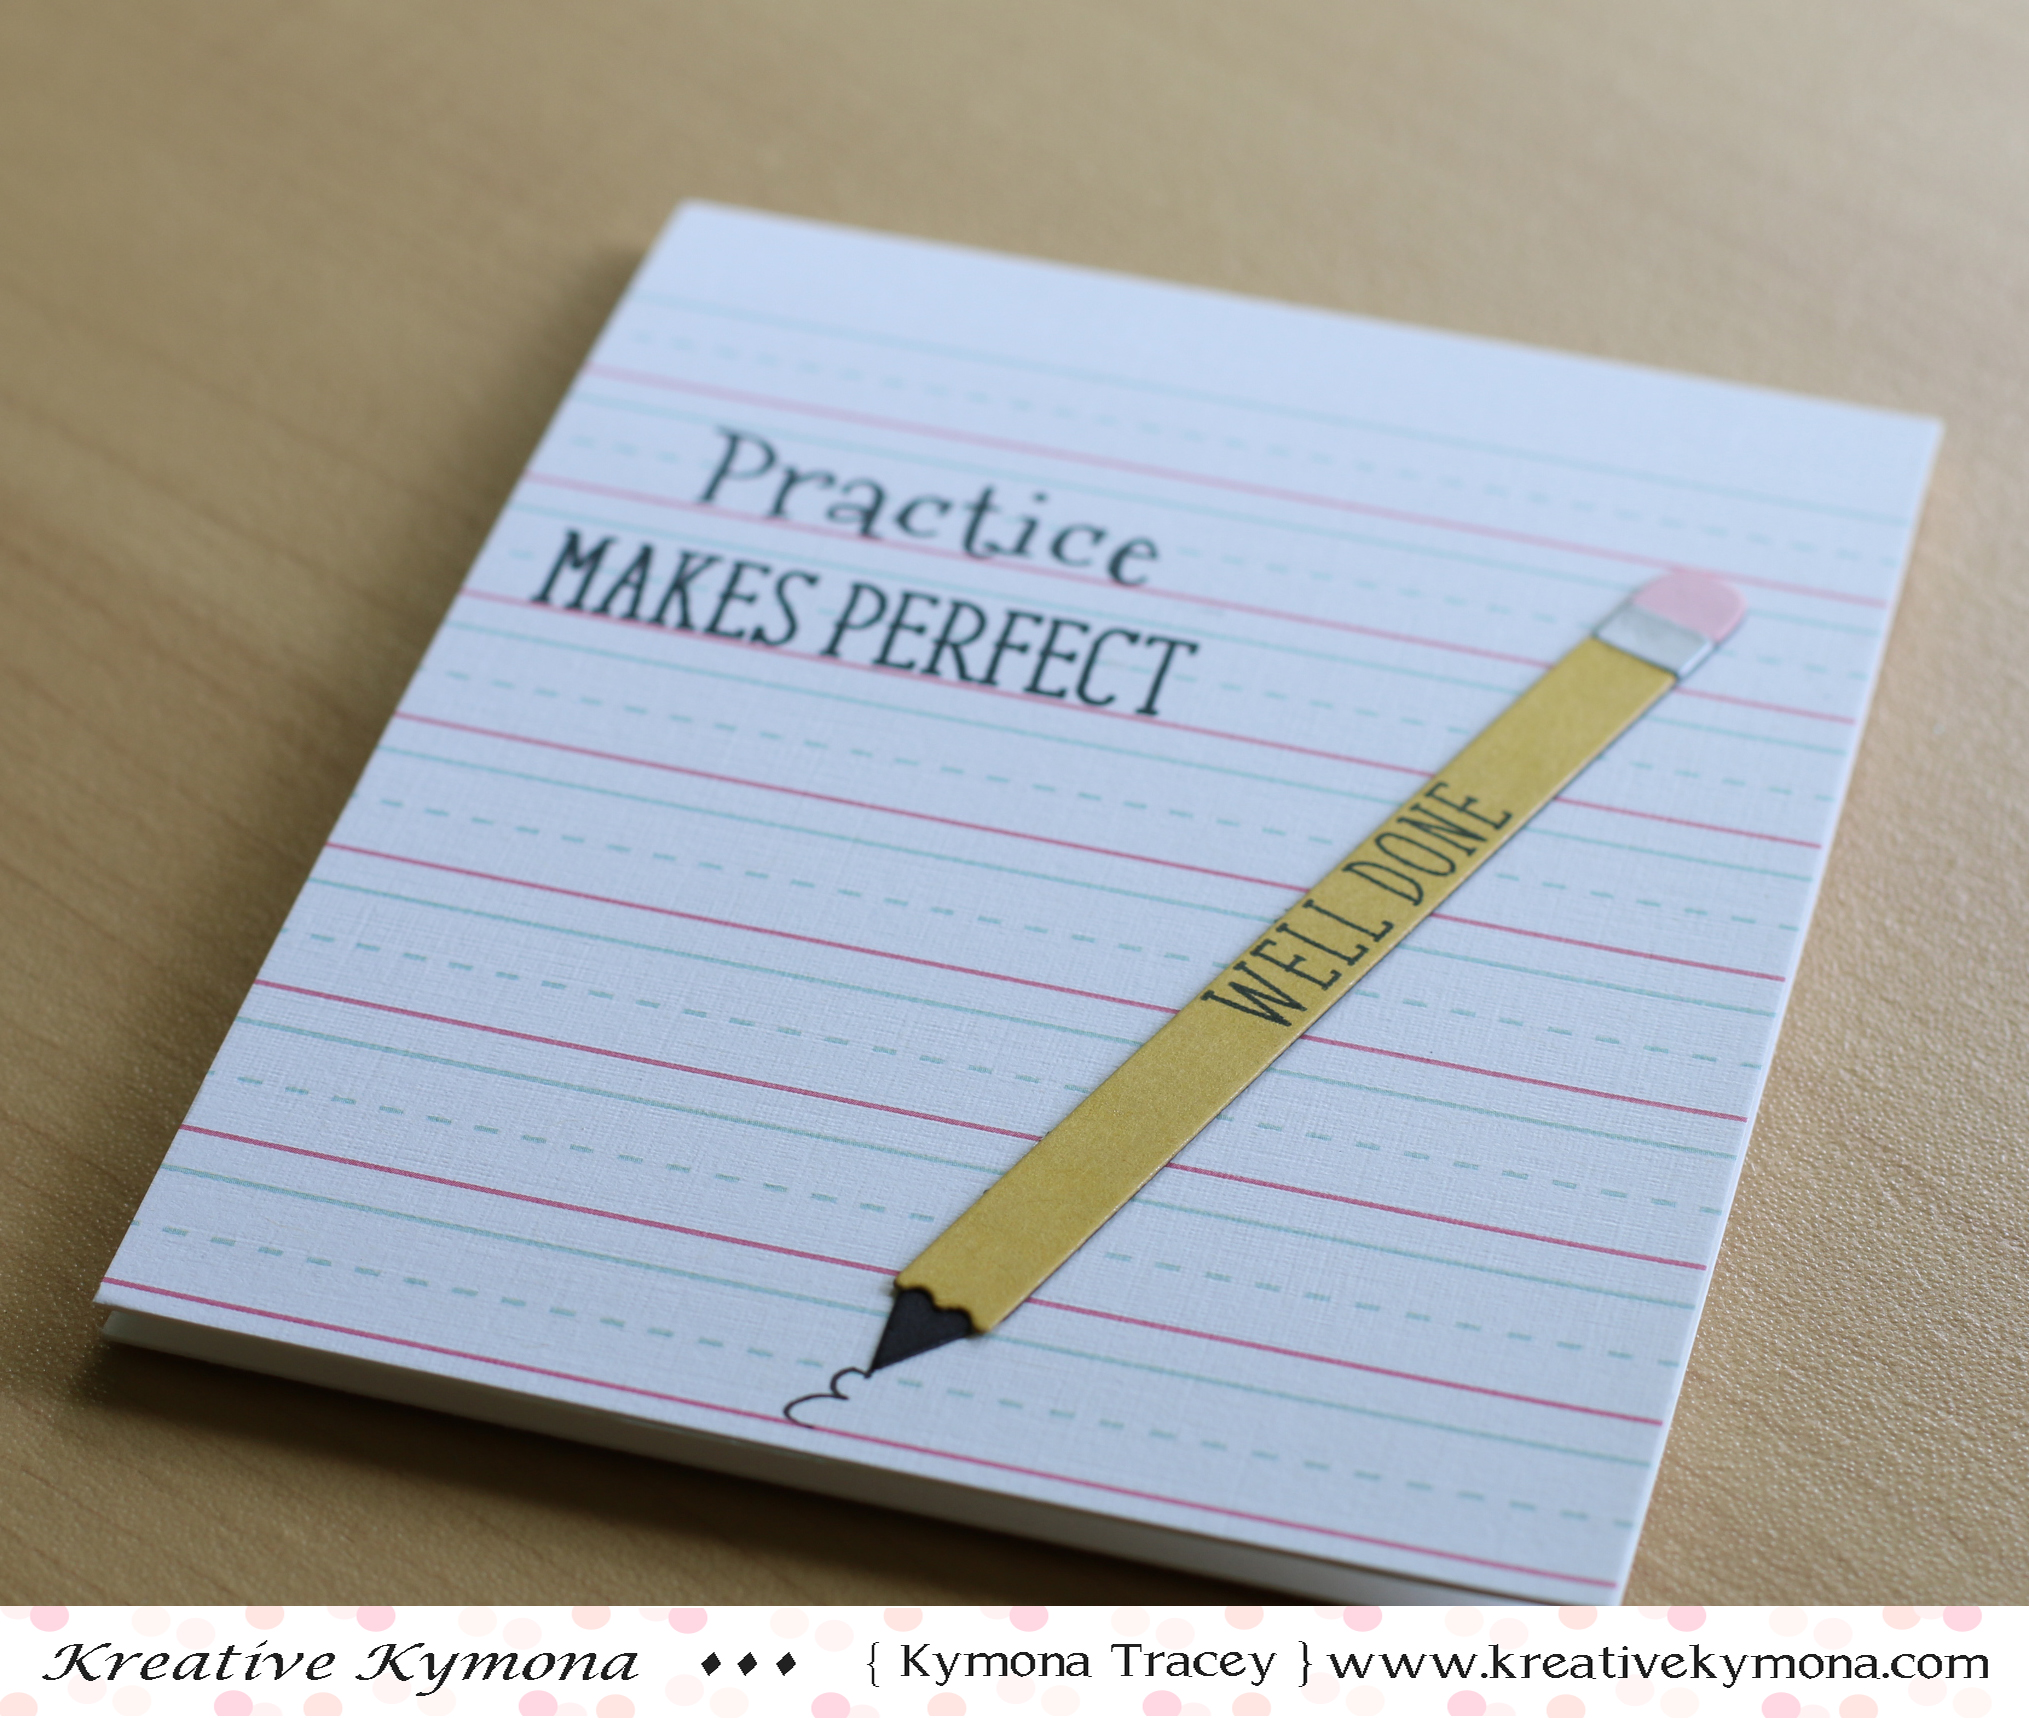
Take a look at my card:

Here is how I created this card:
- I used Papertrey Ink’s Pencil Me In Patterned Paper to create my card front.
- After that I used Papertrey Ink’s Pencil Me In Die to cut out my pencil. I adhered all of the pieces together using Plus Glue Tape Runner.
- Then I used Papertrey Ink’s Lunchbox Notes Stamp Set to stamp my sentiment using My Favorite Things Hybrid Ink on the card front and pencil.
- I used a black pen and scribbled in the line below the pencil.
Super fun and simple!!
Here are some closer looks:

Super doper easy!! What do you think? I would love to hear what you think below.
Now its your turn!! I can’t wait to see what you come up with!
For more inspiration, check out my fellow Design Team members blog for more awesome work.