Hello everyone!! Yayyy, I love this blog hop featuring new products from Your Next Stamps makes squeal!! LOL!!
This release is super cute!! Yesterday’s sneak peek was fun.
If you’ve been hopping along, you would have arrived from Stephanie’s blog and if you’d like to start from the beginning, you can click on over to the linky at the bottom of this post and start at Anita‘s blog.
My favorite set from this release is the Cool Easter Chick stamp set! I showcased that card yesterday during the sneak peek. If you didn’t see it here it is.
Are you ready for my big reveal?
Take a look at my card:
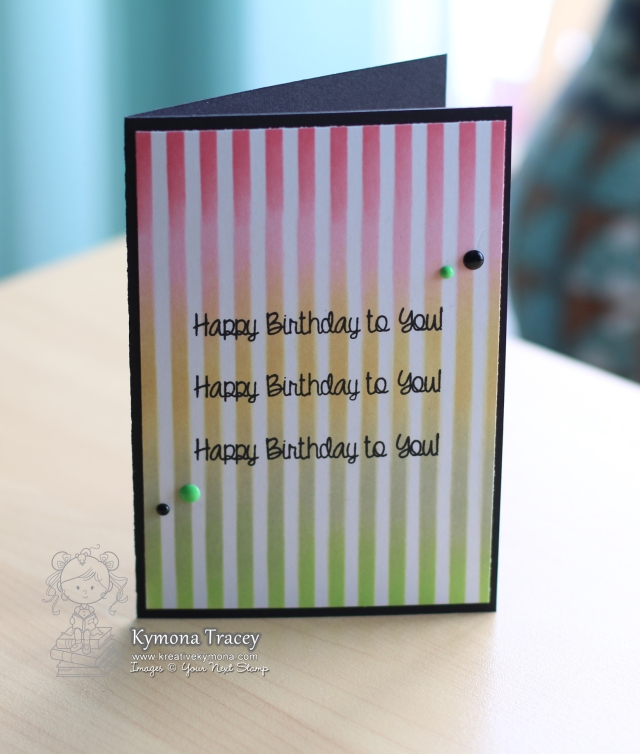
YNS Supplies: Little Darling Fairy Godmother, Spellbound Gumdrops
Other Supplies: Clarity Stencil Strips, Distress Inks Worn Lipstick, Spun Sugar, Scattered Straw, Old Paper, and Twisted Citron, Recollection Black Cardstock, Recollection White Cardstock, Tombow Extreme Adhesive
This card was super easy to create! I blended the colors using the stencil then stamped the sentiment three times. I added the gumdrops for an added finish. Sometimes we just need really simple cards.
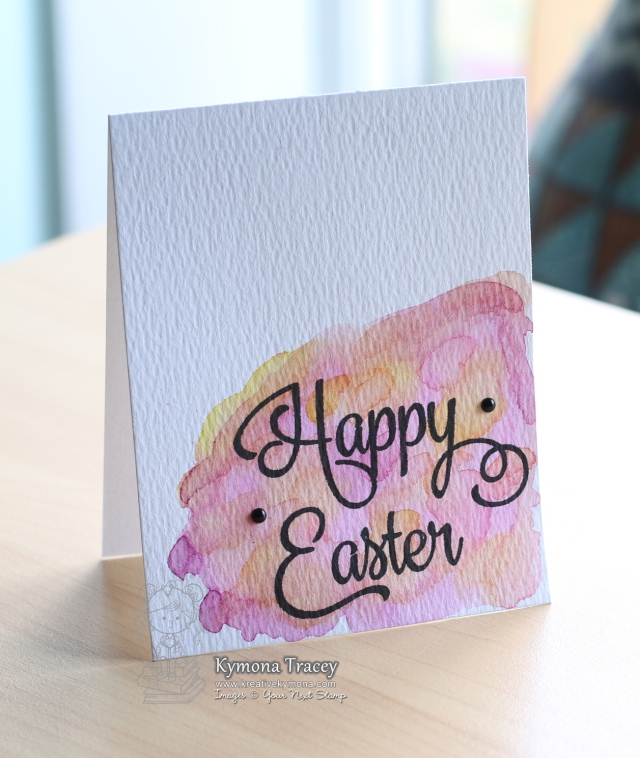
YNS Supplies: Cool Easter Chick, Black Gumdrops
Other Supplies: Tim Holtz Watercolor Paper, Versafine Onyx Ink, Stampin’ Up! Clear Embossing Powder, Prima Confection Watercolor
Here is another simple card but with a little bit more flare. I did a little watercoloring and then stamped the sentiment right on top of the dried watercoloring. I added some clear embossing powder on top of the stamped sentiment before it dried to give it an extra pop after it was heated set. I added some gumdrops.
Boom!! Done!!
I have a confession: This Happy Easter card was suppose to be my sneak peek card but I posted my Spring card by mistake. That was my favorite card, I guess I was super excited about it. Sorry for the confusion.
So, what do you think? I had so much fun creating these cards to inspire all of you and show you the versatility of the stamp sets! Which one of these items are favorite? I would love to hear from you!
Be sure not to miss any blog along the way, because one lucky commenter will have a chance to win a $25 YNS gift certificate. Winner will be announced on the YNS blog on March 8th. So don’t forget to leave a comment on each of the blogs participating in the blog hop.

Don’t forget to take advantage of the special promo code to get
20% off your entire purchase!!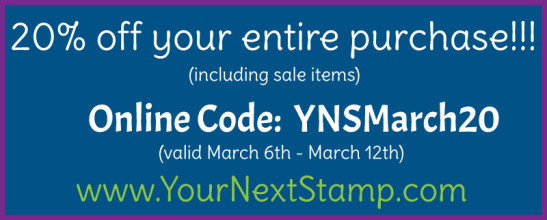
Thanks for stopping by!!
~Kymona


