Second Post
If your looking for the Giveaway Winner Post, click here.
Hello everyone!! It’s CASology Tuesday!!! We are back with another Cue Card for you!!
How did you like last week’s cue card? I loved it!! Wedding are always fun to attend.
Lets jump in!

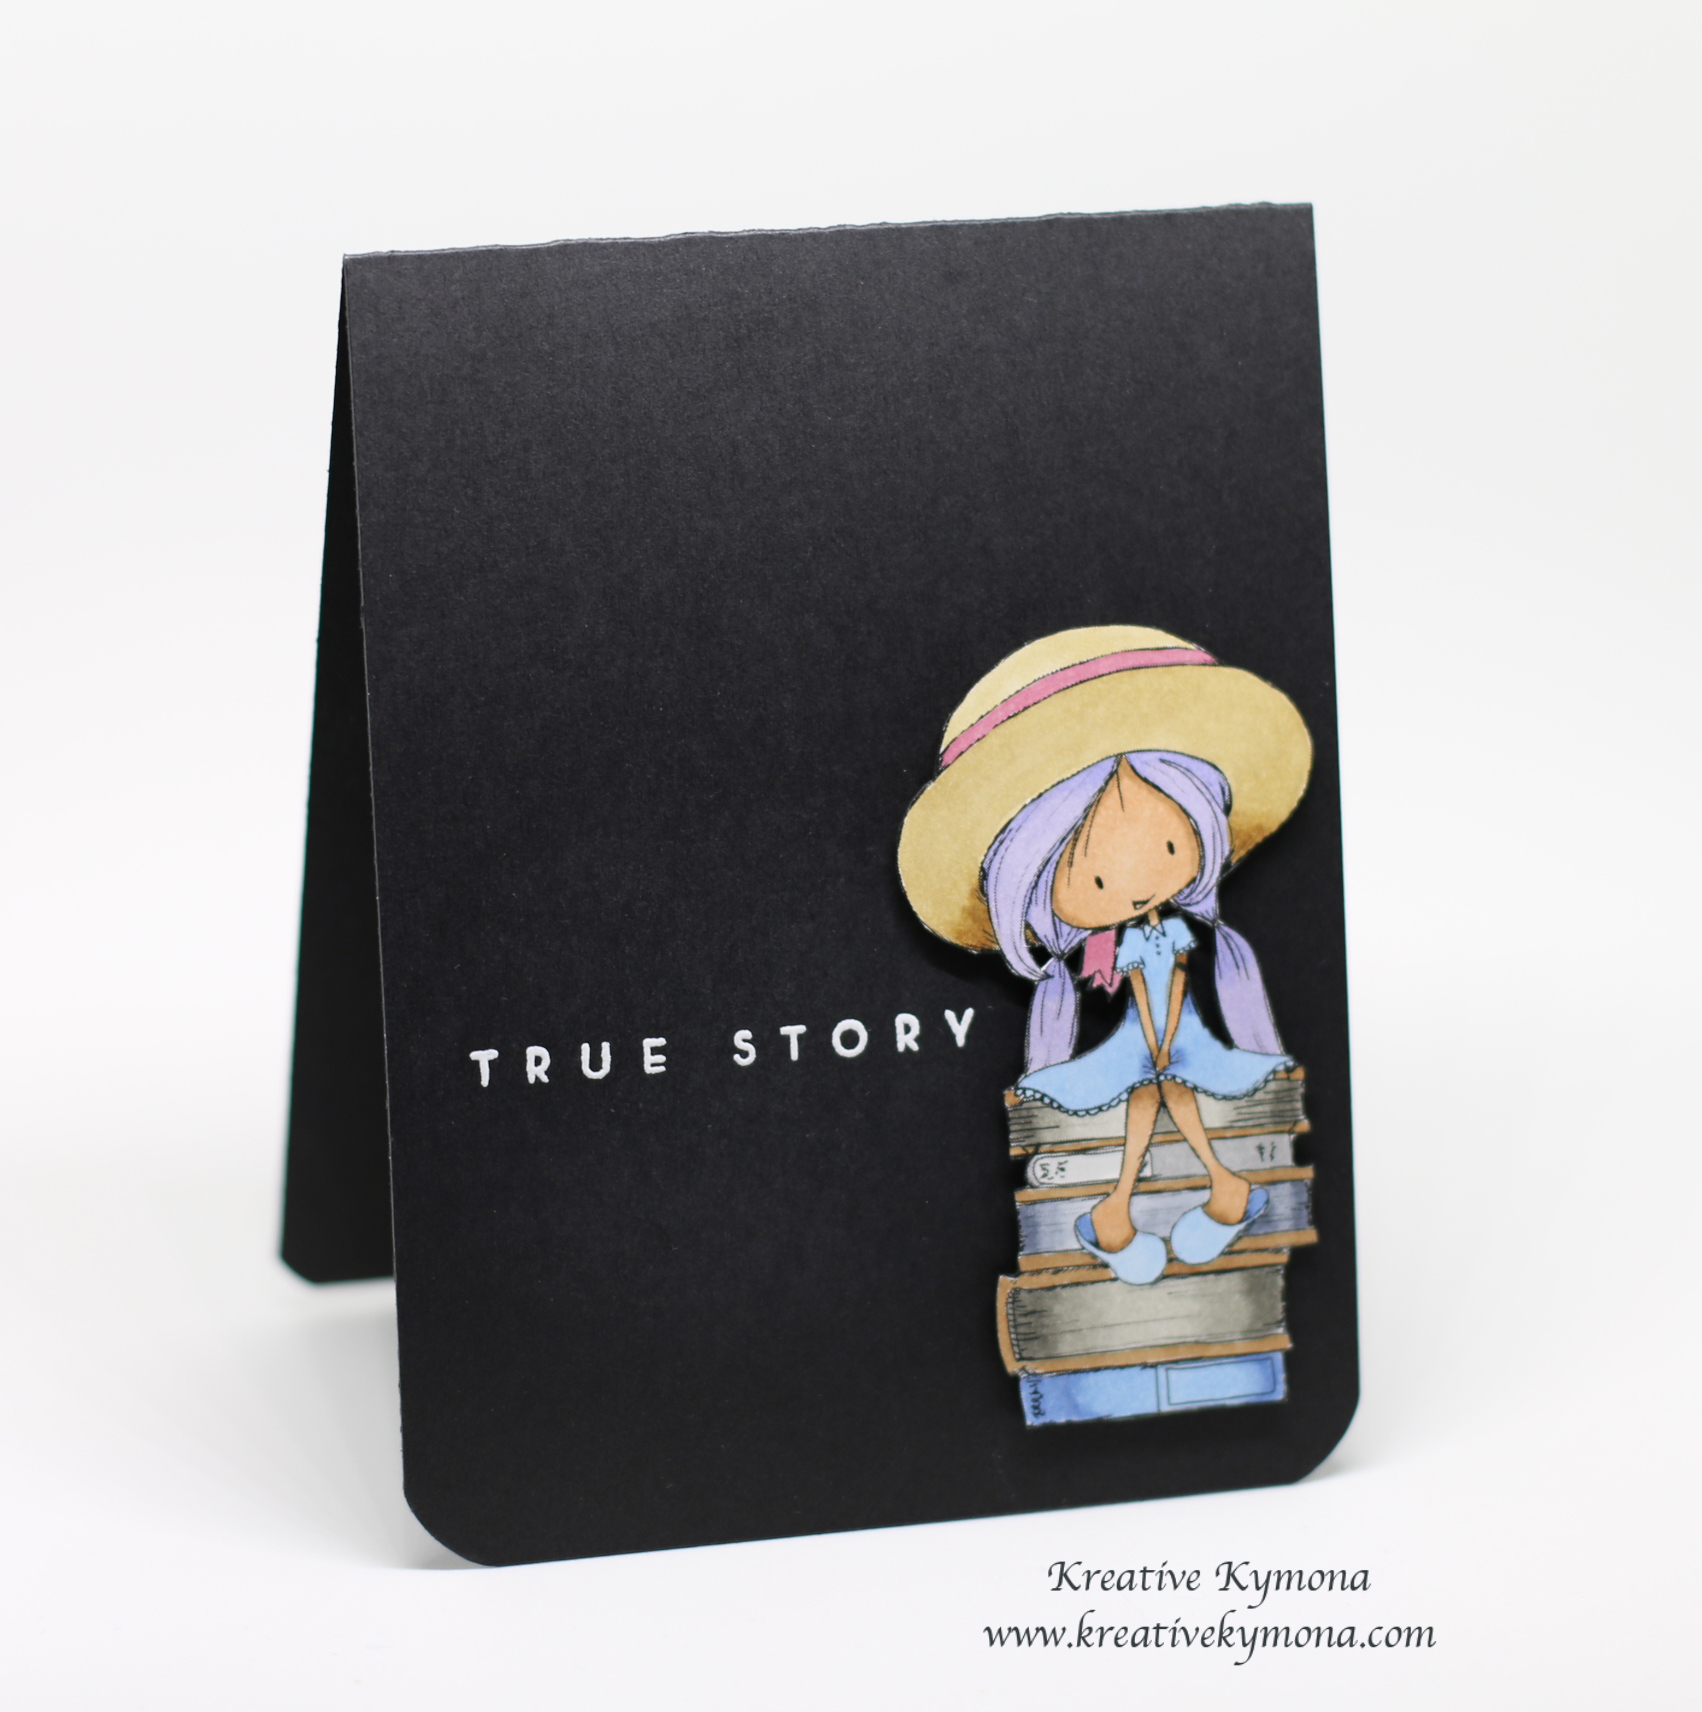
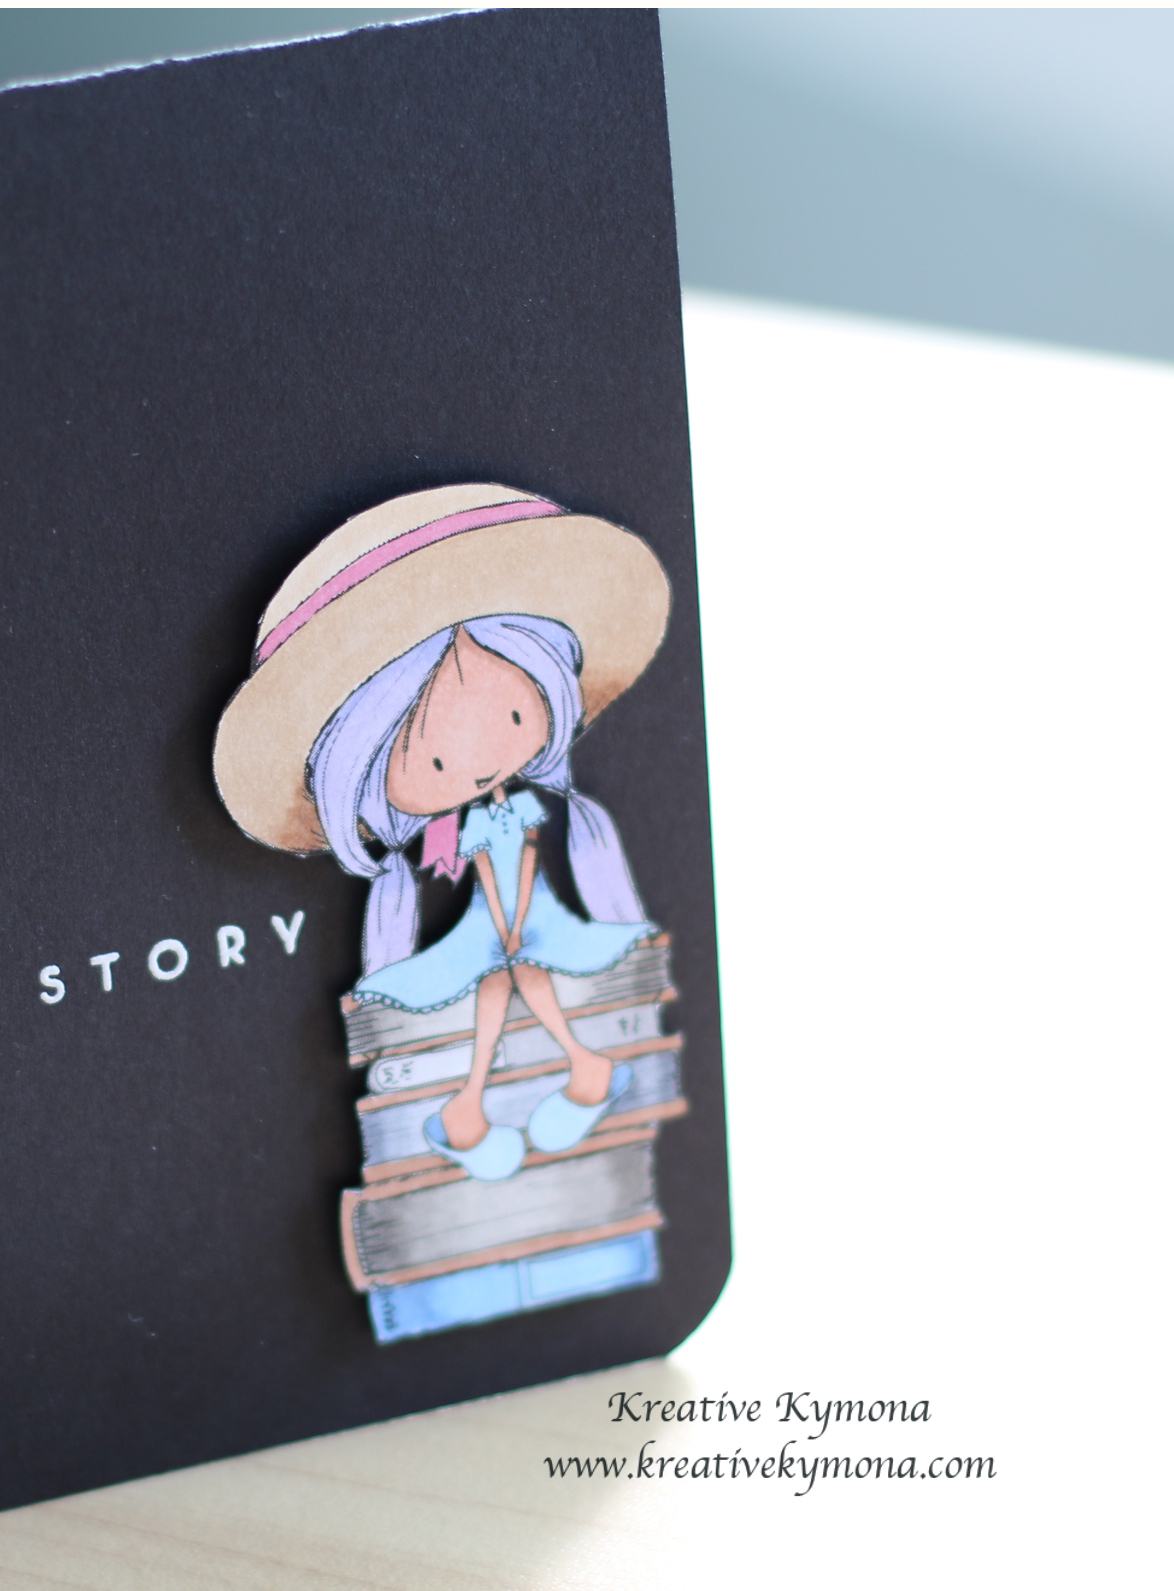
Now take a look at my card:

I love this School Girl image from Tiddly Inks. I was introduced to this stamp company on Instagram, by @sugarbea. She created some bookmakers with this digital stamp and I had to have it.
Look how fitting this image is for this weeks cue card. All of the books have tons of stories in them.
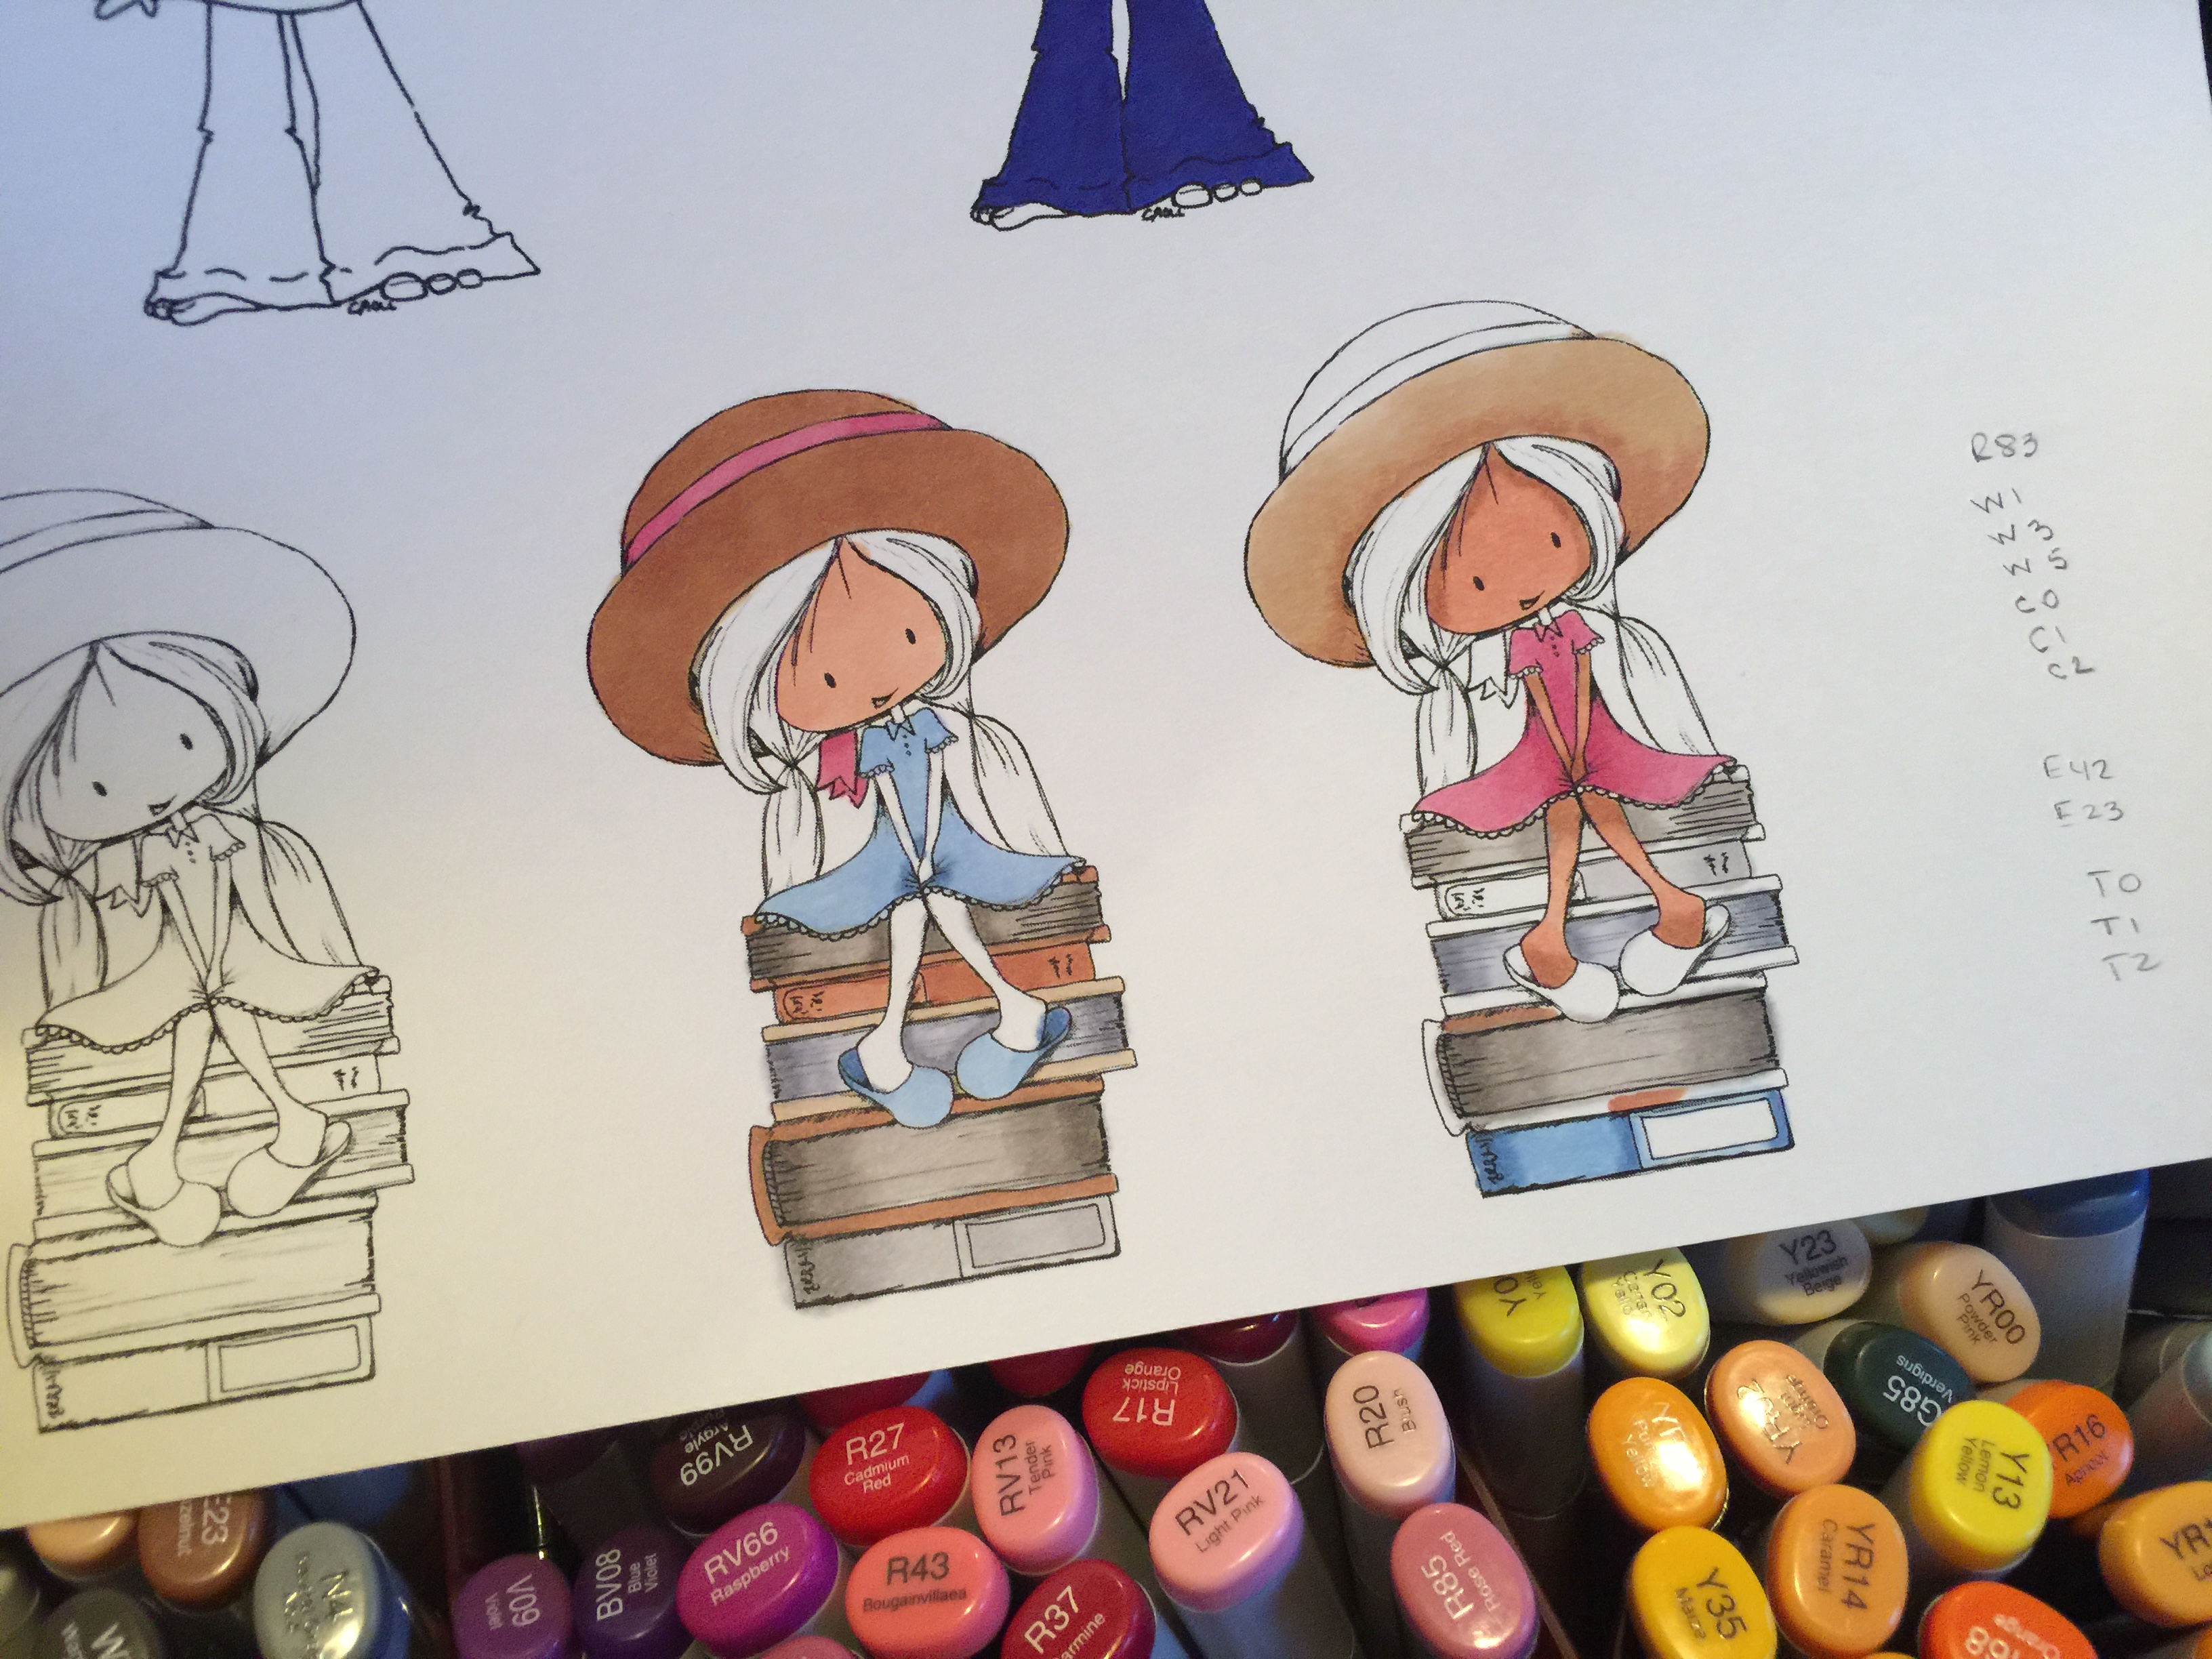
I love how my coloring turned out. I tested different colors before I settled down with the one I used for this card.

Did you check out her purple hair? I have such a hard time coloring hair that I decided to go with a light non-traditional hair color to make things easy for myself.

This card was super doper easy to create!
1. All I did was resize my image in Photoshop.
2. Then I printed it on 80lb Neenah Solar White Cardstock.
3. Then I used my Copic Markers to color the image in.
Hat: E23, E35, R83
Dress and Shoes: B21, B45
Hair: BV00, BV02
Skin: E11, E23
Books: T0, T2, W1, W3, W5,C1, C3, C5, E42, E23, B21, B45
4. Once I was done with that, I fussy cut the image out with my craft scissors.
5. For the spaces around her arms, I used my craft knife to cut those spaces out.
6. I used Papertrey Ink Wet Paint II and stamped my sentiment with Versamark Ink.
7. I added Hero Arts White Embossing powder on top then heat set.
8. Once that embossing dried , I pop my image up using foam tape.
Nothing to it!! I had so much fun coloring this image. It allowed me to really see how the colors work with one another.
I would love to learn more about colors. If anyone knows of a class that I can take to learn more about colors, please let me know.
So, what do you think? Please let me know.
For more inspiration, check out my fellow Design Team members blog for more awesome work.