Ink Blending Tool vs. Clarity Brushes

Hello everyone!!  I here with a post that is quite different then my other card post.

On Instagram, I love giving my opinion on the different tools that I own and use.  So, that way my followers would be more informed about the products they see and want but aren’t sure if they should step out on that limb.

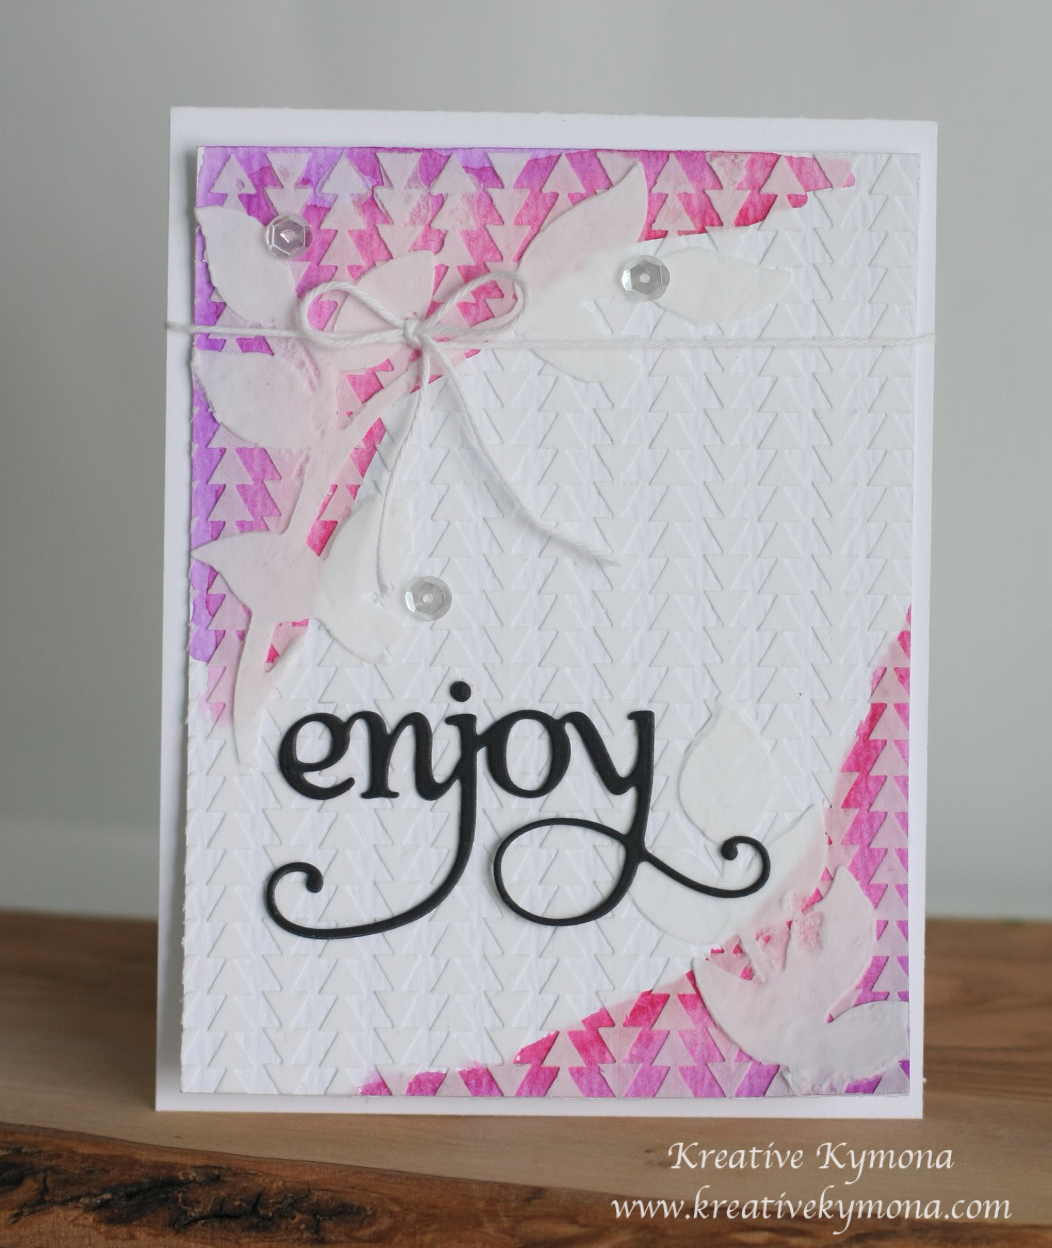
So this morning, I posted this picture:

ink blending 2

I was simply sharing an upcoming project that isn’t due to release until April 1st.

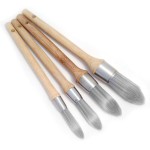
Then a good friend of mines asked me to do a comparison between these Ink Blending Tools and the new Clarity Brushes.

I agree to do it so here you go:

Comparison

Here are my finding:

Round Blending Tool:

  1. Blends the colors well with good pressure.
  2. To keep from having harsh lines, you have to tap off first or start adding color off of the paper.
  3. Snags on the stencils that are intricate.
  4. Easy and small enough to hold.
  5. You can use one tool with different sponge (extra cost).
  6. The cost of the blending tool is $8.17 and it comes with two handles and four sponges.
  7. The additional sponges are $8.36.
  8. When blending, the color didn’t transfer into the sponge.
  9. Due to the shape of the blending tool, you have to mask off areas you don’t want color to appear.

Clarity Brushes:

  1. Blends the colors well with little pressure.
  2. No need to tap off or start adding color off the paper, the brushes doesn’t create harsh lines.
  3. Does not snag on the stencils that are intricate.
  4. Easy to hold, but brushes are tall.
  5. They come in four different sizes.
  6. You can use one brush for each color family (no additional cost).
  7. The cost of the brushes are $25.00 for four.
  8. When blending, the color didn’t transfer onto the brush.
  9. The tip of the brush is small enough for you to add and blend colors where you want them without masking off.

Note: Take a look at the outer circles of both cards. The blending tool added color to the outer circle on the card to the left because I didn’t mask off. The clarity brush didn’t add color to the outer circles because I have control over where the color goes due to the tip!

I like them both, but the brushes are easier to use with less elbow grease. I have two sets one for each color family. No need to buy anything extra.

So what do you think? I hope this comparison was helpful to all of you.  If you wanted to see what some to my Instagram followers were saying you can check it here.

Supplies:

Clarity Brushes Blending tool

Thanks for stopping by!!

~Kymona

CS Take It Make It: Take A Technique

Hello everyone!! I’m here today with CS Take It Make It Design Team for our February Challenge.

You are going to love this months challenge.  I had so much fun creating my card for this challenge.  So do you want to know what the challenge is?

Its all about Stenciling!!  No specific stenciling technique, just make sure you use a stencil somehow, somewhere on your project.

If you do not have stencils, cut or punch shapes from a piece of cardstock or acetate and use that as a stencil!!

Super easy and super cool!!

Take a look at my project:

(CS Take it) Enjoy

I used two different stencils and embossing paste to create this card.  I totally love how my card turned out. My inspiration comes from my current online card class Clean and Simple 4.

This is how I created this card:

1. I cut my ranger watercolor paper to 4 x 5.25.  My card base was cut to 4.25 x 5.50.

2. I used my watercolor brush to add clean water to the corners of my watercolor paper panel.  I used my Koi Watercolor to add two different colors to the corners of my watercolor panel.  I just added color with no thinking as to how I wanted it to look.  I heat set the paint.

3. Then I position my Hero Arts Triangle Pattern Stencil over my watercolor panel and secured it with painter’s tape.

4. I added a very think layer of Ranger Textured Paste over my stencil making sure to smooth it over the entire stencil.

5. I carefully remove the stencil and wash the paste off of the stencil.  I allowed the paste to try.

6. Once the pasted dried, I position my second stencil, the  Heidi Swapp Bird Stencil Set, over my watercolor panel where I want the flowers to be.

7. I applied a thin layer of embossing paste over the stencil, making sure to have an even impression. I carefully lifted the stencil and washed it right away.

8. I die cut the sentiment from Penny Black Hooray Die Set and adhered it to my embossed panel.  I used my hand to hold the sentiment in place for a couple of minutes.

9. I added some Stampin’ Up! Whisper White Bakers Twine and some Pretty Pink Posh Sequin.

10. I adhered the completed panel to my card base.  I only adhered the top of the panel, leaving the bottom unattached.

So what do you think?  I would love to hear from you.

I used not one but two stencils!!  I challenge you to get your stencils out and play along with us.

We have a great prize pack for you.

Our sponsor is Paperbabe Stamps this month.

Paperbabe Stamps

The winner will get to pick 2 stamp plates of their choice.

I hope you join us this month for this super fun challenge!!

Winner Announcement from last month’s Blog Hop!!

I didn’t get a chance to announce the winner from my blog comments.  See the complete list here.

Congrats go to:

Jenny

January 20, 2015 at 7:36 am

Ha Ha I love this little pig – a brilliant card – thank you for making me smile.

Jenny won both cards that I create for the January Challenge.

Congrats to all of the winners. We had 181 entries.  Wonderful!!


Supplies used:

Ranger Watercolor PaperKoi WatercolorsHero Arts Triangle Patten Stenciltextured pasteMixed Media Bird Stencil SetPenny Black Hooray DiesWhisper White Baker's TwinePretty Pink Posh 6mm Sequins

Thank you so much for stopping by!!

~Kymona

Stencil Class Day 1

I’m so excited about starting my new Stencil Class.  I’ve never stenciled before and wanted to try it on some of my cards.  Take a look at my first card.  Don’t laugh, its a start.  No matter how much tape I used to keep the stencil in place it just wouldn’t cooperate with me.  Tomorrow’s card should be better then today’s.

Stenciling 1

Let me know what you think of my first try at stenciling!

Signature