Hello everyone!! I’m here today with CS Take It Make It Design Team for our CS Take It Make It: Take a Stamp Challenge for the month of July.
This month’s theme is Take a Technique: Stenciling or Masking!! That means you can use a stencil or mask somewhere on your creation with a stamped image or sentiment anywhere on your creation.
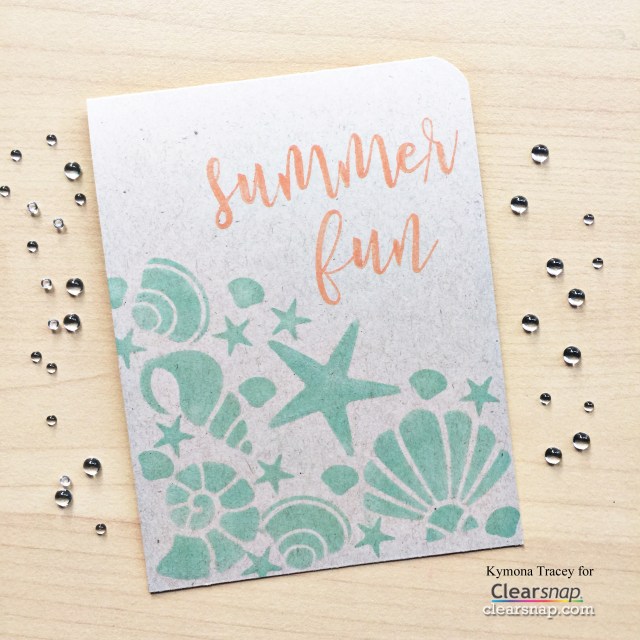
Take a look at my card:

So stenciling is pretty but mix that with masking and you have a great design.
Here is how I created this card:
I used Your Next Stamp Circle die to cut a circle out of some masking paper.
Then I placed the Inkadinkado masking paper on top of the card front.
After that I placed the stencil on top of the masked card front.
Once those two were in place, I blended the two distress ink colors on top of the stencil.

Then I took the mask off to reveal the beautiful circle of dots.

To finish the card off, I stamped the sentiment from a retired Stampin’ Up! stamp set on top of the masked/stenciled dots.
Super simple and easy!!!
Sooooo, what do you think? Please let me know below.
Prizes:
We have two prizes to offer this month, the first is our sponsor prize. This winner will be chosen randomly from all of the entries in the challenge! The sponsor for August is: GiogioCraft!


Prize: Bundle of 4 Stencils
Our second winner is our Design Winner. This winner is chosen by our DT, who all vote for their favorite design from all of the entries. This winner will have their winning project published in Craft Stamper Magazine, they will have a GDT slot for an upcoming challenge, and will also feature in their very own Winners Profile blog post!
Now if that isn’t a reason to play along I’m not sure what is!!
I can’t wait to see what you come up with.
Supplies used: