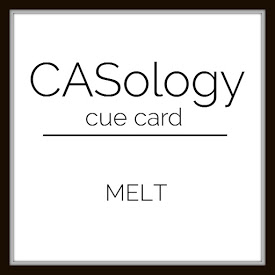
Hello everyone!!! It’s CASology Tuesday!! We are back with another Clean and Simple Cue Card just for you!!
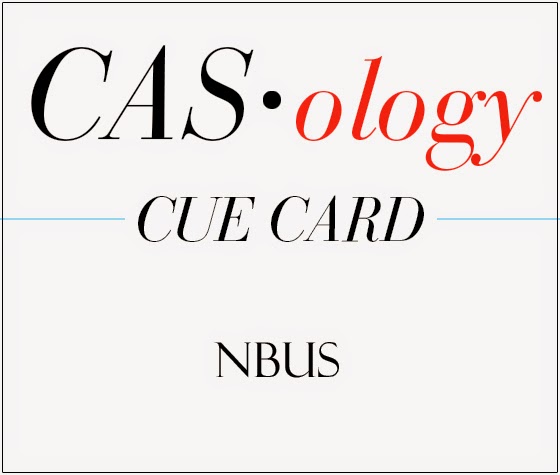
This week’s cue card:
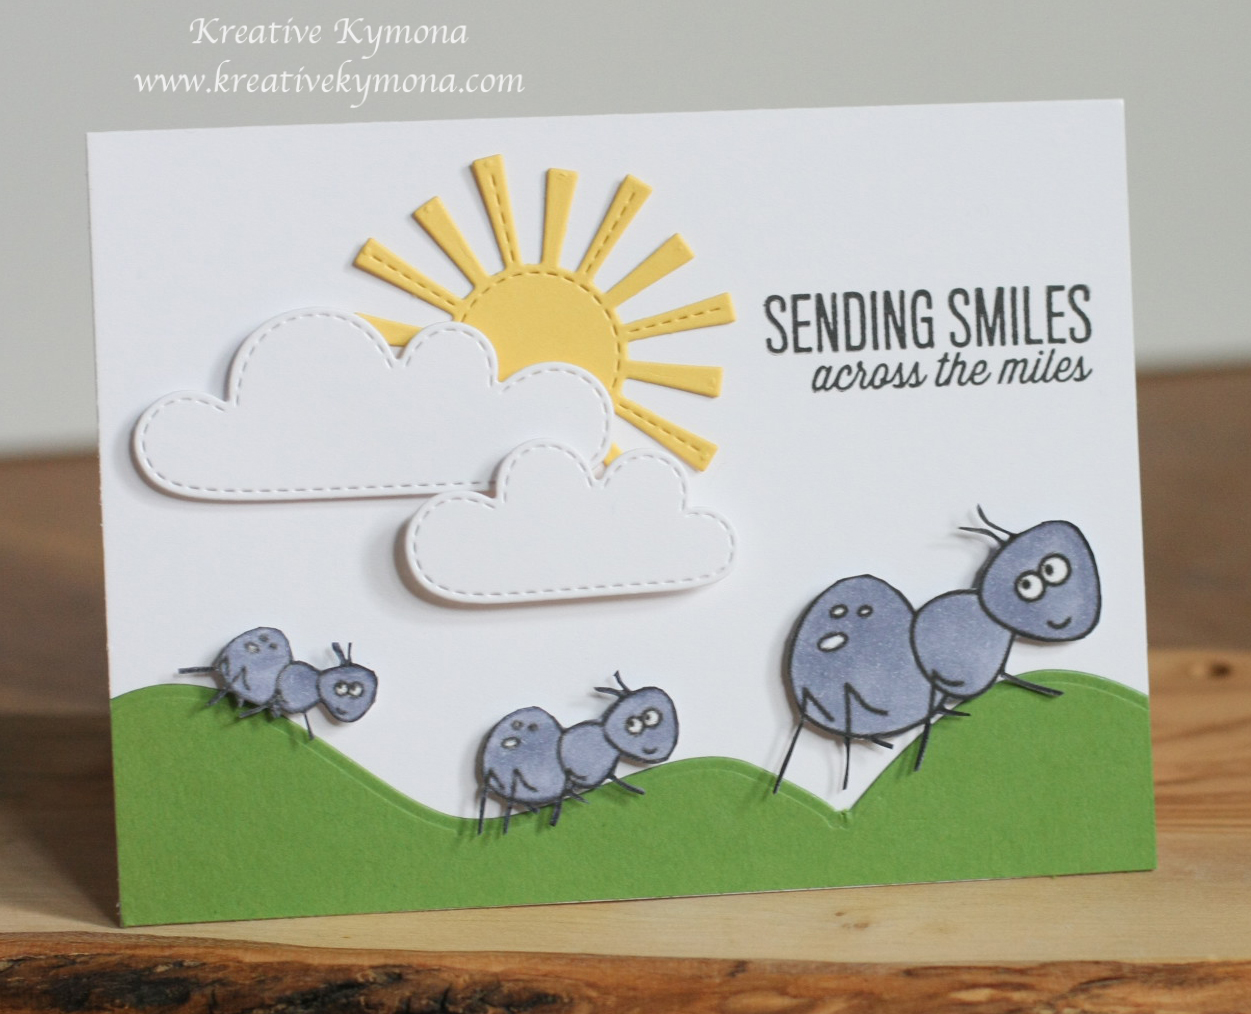
Take a look at my card:

I have to say this cue card was so hard for me. I was challenged to use STAMPlorations Stitched Winter Landscape die and create a card that represented the cue card.
I decided to create a scene with snow melting from the ground, building and trees. The sun has finally come out of hiding to warm us up.
I die cute the trees and hills and used Copic markers to color them in. I used Simon Says Stamp Happy and Smile stamp set to stamp the sun and the sentiment using Clearsnap Colorbox Petal Point Ink and Colorbox Archival Pigment Black Ink.
Nice and Easy.
What do you think?
Are you inspired to play along? Please let me know below!
For more inspiration, check out my fellow Design Team members blog for more awesome work.

Our sponsor this week is STAMPlorations!
Supplies used:


Thank you so much for stopping by!