Hello everyone!! I’m back again for this month’s Your Next Stamp Sneak Peek!
I have a confession to make, I made my card, turned it in to the team and totally forgot to do my blog post! I’m writing this on my train ride to work, so some elements will not be present. I promise to add my step by step directions and links to my supplies later today!! Please forgive me.
We are getting ready for our November Release Blog Hop tomorrow with a sneak peek today. Are you excited? I am!!
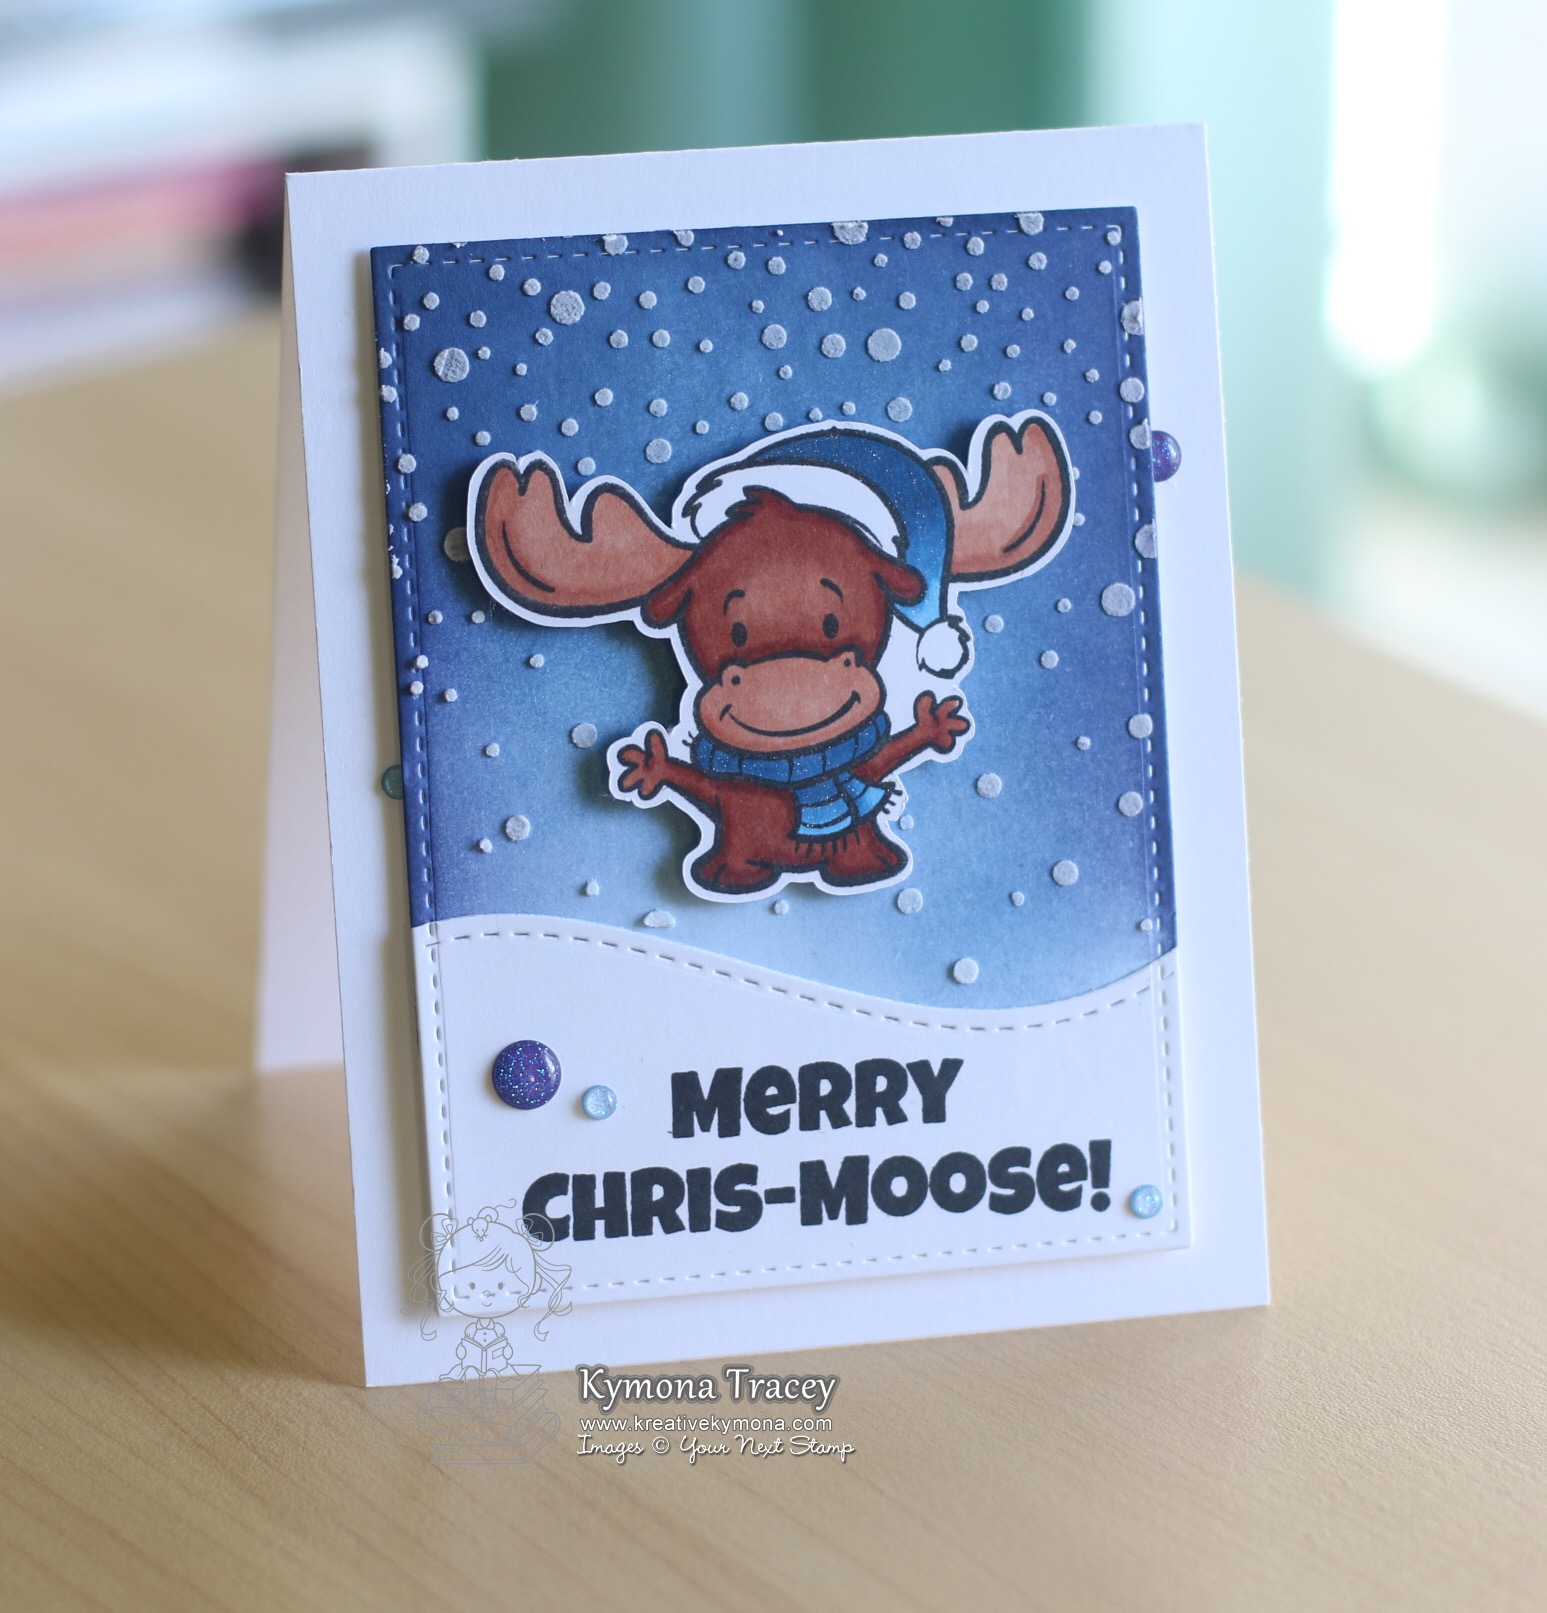
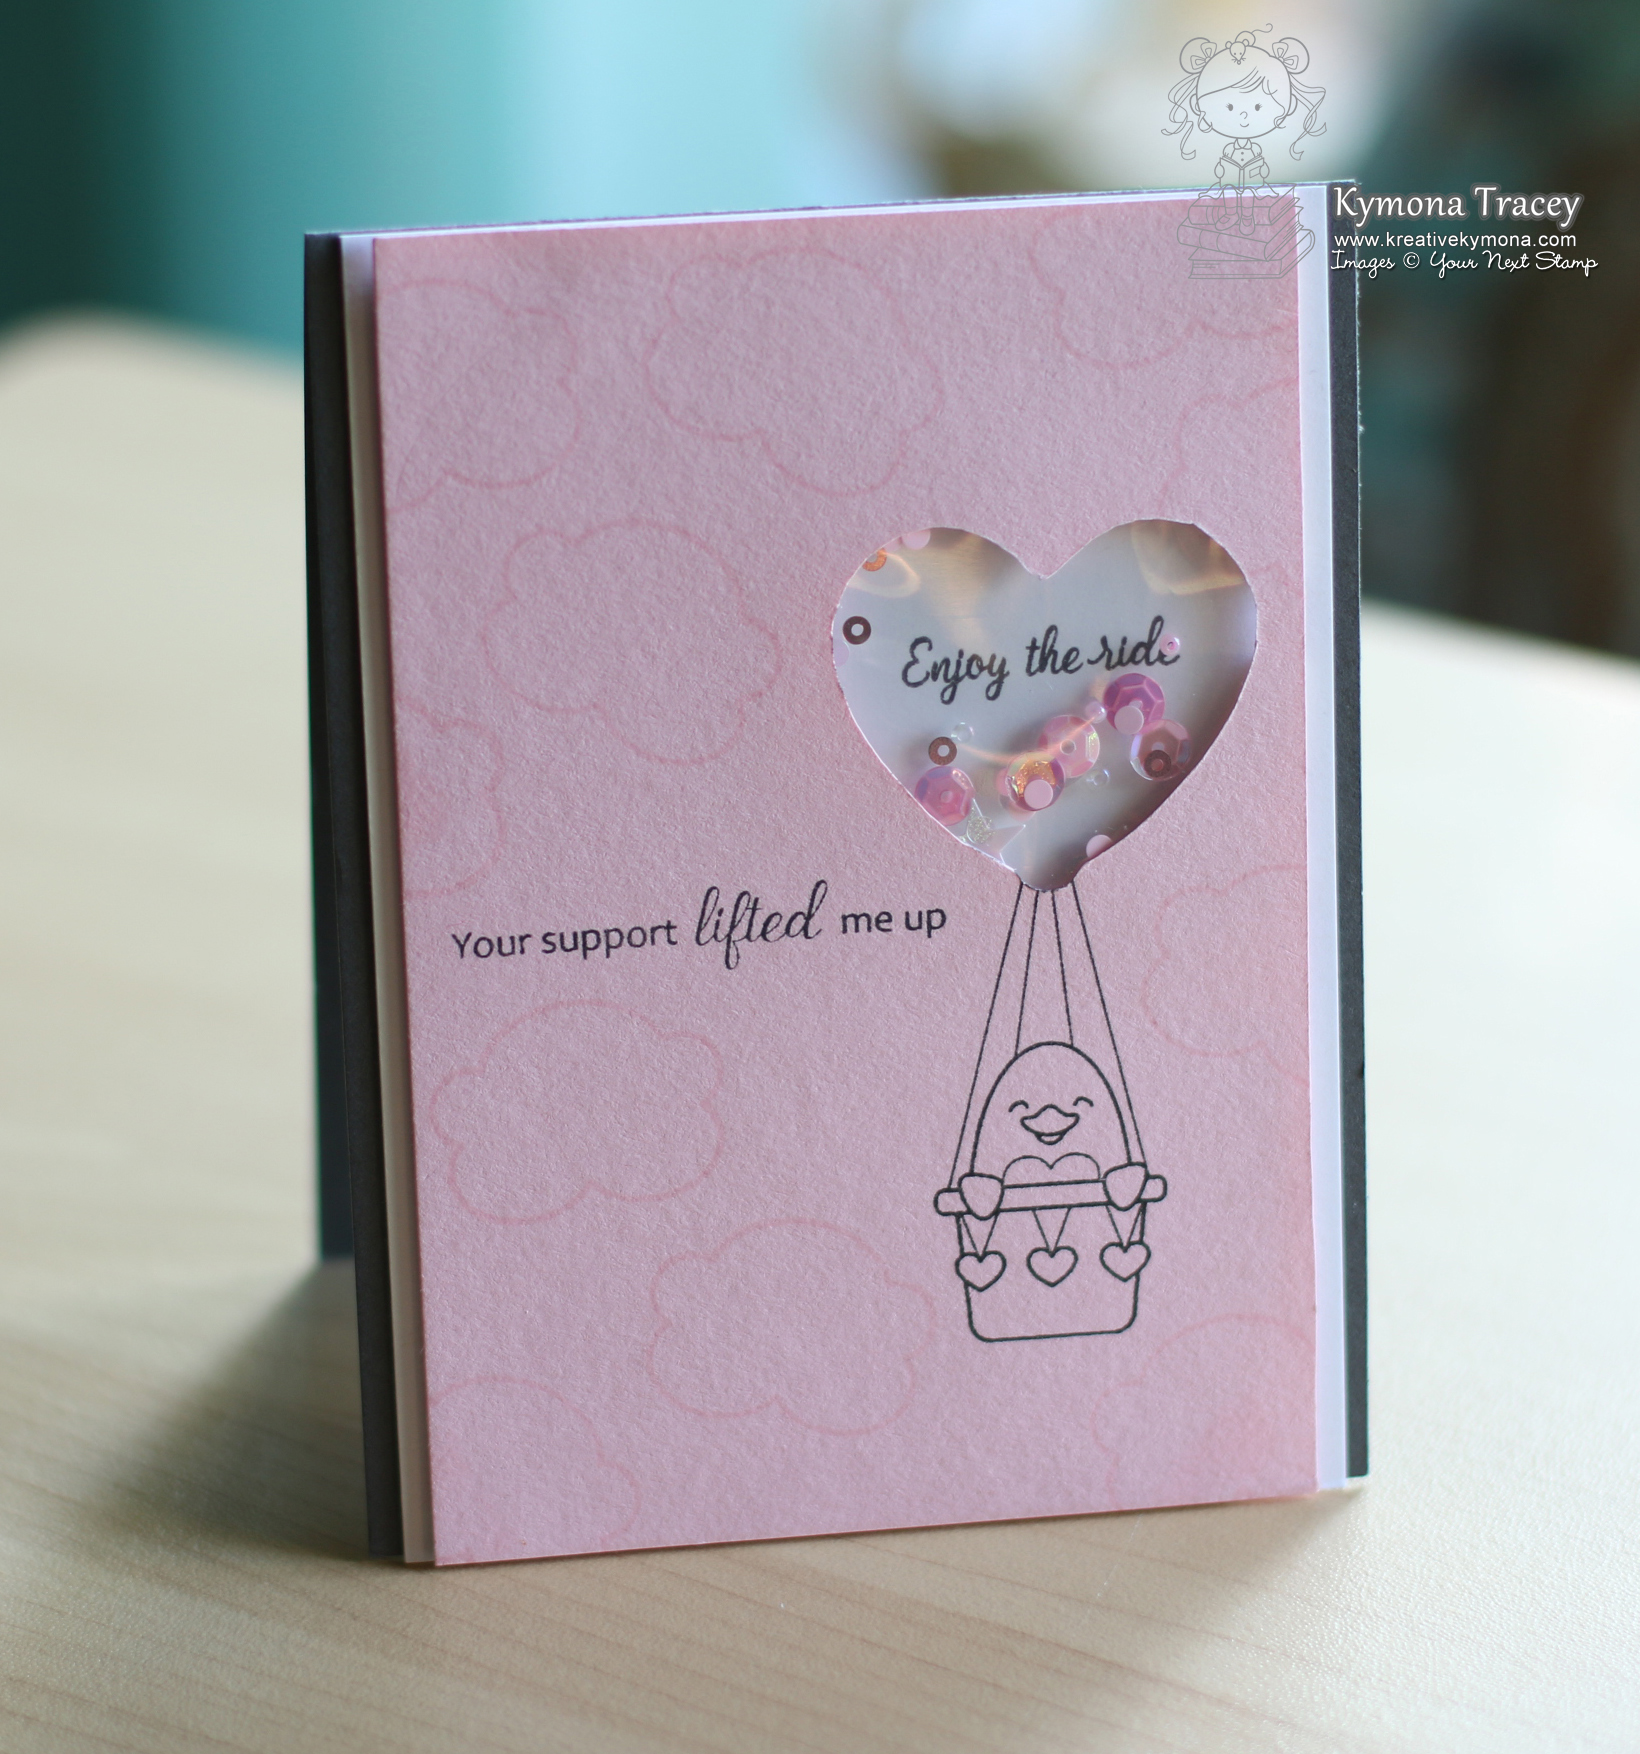
Take a look at my card that I’m giving you a sneak peek of: 
YNS Supplies: Merry Chris-Moose Stamp Set, Double Stitched Hills Due Set and the new Gumdrops
Other Supplies: Recolletions Heavyweight Cardstock, Wendy Veechi Embossing Paste, Simon Says Stamp Falling Snow Stencil, 3M Foam Tape, My Favorite Thing Hybrid Ink, Copic markers, Distress Ink Fadded Jeans and Chipped Sapphire, Brother Scan and Cut
Can you tell that I have a love for that falling snow? I love how it makes my Christmas cards look so very real!! The texture and dimension amazes me each and every time!
I shared my process on Instagram yesterday and everyone was in awe.
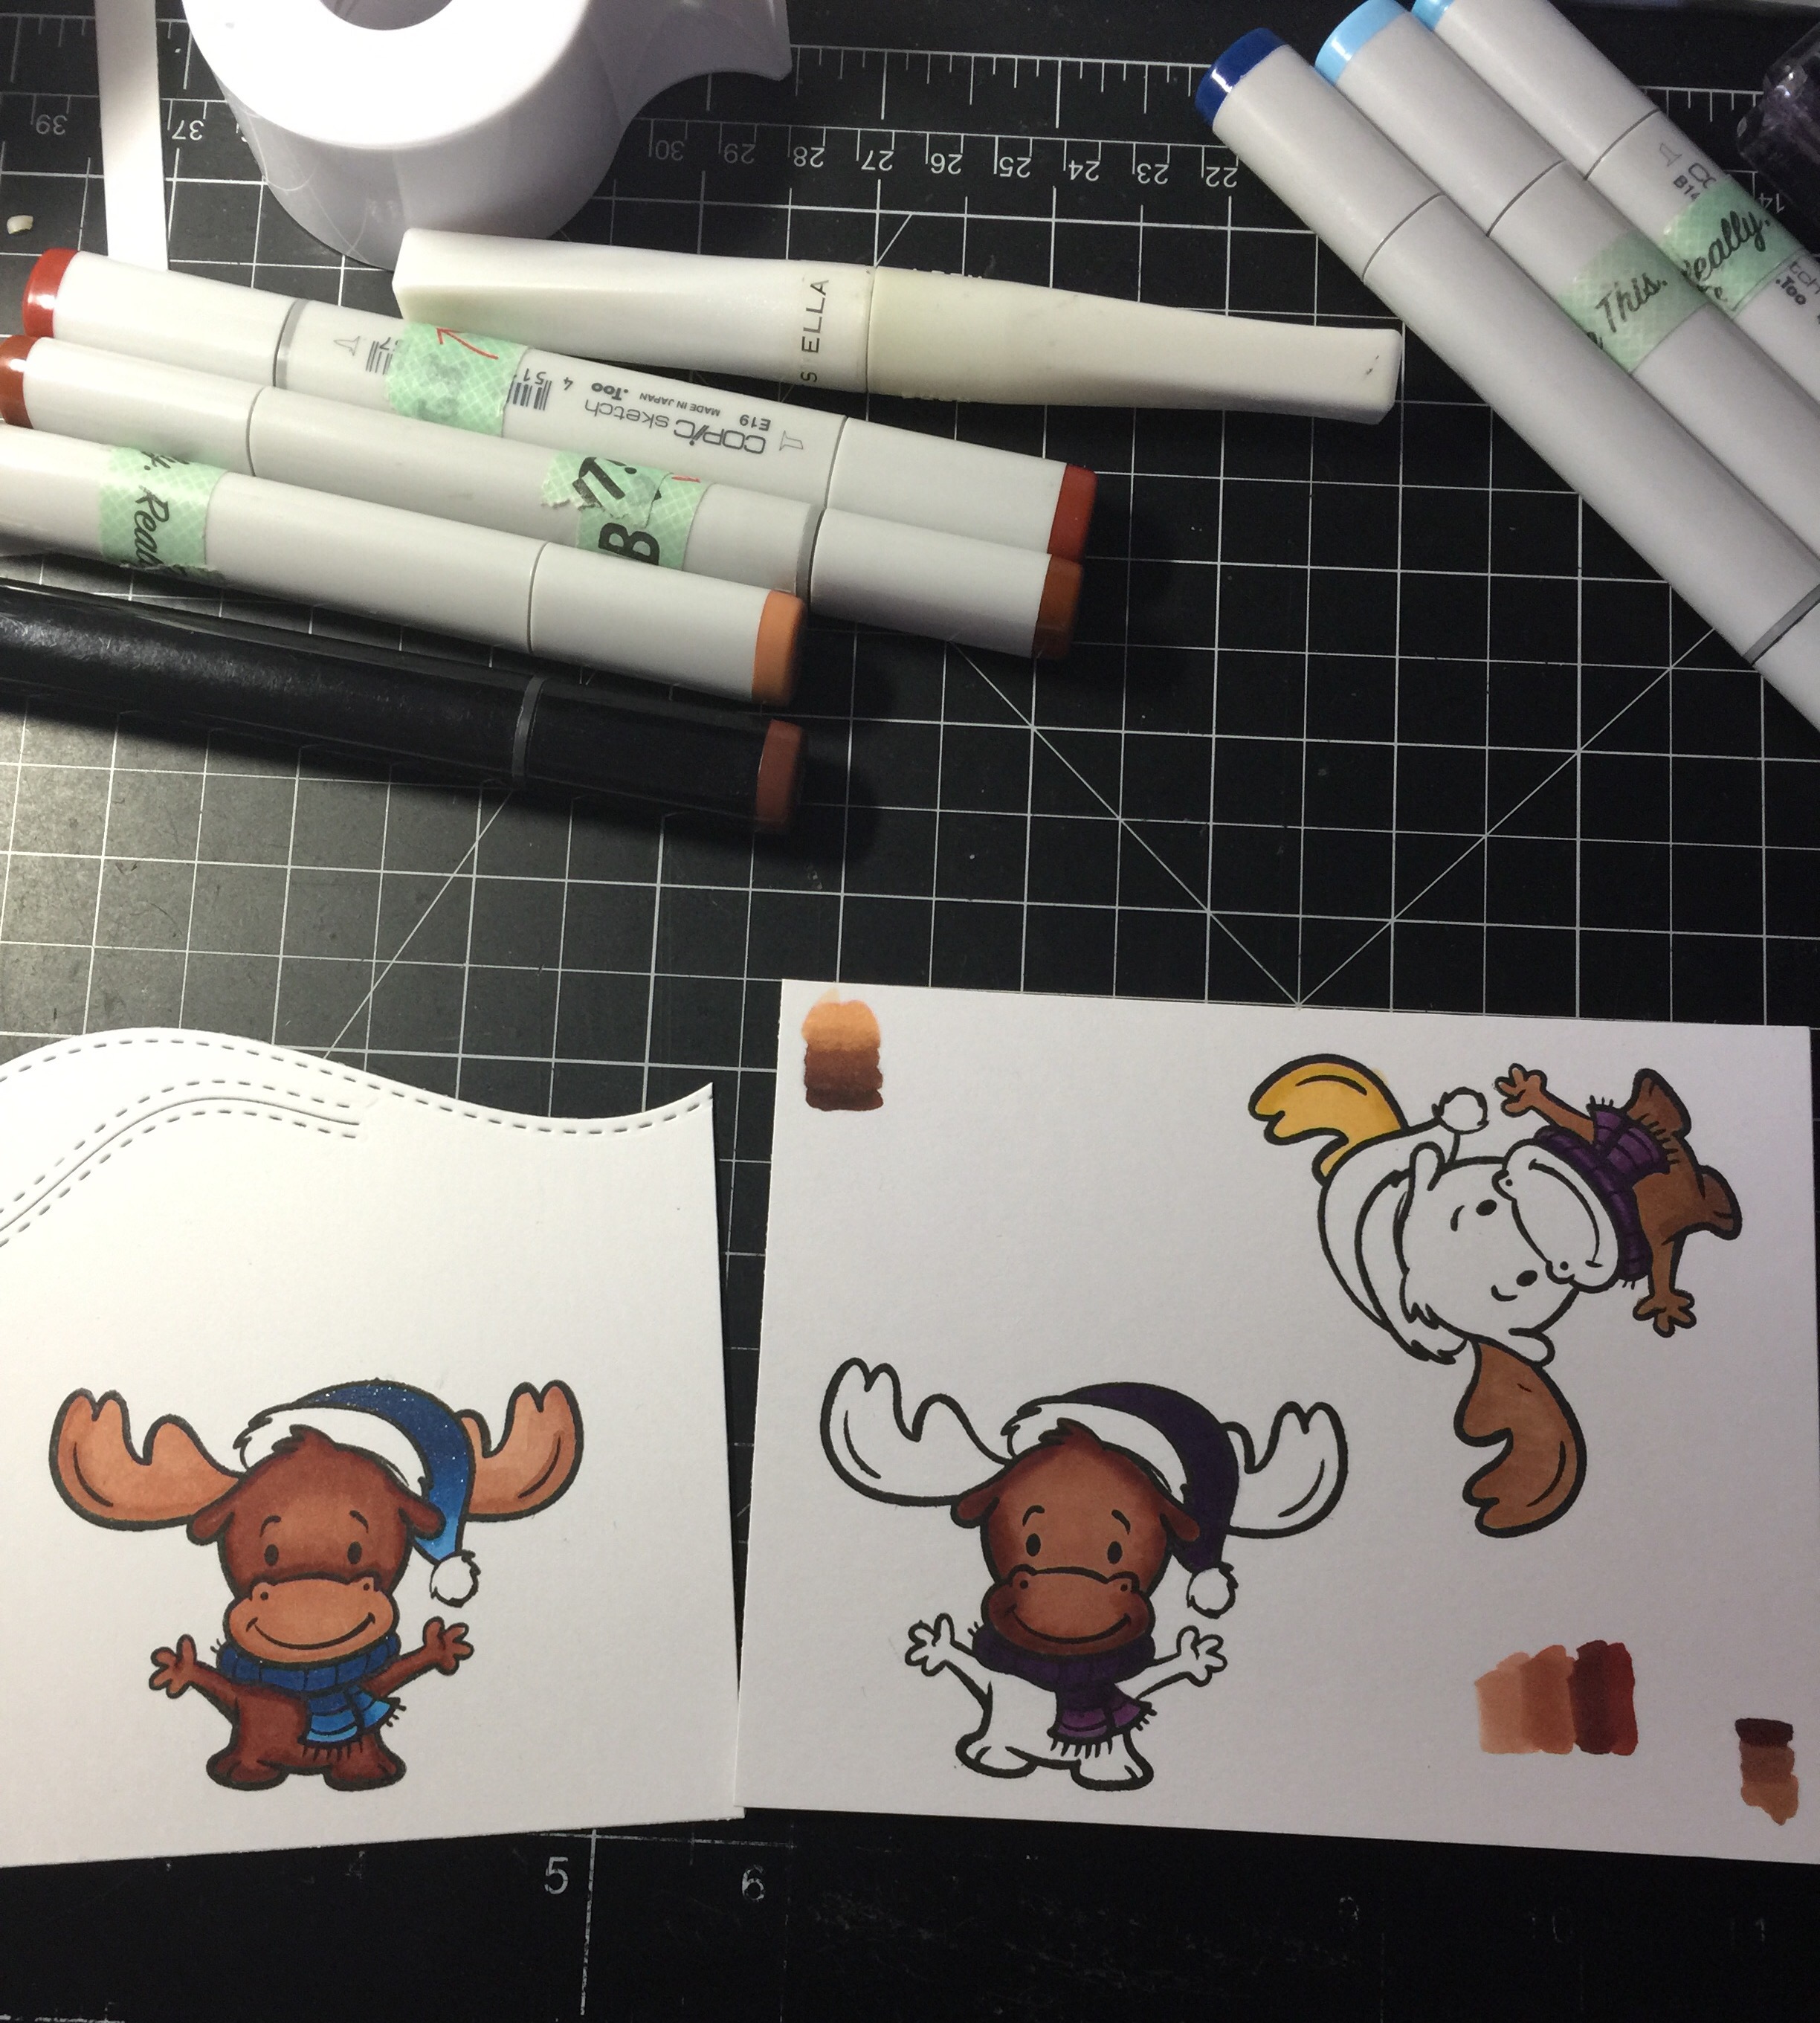
First I shared my coloring process:

I was having a hard time deciding what colors to use on my moose so I turned to my Facebook Copic Group for some suggestions. I recieved some great combos.
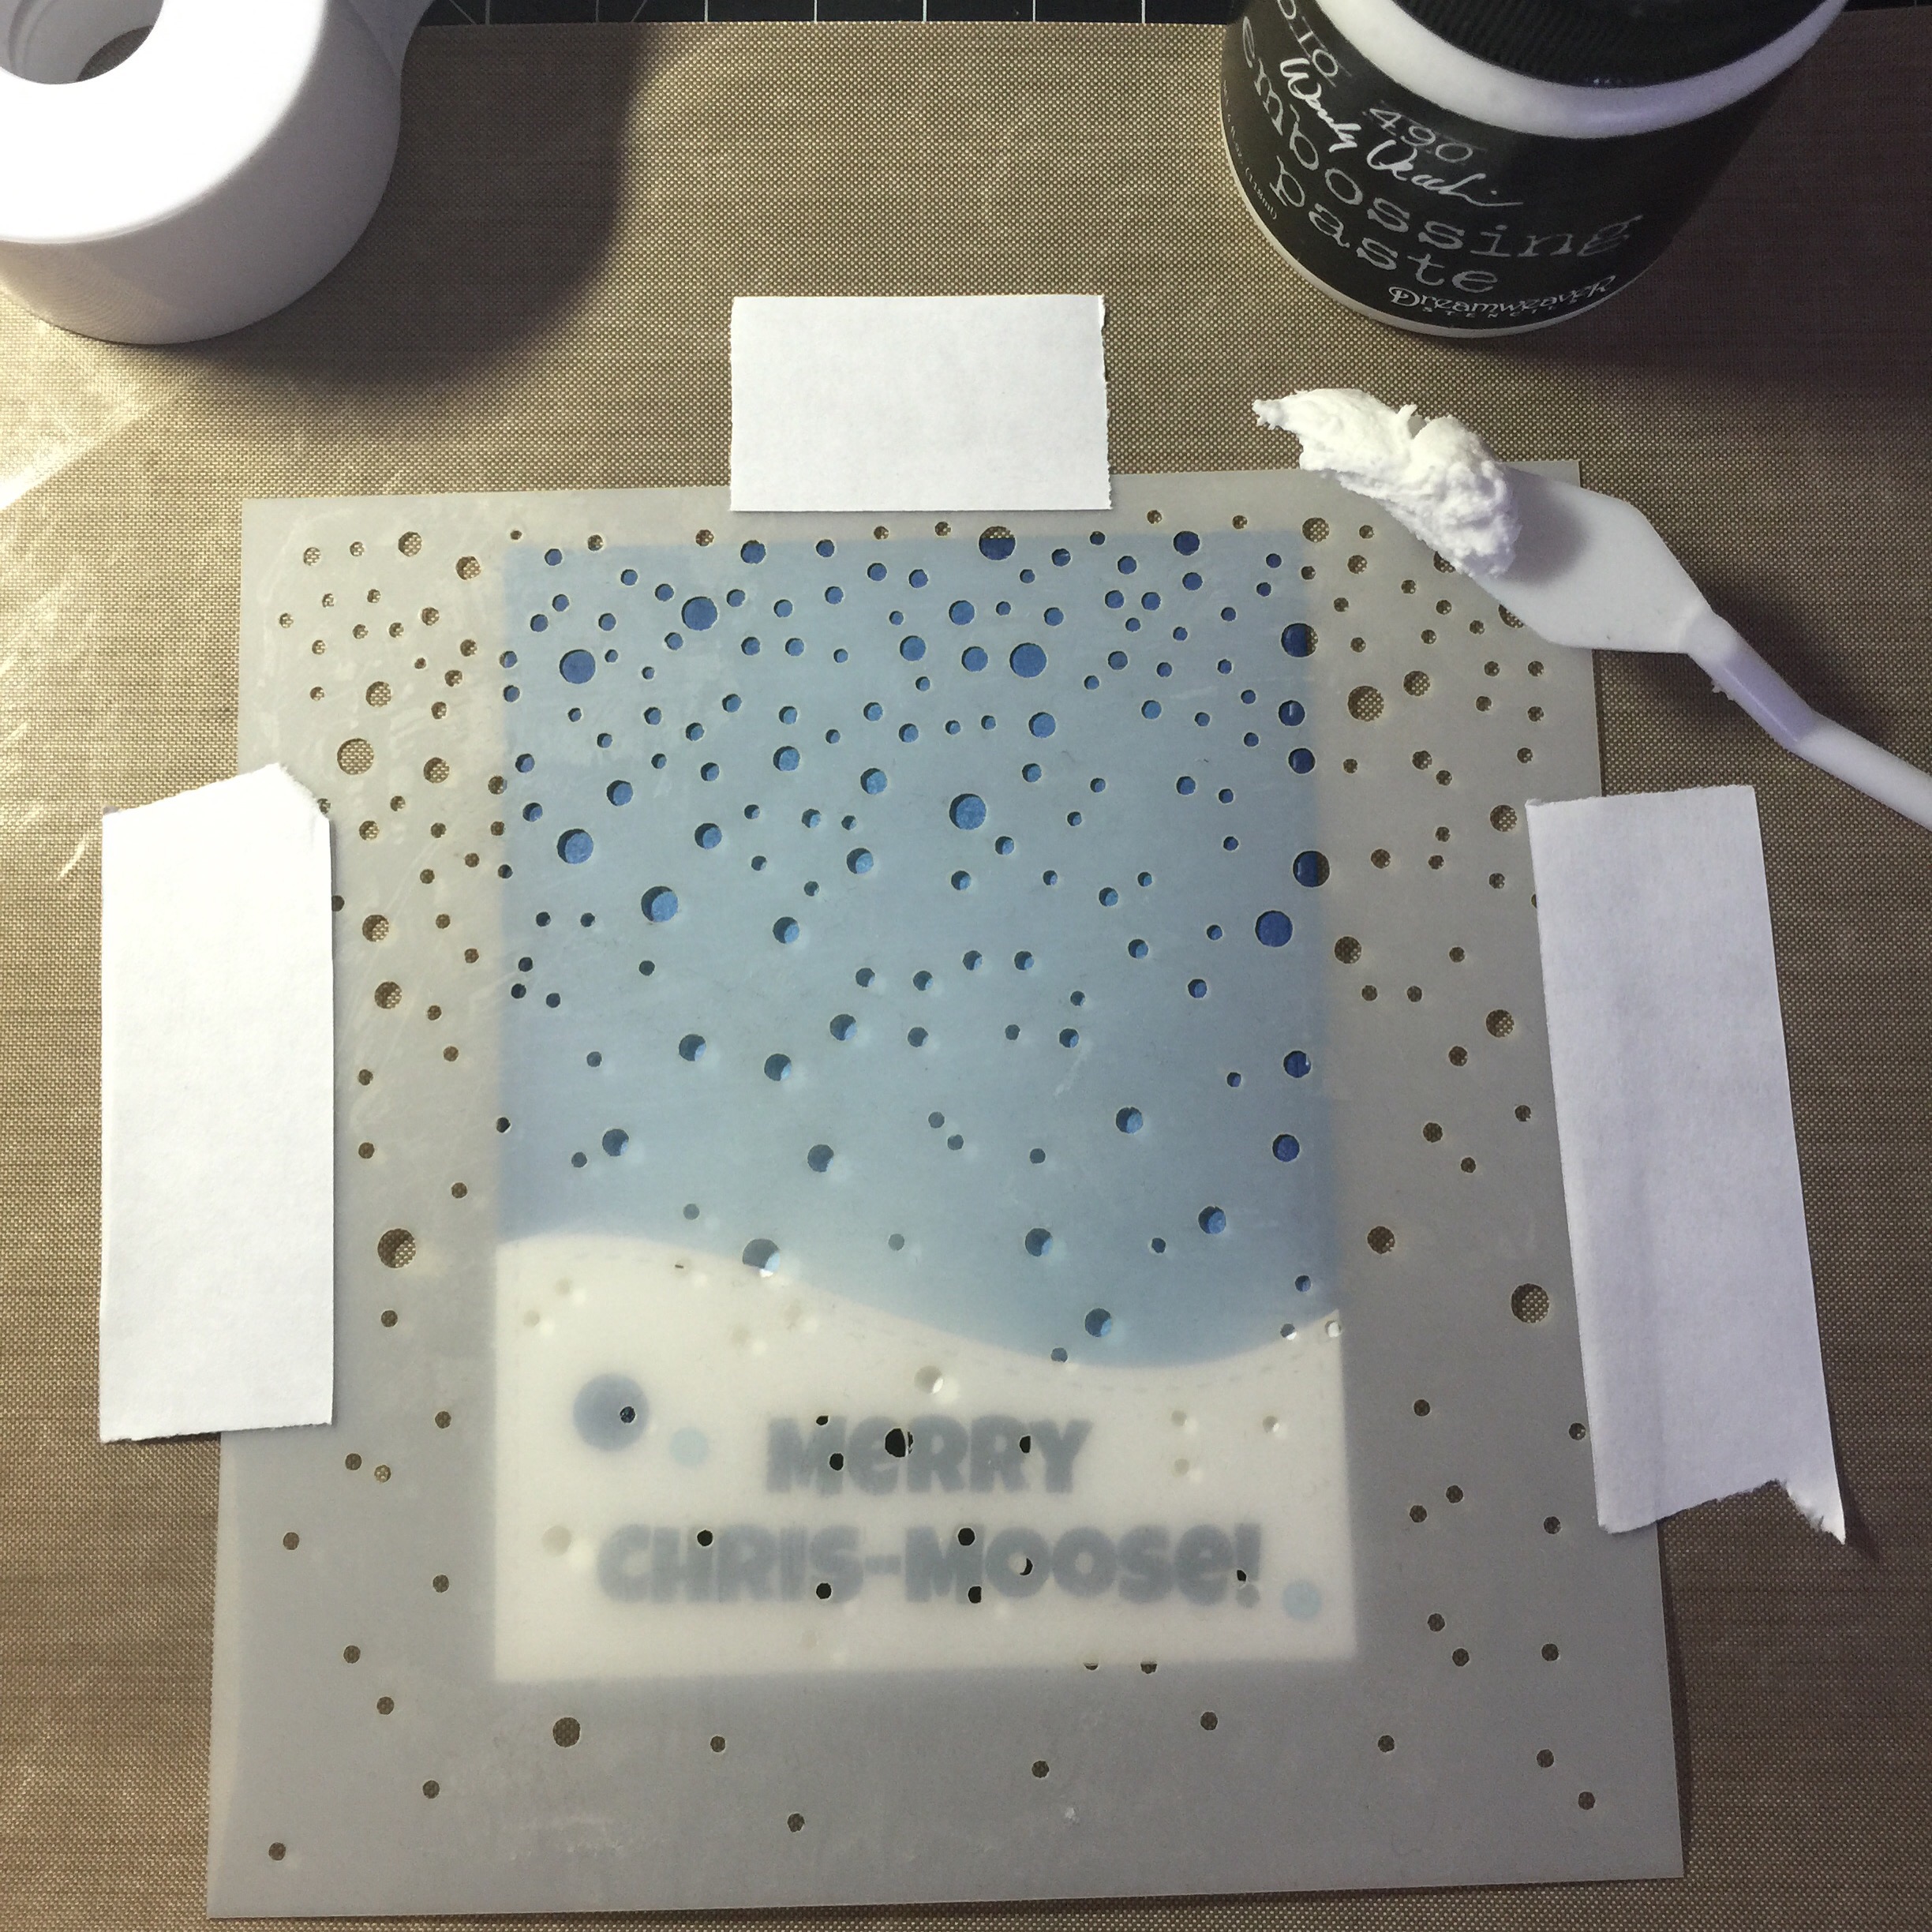
Once my coloring was done, I needed to finish the rest of my card. I recieved plenty of questions regarding the snow on my cards, so here’s how I add it: 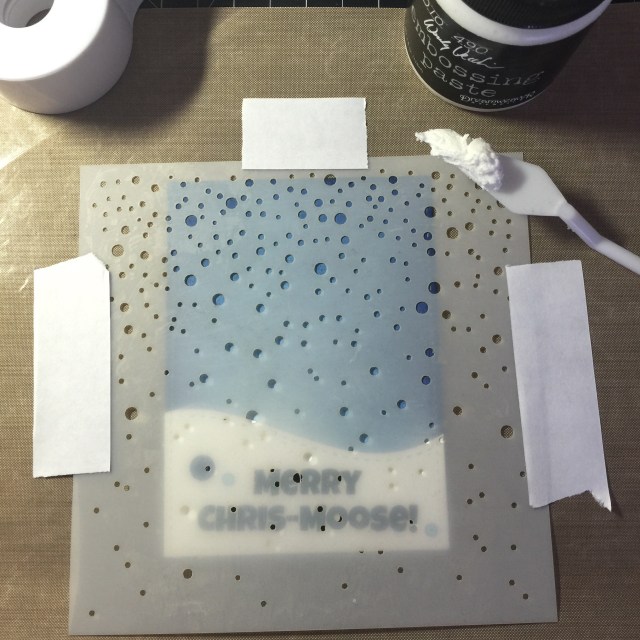
It’s quite easy, all I did was place my stencil on top of my card panel with tape. Then I used a palette knife and scooped up some of that embossing paste. I spread the paste over the stencil where I wanted the snow to appear.
Moving quickly because that embossing will ruin the stencil if it dries on it. You must wash that paste off your stencil immediately after using it!
Once the paste dried, I popped my cut out moose in the center.
The finally step was to pop up my die cut image to the front of the card base using foam tape.
Super fun, I tell you. This is one of my favorite stamp set for this release!!
So are you excited about what you see? You have to see what my fellow team members came up with the rest of the release!
You can find all of the new projects on the Your Next Stamp Blog!!
I hope I see all of you tomorrow for the November 2015 Release Hop!!
I’m entering this card in Virginia’s View Challenge!

Thank you so much for stopping by!!
~Kymona