Hello everyone!! I’m here today with Your Next Stamp and our DT Dare!!!
What is a DT Dare you ask? It’s a fun monthly challenge for the YNS design team to show case more fabulous projects using the new release products!!

Fun right!!
Wait there is more!! If you leave a comment on the YNS blog post you could Win a YNS Stamp Set of your choice!!!
Exciting right!! It sure is for me!!
The DT Dare Challenge this month is Something Old, Something New!! The design team was asked to create a project using one of the new stamp sets from the January release.
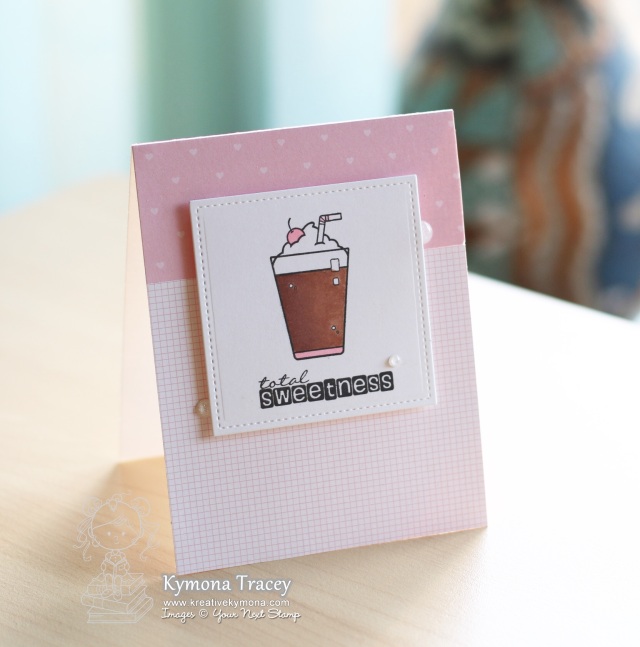
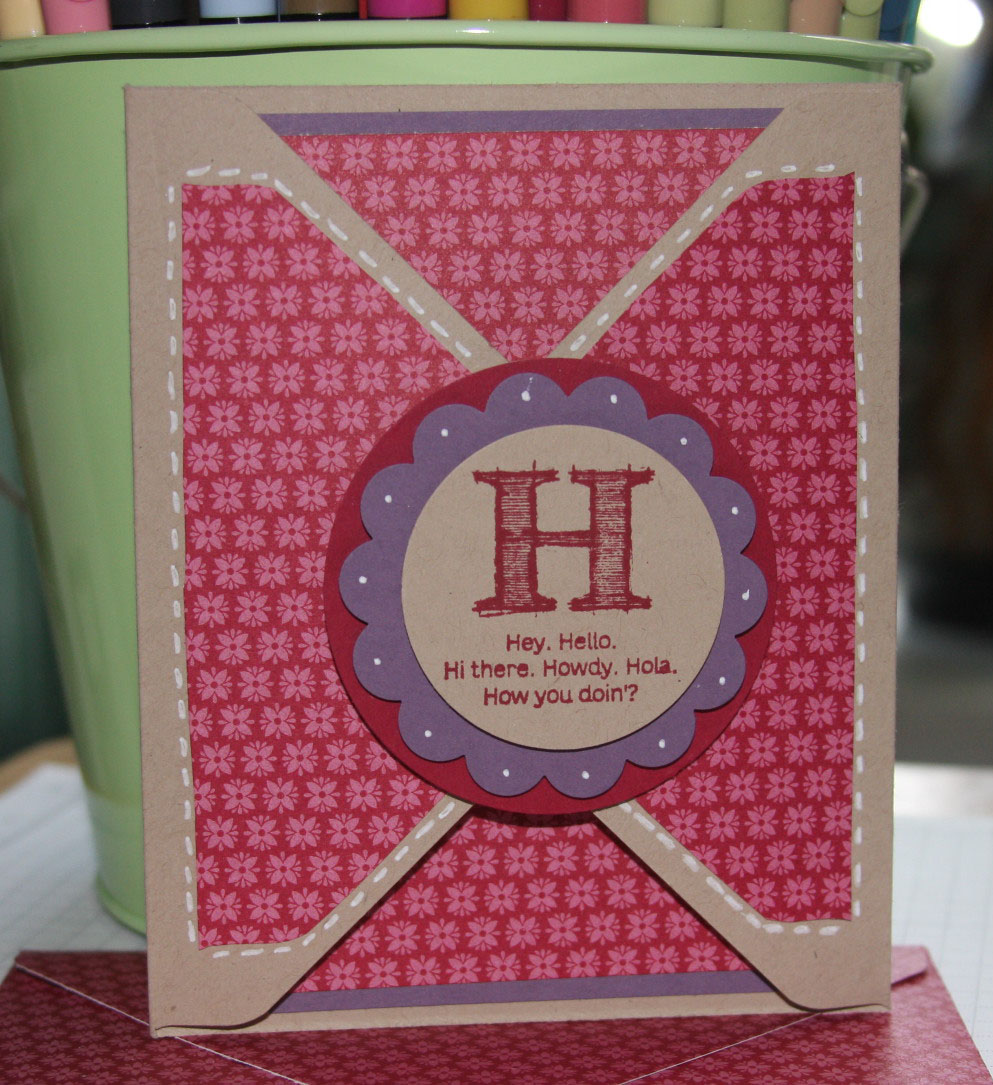
Take a look at my card:

YNS Supplies: Puppy Love, Crystal Clear Gumdrops
Other supplies: Retired Stampin’ Up! DSP, Retired Stampin’ Up! Photo Frame Die, Recollections White Card stock, Stampin’ Up! Real Red Ink, Versafine Black Ink, 3M Foam Tape
Can you guess what’s old and what’s new?
For old, if you guessed, the DSP and the Photo Frame Die you are right! Leaving the Puppy Love Stamp Set as the new item!
For this card, I stamped the heart randomly on the white card stock using the real red ink. Then I cut a piece of the DSP a little smaller then the card base and adhered it to the card base with 3M foam tape. After that I cut another piece of the DSP even smaller then the first one and attached that with foam tape. I stamped the heart and the sentiment using the real red ink and the Versamark ink. After that I adhered the frame and gumdrops.
There are plenty of steps but they are doable.
Tip: Stamp your image and sentiment before you adhere the DSP to the card front.
What do you think? Please let me know below.
Super simple and easy.
So tell me what you think of this challenge? I would love to know, let me know below!
Don’t forget to head on over to the Your Next Stamp Store to take advantage of the online discount code below and save an extra 20% on everything in the store!!
Don’t forget we have Blog Candy for you!! If you leave a comment on the YNS blog today you have a chance of winning the blog candy.

Supplies used:


Thank you so much for stopping by!!
~Kymona