Second Post for today
If your looking for the YNS Color and Sketch post, click here
Hello everyone!! I’m here today with CS Take It Make It Design Team for our CS Take It Make It: Take a Stamp Challenge for the month of July.
This month’s theme is Take a Stamp!! That means take any stamp and create something, anything goes!! Now if that isn’t easy, I’m not sure what is!!
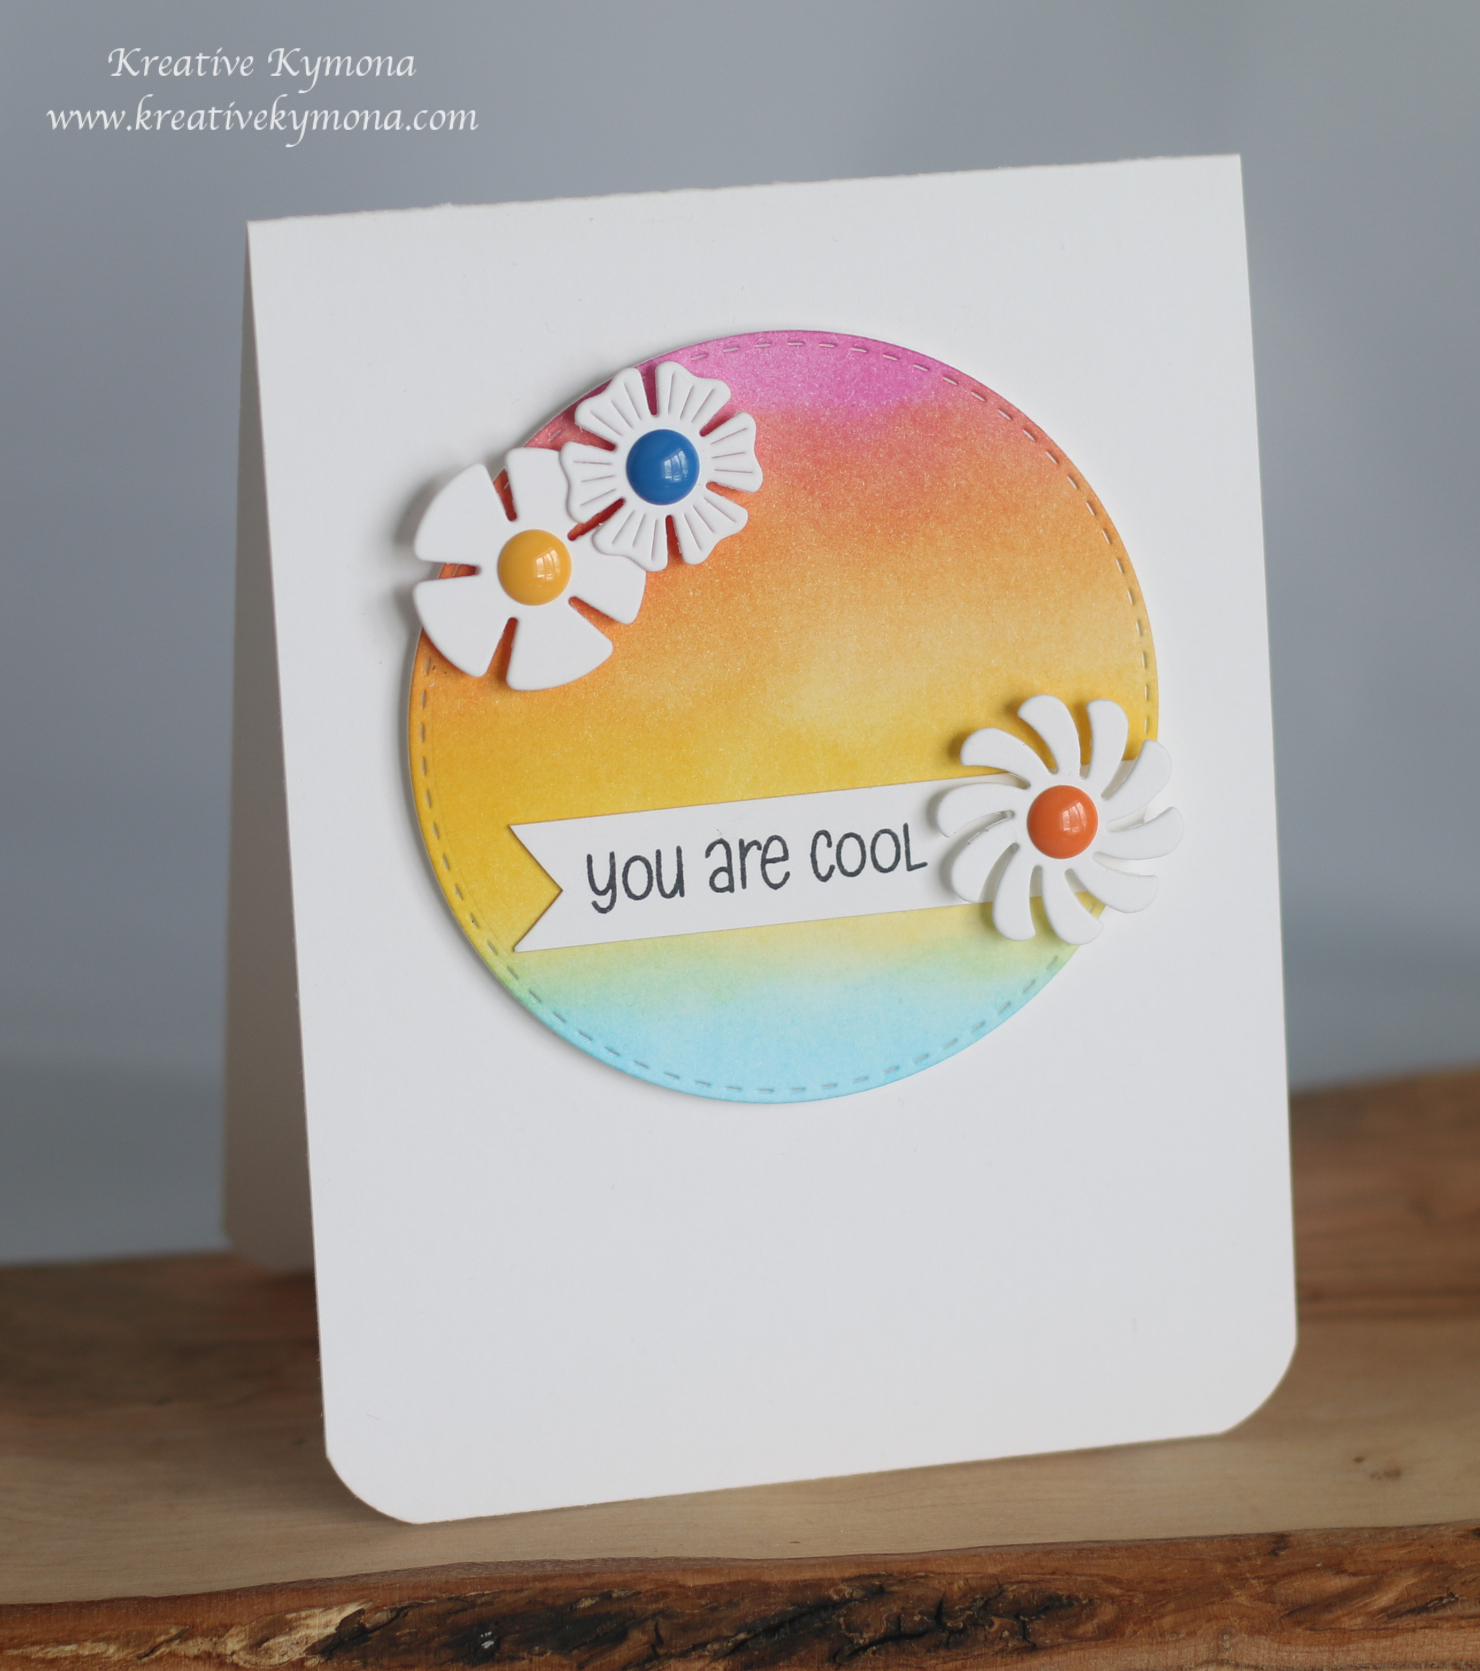
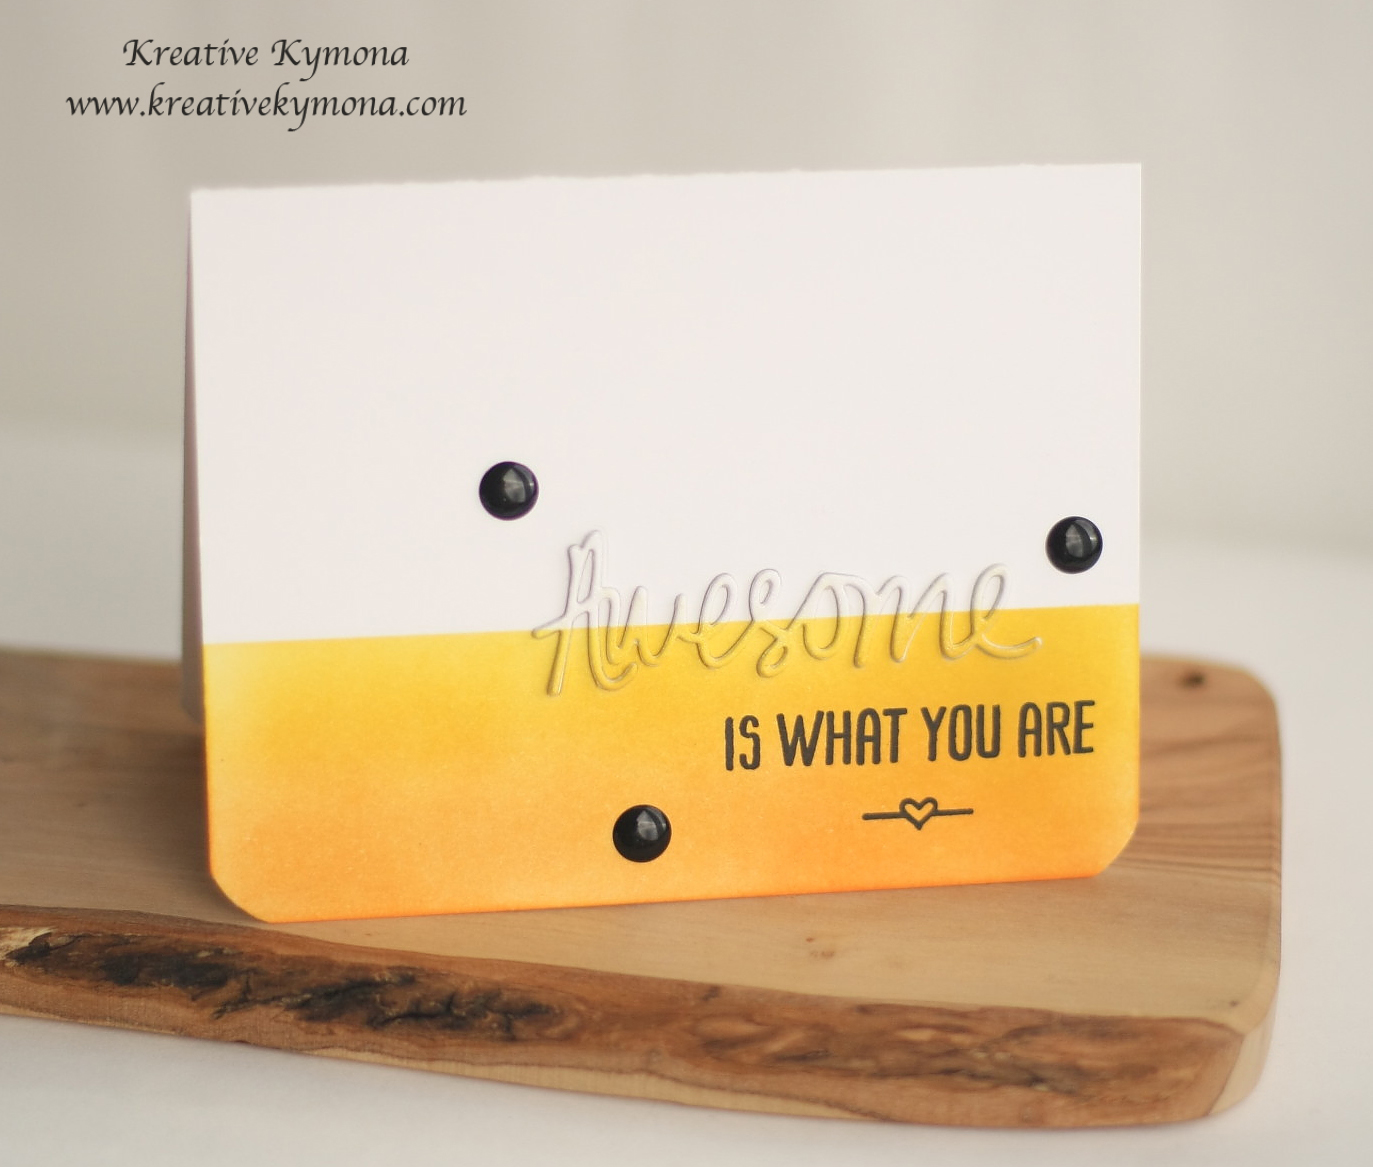
Take a look at my card:

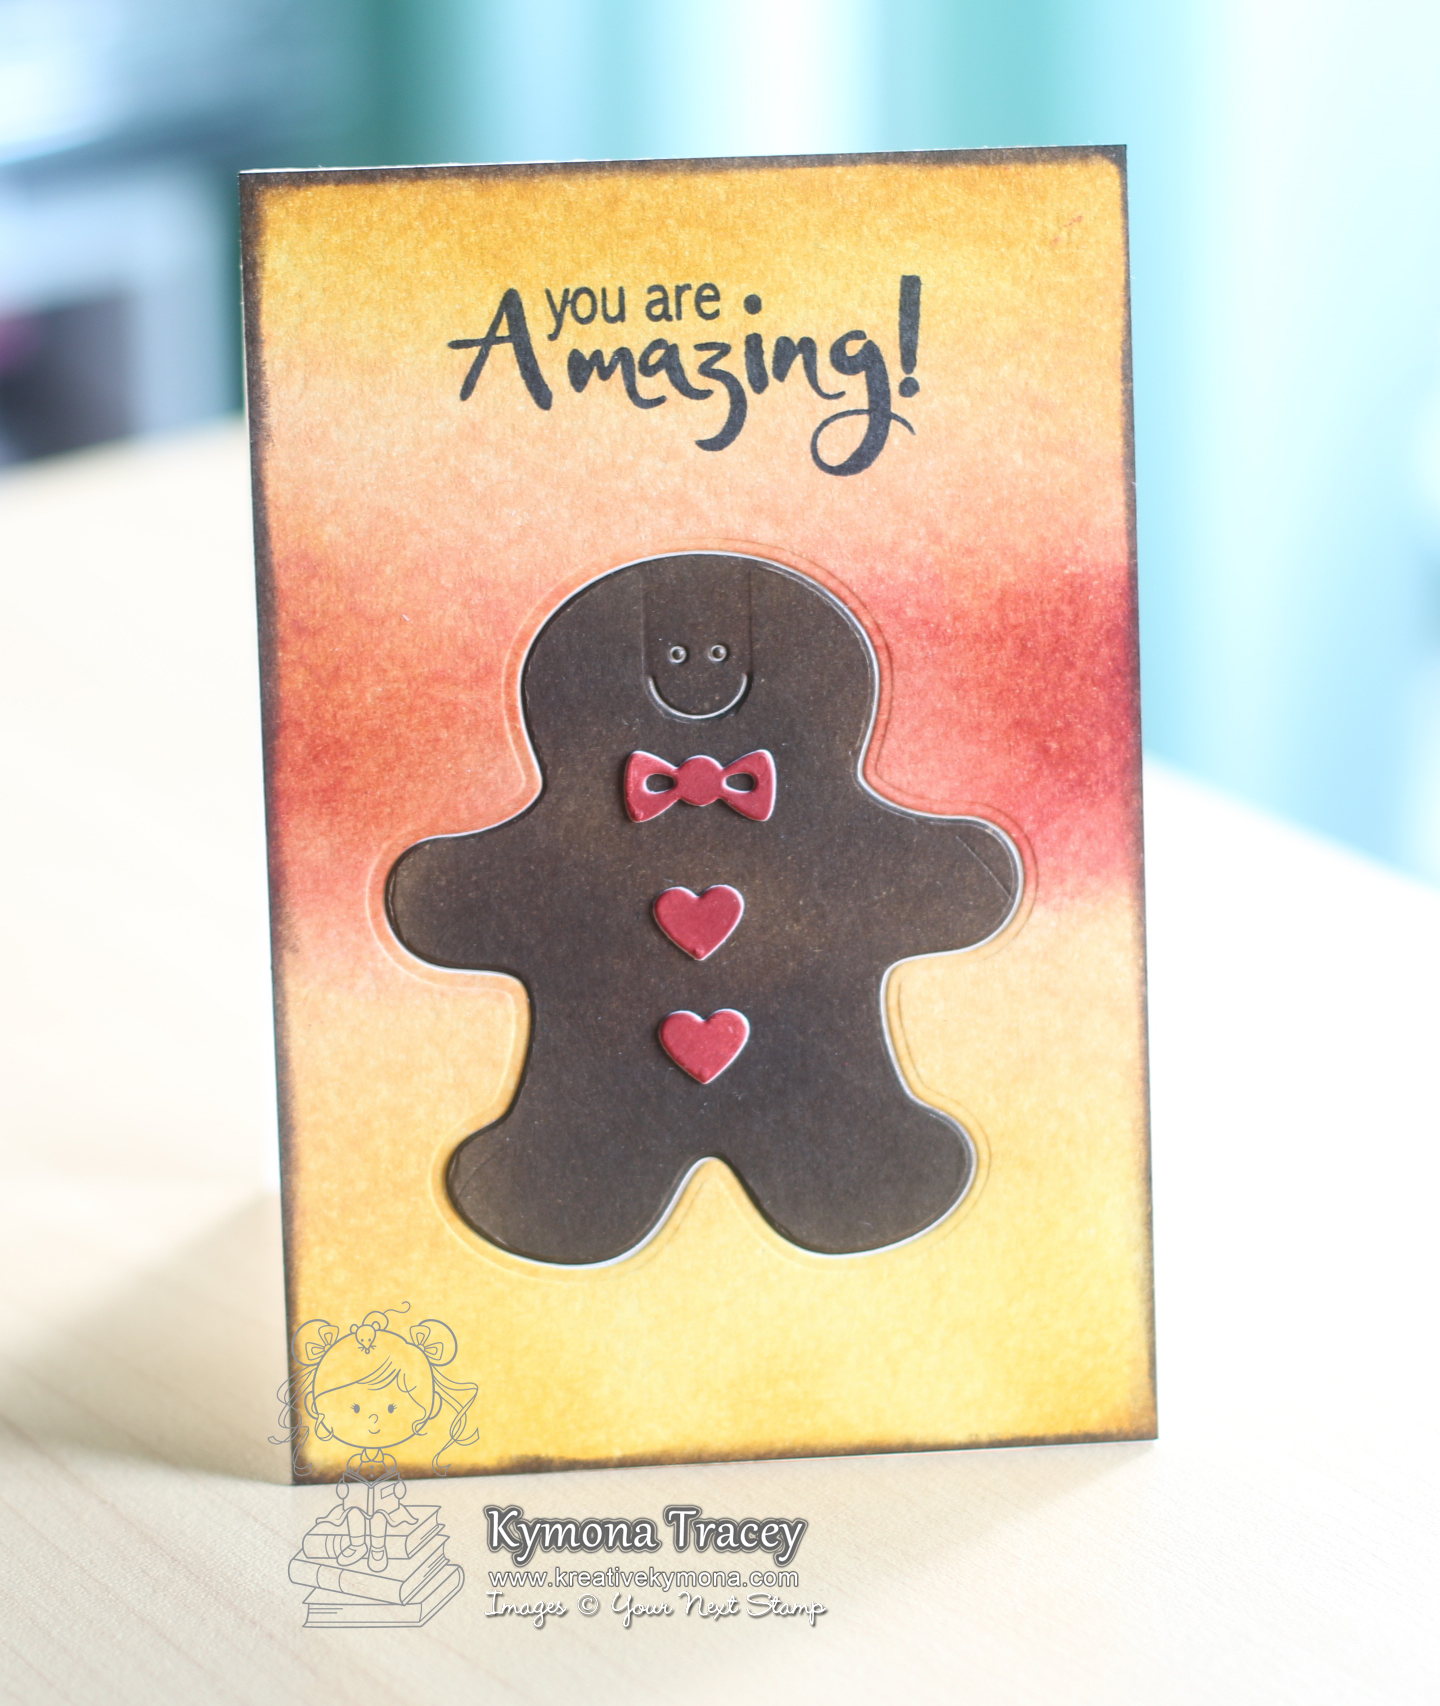
I love this So Suzy Stamps sentiment!! It speaks volumes for women. Such a confident booster!!
To create this card was simple:
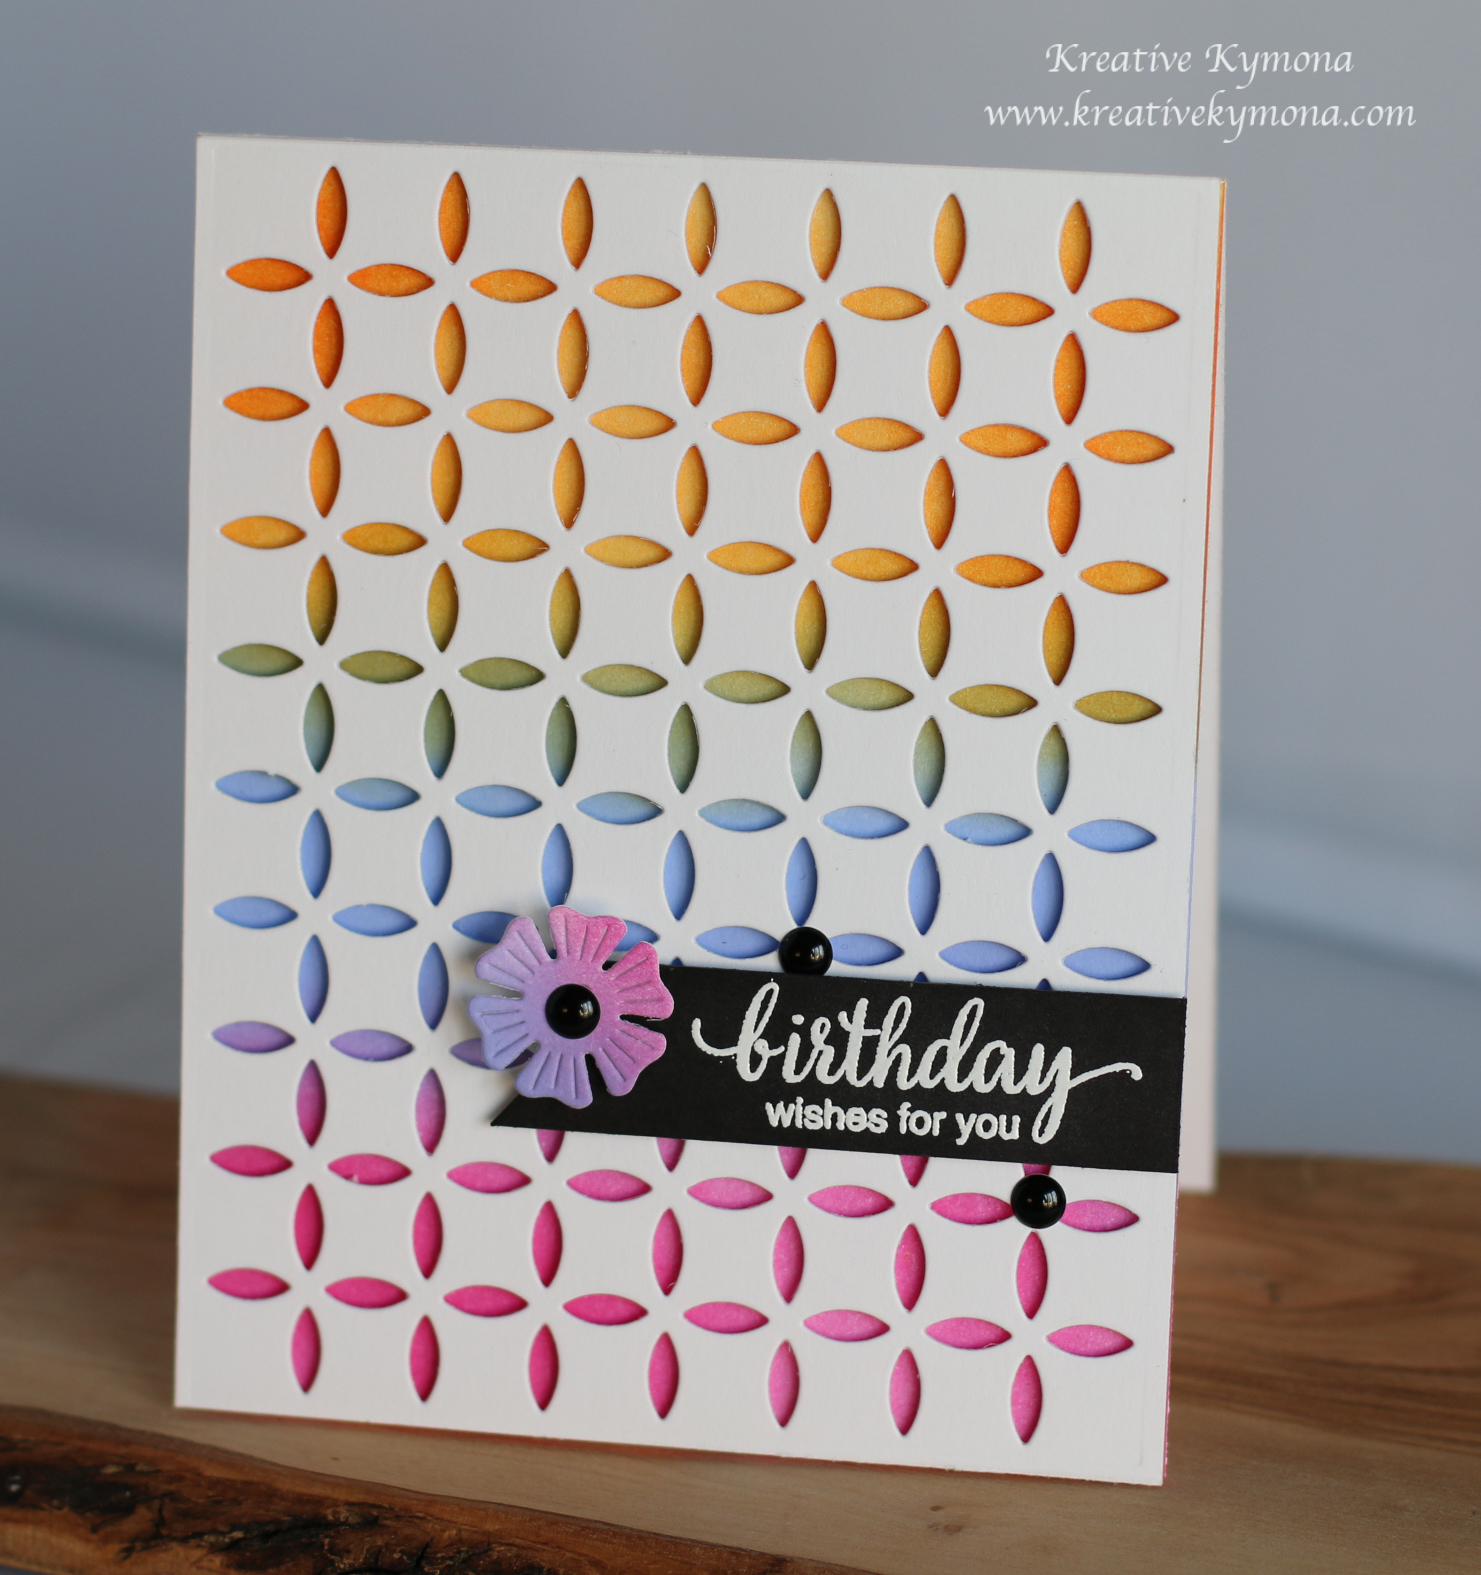
- This is an A2 card size, 4.25 by 5.50, scored at 5.50. This card has a card front as well. Cut to the same size as the base of the card.
- Run the top of the card front through the Sizzix Big Shot Plus using the Stampin’ Up! Brick Wall Embossing Folder.
- Then run the bottom of the card front through the Big Shot again. Leaving space for the sentiment.
- Stamp the sentiment using Versafine Black Ink.
- Using Distress Ink Mini Antique Linen blend some of the color over the embossed brick wall with the Mini Ink Blending Tools, for a realistic feel.
- Add two of the brown Your Next Stamp Milk and Cookies Matte Gumdrops to finish the card off.
Pretty easy!!
Sooooo, what do you think? Please let me know below.
Prizes:
We have two prizes to offer this month, the first is our sponsor prize. This winner will be chosen randomly from all of the entries in the challenge! The sponsor for July is: Calico Craft Parts!


Prize:3 aperture ATB kits, 4 beach/nautical mini shape sheets,
seashell frame ATC blank, nautical shrine kit.
Our second winner is our Design Winner. This winner is chosen by our DT, who all vote for their favorite design from all of the entries. This winner will have their winning project published in Craft Stamper Magazine, they will have a GDT slot for an upcoming challenge, and will also feature in their very own Winners Profile blog post!
Now if that isn’t a reason to play along I’m not sure what is!!
I can’t wait to see what you come up with.
Supplies used:


Thank you so much for stopping by!
~Kymona