Hello everyone!! It’s CASology Tuesday!! We are back with another Clean and Simple Cue Card just for you!!
This week’s cue card:

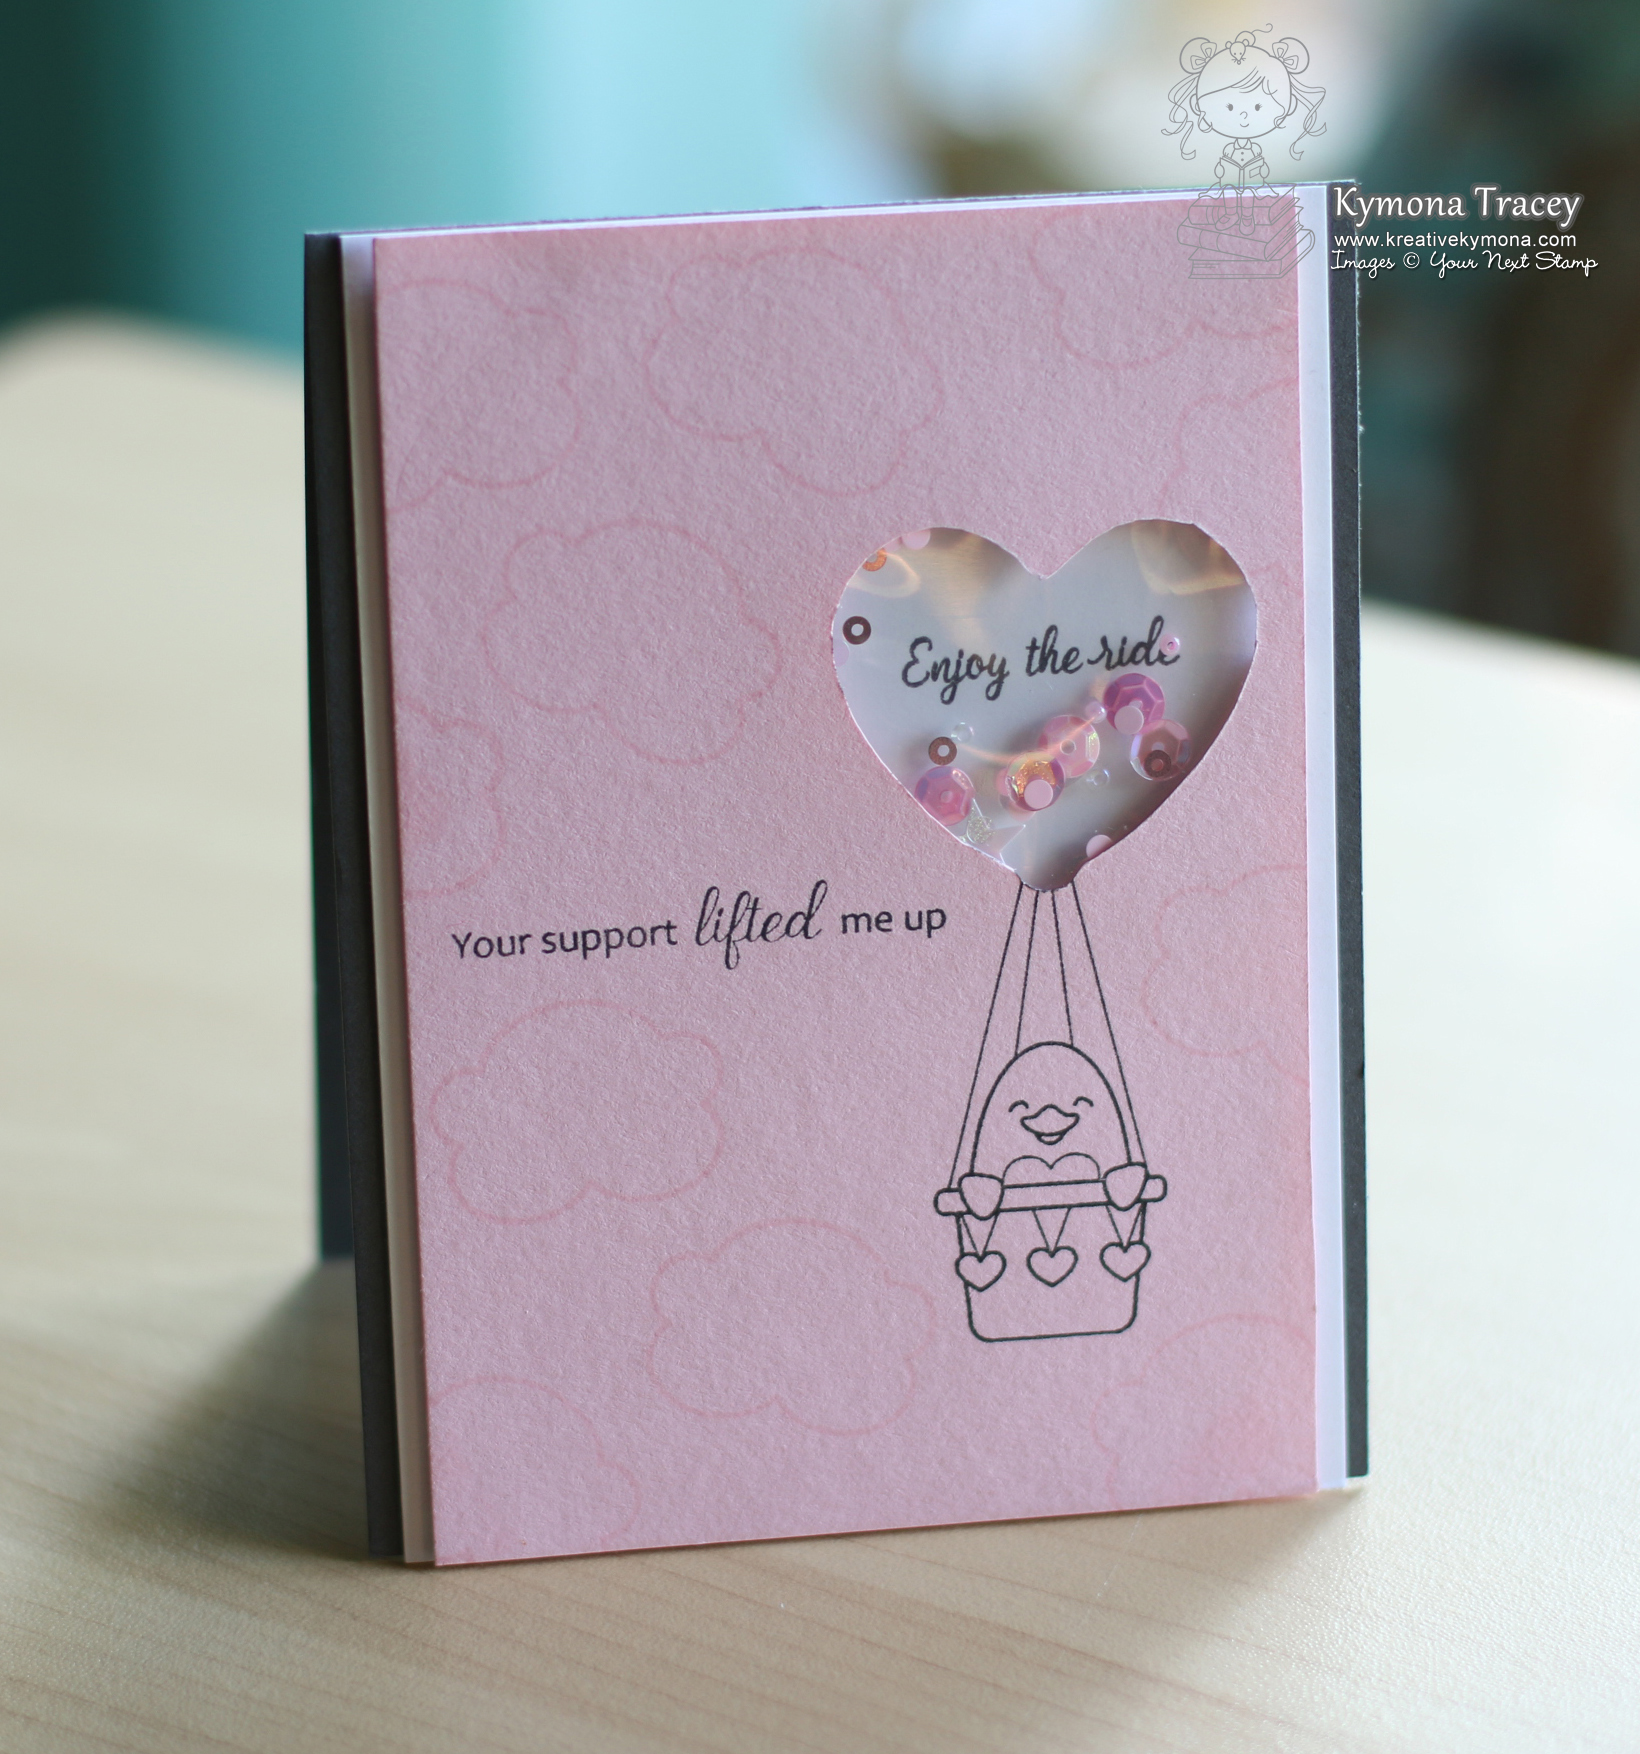
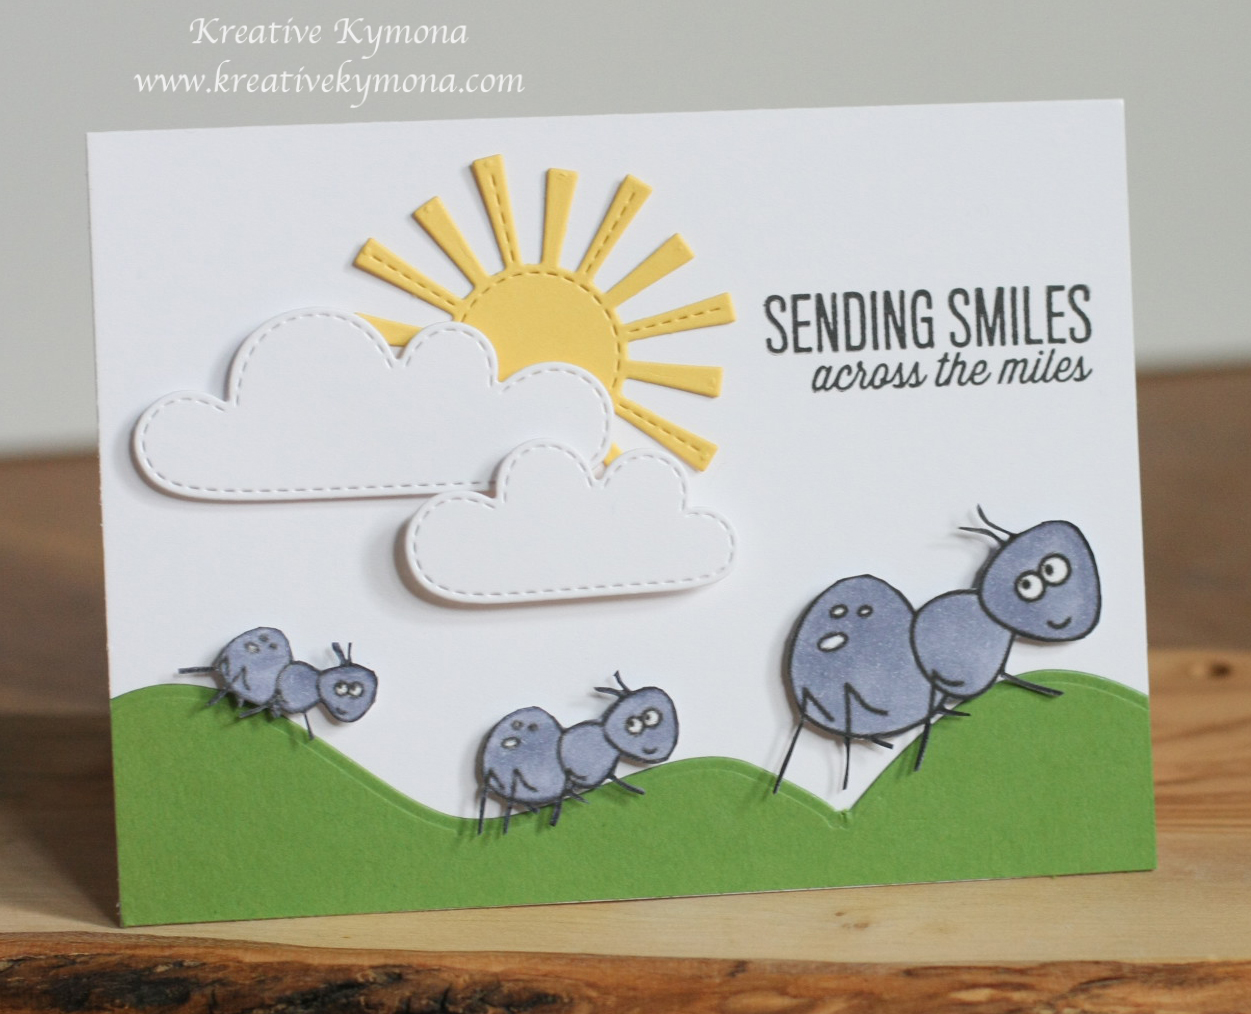
Take a look at my card:
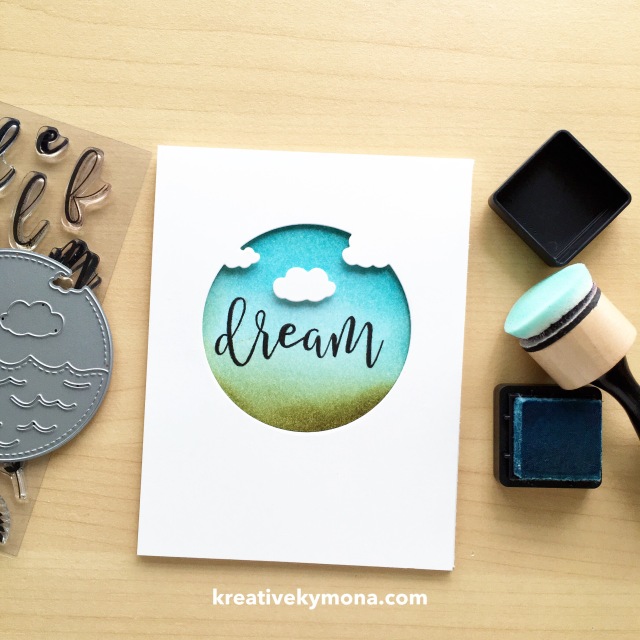
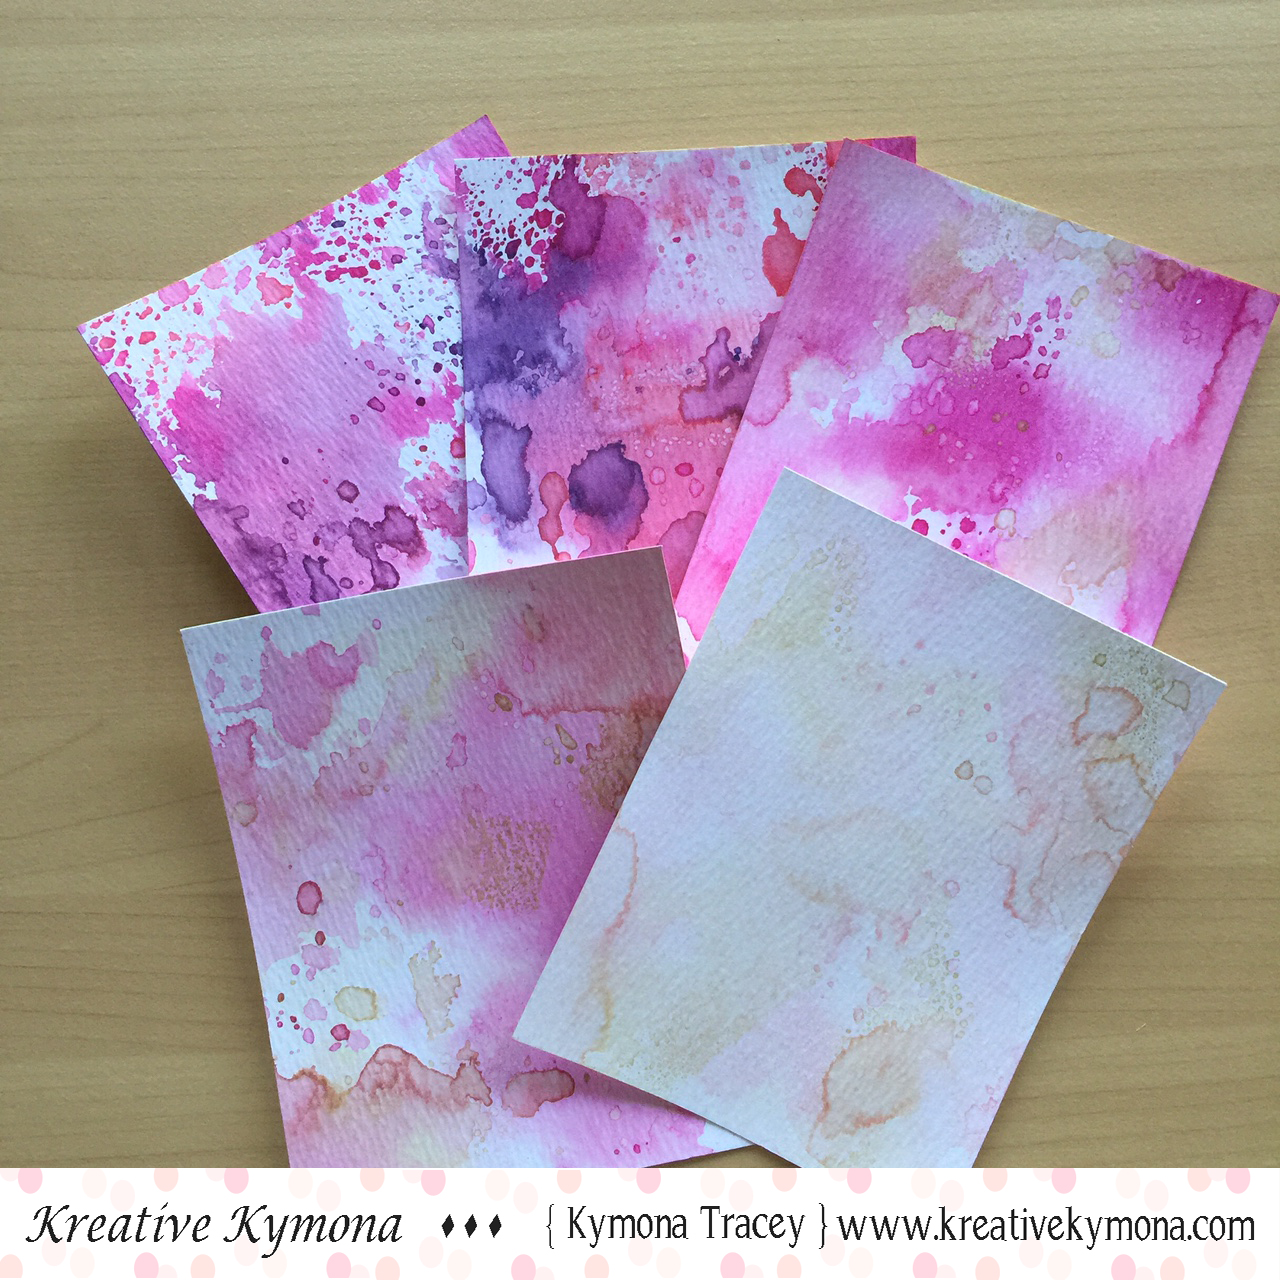
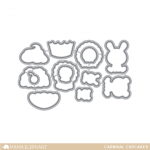
When I saw this week’s cue card, I knew right away that I wanted to use Neat and Tangled Making Waves – Nice and Neat Dies. I love how the clouds are particle cut out of the card stock.
Creating this card was a breeze. I die cut the front of the white Bristol Smooth card panel using the Making Waves Die. Then I used a pencil to outline the circle, so that I knew where to apply the distress ink. I started with Distress Ink Tumbled Glass to create the sky. Then I came in with Distress Ink Broken China to darken it just a bit closer to the top of the sky. After that I used Distress Ink Forest Moss to create the ground.
Once all of the colors were down, I applied tumbled glass again over the entire scene to lighten the sky and the grass. Once I was satisfied with the way the scene looked, I used Concord & 9th Sophisticated Script Stamp Set and Clearsnap Colorbox Wicked Archival Ink to stamp the cue card word.
Then I placed a couple of dimensionals on the back of the card panel and placed it on top of the card base. Perfect!!!
I truly love how this card turned out. I think is absolutely perfect for this challenge. What do you think?
Are you inspired to play along? Please let me know below!
For more inspiration, check out my fellow Design Team members blog for more awesome work.
![]()
Guest Designer
Rachel
Our sponsor this week is STAMPlorations!
I’m also playing along with AAA Cards Game #71:

Supplies used:


Thank you so much for stopping by!!
~Kymona