The Ton’s Spring 2019 Release Blog Hop


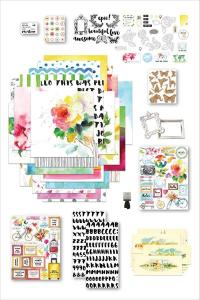
Hello and welcome to The Ton’s Spring 2019 Release Blog Hop!!  We are celebrating The Ton’s Spring 2019 Release with 7 new designs! There are additional promotions with free gifts. Head over to The Ton’s blog for more details.

If you arrived here from the talented Vera Yates blog, then you are on the right track. If you arrived here on your own, then you will want to start at the beginning, The Ton’s Blog so that you don’t miss a thing!

Take a look at my handmade stamped fabric pouch:

Daisy Fields

OMG, I’m so tickled by this cute little bag that I created! This was fun to make. Combining my love of stamping and sewing is beyond fun.

Let’s look at how I created this fabric pouch:

I stamped the new Daisy Fields image on to a piece of canvas cotton fabric using VersaCraft fabric ink.

Since the stamp is pretty big and I wanted to ensure complete coverage so I used the Memory MISTI.

Then I painted a couple of flowers using DecoArt Paint for Fashion Accessories.

daisy fields


daisy fields

Once I finished painting the flowers, it was time to sew the bag together.

It came together nicely.

daisy fields

Let’s look at the completed bag again:

Daisy Fields

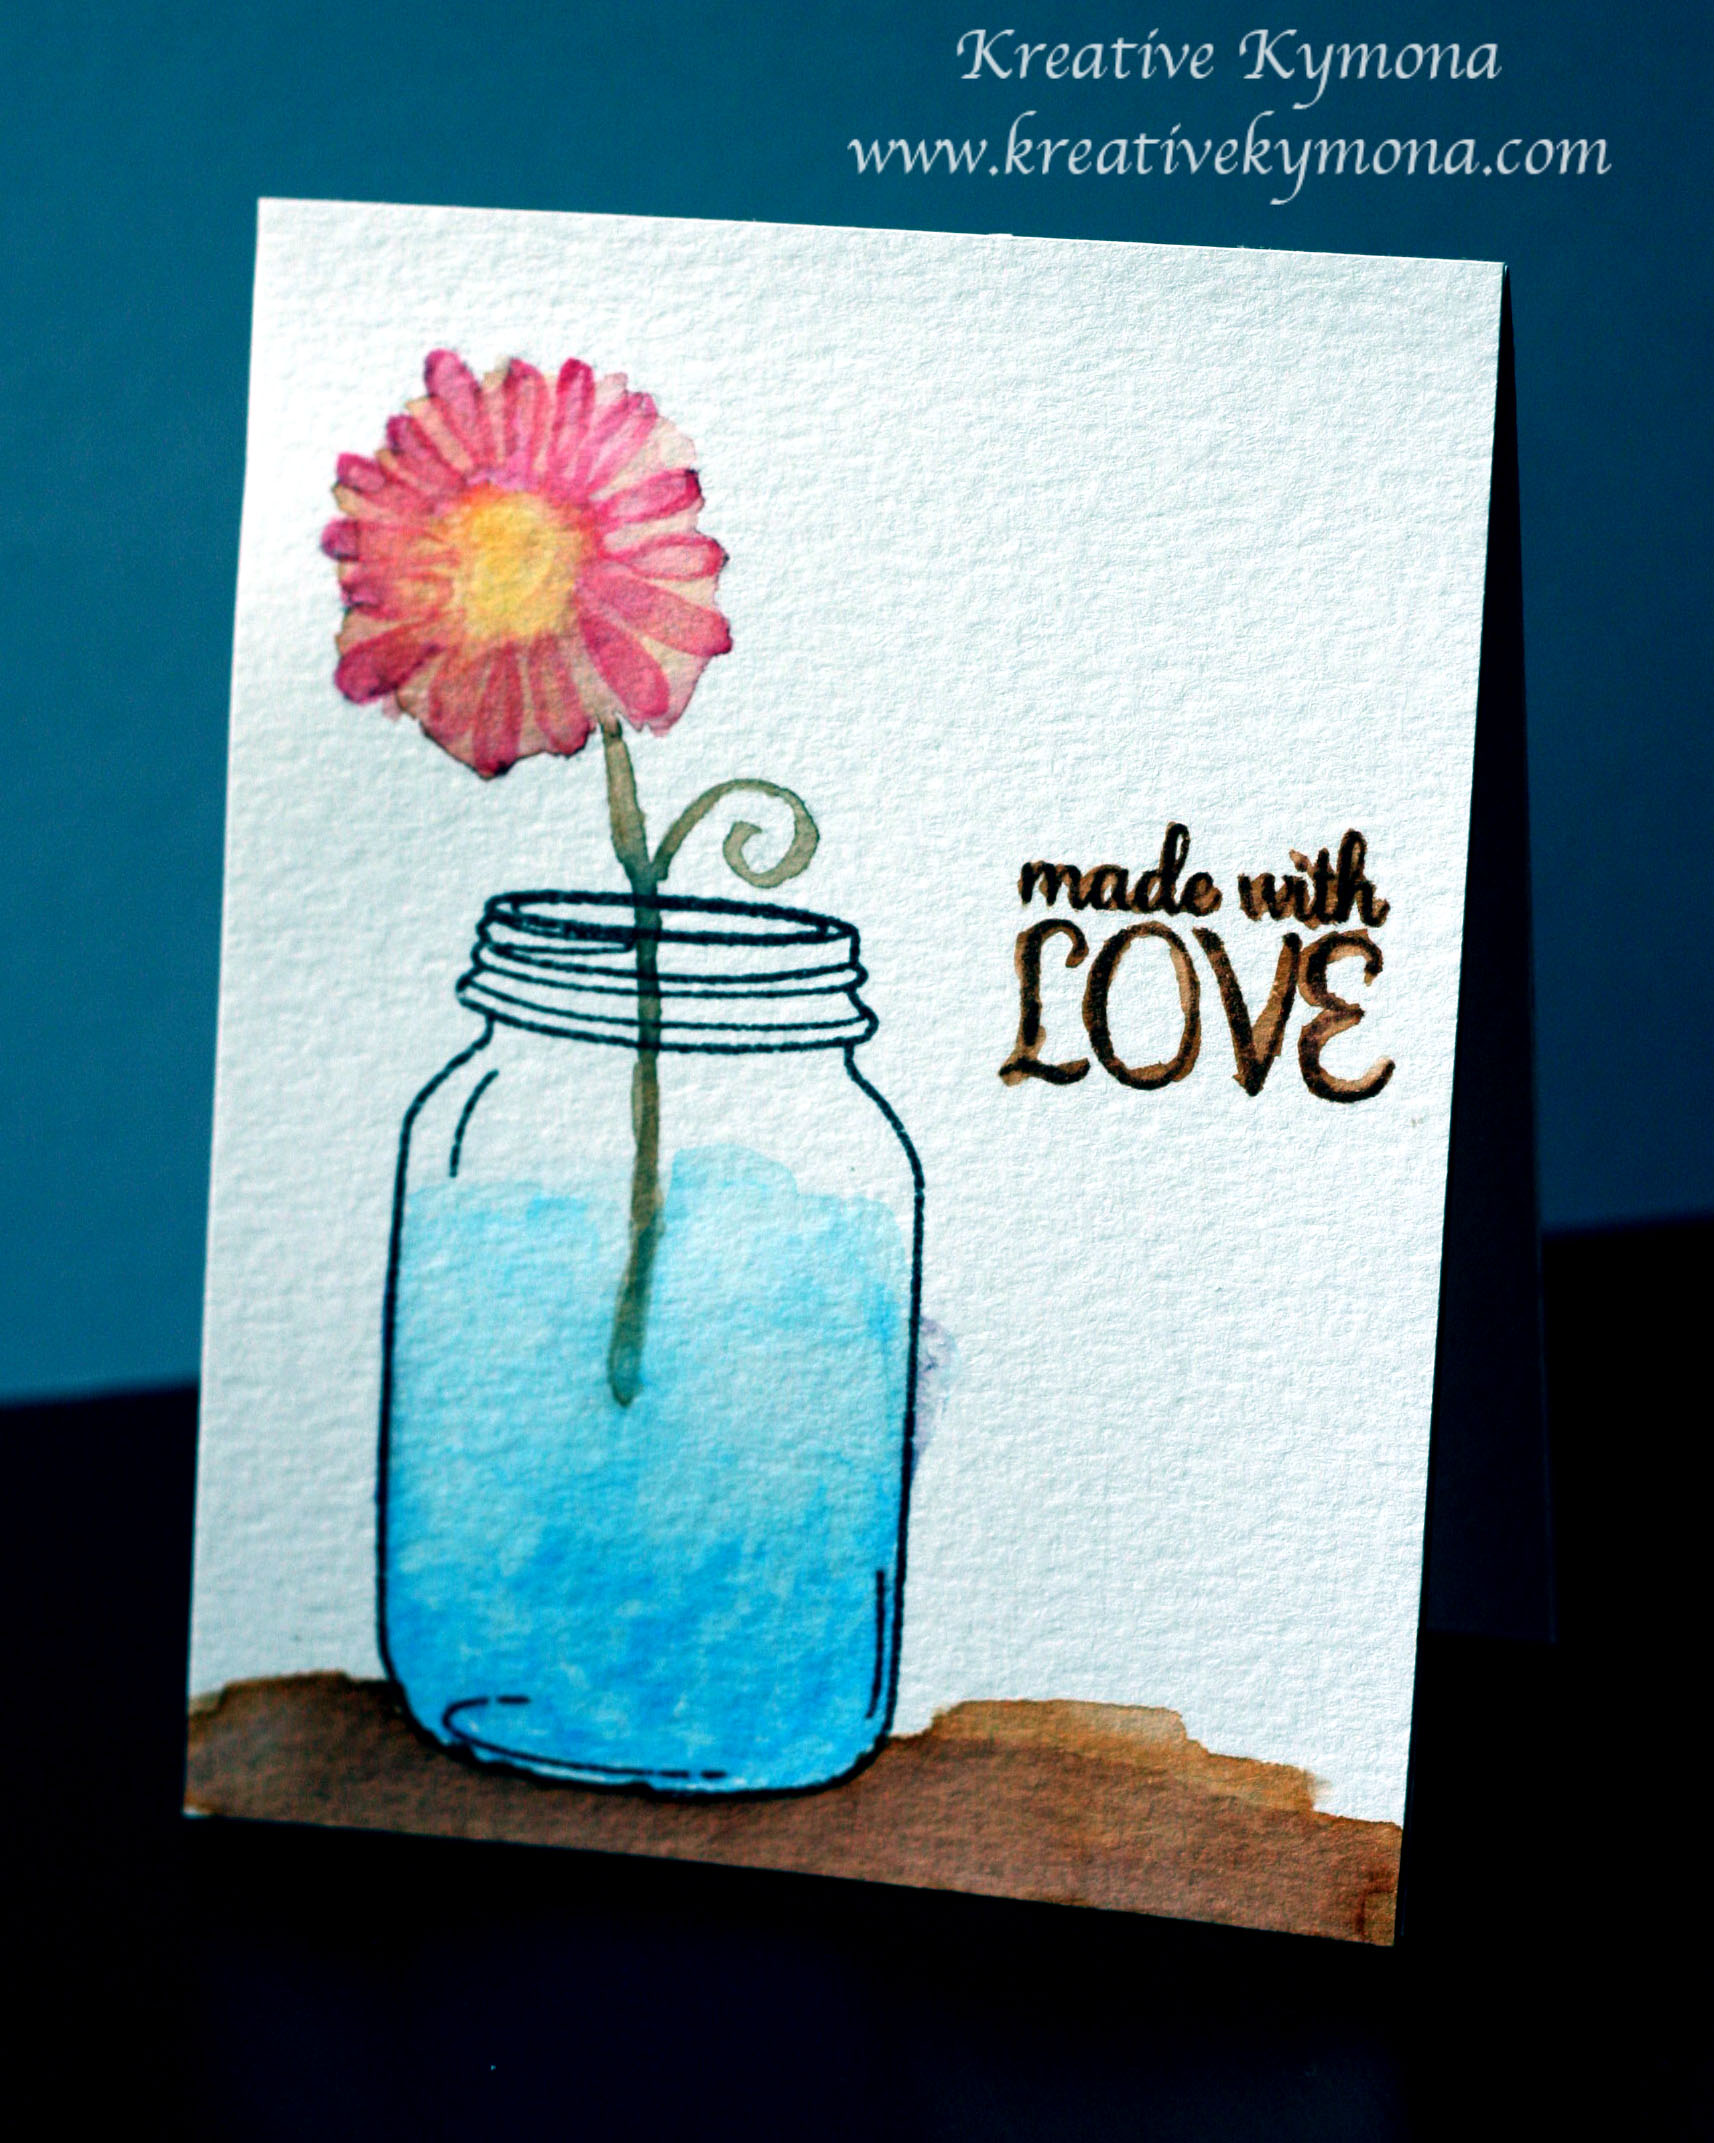
Take a look at a couple of clean and simple cards:

Wildflower Bouquet Builder

April is National Letter Writing Month so I’m sending cards to different people just because. The new Wildflower Bouquet Builder stamp set is perfect for this mission.  You can create so many different designs. I’m a big fan of this stamp set.

Who would like a handwritten card? Let me know!

What is a blog hop without an amazing gift? Yayyy!!

Prizes:

Three winners will receive a stamp set of choice from our new Spring 2019 release (excluding Fantastic Feathers). To qualify, please leave a comment on each blog or youtube video. Comment period will close on 4/10 at 6pm EST. Winners will be announced on the The Ton’s blog after.

Next Stop on this Blog Hop is the:

Amy Tsuruta

You do not want to miss out on her amazing creations!!

Just in case you lose your place along the way, here is the complete list of participants so that you can find your way back:

The Ton

Tae Eun Yoo

Heba Alsibai(Youtube)

Chris Dayton

Vera Yates

Kymona Tracey ←you are here

Amy Tsuruta

Brenda Noelke

Jana Millen

Ilina Crouse

Olga Matyushevskaya 

Laura Jane Head

Janette Kausen 

Anna Kutcenko

Kira Ness 

Svitlana Shayevich 

Amy Kolling 

Mayline Jung

Supplies used:

(Thank you so much for stopping by. Compensated affiliate links used at no cost to you.  The Ton  products were given to me for this blog hop.  The other products were personally purchased. This post was not paid or sponsored.)

Spring 2019 release

Memory MISTI 12 x 12 - Most Incredible Stamp Tool InventedDecoArt Paint

Thank you so much for stopping by!

Altenew Big and Bold Layout

Hello everyone!!  I’m up on Altenew’s Scrapbook Blog today for the first time sharing my big and bold layout!!

Here’s a sneak peek:

To see the complete layout and full tutorial, head on over to Altenew’s Scrapbook Blog.  I can’t wait to see what you think!

Supplies used:

Altenew Watercolor frames

Thank you so much for stopping by!

Rubber Dance Stamp May 2017 Theme Challenge

Hello everyone!!  I’m here today with Rubber Dance Stamp May 2017 Theme Challenge!!

Take a look at the theme for this challenge:

Check out what I created to inspire you:

Rubber Dance Stamp

I’m in love with this face stamp set called Face Up.  It comes with three different faces, big to small.  I paired it with Artfully Stamped.  The sentiment is perfect.

So for the Rule of Theme, I created three ATC cards with three elements: paint, image stamp and a sentiment stamp!!  Yayyyy!!

I love creating these ATC cards.  I used an old mixed media piece that I created weeks ago but wasn’t sure what to do with it.  Until now!!!

I just 3 ATC cards – size 2.5 by 3.5.  Then I used my Mini MISTI to stamp the image and sentiment at the same time on all three cards.  It took me 5 minutes from start to finish.

Super simple and easy!!

What do you think?  Please let me know below.  I would love to hear from you.

Guess what!!!  If you like this stamp set or any other stamp set from Rubber Dance Stamp, use coupon code: KTFreeShip for free shipping!!  YES, Free Shipping.

Now onto the challenge prizes!

The winner will win five fabulous stamps fromRubber Dance Stamp!! Wait, if the winner used stamps from Rubber Dance Stamp, they will winner another five stamps! That’s a total of 10 stamps!! Wow!!!

You have until May 31, 2017, midnight Central European Time.  Which is 6:00 PM, May 31, 2017!! Please pay attention to this time. Here in NY, we are 6 hours behind Norway! 

Supplies used:

(Thank you so much for stopping by. Compensated affiliate links used at no cost to you.  All products were personally purchased.  This post was not paid or sponsored. ) 

face up stamp setartfully stampedMini MISTI - Most Incredible Stamp Tool Invented

Thank you so much for stopping by!!

One Layer – Where Creativity Meets C9

Hello everyone!!  I’m here today with the Where Creativity Meets C9 Blog Challenge Design Team!! Our challenge this month is One Layer!

Take a look at my card:

Super delicious!!

To create this card, I used Concord & 9th Say Hello Dies to cut out a bunch of hello die cuts out of plain white cardstock and a mixed media masterboard, that I created a couple of weeks ago.

Once the die cuts were made, I mixed matched the words and added them to the plain white cardstock.

Once the die cuts were in place, I used the Mini Misti to stamp the sentiment from the Say Hello Stamp Set using Versafine Black Ink.

Nice and easy, right!

I couldn’t just stop there since I had a couple other die cuts left so I made this cute envelope using the rest of the dies and the Love Notes Die set.

Take a look:

What do you think?  Please let know below.

I can’t wait to see how you interpret our challenge theme this month.

c9-banner

Did you know that we have a giveaway going on? Yes, we do!! Our sponsor Concord and 9th is giving away a $25 gift certificate to their shop!!  Yes!!!  Isn’t that big.  Plus the winner gets to be a guest designer for a future challenge.

Here’s how: Create a project using Concord and 9th and upload it on the Where Creativity Meets C9 blog by the 29th of every month of for a chance to win.  A random winner will be chosen and it could be you!!

Are you ready?  So, go and create!!

Please don’t forget to follow Where Creativity Meets C9 on Facebook, Instagram and the Blog.

Supplies used:

Say Hello Dies Say Hello Stamp Set Say Hello BUNDLE Mini MISTI - Most Incredible Stamp Tool Invented Love Notes Envelope Dies


Thanks so much for stopping by!

Stamping with a Gel Press Plate – a2z Scrapbooking March 2017 Challenge

Second Post for Today
If your looking for Rubber Dance Stamp Challenge post, click here

Hello everyone!!  I’m here today with a a2z Scrapbooking Challenge. The theme this month is Playing with Stencils!!

playing-with-stencils

Take a look at my card:

stencil-hello-a2z

I had so much fun this weekend playing with my Gel Press Plate that I had to create a card using it.  I added paint to the gel press using a brayer.  Then I placed the plate on top of the card front.  After that, I placed the stencil on top of the gel plate.  Then I added the ink on top of the stencil using a brayer.  I removed the stencil and placed the gel plate on top of the card front creating a textured look on the card front. Then I die cut the sentiment hello out of white cardstock and adhered it to the card front.

Pretty cool!

What do you think? I would love to hear what you think below.

I hope you love what you see and that it inspires you to join us this month. You have the entire month to create a new project and enter it into our challenge. By entering you will have a chance to win a $25 Gift Certificate to the a2z Scrapbooking Store. Winner will be announced on the 7th of April.  Good Luck!

If you would like to purchase any Hero Arts products please head on over to the store and use the coupon code KYMONA15 to get 15% off your purchase.

Supplies used:

Hero Arts Floral Pattern StencilHA Hello Stamp and Cutjane-davenport-paint

Thank you so much for stopping by!

name-tag

Holiday Gift Coaster Tiles

handmade-holidays-banner

Hello everyone!!  I’m super excited about participating in the 6th Annual Handmade Blog Hop!! This is my first year participating and I have to say I had so much fun creating my handmade gift.

The Handmade Holiday Blog Hop goal is to inspire you to create something from the heart this holiday season for your loved ones.  All of the participates have chosen projects that are easy to do with products that you use everyday or new products that you’ve never thought of using before.

The blog hop spans over three days, November 8th, 9th and 10th!!  Today is day 2 and its all about Holiday Decor Ideas!!

I created a set of coasters for my brother and his soon to be wife. They are about to get married and I wanted to give them a gift from my heart.

Take a look at my coasters:

kt-purple-coaster-final

I love how these coasters turned out!!  The purple and white look so good together.

Let me show you how I created these coasters:

Gather all of the supplies needed for this project.

kt-coaster-supplies

Select the two colors you want to mix in order to create a unique color. For this project DecoArt Americana Decor Chalky Finish for Glass Treasure and Romance were used.

Make sure you use the right ratio to achieve the color you want. For this purple color, mix 3 part Treasure and 1 part Romance.

kt-coaster-paint-mixing

Paint each of the tiles with long even strokes. One coat at a time covering the entire tile.

kt-painting-the-coaster

Give each tile a total of 3 coats each for a super smooth finish.

kt-completed-painted

Once the paint dries, its time to add the letter you want on the coasters.  Simple place the stencil on top of the title and use Colorbox Frost White Pigment Ink with a sponge dauber.

kt-stenciled-coasters-final

Once the pigment ink dries, it takes awhile, you can add Americana Decor Light Satin Varnish as a top coat to seal the top of the coaster.

To finish the coasters off, cut a couple of pieces of cork and adhere them to the bottom of the coaster in the four corners. This will prevent the coaster form sliding on different surfaces.

kt-adding-cork

Here’s a close-up:

kt-coaster-close-up

Wrap the coasters with some ribbon and tie a bow.  Place these coasters in a box and this handmade gift is ready to go.

Coasters in action:

kt-glass-of-water-on-coaster

The clean up was super easy.  Water washes the paint off of the palette and out of the brushes.

kt-paint-clean-up

So what do you think?  Please let me know below!  I would love to hear what you think and if you will give this project a try.

Its time to hop along to the next stop! Just click the link below for your next stop!


What’s a blog hop without a Giveaway!!! Check out all of the different prizes up for grabs!

handmade-holidays-hop-prize-image-no-banner

11 prizes of a $50+ value each!! The winners will be chosen randomly from all of the contest entries on November 14, 2016.  In order to enter the giveaway please click the Rafflecopter link below!

a Rafflecopter giveaway
https://widget-prime.rafflecopter.com/launch.js

A huge Thank You to all of the sponsors for this amazing blog hop!! So of them you know other you many not know!!  Please, stop on by to their site and see the amazing thing they have to offer.  A complete list with sites attached are listed below.

handmade-holidays-hop-logo-block

Sponsor List:

Clearsnap 
Hydrangea Hippo etsy shop
Hepp’s Salt Co. (food) 
The Twinery 
Scrapbook Adhesives by 3L 
Stencil1 
Buttons Galore & More 
DecoArt, Inc. 
Walnut Hollow 
Graphic 45 
Iron Orchid Designs 

Supplies used:

decoart-treasure  decoart-romancedecoart-light-satin-varnish  tile

Thank you so much for stopping by!!

~Kymona

Kids Crafty Keepsake Box

Hello everyone!!  I was up on Walnut Hollow’s blog yesterday, showcasing this really cute one stop shop crafty box for my daughter and her traveling needs.

I was super excited to have been given this opportunity to represent their products.

Take a look at what I created:

Kids Crafty Keepsake Box

Cool, right!!  Stop on my Walnut Hollow’s blog for the full photo tutorial!!!  I didn’t leave a step out.

My daughter loves her box!! I hope you will too!!

Thanks for stopping by!

~Kymona


Are You A Watercolorists?

Watercolor painting is an art form that creates artistic representations, usually on watercolor paper, using pigments that are water-soluble.

OK, I love the wording “artistic representation” because I can’t draw for the life of me and I also have trouble actually painting objects much less making my sentiment look like I painted it.  I’m so glad that my cards are beautiful regardless if I can’t draw or paint.  Thank you “artistic representation”!!

With that said, I created two cards today for my online Watercolor for Card Makers Class Homework.  The assignment was to watercolor paint over a stamped image.  This was fun!  My daughter, niece and I sat down to create our cards.  It’s amazing how all of us came up with different versions of the same image.

I made two cards because I felt like my first flower was dulled out and wanted to see if I could use a different flower.  Also, my sentiment was giving me so trouble.  Here are my “artistic representation” of flowers in a vase!

Made with Love

On my first card, the blue water started to seep out of my jar on the side.  I went to close to the black line with my wet paint brush.  I over did it a little with the shadow at the bottom of the jar.  You have to learn from your mistakes.

Made with Love2

This second card, the water stayed in the jar and my shadow looks so much better.  The sentiment is where I think I over did it.  That’s the beauty of water-coloring.

So what do you think?  Did I do a good job at depicting a watercolor painting?  Would you call me a Watercolorists?

Well in my book, I’m the best Watercolorists on this side of the computer screen, lol!!!!

The real test is how do I compare to my daughter and niece!!  Below you will find the cards they painted.

Little Lady Sanaa Flower Little Lady Zoe Flower

My Daughter                                                       My Niece

What fun!!!

Well that’s it for today.  I hope you enjoyed our cards today and will not hesitate to try water-coloring and become a Watercolorists!!


Supplies used:

Canson Watercolor PaperKio WaterColorsLove JarMemento Tuxedo BlackStampin' TrimmerSnail Adhesive

~Kymona