Hello everyone!! I’m here for the first time with CS Take It Make It Design Team Challenge!!!
I’m so excited because I’ve had to really stretch my style for this challenge. This month’s theme is Stamping Onto Tissue Paper!!! Yes, you heard me correctly. Tissue paper!!
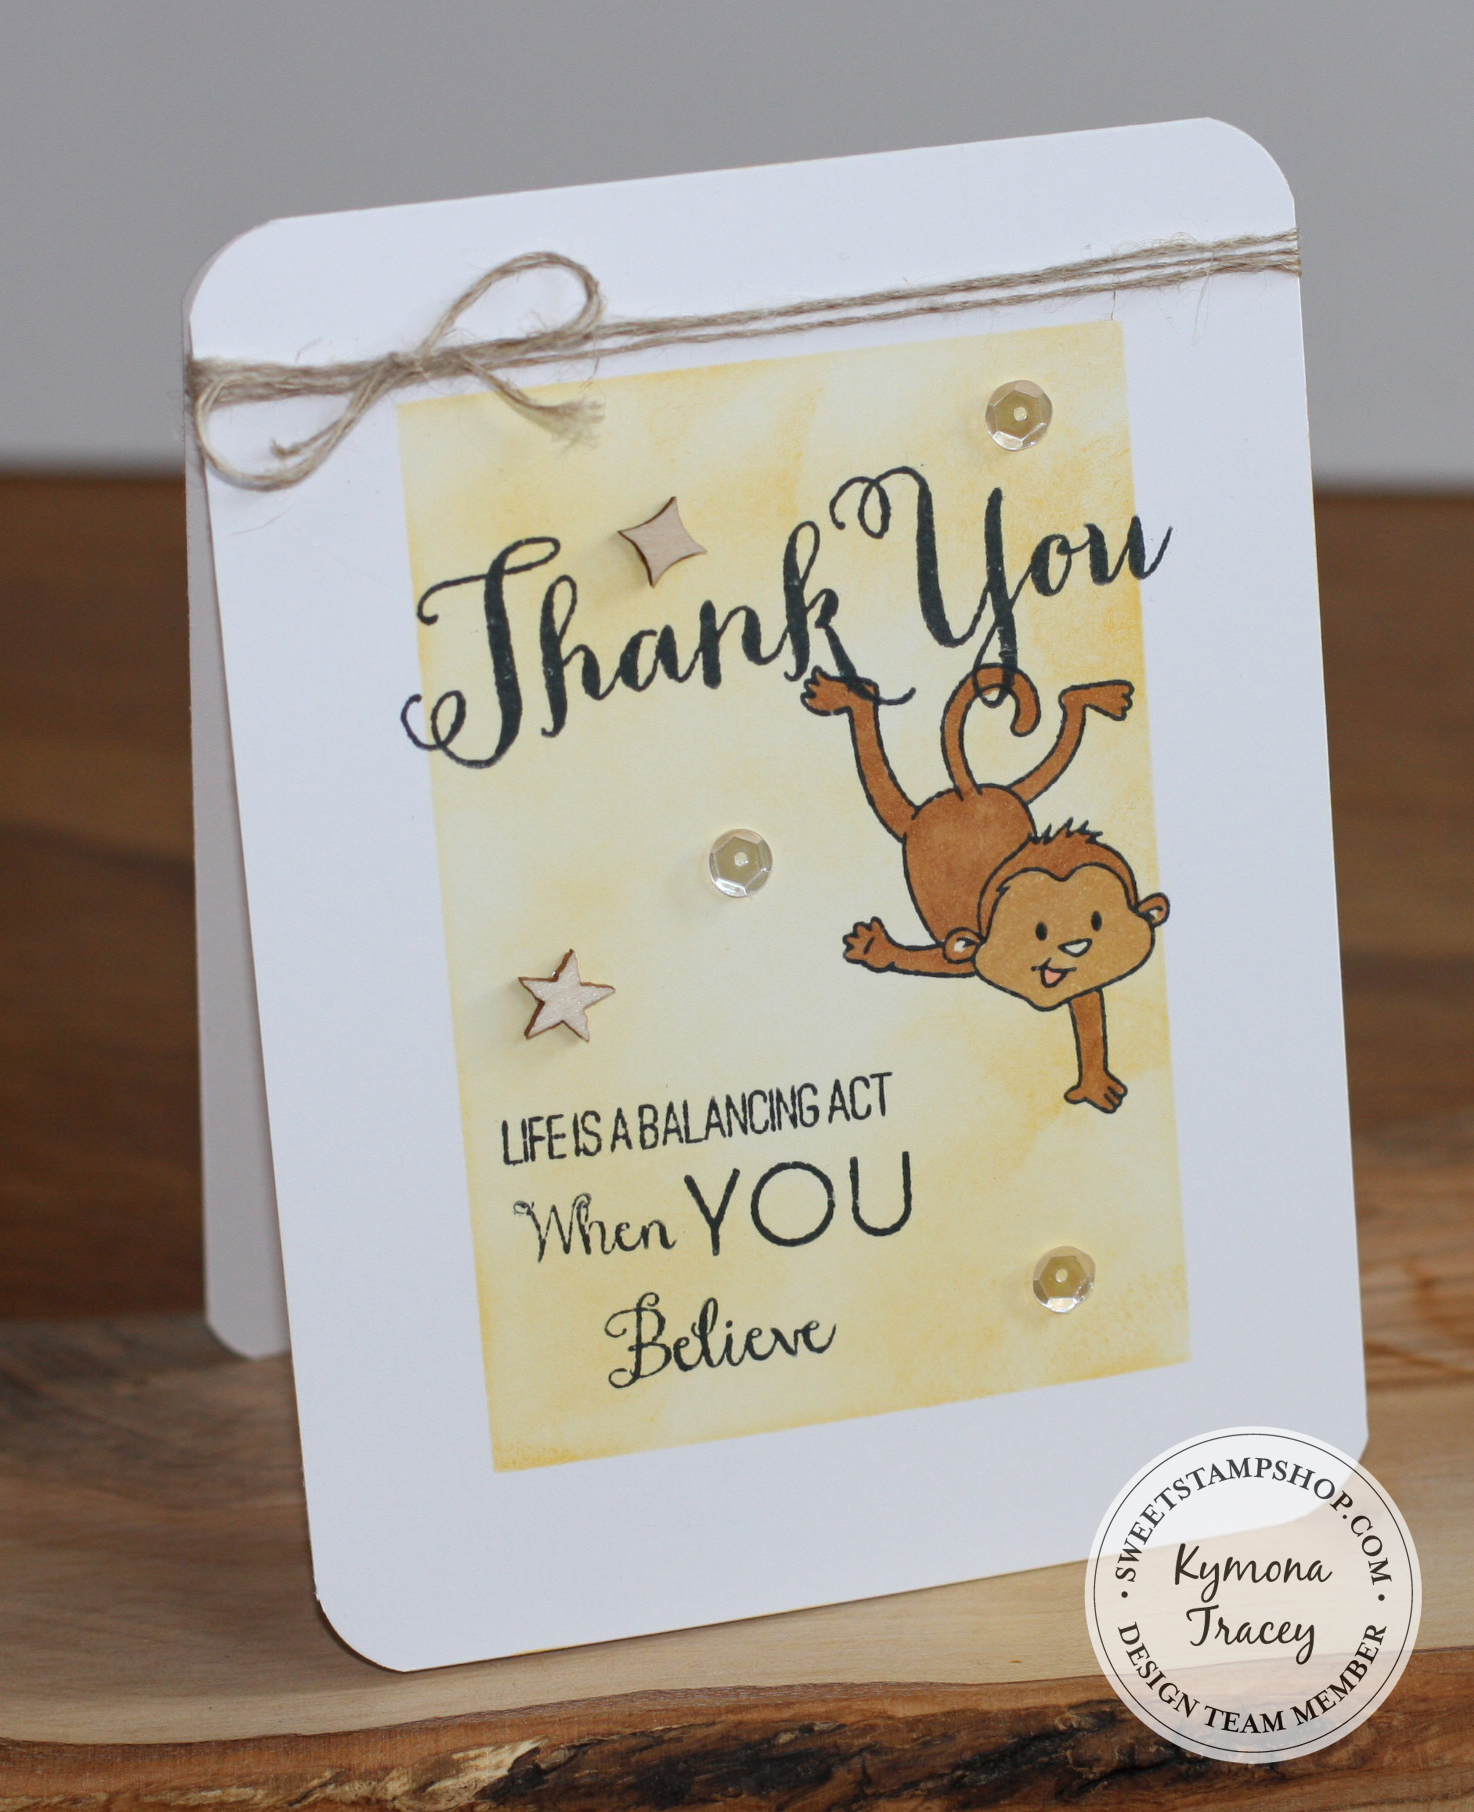
 Photo credit
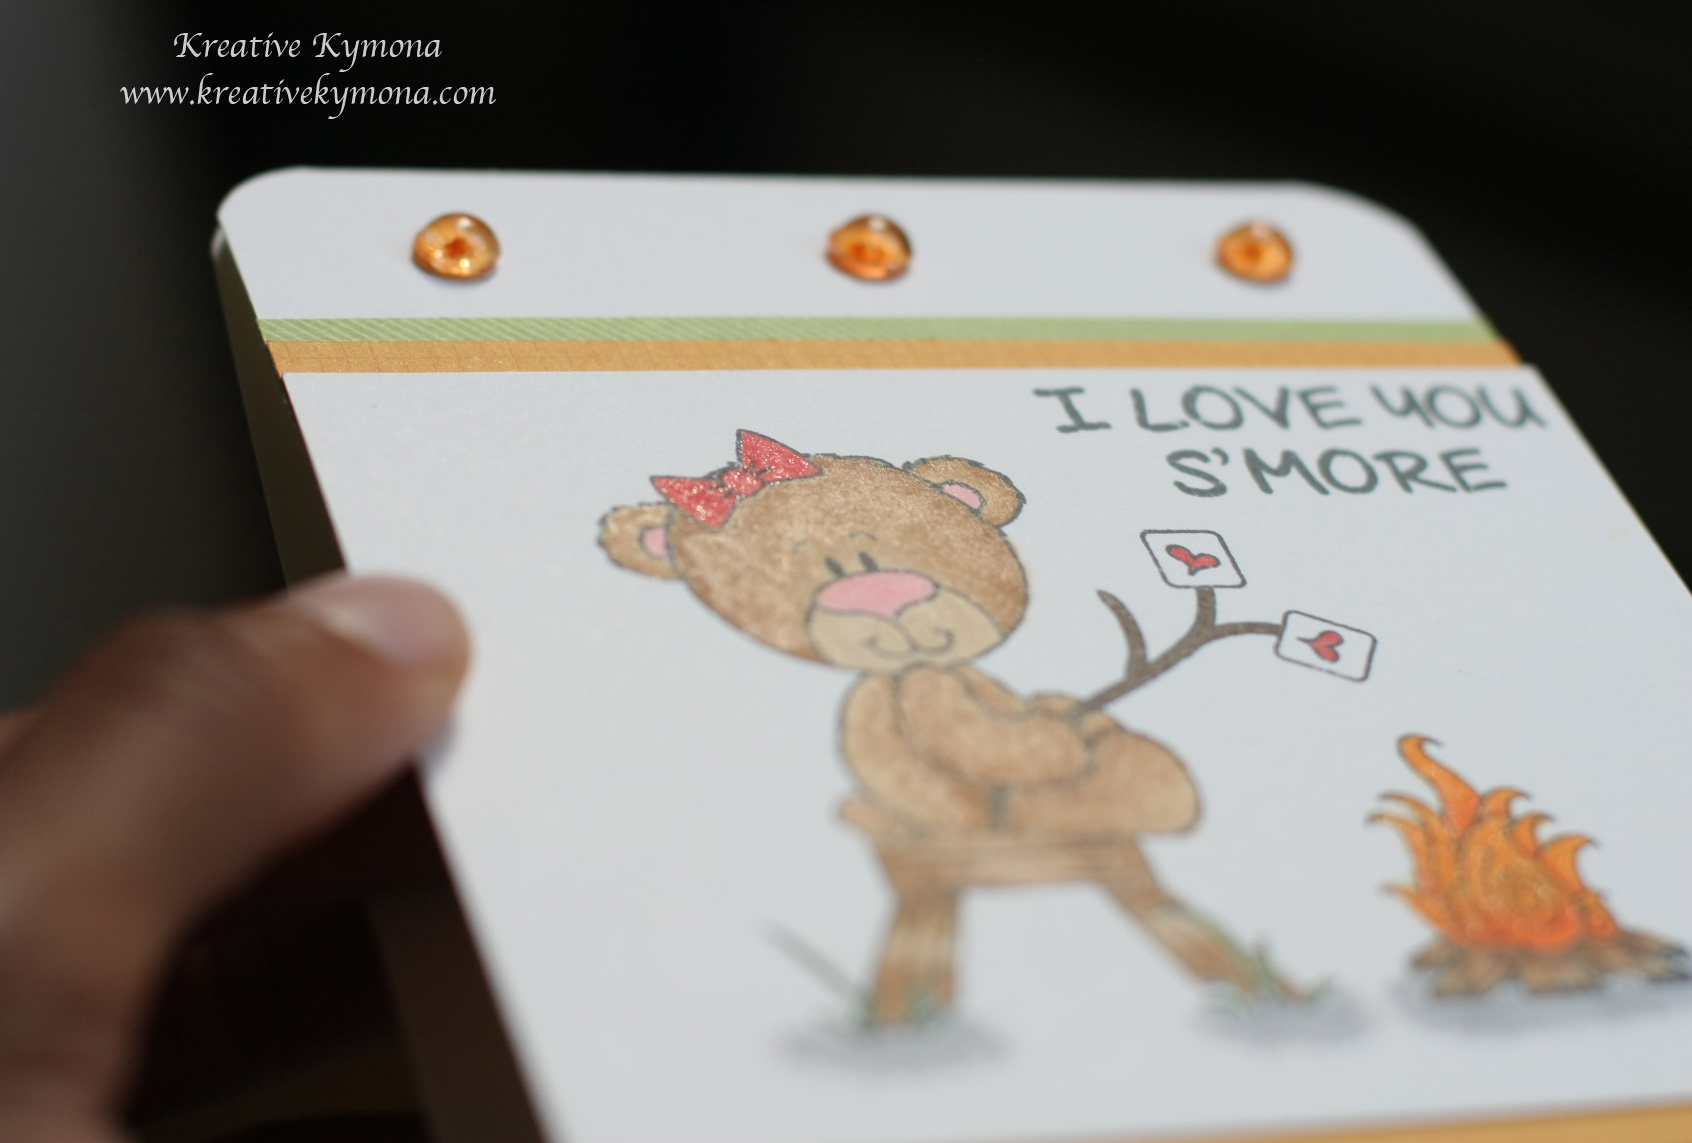
Now, don’t get me wrong, it wasn’t easy at first. I ripped my tissue paper a couple of times because I didn’t take my time. After the first two tries I said, “slow down Kymona”. Once I slowed down, I got it.
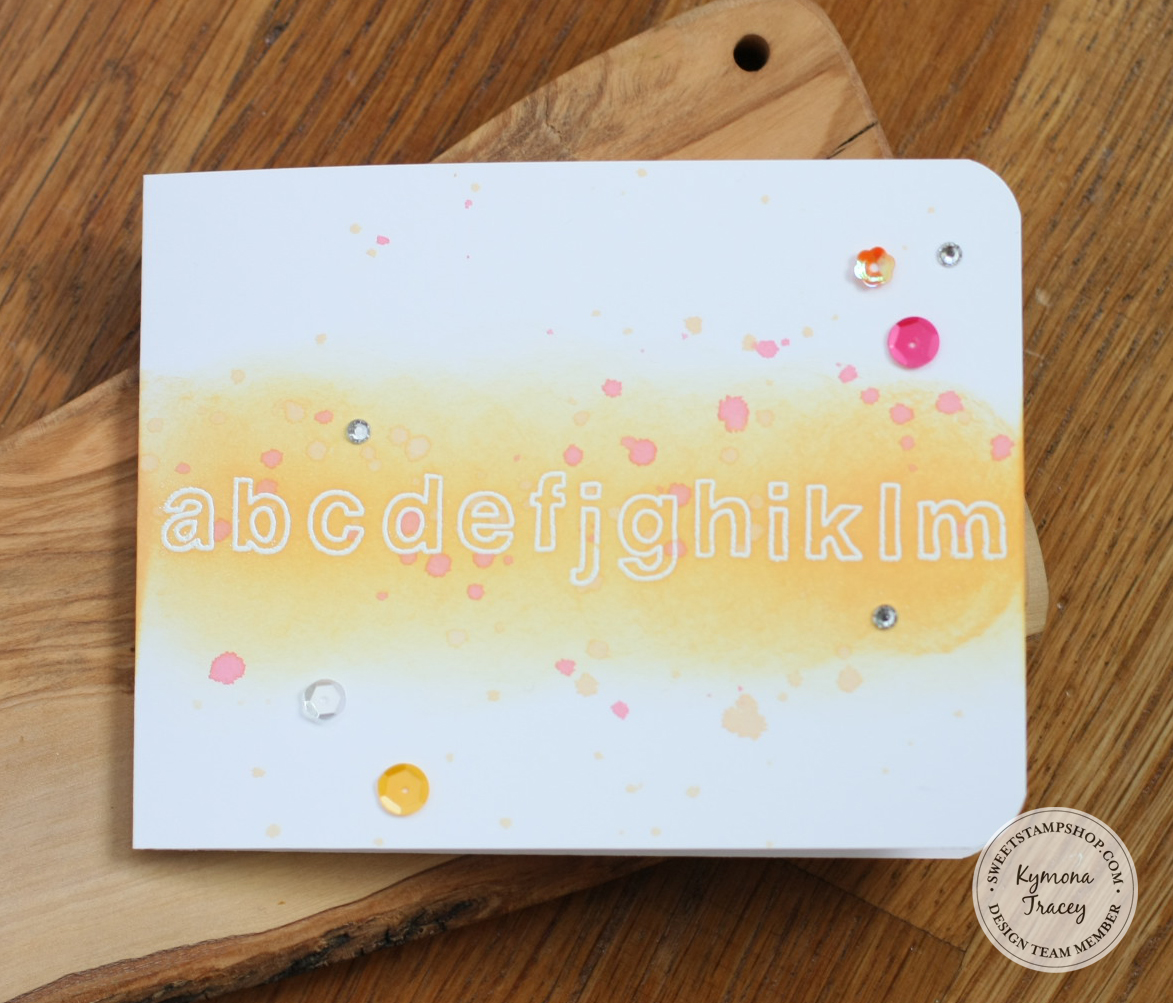
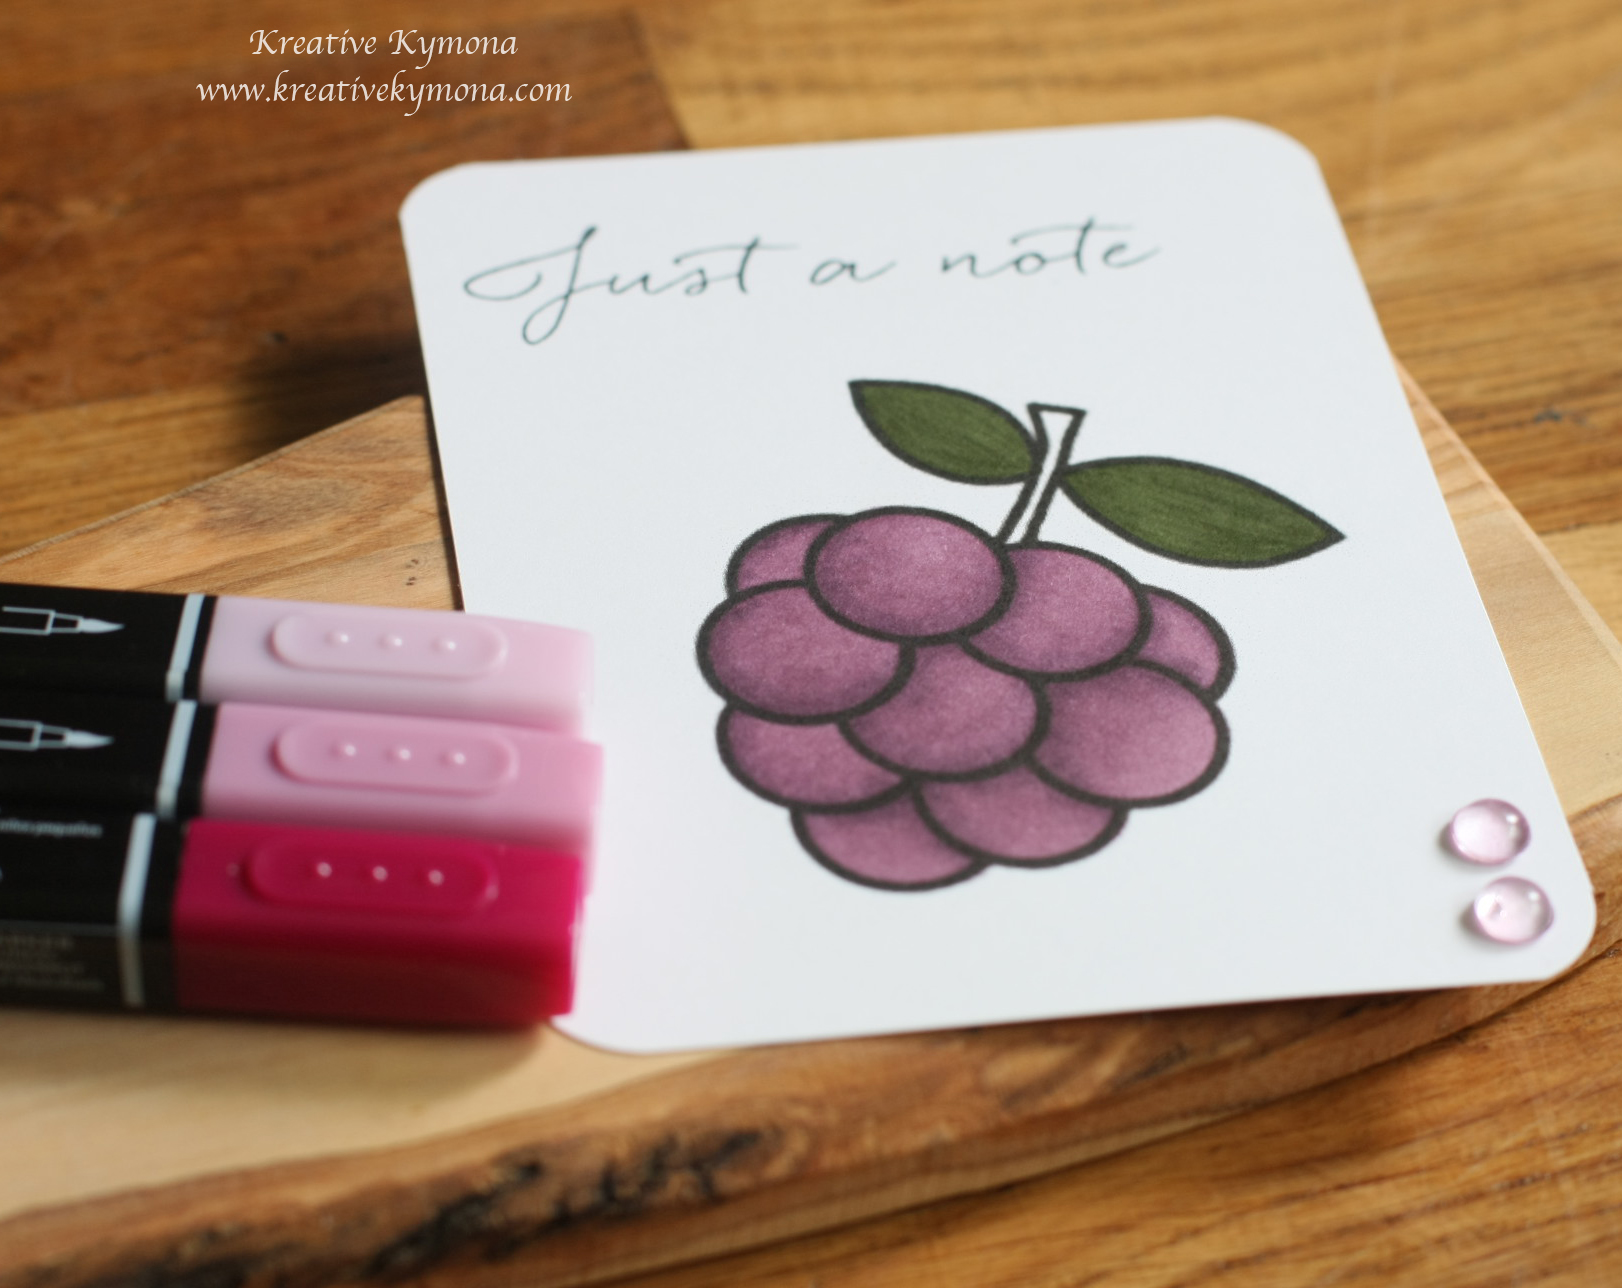
Take a look at my card:
 Are you wondering how I did this? I’m going to tell you!!!
1. I stamped my sentiment from Mama Elephant Make A Wish Stamp Set using Memento Tuxedo Black Ink.
You want to use a permanent ink so that the image doesn’t bleed or blur.
2. I used Simon Says Stamp Audrey Blue ink and a blending tool to add color to my Neenah Solar White card base.
3. I stamped my stars from Mama Elephant Make A Wish Stamp Set with the Memento Tuxedo Black Ink and the hearts from Simon Says Stamp Hey Teacher Stamp Set in Audrey Blue.
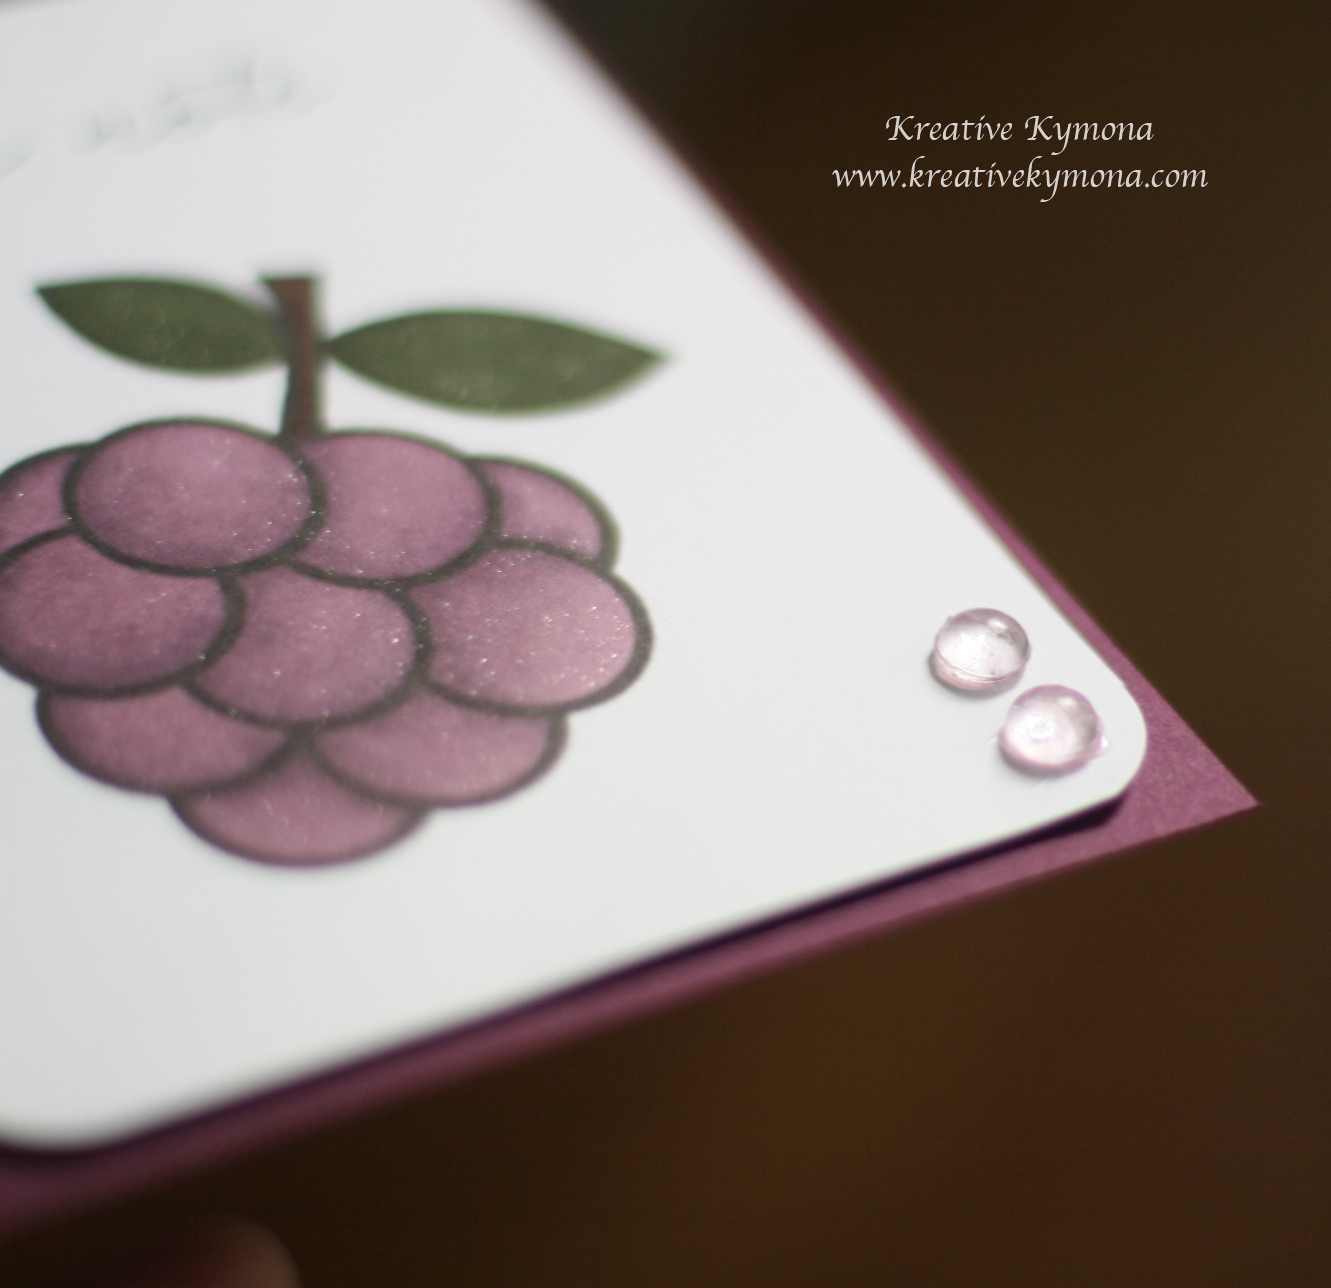
4. I then adhered my stamped image tissue image to the front of my card base using a little bit of Mod Podge.
5. After I adhered my image to the card base, I added Mod Podge to my entire card front. Smoothing out as many wringles as I could.
6. Once the the glue dries, the tissue should become transparent.
Important to remember: Some methods of coloring backgrounds are NOT compatible with this techniue! Spray Inks for example doesn’t not like having water-based glue on top of it. So using spray inks might not be a good choice to use.
You have to experiment with the technique and your own particular style to fine what works for you and what materials you have at home.
I had a lot of fun playing around with tissue paper on my card. I think I will try this card again but this time ink the edges of the tissue paper with the ink and see how well it fades with the glue. I will repost as soon as I try it.
Now its your turn to give Stamping Onto Tissue Paper a try!!
This challenge runs from today Friday, September 5th to Midnight Wednesday, September 24th, 2014.
The winner will be announce on the CS Take It Make It Blog on September 26th, 2014.
The sponsor for the September Challenge is Julie Kirk!! This link is to her Esty store, which is full of fun stuff. I have my eyes on some stuff!

Also, check out Julie’s Blog: Notes on Paper
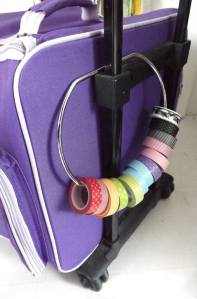
The prize for this challenge is a set of TWO washi rings and a set of washi tape!
The picture below shows the exact washi tape ring and tape that you could win. The tote isn’t included.
Supplies used:


Thank you for stopping by!
~Kymona