Do You Have Petal Power?

Hello everyone, I guess your asking yourself what is petal power?  Guess what I was wondering the same thing.  I thought it was a cute title so I decided to go with it.  LOL, LOL!!!

No for real, petal power is when a flowers petal stand out from the rest of the flower.  What do you think?

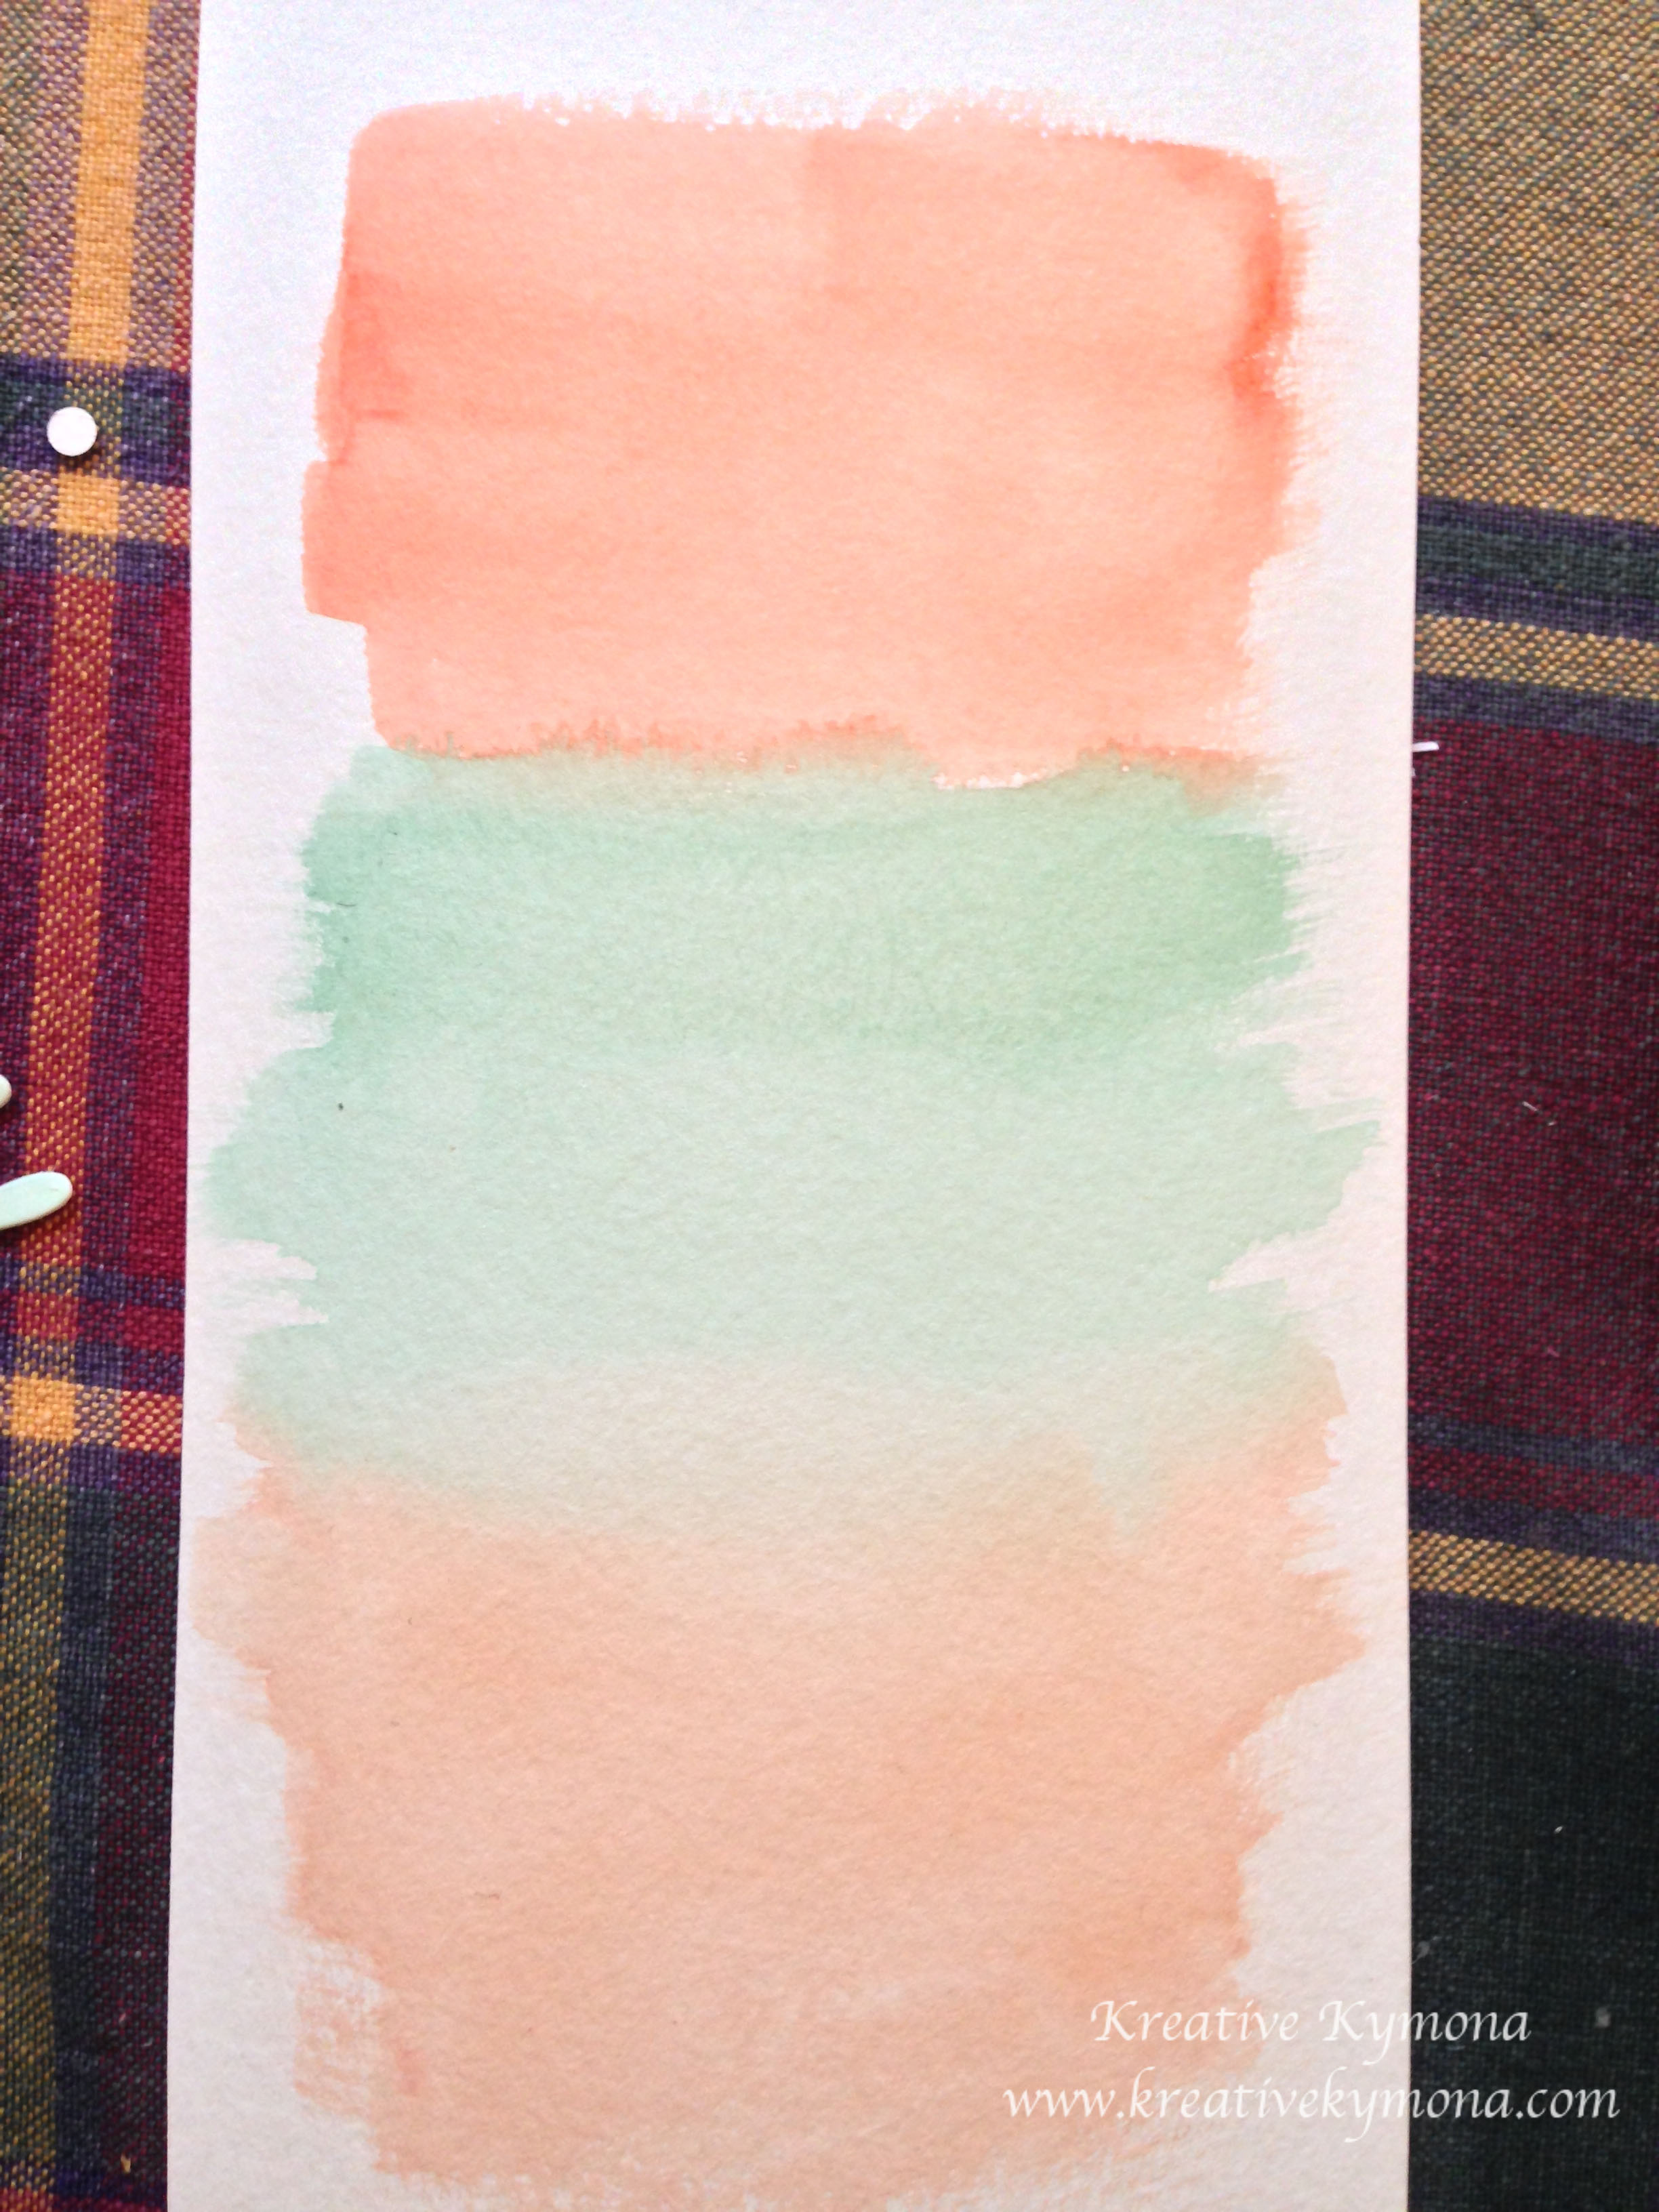
Well my notebook today, has petal power.  The petals are so vibrant and rich, I just love it.

Papertrey Ink’s  Make It Monday #167 Challenge is DIY Notebooks!  Yes, notebooks.  So cute and irrepressible.  I couldn’t wait to participate.

Take a look at my Mini Notebook with tear out pages:

Mini Notebook

Mini Notebook side

This mini notebook was so easy to make, I just love it.

Here’s how:

1.  I cut all of my card stock and back chip board to 2-3/4 by 4-1/4.

2. I stamped “read this” sentiment from PTI’s Clip Tips on all of my colored card stock inside my notebook.

3. I stamped my flowers, butterflies and hello sentiment on my front cover.

4. I attached a piece of pattern paper to the top of the cover and to the back of the book with glue.  The pattern paper will hold all of my pages together.

5. I added double-side adhesive to the middle of the pattern paper.

6. I made sure all of the pages of my books were attached to the adhesive.

7. Then I used my hand to crease the front and back of the book.  All of the inside pages should be adhered to the double-sided tape.

WALA, your book is made and ready to use! The double-sided tape allows you to tear the pages out of the book and put it back.

Isn’t that amazing!

Supplies used:

Bazzill Basics 180-piece "Olivia Premium Cardstock KitLife is Beautiful Stamp SetOopsie Daisy Stamp SetClip Tips Stamp SetBasic Rhinestones Jewel AccentsOnyx VersafinePure Poppy InkSummer SunriseWet PaintStudio Calico Papper Pad Snippets 6x6

Please let me know what you think of my Mini Notebook!

~Kymona

Simply Beautiful….Papertrey May Blog Hop Challenge

Hello everyone, I’m back again for the second time.  I’m here joining Papertrey Inks BIG monthly Blog Hop!!!

I’m so excited.  I’ve never been on a blog hop before!

I must say it was exciting to create a card in a matter of minutes for the world to see.  Ok, so it took me more than a minute, I started making this card an hour and a half ago.  But the results are amazing, to me at least.

The challenge was to use two colors: Aqua and Melon!!!

Aqua and Melon

That should be easy, right, wrong!!

I had a Aqua Mist ink pad but I didn’t have any melon color.  No ink, paper, embellishments, nothing.

How was I going to participate if I didn’t have melon.  I started to fret.  I knew the colors for a little while but I procrastinated on buying the melon ink that I needed.

So what is a girl to do????

Ding, Ding, Ding…..the bells went off in my head.  Water-coloring is my favorite so why not create the color yourself!!!  OMG, I can create the melon color that I need.  That is what I did!!

Light melon

So this is what I came up with first.  It looks so close but it was too light so I decided to go at it again.

darker melon

Much better!!  I love how it turned out.  I feel like a true artist now, LOL!!  I used my Winsor & Newton Water Colours!  The colors that I mixed were Burnt Sienna, White and Alizarin Crimson, respectfully.

I took my time and mixed one color at a time, cleaning my brush in between.  When it was to red I added Burnt Sienna and when it was to white I added a little red until I got the color you see above.

I was jumping up and down because I can participate in the hop!

So enough with the long talking, here is the card I came up with!

Have a Beautiful day

What do you think?  Does my butterfly past the Aqua and Melon test?  I love WATER-COLORING!!!!


close up of butterfly

For the butterfly, I attached the out butterfly to the body using foam adhesive so that the wings would stand out.

For the card base, I just sponged the edges with the Aqua Mist and then I used my mini ink blender tool and bought the softer color towards the center.

I stamped the sentiment and Wala!! My card is complete.

Supplies used:

Winsor & Newton Water ColourCanson Watercolor PaperLife is Beautiful Stamp SetLife is Beautiful DieAqua MistBlending toolclassiccrestsolarwhtie3M Mounting TapeSnail Adhesive

Please let me know what you think.

~Kymona

Gifts for Workshop Members

Today is my fourth workshop with my coworkers.  We have so much fun.  For one hour we get to unwind and relax.  The type of work that we do at the hospital can be overwhelming at times.  This workshop allows us to regroup and go back to work ready for the rest of the day.

I have four faith members and one new member today.  So I decided to give them a small token of my appreciation. I love pencils and they just realized that.  So, I made them toppers for their mini pencils!!!  I love them!  Now, the idea isn’t totally mines.  I saw fellow demonstrator Angie Juda demonstrate this and I knew I had to make some for myself.  So, thank you Angie!  Enough suspense, take a look.

Pencils with Paper Toppers

I just love pencils and these toppers really gives them an edge.  You should try to make one for yourself.  It is very easy.

1. Cut a piece of DSP to 8-1/2 x 3 and fold in half long ways.

2. Use the Fringe scissors to cut the paper starting at the opening side of the paper. Leave about 1/4″ at the top of the paper uncut.  That should be at the fold.

3. Add sticky strip to the 1/4″ piece that isn’t cut.  That should be at the fold.

4. Take the backing of the stick strip off and align the top of the pencil, the silver top of the pencil to the edge of the paper, and roll the pencil on the sticky strip to form the topper.

5. Then you want to add Washi tape to cover up the edges. Push the excess Washi tape into the hole between the paper and the pencil to create a finished look.

6. To finish it off, use your hands to separate the fringes to create a nice full look.

See nice and easy!  If you need photos to help guide you please let me know.  I will provide that for you.

I hope you enjoy making them as much as I enjoyed making them.

Tune in later for pictures from my workshop later.

Supplies use:

1. Sweet Sorbet DSP which is in the Sale-A-Bration catalog.  If you spend, $50 in my online store you can get that set of paper for free.

2. Washi Tape from my local craft store.

3. Staples has the 28 pack of pencils that contain the black pencils as well.  I believe that’s an in store item only.

Fringe Scissors 133325

Fringe Scissors
133325

Sticky Strip 104294

Sticky Strip
104294

Staples Zebra #2 Mechanical Pencils

Staples Zebra #2 Mechanical Pencils


Enjoy!

Signature


Washi Tape Box

Hello, I’m here again with another project for you.  I can’t believe it, I’ve been on a roll with my posting.  I’m so happy about that.  I really have been putting some time aside each day dedicated to blogging and that has helped me stay on track.

Today’s box was made with a non-Stampin’ Up! tool, We R Memory Keepers Gift Bag Tool.  I couldn’t help myself.  I must say it took me five tries to get it right, but I finally got it.  It turned out beautifully to me.  Take a look.

Washi Tape Box Front

Washi Tape Box Left Side

Washi Tape Box Right Side

What do you think?  Leave a comment letting me know.

Supplies used:

Crumb Cake 120953

Crumb Cake
120953

White Baker's Twine 124262

White Baker’s Twine
124262

Jet Black Stazon Pad 101406

Jet Black Stazon Pad
101406


Love You to the Moon 133143

Love You to the Moon
133143

Coastal Cabana 131175

Coastal Cabana
131175

Sticky Strip 104294

Sticky Strip
104294


Stampin' Dimensionals 104430

Stampin’ Dimensionals
104430

Retro Fresh This and That  Washi Tape 133001

Retro Fresh This and That Washi Tape 133001

Stampin' Trimmer 126889

Stampin’ Trimmer
126889


Signature


Love Card Box with Hearts

Today’s card was made for Simon Says Stamp blog challenge that’s all about “HEARTS”!

This week’s challenge is HAVE A HEART!  Just have a heart somewhere on your creation.  Take a look at my card.

Boxed Valentine Clear

I love this card because its not like a typical card you would send someone.  Its clean and simple! No stamping required. The recipient would be super surprised.  I used Stampin’ Up! Real Red and Whisper White Cardstock, Hearts Collection Framelits Dies, Rhinestones and Big Shot Die Thinlits Expressions (retired).

Supplies used:

Real Red CS 102482

Real Red CS
102482

Whisper White CS 100730

Whisper White CS
100730

Hearts Collection Framelits Dies 125599

Hearts Collection Framelits Dies 125599


Basic Rhinestones Jewel Accents 119246

Basic Rhinestones Jewel Accents 119246

Small Heart Punch 117193

Small Heart Punch
117193

Snail Adhesive 104332

Snail Adhesive
104332


Let me know what you think.

Signature

Old and New: Oh Happy Day Box

Today’s gift boxes are for two members of my reading club at work.  They answered a couple of questions correctly and was the first to respond so they get these beautiful boxes.  Today’s gift box was inspired by Angie Juda’s box.  My version of the box was made with some retired DSP, ribbon and inks.  The greeting was made with Stampin’ Up’s new Starburts Sayings and Starburst Framelits Dies.

Oh Happy Day Box Standing

Oh Happy Day Box StripedThe boxes are filled with Dove Milk Chocolates!  I hope they like them.

What do you think?

Signature

Tea Cup and Carrier

Hello everyone,

Did you miss me?  I’ve been busy working on different projects to show you.  This next project is soooo cute!  The idea came from Donna Wicks!  I had so much fun making this tea cup and carrier.  The cups are so small.  I’ve never seen these types of cups so small.  My sister loved the cups so much she begged me for one so she can drink out of it, LOL.  She said they are perfect to give hot chocolate to small one.

Take a look:

Basket one Basket three Basket two

I made these for two ladies in my reading group at work.  These two women have reached their reading goal before December 31 and I thought they deserved a really nice prize.

I will list the supplies used to make this project on my next post.

Please let me know what you think by leaving a comment.

Busy, Busy, Busy

Hello everyone,

It’s been awhile since my last post.  I’ve been so busy with my everyday life that I can’t even begin to tell you, I’ve had no time to post anything.  I finally have everything on a schedule now so you will see more frequent post from me.
for the past couple of weeks I’ve had so many people to thank for so many things.

Take a look at my 2-4-6-8 Thank You Peek-A-Boo Box!  I love this box.  It is so easy to make and put together.  Purple is my favorite color and it gives these boxes such a nice pop.  You can fill these boxes with anything.  The materials used are retired but it doesn’t mean you can’t uses our new in colors to make them as well.


Thank you2-4-6-8 Box

For complete instructions on how to make these boxes please leave me a message below and I would send you the instructions.


I Love Owls!!!!

OMG, I’m so excited about my new 3-D project.  I saw this project at my upline Yvette Sanchez’s meeting two weeks ago and feel in love with it; that I had to make one for myself and you!  Please do not get to excite, wait yes, get super excited.  So here you go:

Owl Gift Box

Tell me this isn’t the cutest Owl you ever saw.  I know that’s what I said.  Paper-crafting is such a wonderful craft.  Look how I transformed a kraft box into a cute, lovable owl with paper, candy and no stamping.  My make and take class at work will learn how to make these in two weeks.

This box can be given out as teacher gifts, students gift, gift for individuals that do not celebrate Halloween traditional or just because it’s so cute! This would put a smile on anyone’s face.  I’m selling these at the craft fair this weekend.

Supplies:

Cardstock: Basic Black (121045), Crumb Cake (120953), and Pumpkin Pie (105117)

Accessories: Decorative Window Gift Box (132146), Scallop Oval Punch (119856), 2-3/8 Scallop Circle Punch (118874), 1-3/8 Circle Punch (119860), Blossom Punch (125603) and Googly Eyes