Happy Holidays and Giveaway!!

Hello everyone!!  I’m here today on the Sweet Stamp Shop sharing another gift packaging.

I’m always looking for different ways to present gifts to people that I care about. I think it gives an added touch to the gift. So thanks to my new blogging friend Nicole from Unity Handmade, who taught me how to make this awesome packaging.

Well today’s gift is for my daughter’s teacher. Teacher’s get so many gifts from their students. Which means teacher’s have to write thank you notes to show their appreciation. So as apart of my daughters gift to her teacher, we included thank you cards.

Now you can just give them the cards wrapped in a nice ribbon or clear box but made a really cute package out of pattern paper that houses the thank you cards.

Take a look:

Happy Holiday 1

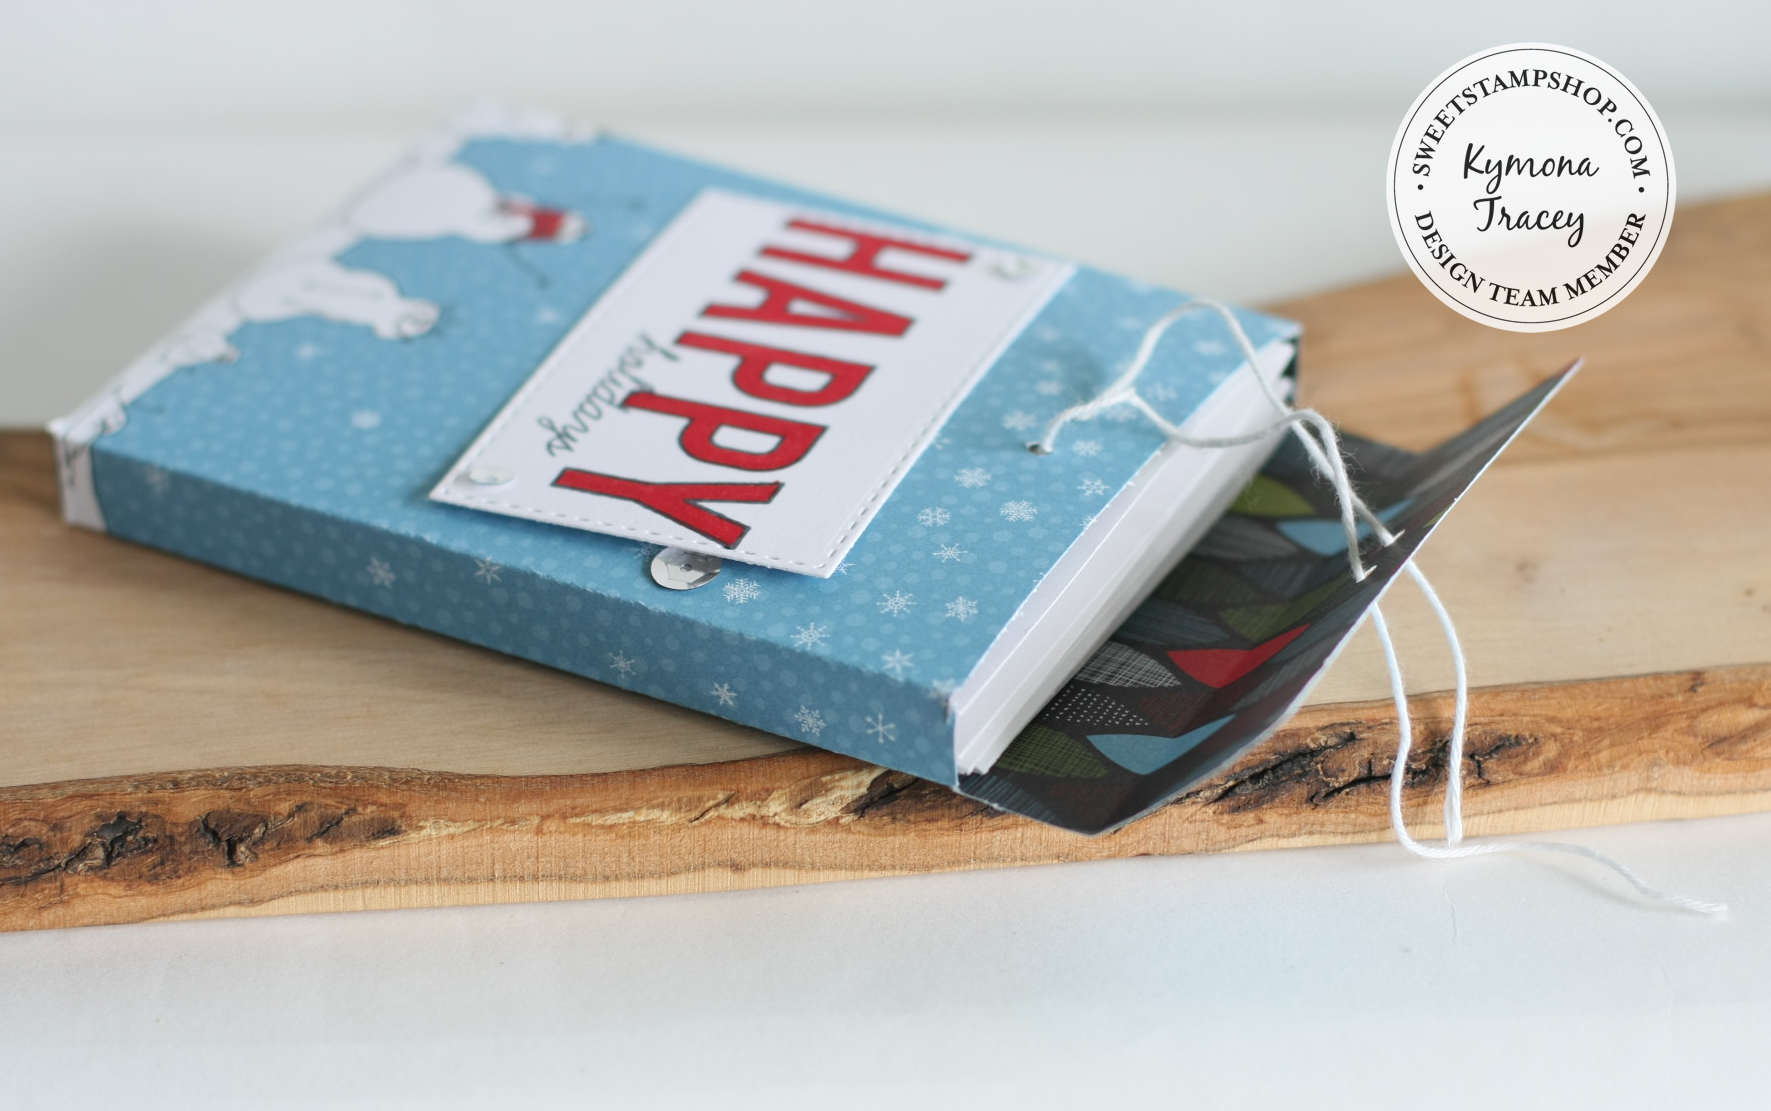
Can you image getting a set of cards in this packaging. I love this little box.

Take a look at the opening:

Happy Holidays Closeure

The thank you cards fit so neatly inside of the box. This box holds 4 cards and envelopes.

Box with cards inside

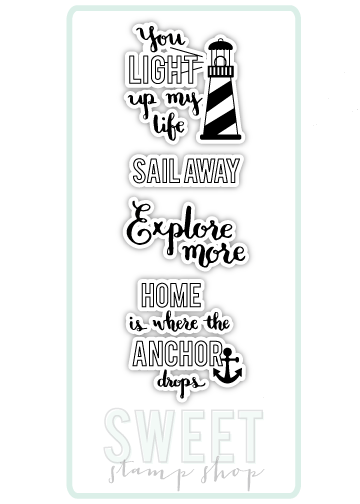
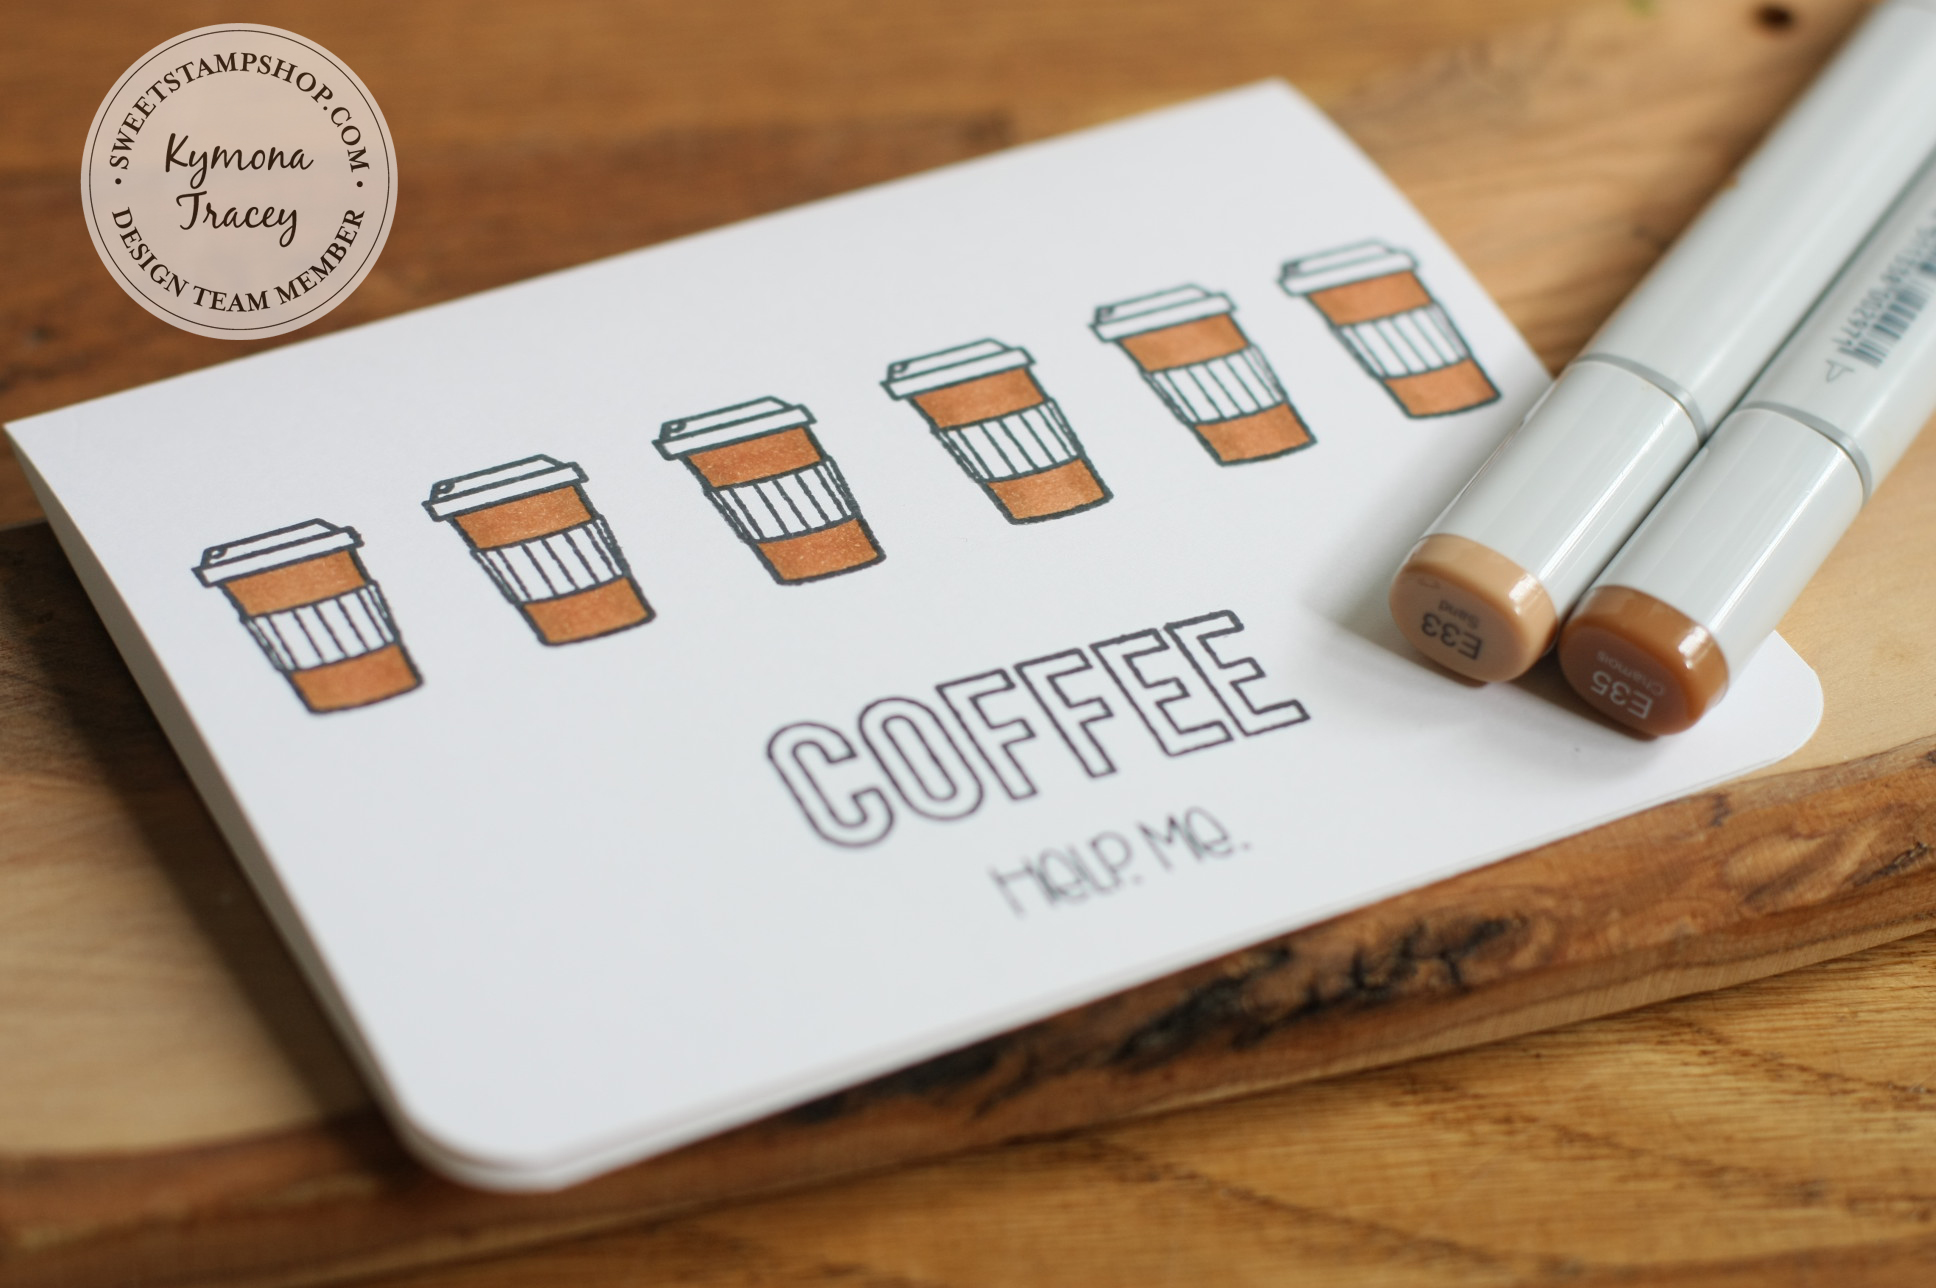
I used the following stamp set to create my box and cards.

Holiday SentimentThank You

Check out the complete set:

box and card copy

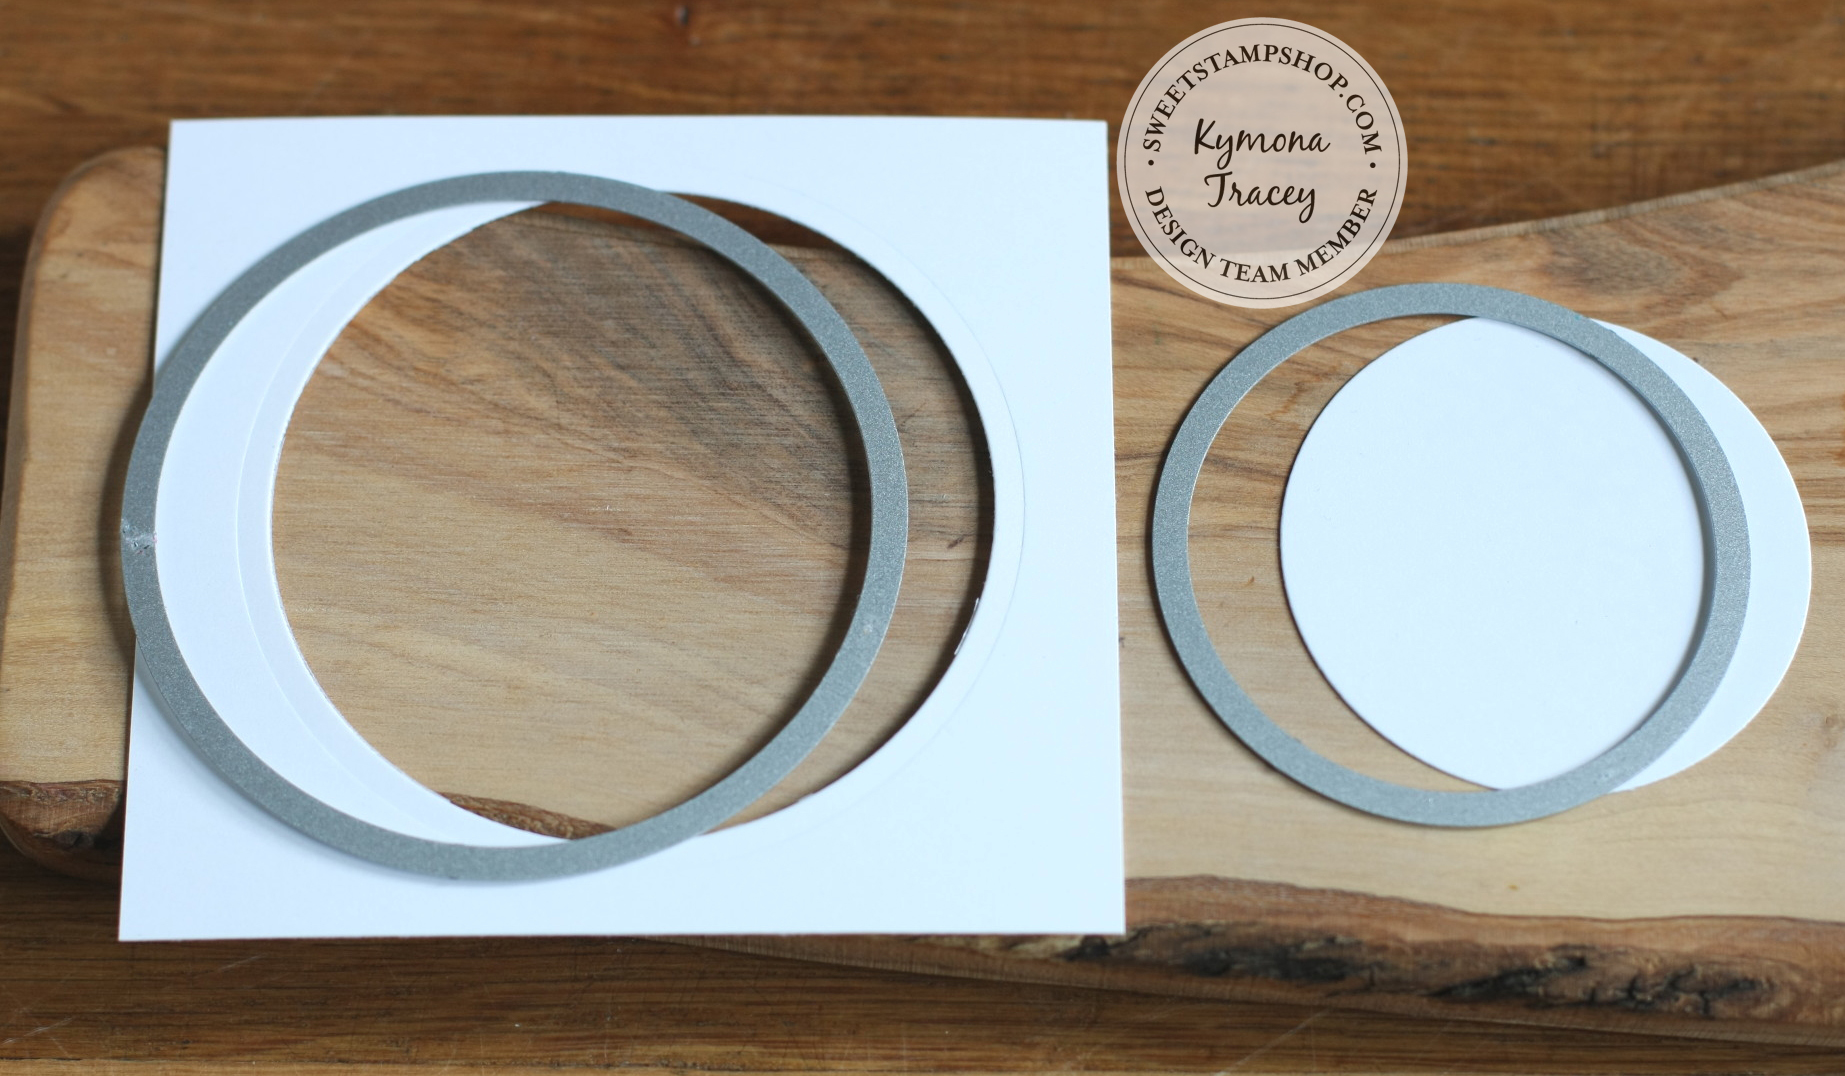
Want to know how I created this gift packaging and cards, please head on over to the Sweet Stamp Shop to get all of the instructions.

So what do you think? Would you like to receive a set like this? If you leave a comment on the Sweet Stamp Shop blog post by 11:45pm EST, I will pick a lucky winner to receive this set, just in time for the holidays.

You don’t want to miss out on this one!!

Supplies used:

Santa & Co. DSPReal Red Stampin MarkerclassiccrestsolarwhtieWhisper White Baker's TwineFrosted Sequins VersaMarkLiquid Platinum

Thank you for stopping by!

~Kymona


Guac Love Shaker Gift Tag!!

Hello everyone!  I’m here today playing with one of the new sets just released from Sweet Stamp Shop called Guac Love!!!

guacloveWhen I first saw this set, I was grinning from ear to ear. Why you ask?  I love Avocado, better know to me as “Pear”!  In Jamaica, WI, we call avocado “Pear”.  In Jamaica, we eat “Pear” for breakfast, lunch and dinner.  We can eat it with other food or simply by itself.

So to get to create something with theses “pears” was super fun for me.

If you’ve been following me lately, you know that I’ve been on this gift tag kick.  Gift tags are so much fun to create.  They are easy to mass produce.

When I saw this set, I know I wanted to create a Christmas Gift Shaker Tag for those that are in love.

Take a look at my tag:

If Loving is wrong

Isn’t this tag cute!  Would your significant other love to see this tag on their gift!!  I know I would!

Here’s how I create it my tag:

1.  I cut my tag using Reverse Confetti Tag Me, Too Confetti Cuts out of Neenah Solar White cardstock and Lawn Fawn Snow Days Pattern Paper.

2. I adhered my pattern paper to the front of one of my cut tags.

3. I used my Stampin’ Up! Circle Die to cut a circle window out of my top tag.

4. I colored my image using Copic Markers.

5. I added a piece of acetate to front tag. Then I added foam adhesive all round the circle.  I added my sequin then adhered the back of the tag to close it up.

6. I added Stampin’ Up! retired Whisper White Sweater Ribbon to finish off my tag.

Soooo, what do you think? Let me know, I would love to hear from you.

Supplies used:

TagMeToo1 classiccrestsolarwhtieLawn Fawn Snow Day PaperCircles Framelits DieCopic MarkersWhite Sweater Ribbon

Thank you so much for stopping by!!

~Kymona

Thank you in Different Languages

Hello everyone!!  I’m here today on the Sweet Stamp Shop blog.  I have more gift packaging ideas for you!!!

Who doesn’t love getting gifts in pretty packaging? I know I sure do. There are times when I get gifts and do not want to open them because the wrapping is so pretty. Isn’t that crazy. I know it is but what can I say. LOL!!

I facilitate a reading group for 21 of my coworkers at a big hospital in the city. This reading group is based on an honor system. The reading year starts January 1 and ends December 31. All of the participates chooses what their reading goal will be for the year and they try their best to met their goal by December 31. I do not pick any books except my own. Everyone chooses their own books. All they have to do is give me the name and author of the book. I enter the information onto a spreadsheet. That spreadsheet is update often and sent out once a month to all of the participants.

I have to say since the start of this group 3 years ago, my department has read over 1000 books. So to reward everyone for participating I usually do giveaways, give out special gifts to individuals who go beyond their goal and I also give gifts just because.

So, today I bring you three gift boxes that say thank you in different languages for three of my coworkers who really have met their goal before the end of the year.

Take a look at my first box:

Grazie

Take a look at my second box:

Merci box

Take a look at my third box:

Thank you box

There are many different ways to use these boxes:

1. You use them as place setting for each of your guest. Instead of thank you, put their name.

2. You could give them as thank you gifts for sharing Thanksgiving with you.

3. If you have children, you could make one for each of their teachers to say thank you before they go out on Thanksgiving break.

4. You could change the colors and make a bunch of these boxes for Christmas for teachers, students, coworkers, friend or family members.

The possibilities are endless and that’s because I used one of the Sweet Stamp Sets that is so versatile.

That set is:

Thank-You-

I love this set because it allows me to say thank you in different languages, so that I can personalize my gifts. You can also use it all year round, now that is a set I need on my desk all the time!

Now take a look at all of my boxes together:

Thanks in Different languages

Don’t you just love them!! Do you think my coworkers will love them too? I sure hope so!!

Check out Sweet Stamp Shop blog for details on how to create these boxes.

Let me know what you think!!

Thank you for stopping by!

~Kymona

Panda Love…

Second Post for the day

If your looking for CS Take It Make It Challenge click here


Hello everyone!!  I’m here today with the Sweet Stamp Shop and one of their new release stamp set.  I love the panda line.  They are so cute and cuddly.  How can you not want to know more about Panda’s.

I used this set to create my card:

Pho YouI paired it with this stamp set:

Fall Leaves

In doing my research about panda’s I learned a couple of things:

1. A panda mother is 900 times bigger than her newborn cub. 

2. Female pandas ovulate only once a year.  They are fertile only two or three days of the year.

Once I learned these facts, it was easy to create my card.  I knew I wanted to use the big panda (mother) and the small panda (baby) to along with those facts!!

Take a look at my card:

Thankful Pandas

I wanted to show the love between the two pandas.  The mother panda is thankful for her one cub.  Having a baby is really a hit or miss for the female pandas.  So to have a cub is all about love.

Take a look at how big the mother panda is to her cub.  She towers over her cub.  Such a great protector.

So now you know the reason behind the design but this is how I created it:

1. I cut my card base to an A2 size card (4.25 x 5.50)

2.  I used Mama Elephant Femme Frames to cut out my frames from Lawn Fawn Sweater Weather patten paper and vellum.

3.  I used the circle die from Lawn Fawn Stitched Party Banner Die to cut out a circle from the LF Sweater Weather paper that had lines and hearts.

4. I fussy cut my pandas out and adhered them to the lined paper.

5. I used Stampin’ Up! Banners Framelits Die to cut out my small banners from the same pattern paper.

6. I offset the two banners and adhered them down with adhesive.

7. I added Lawn Fawn Orchid Single Cord to match the colors of my card.

8. I thought I was done, but I felt my card was missing something.  So, I added some Pink Sherbet Skittles for added interest.

So now you know more about panda’s and how to create this card!!  What do you think?

Don’t you want to create your own panda cards?  Well head on over to the Sweet Stamp Shop and pick up your panda sets before they sell out.

Supplies used:

Pho YouFEMME_FRAMES-CC_large Sweater Weather Petite Paper Pack Stitched Party Banners Banners Framelits Die Pink Sherbet Fall LeavesOrchid Lawn Trimmings

Thank you for stopping by!

~Kymona

Back to the Basics!!

Hello everyone!  I’m here today with the Sweet Stamp Shop!!  Have you seen their latest sets of stamps?  OMG!  They are all so cute.  The planner stamps are to die for!!  I can’t wait to get mines.  They keep selling out before I can place my order.  I’ve become a stalker of their site, lol!!!

Soooo, while I wait for those stamps to come in, I’ve decided that I wanted to create a card using a stamp set that I’ve never used before.  Like I said in a previous post, I find myself buying stamps and other craft stuff that I never have a chance to use.

I’ve decided to start creating cards with stamp sets that I’ve never used before.  Here is the stamp set:

Sail Away Sayings

For this card, I decided that I wanted to back to the basics of card-making!! Yes, all the way to the simple stuff that will have beginners saying Wow and you didn’t do much.

Remember those days?  I do, any and everything impressed me.  What about you?

Take a look at my sweet and simple card:

You Light up my Life copy

This is how I created this card:

1. I cut my card base to 4.50 x 9, scored at 4.50, which created a 4.50 x 4.50 card size.

2. I cut my front panel to 4.25 x 4.25.

3. I used my circles die to cut out the big circle and the smaller circle.

circles copy

4. I stamped my image on the smaller circle with Memento Tuxedo Ink used my Copic Marker Y06 to color the light bulb and the letters. I added Clear Wink of Stella to the colored yellows.

5. I adhered my card panel to the card base with foam adhesive.

6. I adhered the smaller circle inside the bigger circle with foam adhesive as well.

7. I added some Sunshine Yellow Skittles for a pop of color.

Anyone could make this card.  It’s not to complex for beginners and those that have been crafting for a while can make this card effortlessly.

Supplies used:

Copic Marker Y06 Circles Framelits Die Wink of Stella clearSunshine Yellow Memento Black Ink

Don’t forget to join Sweet Stamp Shop on Facebook.  You do not want to miss out on all of the events they have going on, on November 4th, 2014 at 8am PST.   They are releasing some awesome stamp sets, be the first to know.

November Release

Thank you for stopping by!!

~Kymona


Happy World Card Day!!!

Hello everyone!!  I’m here with Sweet Stamp Shop for World Card Day!  They have great deal going on at their shop today.

They early released on of their latest stamp set:

Monster Mash

Monster Mash

I LOVE this stamp set!!!  It is cool, funny, and super sweet!!

Take a look at the card I made for today:

Monster 2

Tell me this stamp set isn’t the cutest thing you’ve ever seen!!  The possibility are endless with this set.  I’ve made a couple of cards using this set.  I can’t wait to show them off to you!!

GUESS WHAT!! The Sweet Stamp Shop has a deal that you don’t want to miss out on.

If you make ANY purchase in the Sweet Stamp Shop this weekend, and leave this in the comment section: FREEBIE…they will email you an extra Monster!!!! 

Extra Monster DigiNow that’s a deal!!!  So head on over to the shop and pick up your Monster Mash stamp set or another set you would like.  Don’t forget to say FREEBIE in the comment section!

Supplies used:

Monster MashSSS Khaki cardstockclassiccrestsolarwhtieDoodlebug Design Take Note Pattern PaperBitty Banner FramelitMy Mind's Eye Enamel Dots Basic Rhinestones Jewel AccentsCopic Anniversary

Thank you so much for stopping by!

~Kymona

Coffee, Help Me…

Hello everyone!! Happy Fall!!  Can you believe the summer is official over.  That went by super fast.  Before you know it, we are celebrating Thanksgiving and Christmas.  Time isn’t waiting for anyone.

Today I’m here with a cute card using Sweet Stamp Shop Stamps!!  The September release was packed with a bunch of great stamp sets.  Since its Monday morning I wanted to use the Coffee Town Stamp set.  The majority of my coworkers need their coffee before they can speak to anyone so I decided to make a card inspired by them.

Take a look at my card:

Coffee Cup

Staying with my Clean and Simple theme, I wanted to make sure there was enough white space as possible.  The card is a simple one layer card that is very easy to reproduce.

1. I stamped the coffee cups image from Sweet Stamp Coffee Town 6 times using Memento Tuxedo Black Ink, to stretch the width of the card.

2. I used my Copic Markers E33 and E35 to color the base of the cup.

Coffee cups close up

3. Then I used Copic colors R20, R24, YR04, YR07, Y02, Y06,G02, G07, B02 and B05 to color the cup holder.

Coffee Cup with Copics

4. I colored the word COFFEE with the same colors as the cup base. I added some Wink of Stella to the cup holders and the word COFFEE.  Add Stampin’ Up! Early Expresso Bakers Twine, rounded the corners and then I was done.

Coffee cup up close

Clean and Simple: Lots of white space + Free of clutter + Not complicated to create, Simple!

So are you one of those individuals that need to have your coffee before you could start your workday?  If so let me know! I would love to hear from you. I’m a tea girl.

Before I go I have such great news for you.  The Sweet Stamp Shop is about to release their new On Cherry Street Kit called Day to Day!

Day To Day Kit

This kit debuts on September 25, 2014!!  Be sure to grab your kit, that stamp set and papers are so cute!!

Supplies used:

Coffee TownFishyCopic MarkersEarly Expresso Bakers TwineMemento Black Ink

Thanks for stopping by!

~Kymona