Your Next Stamp DT Dare – Square Cards

Hello everyone!!  I’m here today with Your Next Stamp and our DT Dare!!!

What is a DT Dare you ask? It’s a fun monthly challenge for the YNS design team to show case more fabulous projects using the new release products!!

YNS-DARE-Badge

Fun right!!

Wait there is more!!  If you leave a comment on the YNS blog post you could Win a YNS Stamp Set of your choice!!! 

Exciting right!!  It sure is for me!!

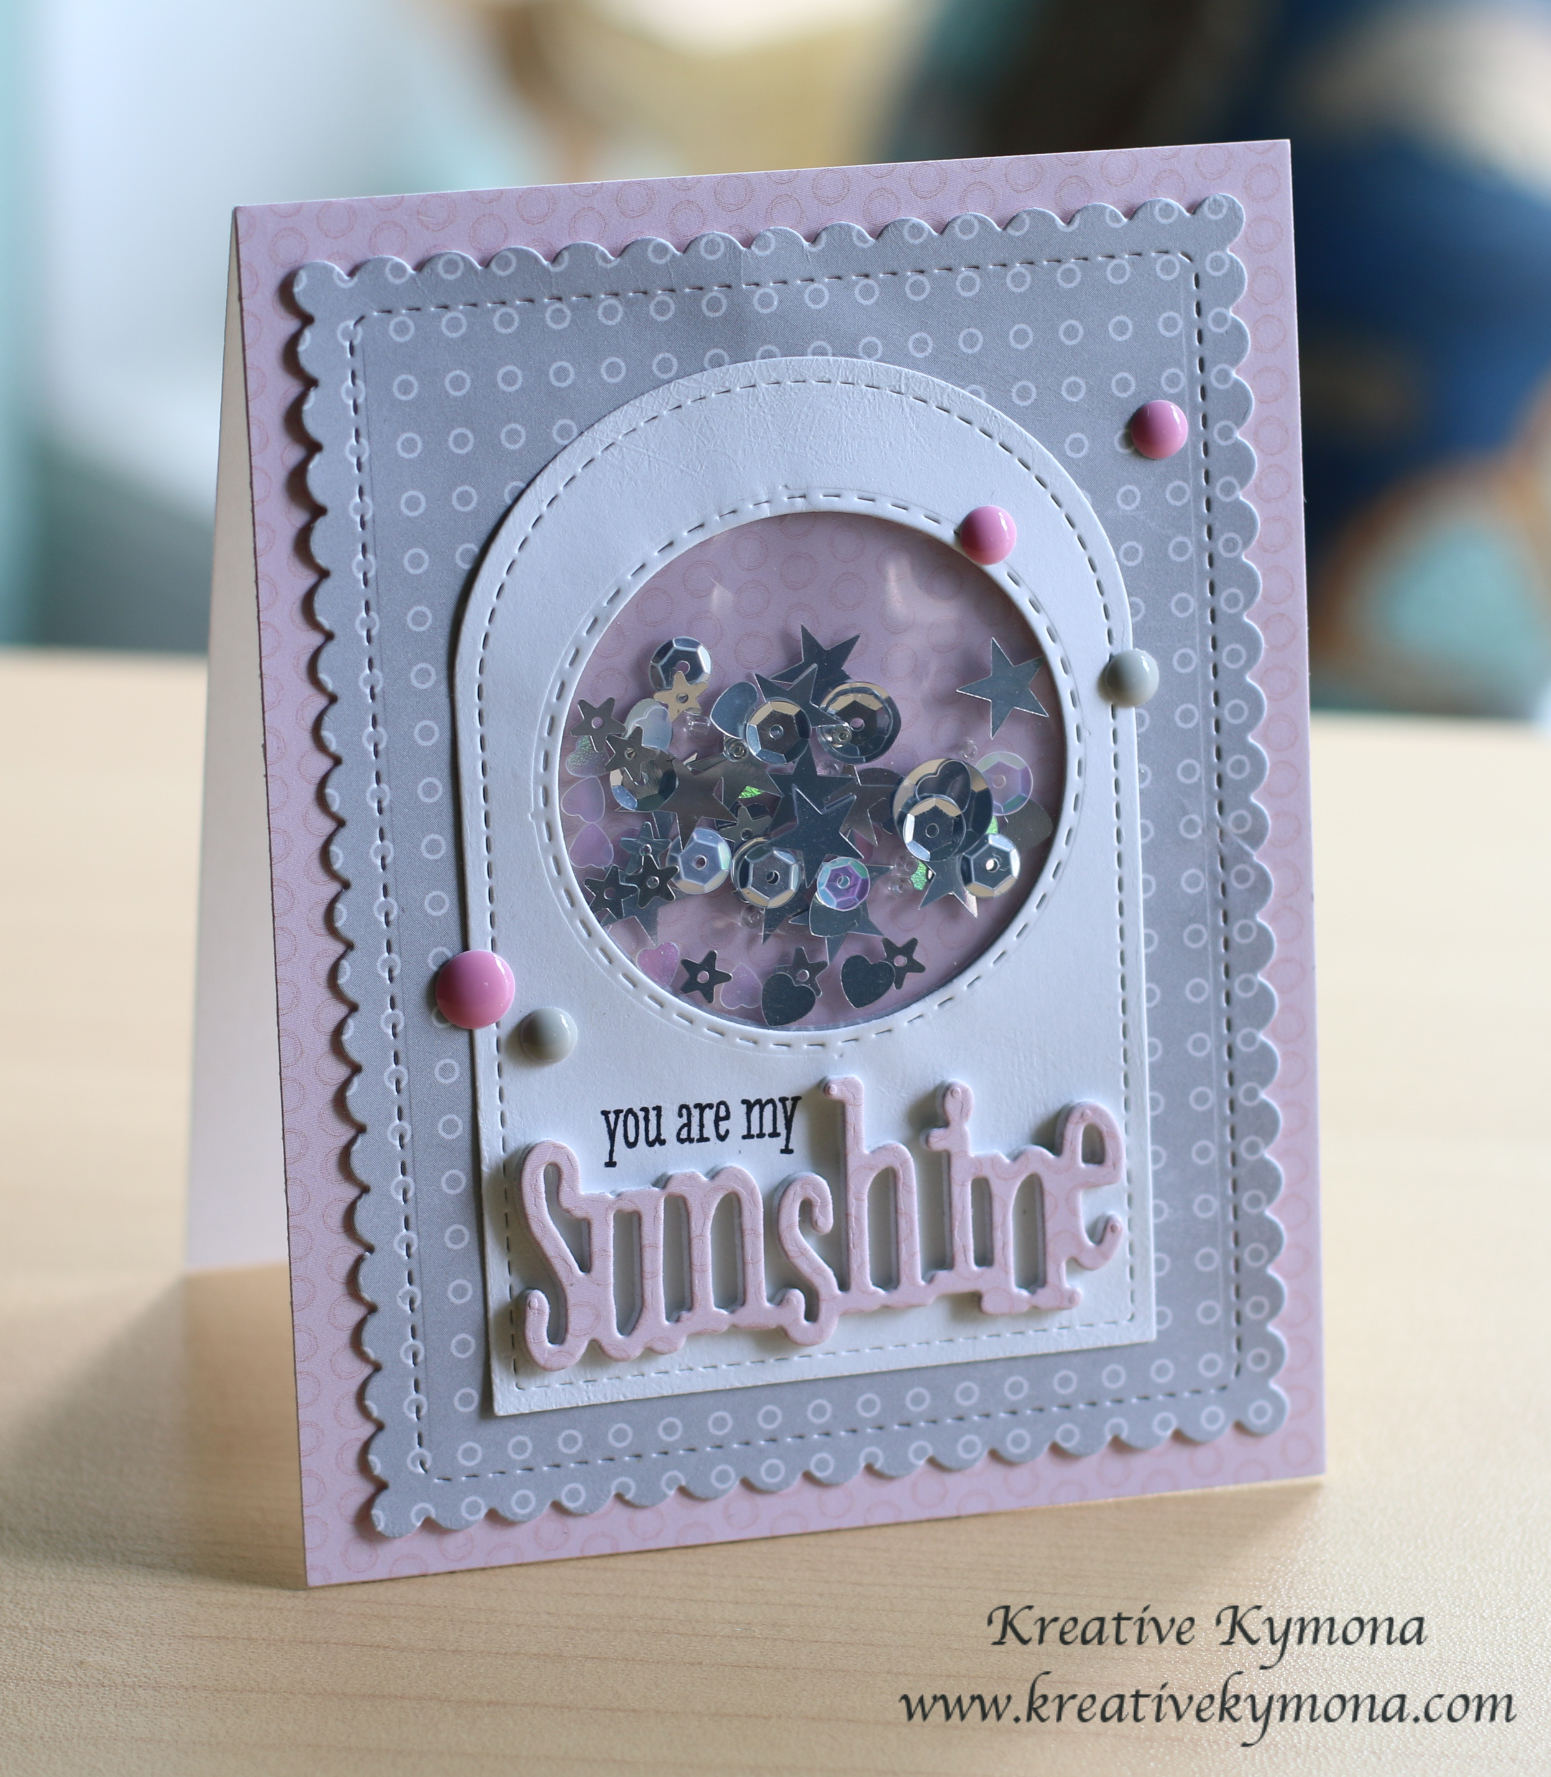
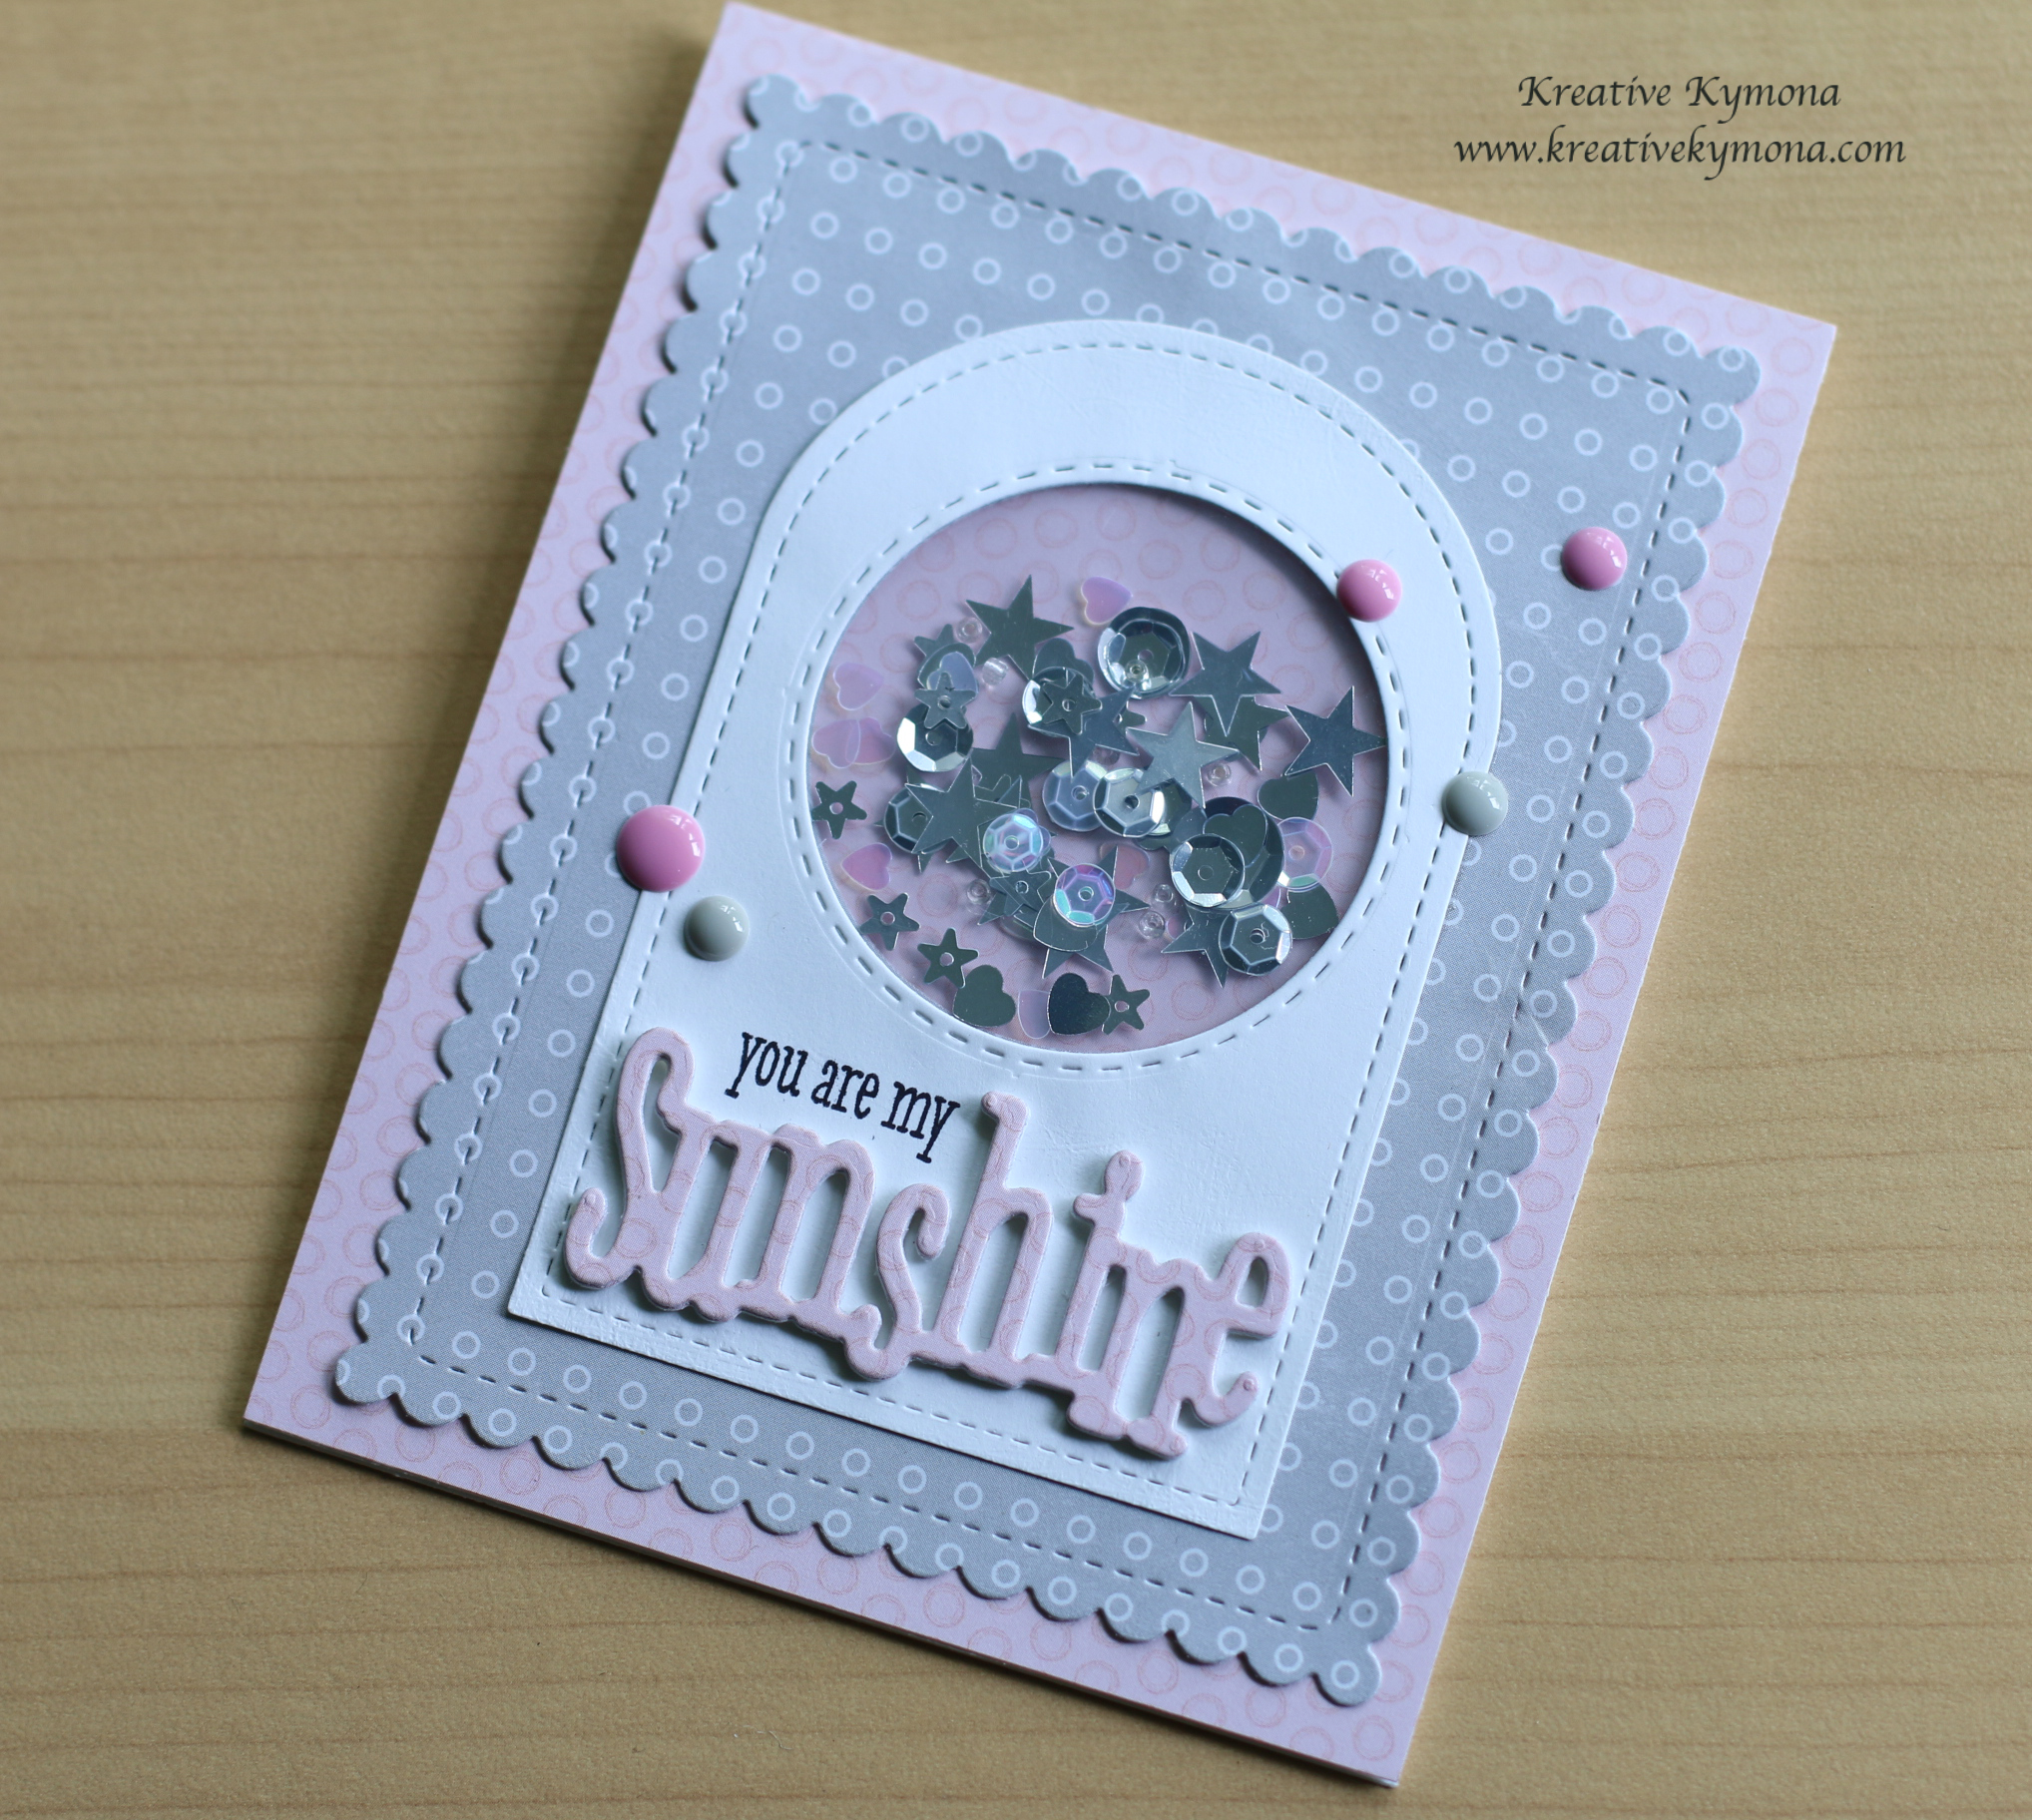
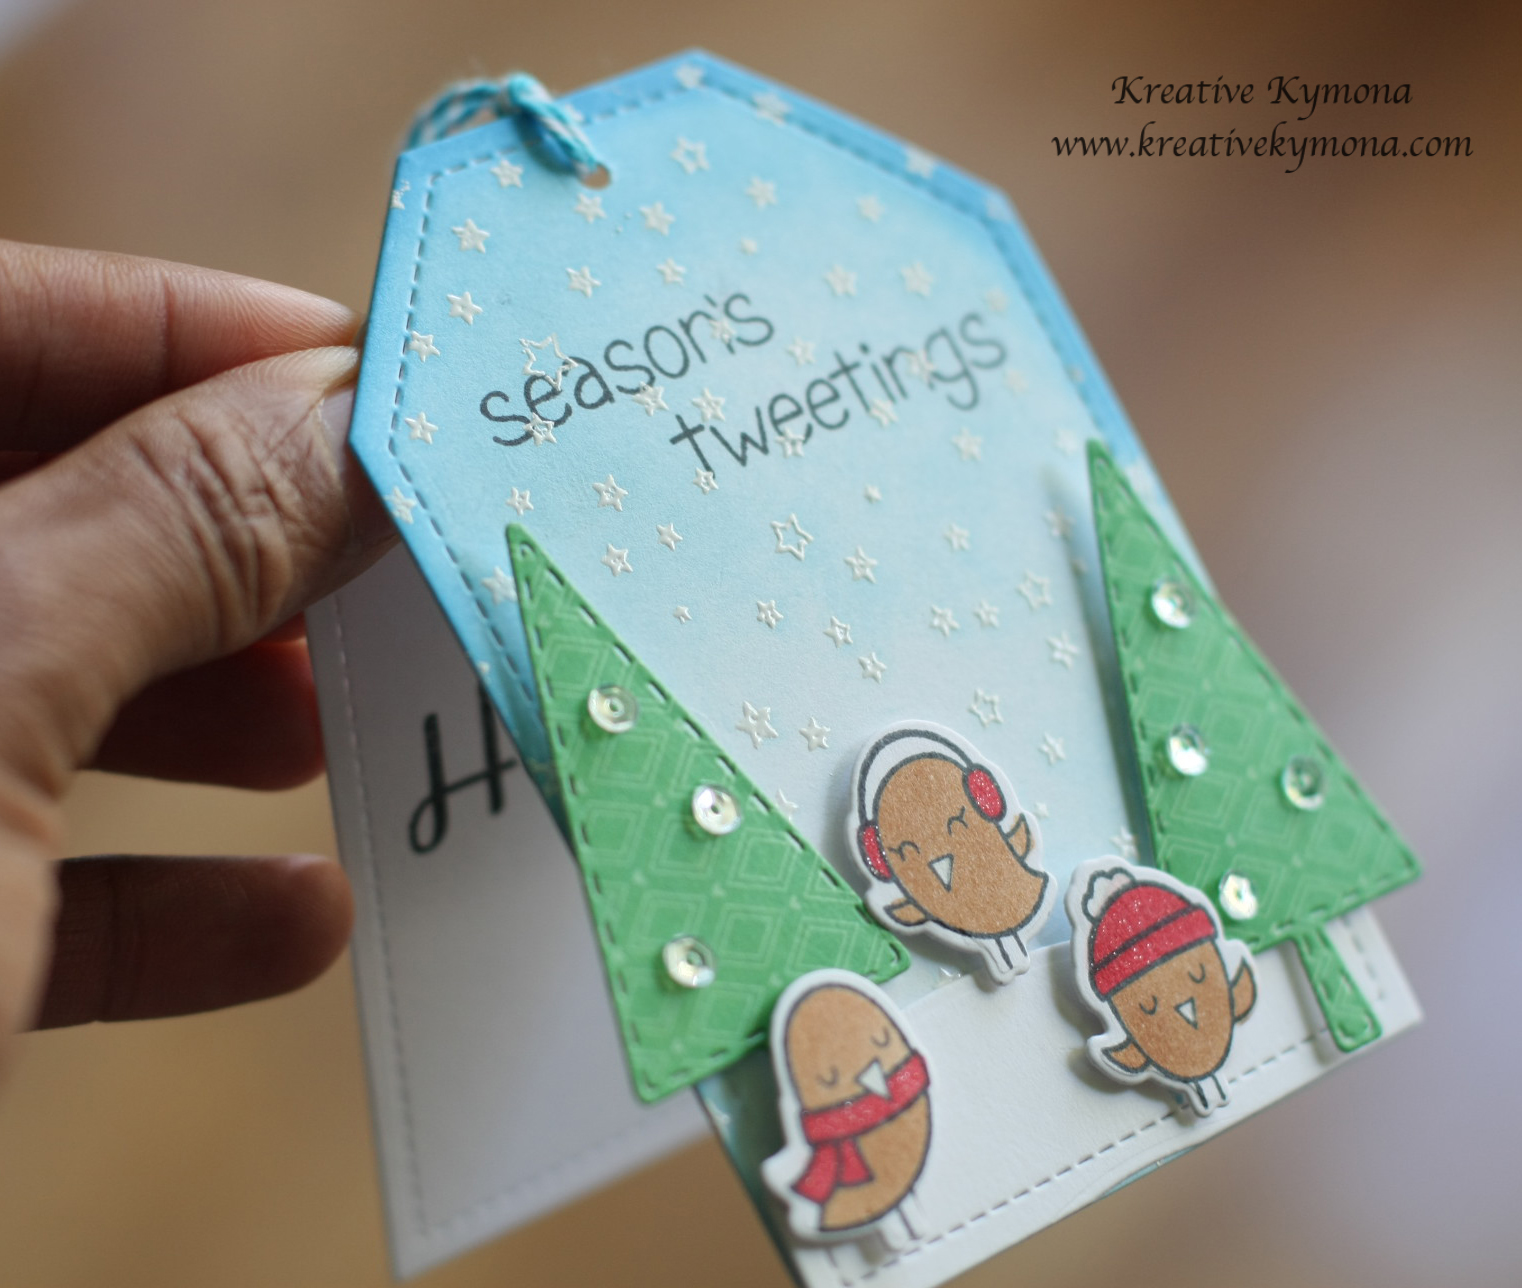
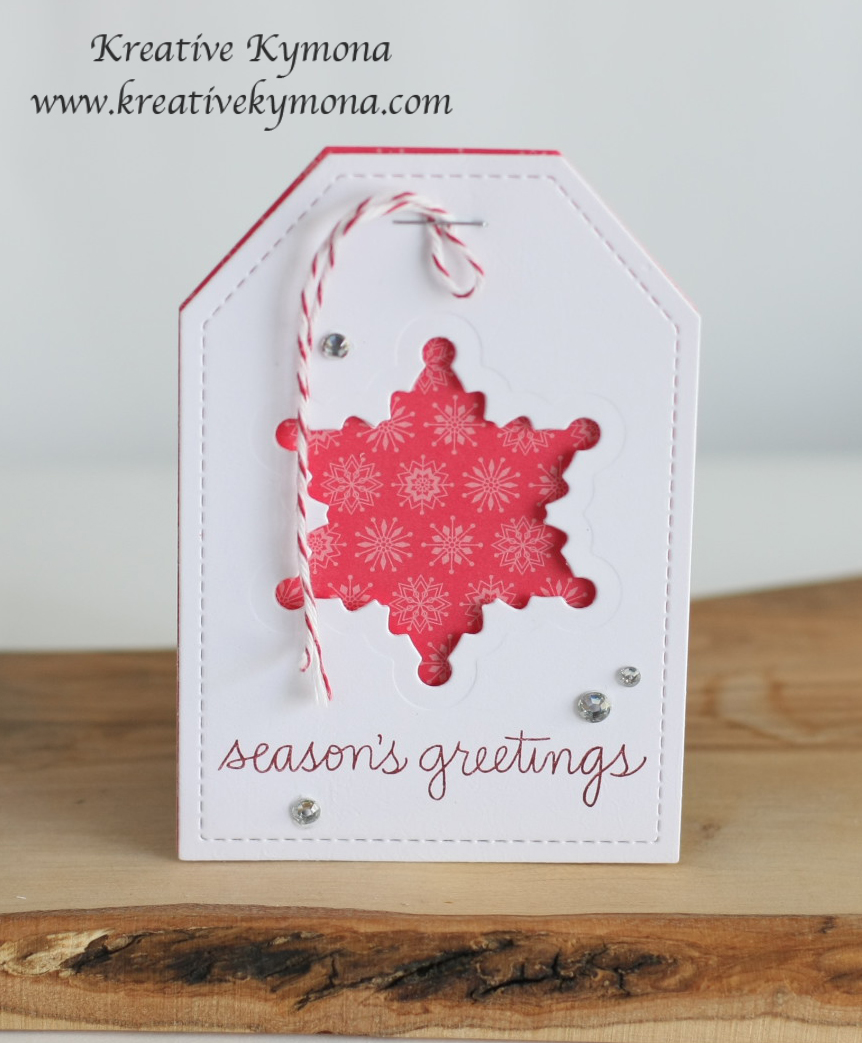
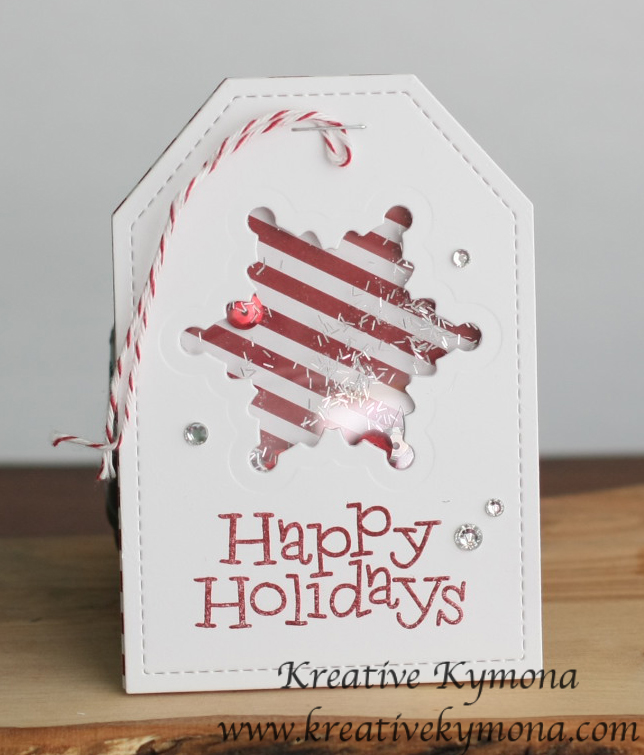
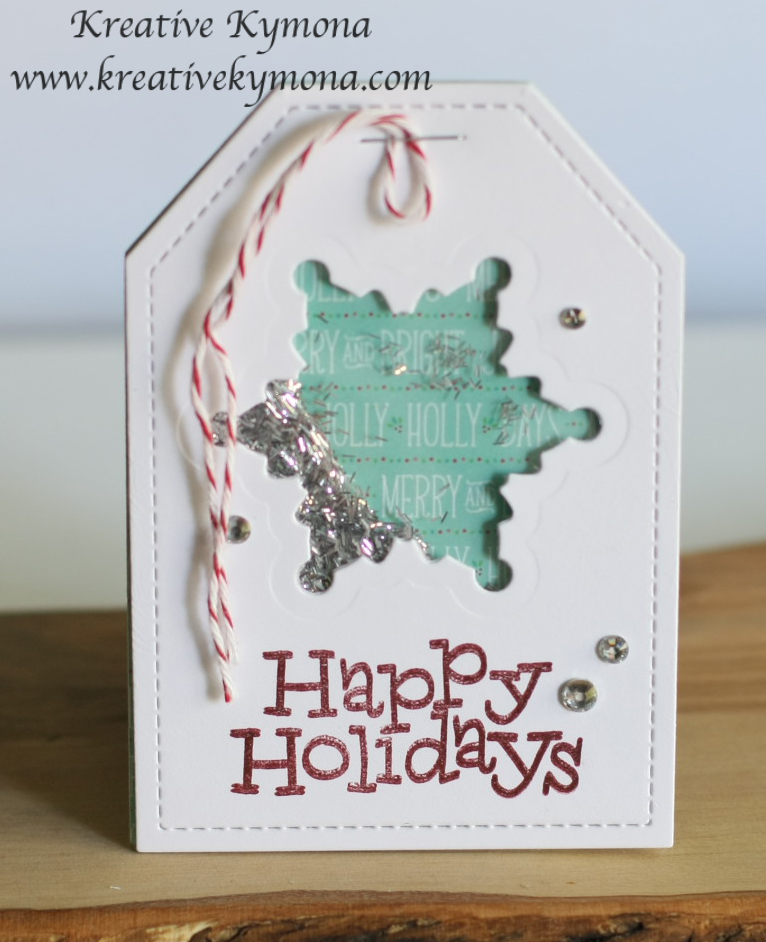
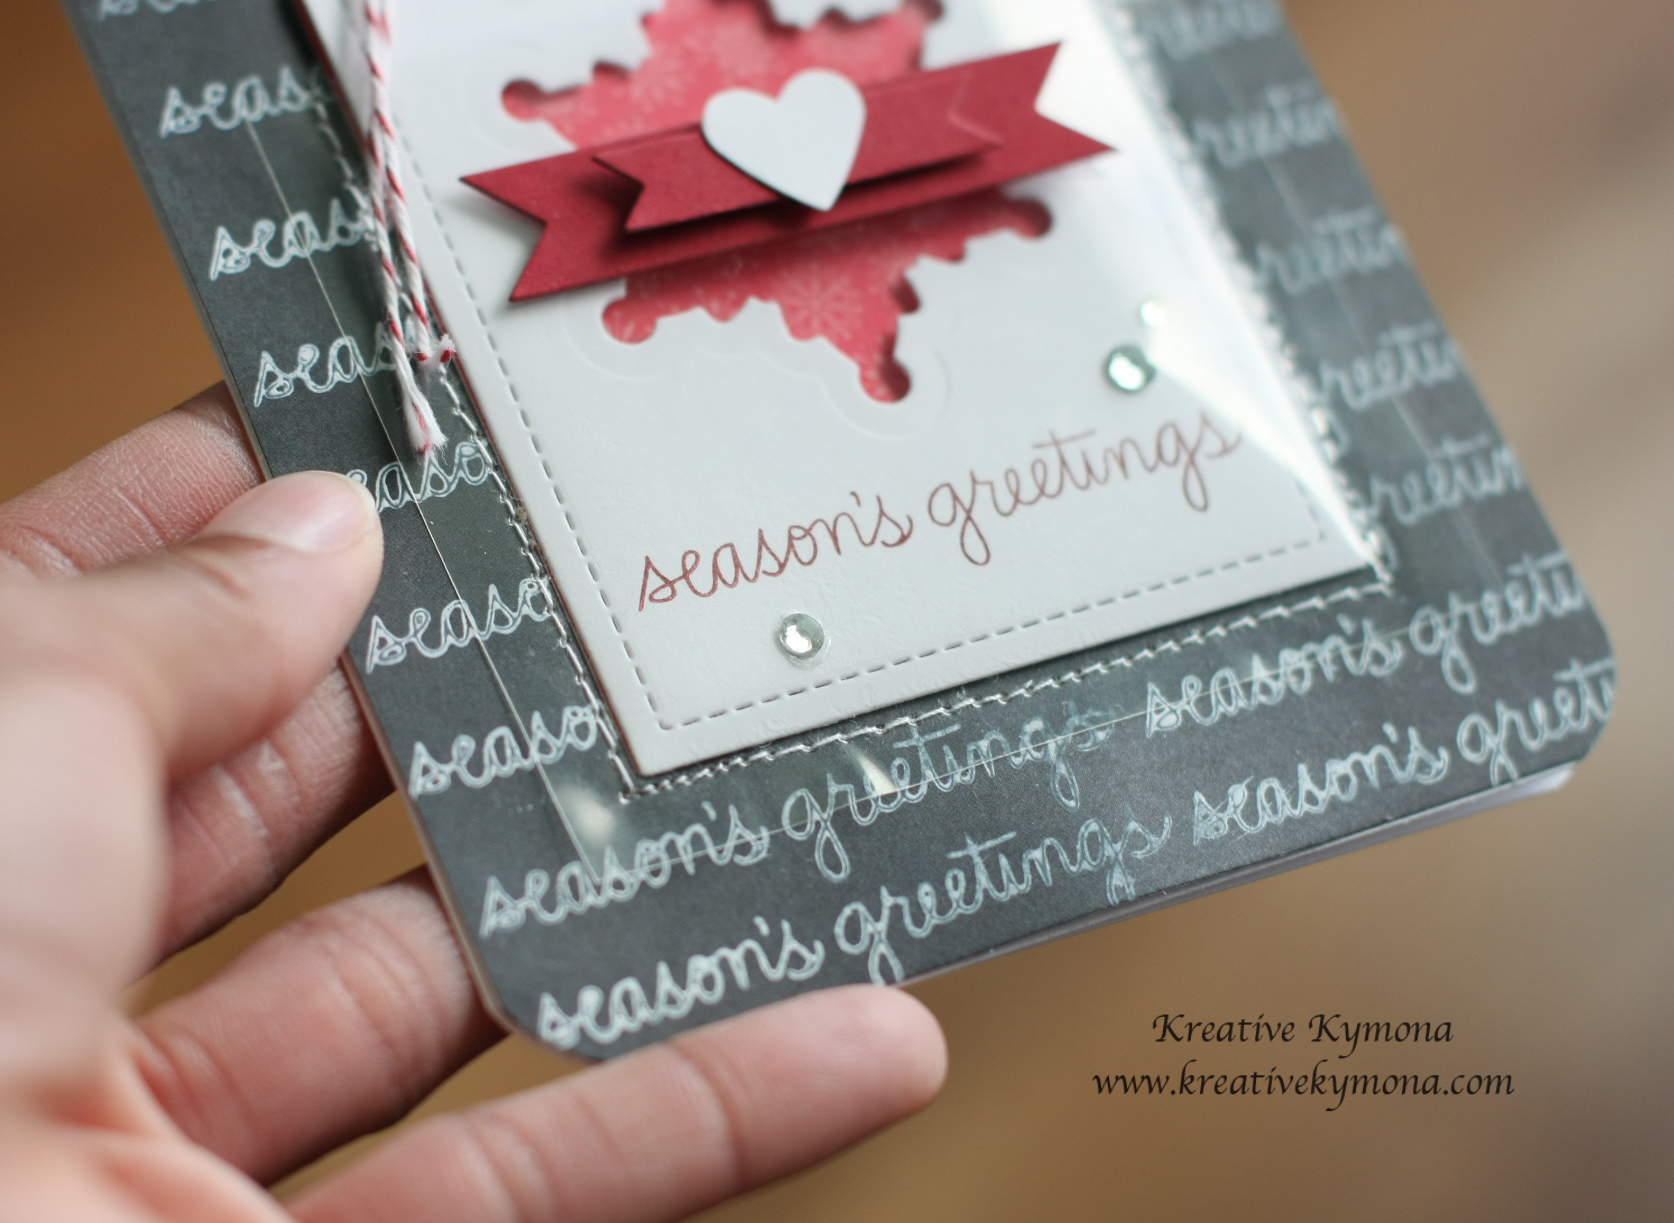
The DT Dare Challenge this month is Square Cards!!  The design team was asked to create a project using one of the new stamp sets from the October release.  I went with the my favorite stamp set from this month’s release called Merry Christmas Chickie stamp set for my project.

Take a look at my project:

merry-christmas-chickie-yns

YNS Supplies: Merry Christmas Chickie

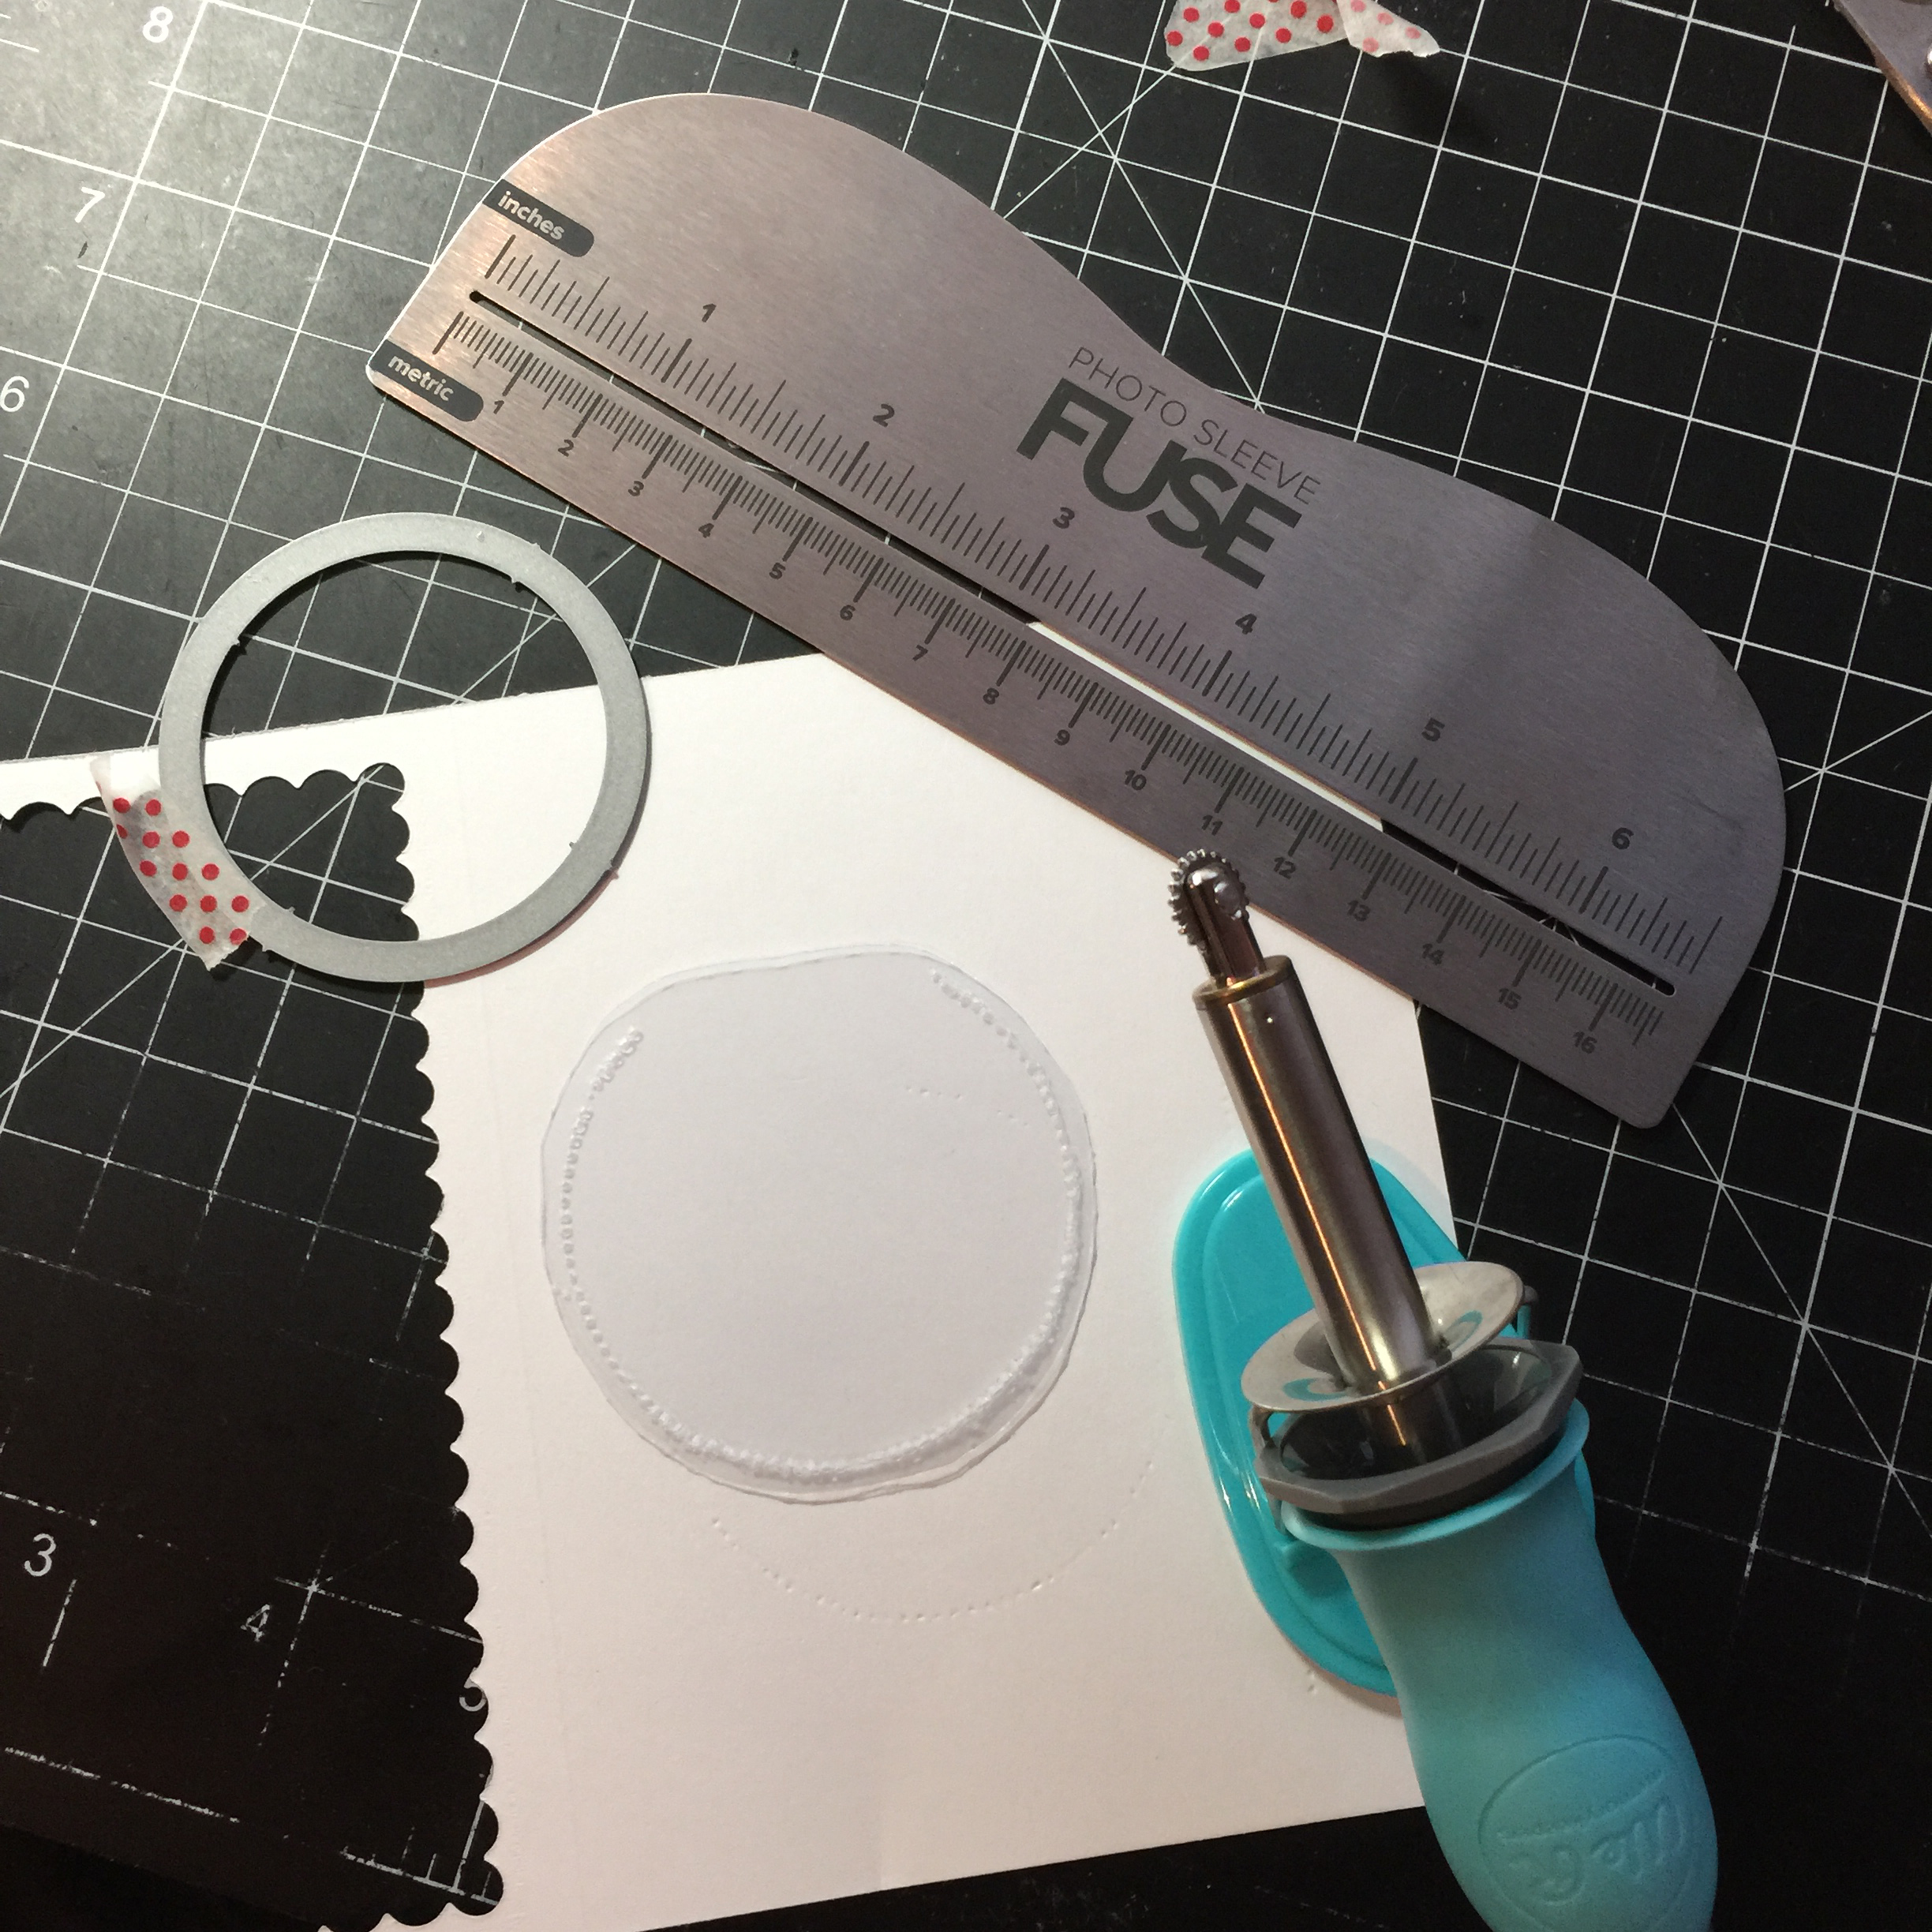
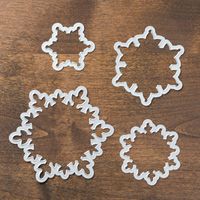
Other Supplies: Bristol Smooth Paper,Colorbox Archival Wicked Dye Ink, Snowdrift Shaker Selection by Lucy (discontinued) same as Falling Snow Sparkly Shaker, Bo Bonny Altitude Paper pad (discontinued), We R Memory Keepers Fuse Tool, We R Memory Keepers Photo Sleeves, Fun Foam, Mama Elephant (new die), Tombow Irojiten Vivid Coloring Pencils

What do you think?  Let me know below.

Super simple and easy.

So tell me what you think of this challenge? I would love to know, let me know below!

Don’t forget we have Blog Candy for you!!  If you leave a comment on the YNS blog today you have a chance of winning the blog candy.

DTDare2candy-547x232

Thank you so much!

~Kymona

Your Next Stamp June Feature Day

Hello everyone!!!  I’ here today with another YNS creation to inspire you and a chance to win a stamp set of your choice!!

On the 22nd of the month, YNS Design Team creates more samples featuring YNS products and shares them with all of you!!

The super duper awesome part of it all besides our awesome samples, you could win a stamp set of your choice!!  Now how super cool is that!!

Scroll to the bottom to find out how!!

This month we are focusing on the color “Yellow”!!  The DT created projects using the color yellow on them.

Now take a look at the card I created to inspire you:

Cheers (YNS)

YNS Supplies: Fancy Cheers Die, Stripe-tastic Star Die Set

Other Supplies: Lucy Abrams Lemon Sherbet Sparkly Shaker, Recollection Heavyweight White Cardstock, We R Memory Keepers Fuse Tool, Avery Elle Storage Pockets, 3M Foam Tape

What do you think?  Let me know below.

Now on to that prize!!

DTDare2candy-547x232

All you have to do is leave a comment on the YNS blog by June 24th for a chance to WIN a YNS stamp set of your choice!!  Super simple and easy!!  You will get to see my fellow DT’s projects as well.

So head on over, you don’t want to miss this one!!

Thanks for stopping by!

~Kymona

Your Next Stamp DT Dare – A Few Of My Favorite Things

Hello everyone!!  I’m here today with Your Next Stamp and our DT Dare!!!

What is a DT Dare you ask? It’s a fun monthly challenge for the YNS design team to show case more fabulous projects using the new release products!!

YNS-DARE-Badge

Fun right!!

Wait there is more!!  If you leave a comment on the YNS blog post you could Win a YNS Stamp Set of your choice!!! 

Exciting right!!  It sure is for me!!

The DT Dare Challenge this month is A Few Of My Favorite Things!!  The design team was asked to create a project using one of the new stamp sets from the December release.

Take a look at my card:

Happy New Year Shaker (YNS)

YNS: Happy 2016 Stamp Set

Other supplies: Stampin’ Up! Gold Embossing Powder, Lucy Abrams Gold Dust Sparkly Shaker, Versamark, We R Memory Keepers Fuse Tool Bundle

Shaker cards are one of my favorite things for 2015!!!  They are so much fun and the receiver has fun playing with them.  Some of my other favorite things are CAS cards, gumdrops, the color purple and sequins!!

This card is no different.  Its a full size card for the new year.  I wanted it to be CAS but with some flair!!!

The new year calls for gold so I used Stampin’ Up!gold embossing powder to create this card.  I used Lucy Abrams Gold Dust Sparkly Shaker Sequins for the flair.  I created a shaker pocket using my fuse tool. Super easy and fun.

What do you think?  Please let me know below.

Super simple and easy.

So tell me what you think of this challenge? I would love to know, let me know below!

Don’t forget to head on over to the Your Next Stamp Store to take advantage of the online discount code below and save an extra 20% on everything in the store!!

Don’t forget we have Blog Candy for you!!  If you leave a comment on the YNS blog today you have a chance of winning the blog candy.

DTDare2candy-547x232

Supplies used:

Happy 2016  SU Gold Embossing PowderGold Dustfuse bundleVersamark

Thank you so much for stopping by!

~Kymona

Get Sketchy Challenge

Hello everyone!!  First let me say thank you to all of you for your well wishes for my dad.  We have a long way to go but day by day, we are getting there.  Please continue to pray for him.

While he slept last night, I had a chance to play with some of my craft stuff.  The week before he took sick, I received a lot of WPlus9 goodies that I haven’t had a chance to play with.  So I decided to play along with their Get Sketchy With Joni #1 Challenge.

JoniSketch1Take a look at my card:

You are my sunshine

Oh man did I have fun creating this card.  I knew I had to be fast because my dad is dead set on going back to work.  He use to work nights so when 11pm comes he jumps up to go to work so we have to be prepared to stop him.

So, I need to make a card that didn’t require all of my time.  So I decided to make a shaker card and use my We R Memory Keepers Fuse!!

I bought my Fuse some months back from HSN when they had the bundle for a great price.

I’m not sure why I bought it, maybe the price was right but in any case, I’m glad I bought it.

So last night, I opened the package an started to play.

Take a look:

Fuse at work

Jennifer McGuire used her fuse to create a shaker card and I knew I wanted to give it a try.  Check out my circle that was created using one of the photo sleeves that came with my fuse.

I used my circle die as a guide to fuse the plastic together.

Check out my shaker pocket after I add my Star Shine sequin from Lucy’s Card Little Things Collection.

IMG_2829

OMG, super easy and fun.  Now I know what I can create as my dad sleeps.  I will have to create some more.

For the rest of my card:

1. I used Studio Calico’s May Card Kit pattern paper to create the rest of my card.

2. I cut the pattern paper using Wplus9 Sunshine Layers Die to create my card panels.

3. My tag was created using Pretty Pink Posh Stitched Duo 3 Die and Simon Says Stamp Stitched Circle.

4. I used the 3rd biggest circle die to cut a circle in the tag and the gray pattern paper.

5. I added my shaker pouch in between the tags die and the gray pattern paper with Tombow Extreme adhesive.

6. I die cut the Sunshine sentiment out the pink pattern paper 4 times and adhered them together with Tombow Multipurpose adhesive.

7. I stamped the sentiment from WPlus9 Sending Sunshine right above the Sunshine die cut in My Favorite Things Hybrid Ink.

8. I added Doodlebug Design Birthday Girl Sprinkles to my card front to finish my card off.

Take another look:

You are my sunshine2

I love how this card turned out and I finished in time before my father woke up!!  Yayyyy!

It felt good to craft again.

So what do you think? I love how this card turned out turned out.

Let me know what you think below.

I’m also linking my card up to Virginia’s View Challenge.

Layers and Dimensions

Supplies use:

fuse bundleStar Shine May Card Kit Sunshine DieStitched Duo 3 Die Stitiched CircleTombow XtremeTombow Multi-Purpose AdhesiveDoodlebug Sprinkles Birthday Girl

Thank you so much for stopping by!

~Kymona

Guac Love Shaker Gift Tag!!

Hello everyone!  I’m here today playing with one of the new sets just released from Sweet Stamp Shop called Guac Love!!!

guacloveWhen I first saw this set, I was grinning from ear to ear. Why you ask?  I love Avocado, better know to me as “Pear”!  In Jamaica, WI, we call avocado “Pear”.  In Jamaica, we eat “Pear” for breakfast, lunch and dinner.  We can eat it with other food or simply by itself.

So to get to create something with theses “pears” was super fun for me.

If you’ve been following me lately, you know that I’ve been on this gift tag kick.  Gift tags are so much fun to create.  They are easy to mass produce.

When I saw this set, I know I wanted to create a Christmas Gift Shaker Tag for those that are in love.

Take a look at my tag:

If Loving is wrong

Isn’t this tag cute!  Would your significant other love to see this tag on their gift!!  I know I would!

Here’s how I create it my tag:

1.  I cut my tag using Reverse Confetti Tag Me, Too Confetti Cuts out of Neenah Solar White cardstock and Lawn Fawn Snow Days Pattern Paper.

2. I adhered my pattern paper to the front of one of my cut tags.

3. I used my Stampin’ Up! Circle Die to cut a circle window out of my top tag.

4. I colored my image using Copic Markers.

5. I added a piece of acetate to front tag. Then I added foam adhesive all round the circle.  I added my sequin then adhered the back of the tag to close it up.

6. I added Stampin’ Up! retired Whisper White Sweater Ribbon to finish off my tag.

Soooo, what do you think? Let me know, I would love to hear from you.

Supplies used:

TagMeToo1 classiccrestsolarwhtieLawn Fawn Snow Day PaperCircles Framelits DieCopic MarkersWhite Sweater Ribbon

Thank you so much for stopping by!!

~Kymona

Holiday Card Workshop Day 5

Hello everyone!!  I’m here today to post my homework from my new Online Card Class!!  The new class is Holiday Card Workshop!!  I’m so excited about this class.

So, I’m starting with day 5 because I haven’t had a chance to start any of my cards until yesterday which happen to be DAY 5!!

Day 5 just happen to be Gift Tags!!  Gift tags are so much fun and nothing gives a wrapped gift a finishing touch like a gift tag.

Today we learned how to make three different tags:

1. Gift Card Tag by Kristina Werner

2. 2-in-1 Tag and Card by Laura Sterckx

3. Window Tags by Yana Smakula (my favorite)

All of the lessons taught today were simple amazing.  I truly learned a lot and will share my creations with you.

1. Let’s begin with my take on Kristina’s gift card tag:

Gift Card TagIsn’t this gift card holder tag the cutest!!  I didn’t punch a hole in the tag yet because I’m not sure how I want to use it.

Gift card tag close upTake a look at that closure!  Kristina taught us how to create that.  I thought that was the amazing part of this gift card tag.

I didn’t add a gift card inside yet, because I’m not sure who I’m going to give this tag too.

Now on to the next tag!

2. Here is my take on Laura’s 2-n-1 gift tag and card:

2-n-1 gift card tag

I’m so proud of my tag!  This is the first time I built a sense using my stamps and dies.  I’ve always been afraid to try for fear of messing up, but I really enjoyed creating this.

2-n-1 gift card tag insideHere is the inside of my tag, that now can be a card!!  Love it!!

2-n-1g gift card tag openThis is what the tag looks like on the side!

Now on to my favorite of the three!!

Yana taught us how to create three different window cards from: easy, medium, hard!

1. This is my take on Yana’s Window tags:

Easy Tag first:

Window TagThis was an easy window tag to reproduce.  I love how pretty it looks just as it is.

2. Medium tag:

Window Tag MediumThis tag is a step up from the first tag.  All I did was add foam tape and some pattern paper.

3. Hard tag:

Window Tag hard

This tag is now a shaker tag!!  Yayyy!  (Don’t mind my small camera lens behind the tag.)

Here is an extra:

Extra Tag

How cute are these tags!!

Now take a look at my card with the Medium tag:

Window Tag Card

I love the chalkboard look!! Do you?

How cute is this!!!!!!! I love this lesson.  My mind is 100 miles per hour on what I can create next, using these ideas.

Take a closer look at my card front:

Window Tag Card closeup stitch

Yes, that is thread on my card.  Can you believe you that?  Yes, I used my little sewing machine with the help of my daughter and stitched that window sheet on my card.

Now look at my complete package:

Window Tag Set

Yayyyy!!!  I love this set!  I can’t wait to make more.  I might use this set as a giveaway!!  I love it and want to share it!

I can’t wait to share the rest of the days with you.

Supplies used:

Gift Card Tag

Be JoyfulChristmas TagableHero Arts Unicorn Pigment InkLawn Fawn Snow Day PaperCherry CobblerCherry Cobler Bakers TwineHero Arts White Embossing Powder


2-n-1 Tag and Card

Winter Sparrows Winter Sparrows Lawn Cuts Stitched Duo 1 Dies Starry BackdropsVersaMarkLine Shaped DiesCopic MarkersStitched Slopes and HillsTumble Glass Distress InkSalty Ocean Distress InkPretty Pink Posh clear 3M Mounting TapeBig Holiday Wishes


Window Tag and Card:

Stitched Duo 1 Dies Lawn Fawn Snow Day PaperFestive Flurry dies SSS Be JoyfulCherry Cobbler InkBasic Rhinestones Jewel AccentsCherry Cobbler Baker's TwineCherry CobblerBitty Banner FramelitMy Minds Eye Chalk StudioItty Bitty Accents Punch PackSewing MachineWindow Sheets3M Mounting Tape

Thank you so much for stopping by!

~Kymona