Second Post
If your looking for the Top Dog Dies Baby Shower Invite post, click here
Hello everyone! I’m here today with a new challenge that I’m participating in and its called the Same but Different Challenge #6!!
![]() Francine from 1001 CARTES and Anja from Little Butterfly Creations are the co-owners of this challenge and I have to tell you they are super fabulous at card making. Their use of color is totally amazing. I love seeing their cards. Such inspiration!!
Francine from 1001 CARTES and Anja from Little Butterfly Creations are the co-owners of this challenge and I have to tell you they are super fabulous at card making. Their use of color is totally amazing. I love seeing their cards. Such inspiration!!
I first discovered this challenge a couple of months back when they first started, but I couldn’t participate, because I didn’t have the stamp set that Francine and Anja used. I have it now, LOL!!
So, I’ve been dying to give this challenge a try so I put forth the effort to get the butterfly die that they used.
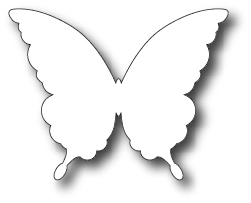
Lets take a look at the die we are using for this challenge. They are using the “Chrissy Butterfly” from Simon Says Stamp:

When I looked on Simon Says Stamp website, I couldn’t find that die. I reached out to Francine to let her know that I can’t find that die but that I did find a die that was very similar but it had a different name. I found the Paulina Butterfly Die. Francine said that was fine, its the same die just a bit bigger. Yayyy!!
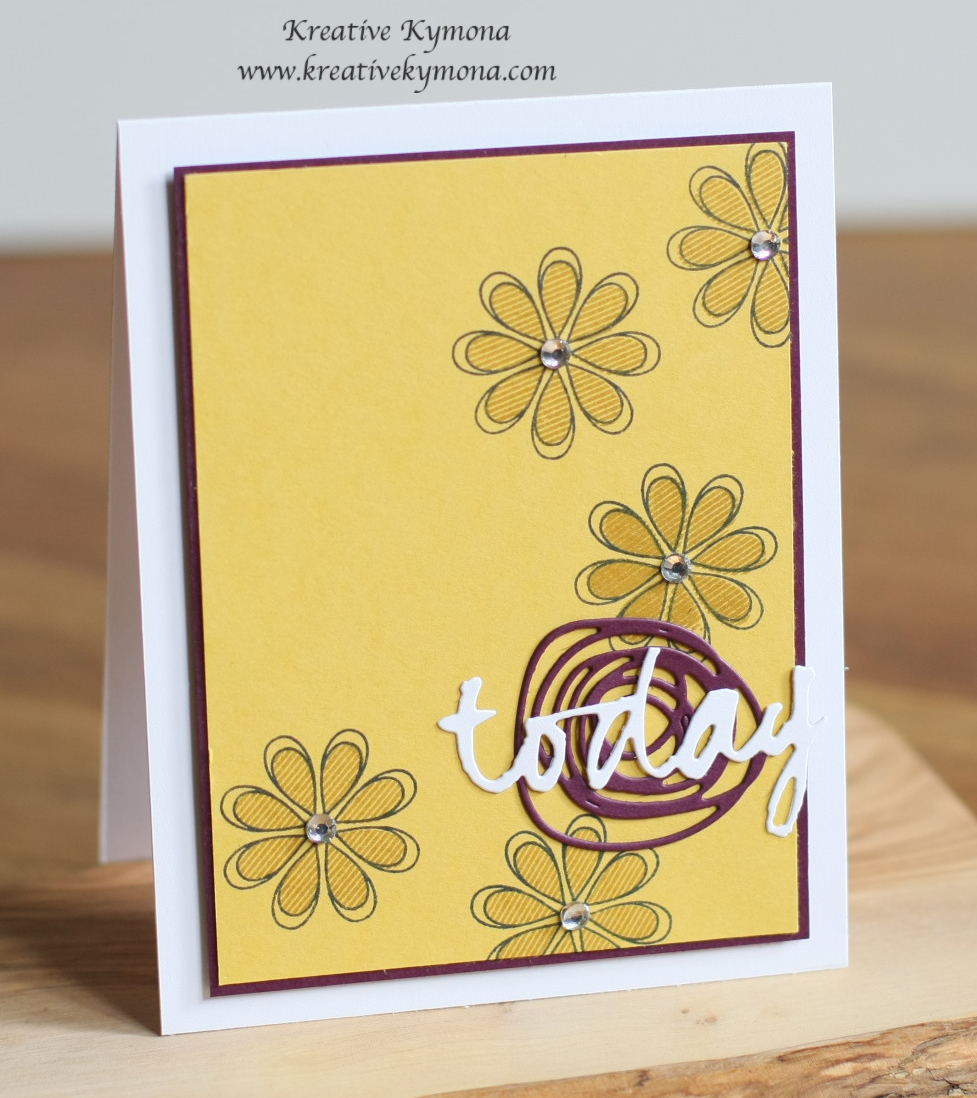
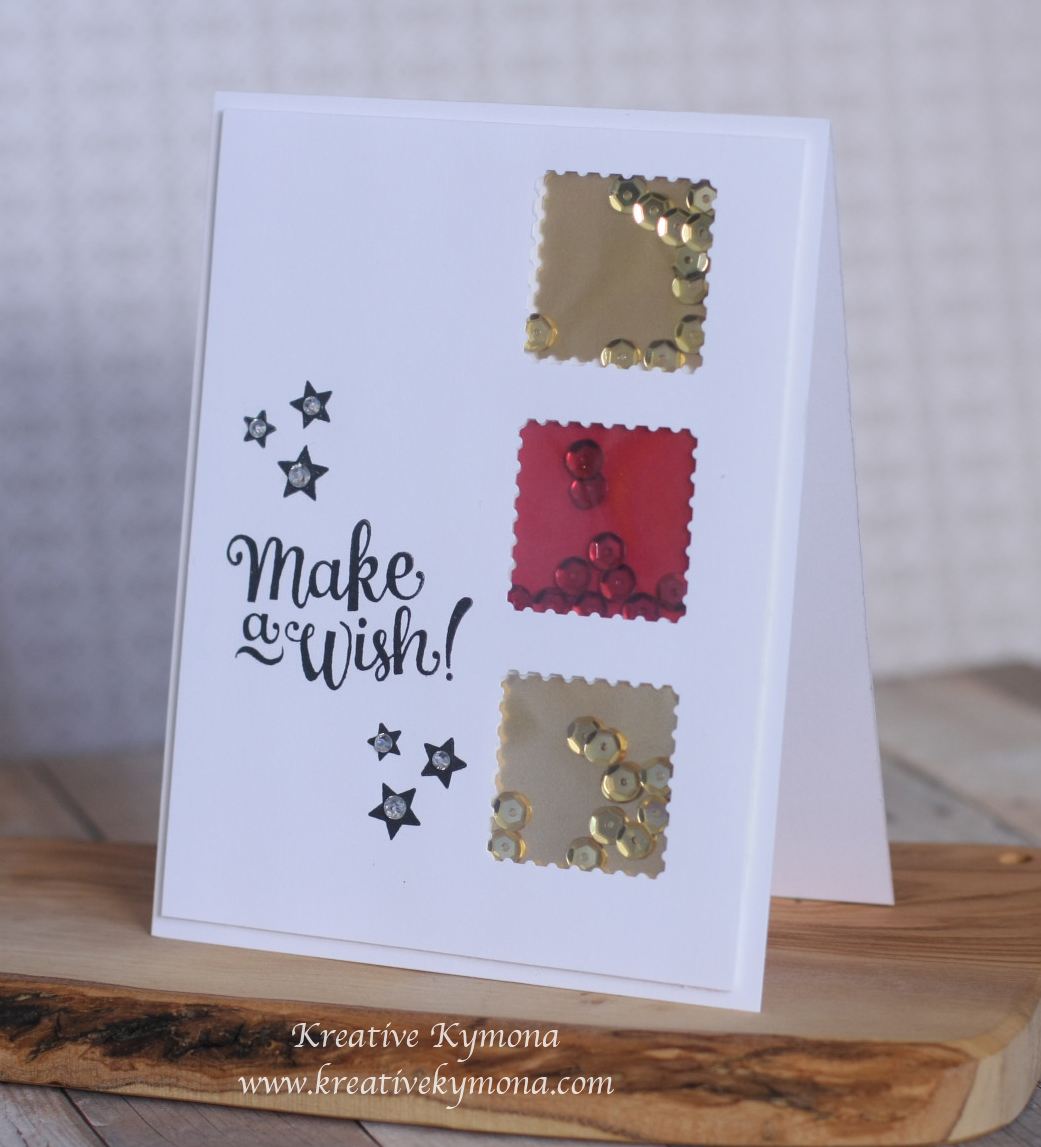
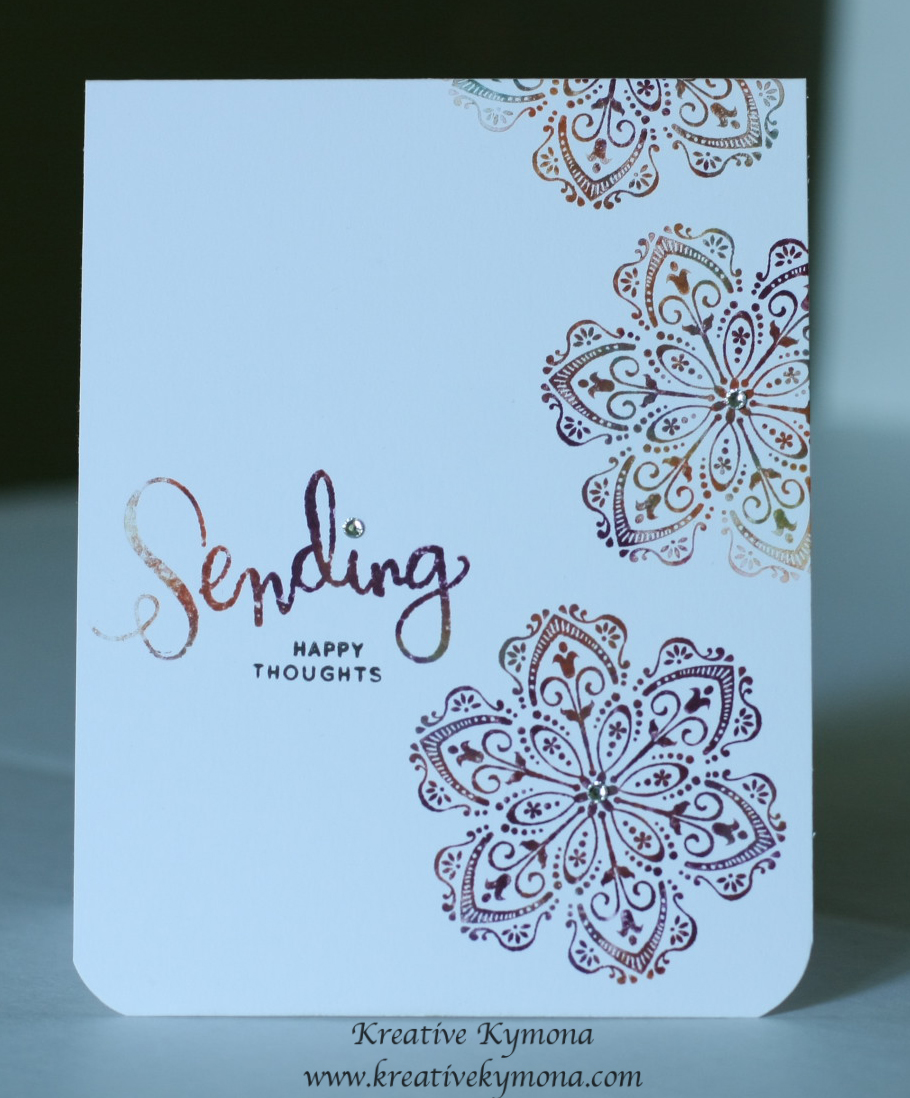
Now take a look at my card:
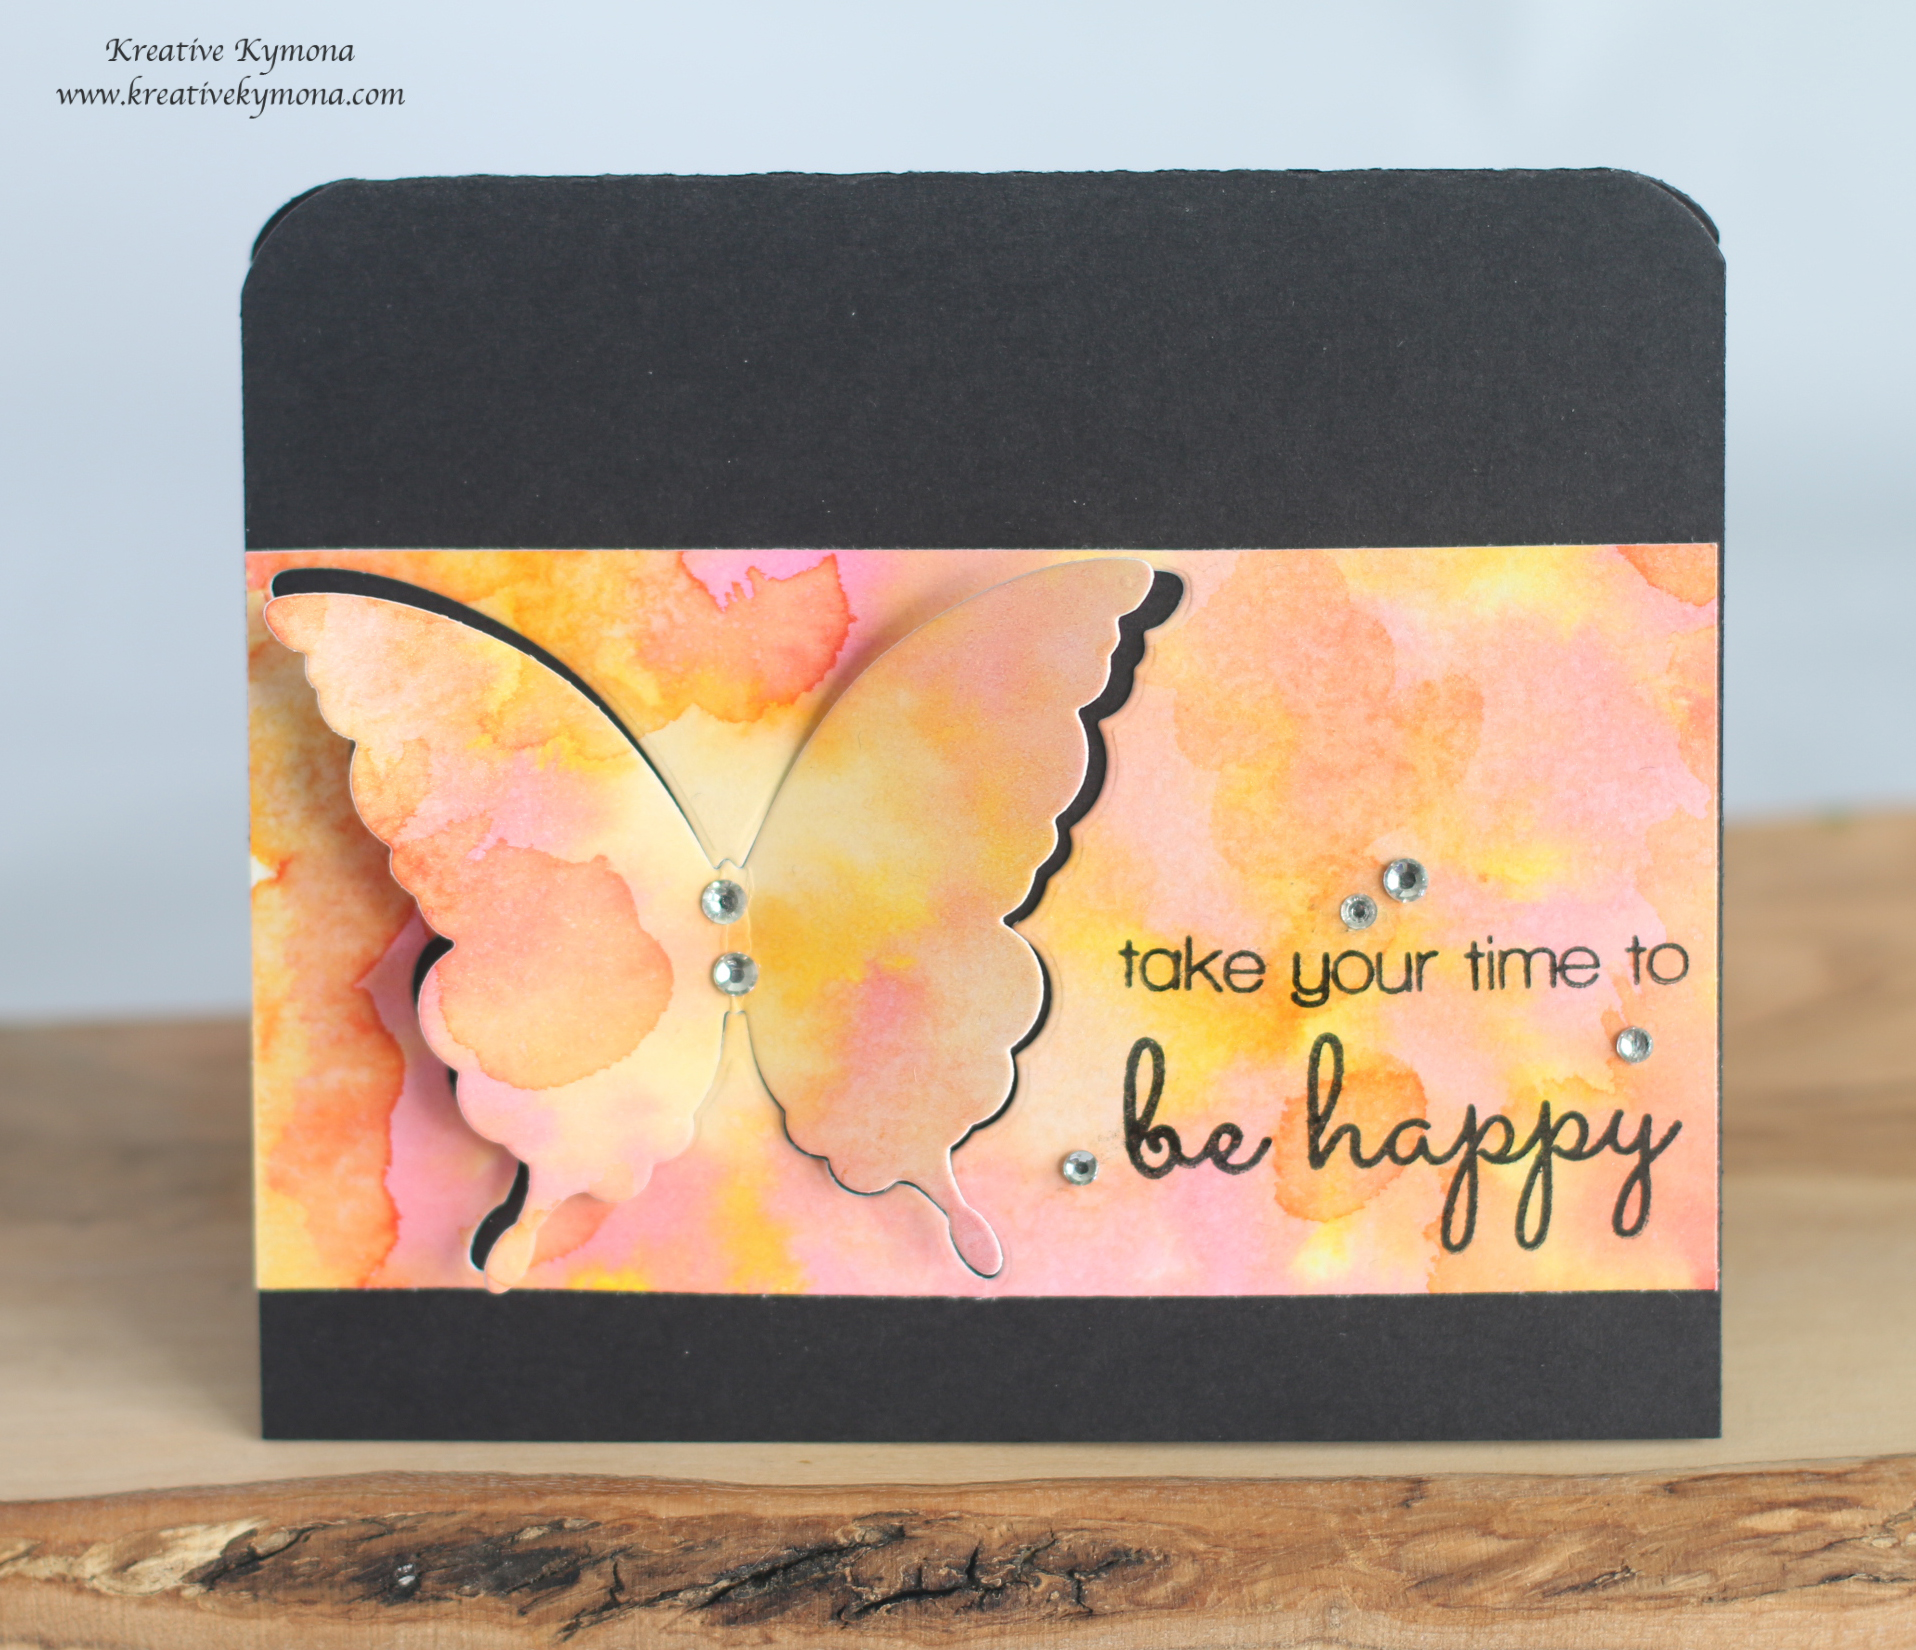
I love how my butterfly turned out. I had a couple of watercolor pieces that I wasn’t sure what to do with and now look. I found a use for it!!
So, let me make you laugh. I thought this die partial die cut but it cut straight through. So I had to improvise. I just glued the center of the butterfly back in place so that it could appear as if it was partial die cut. Nice right!!
My sentiment is from Create a Smile Botanical Love stamp set.
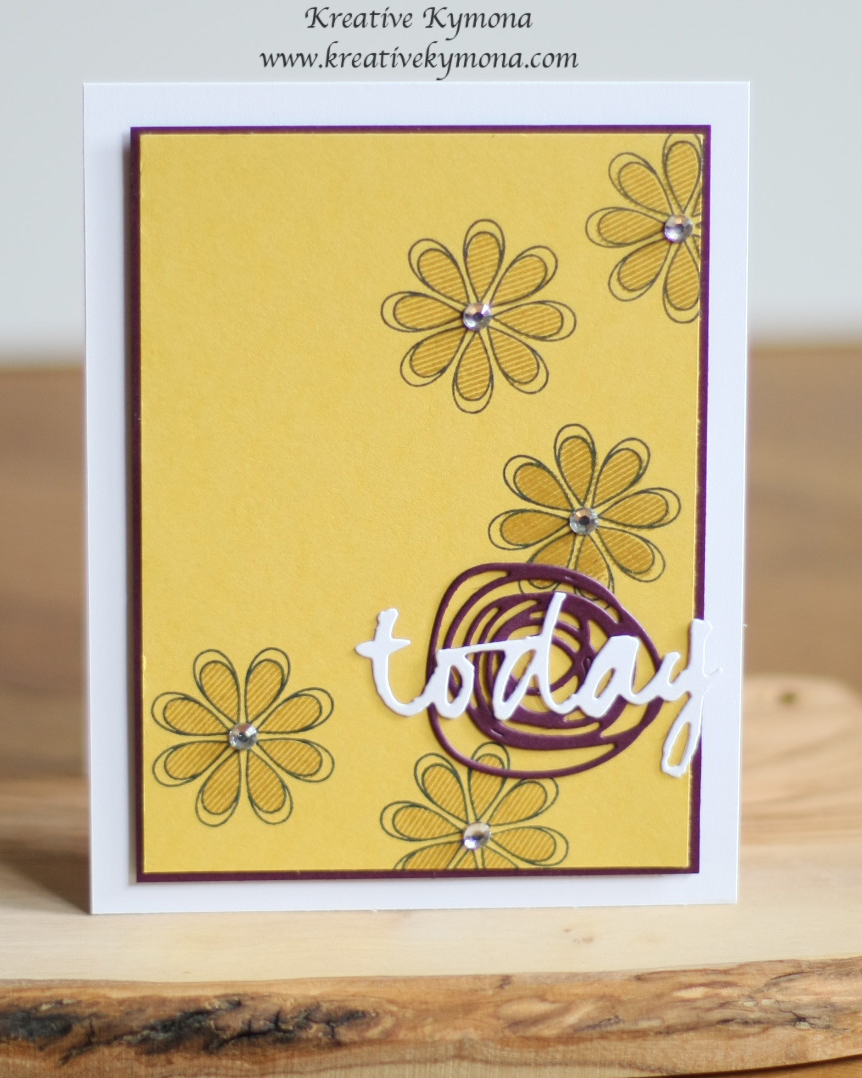
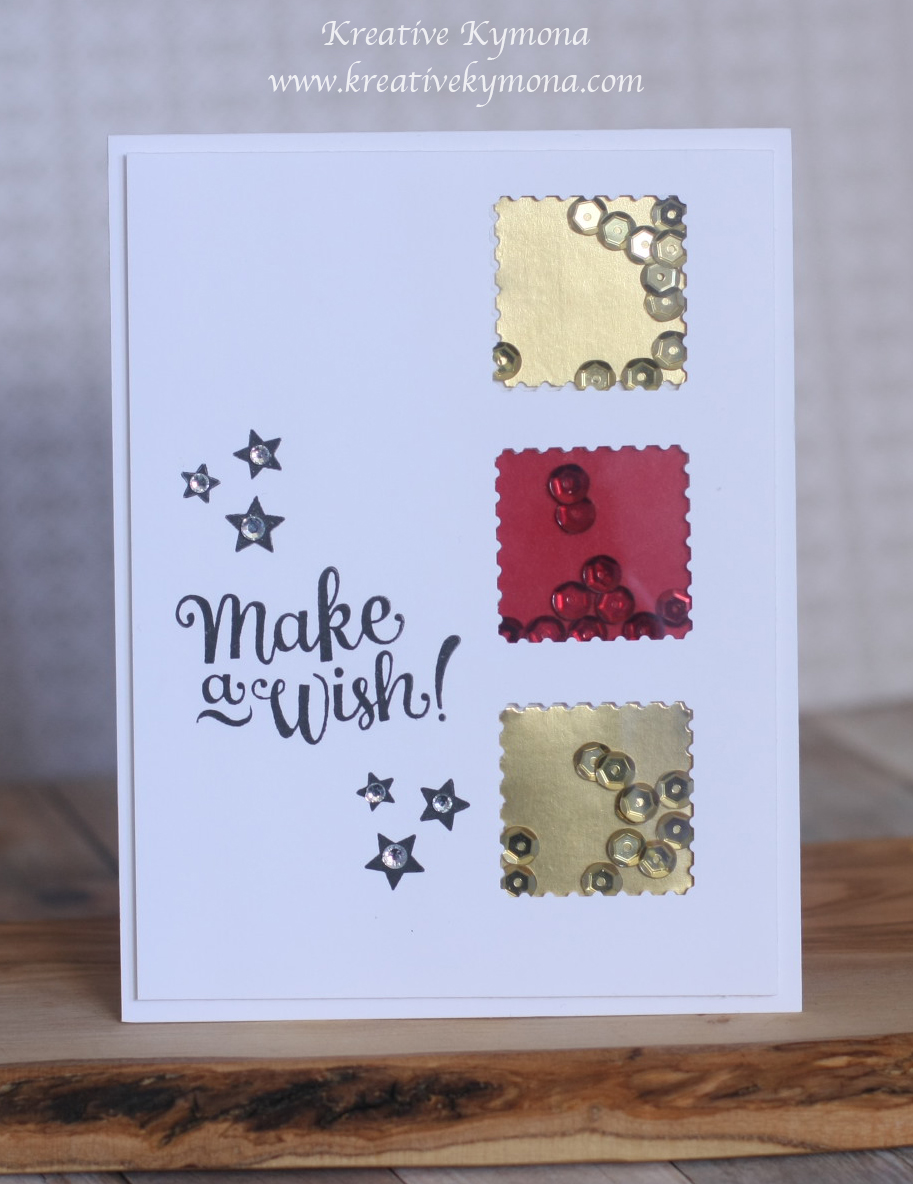
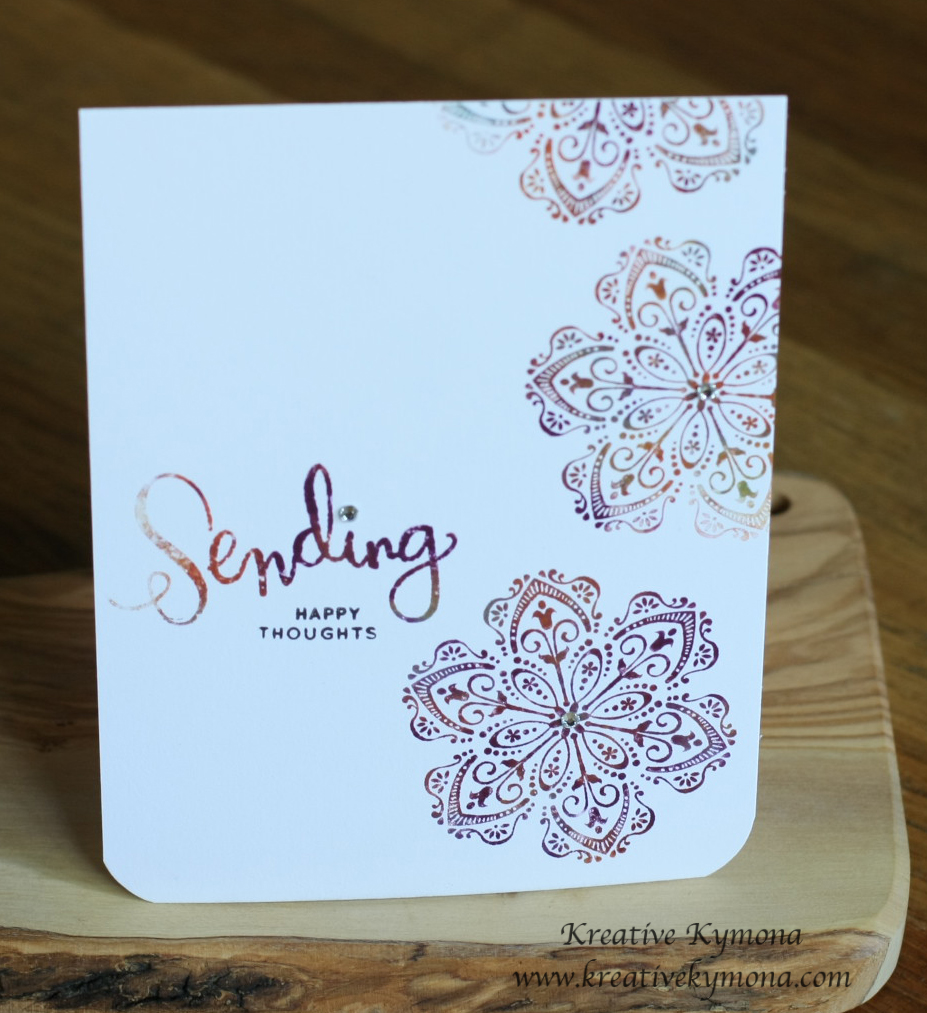
Lets take a closer look at my card:

I love how clean cut the butterfly looks.
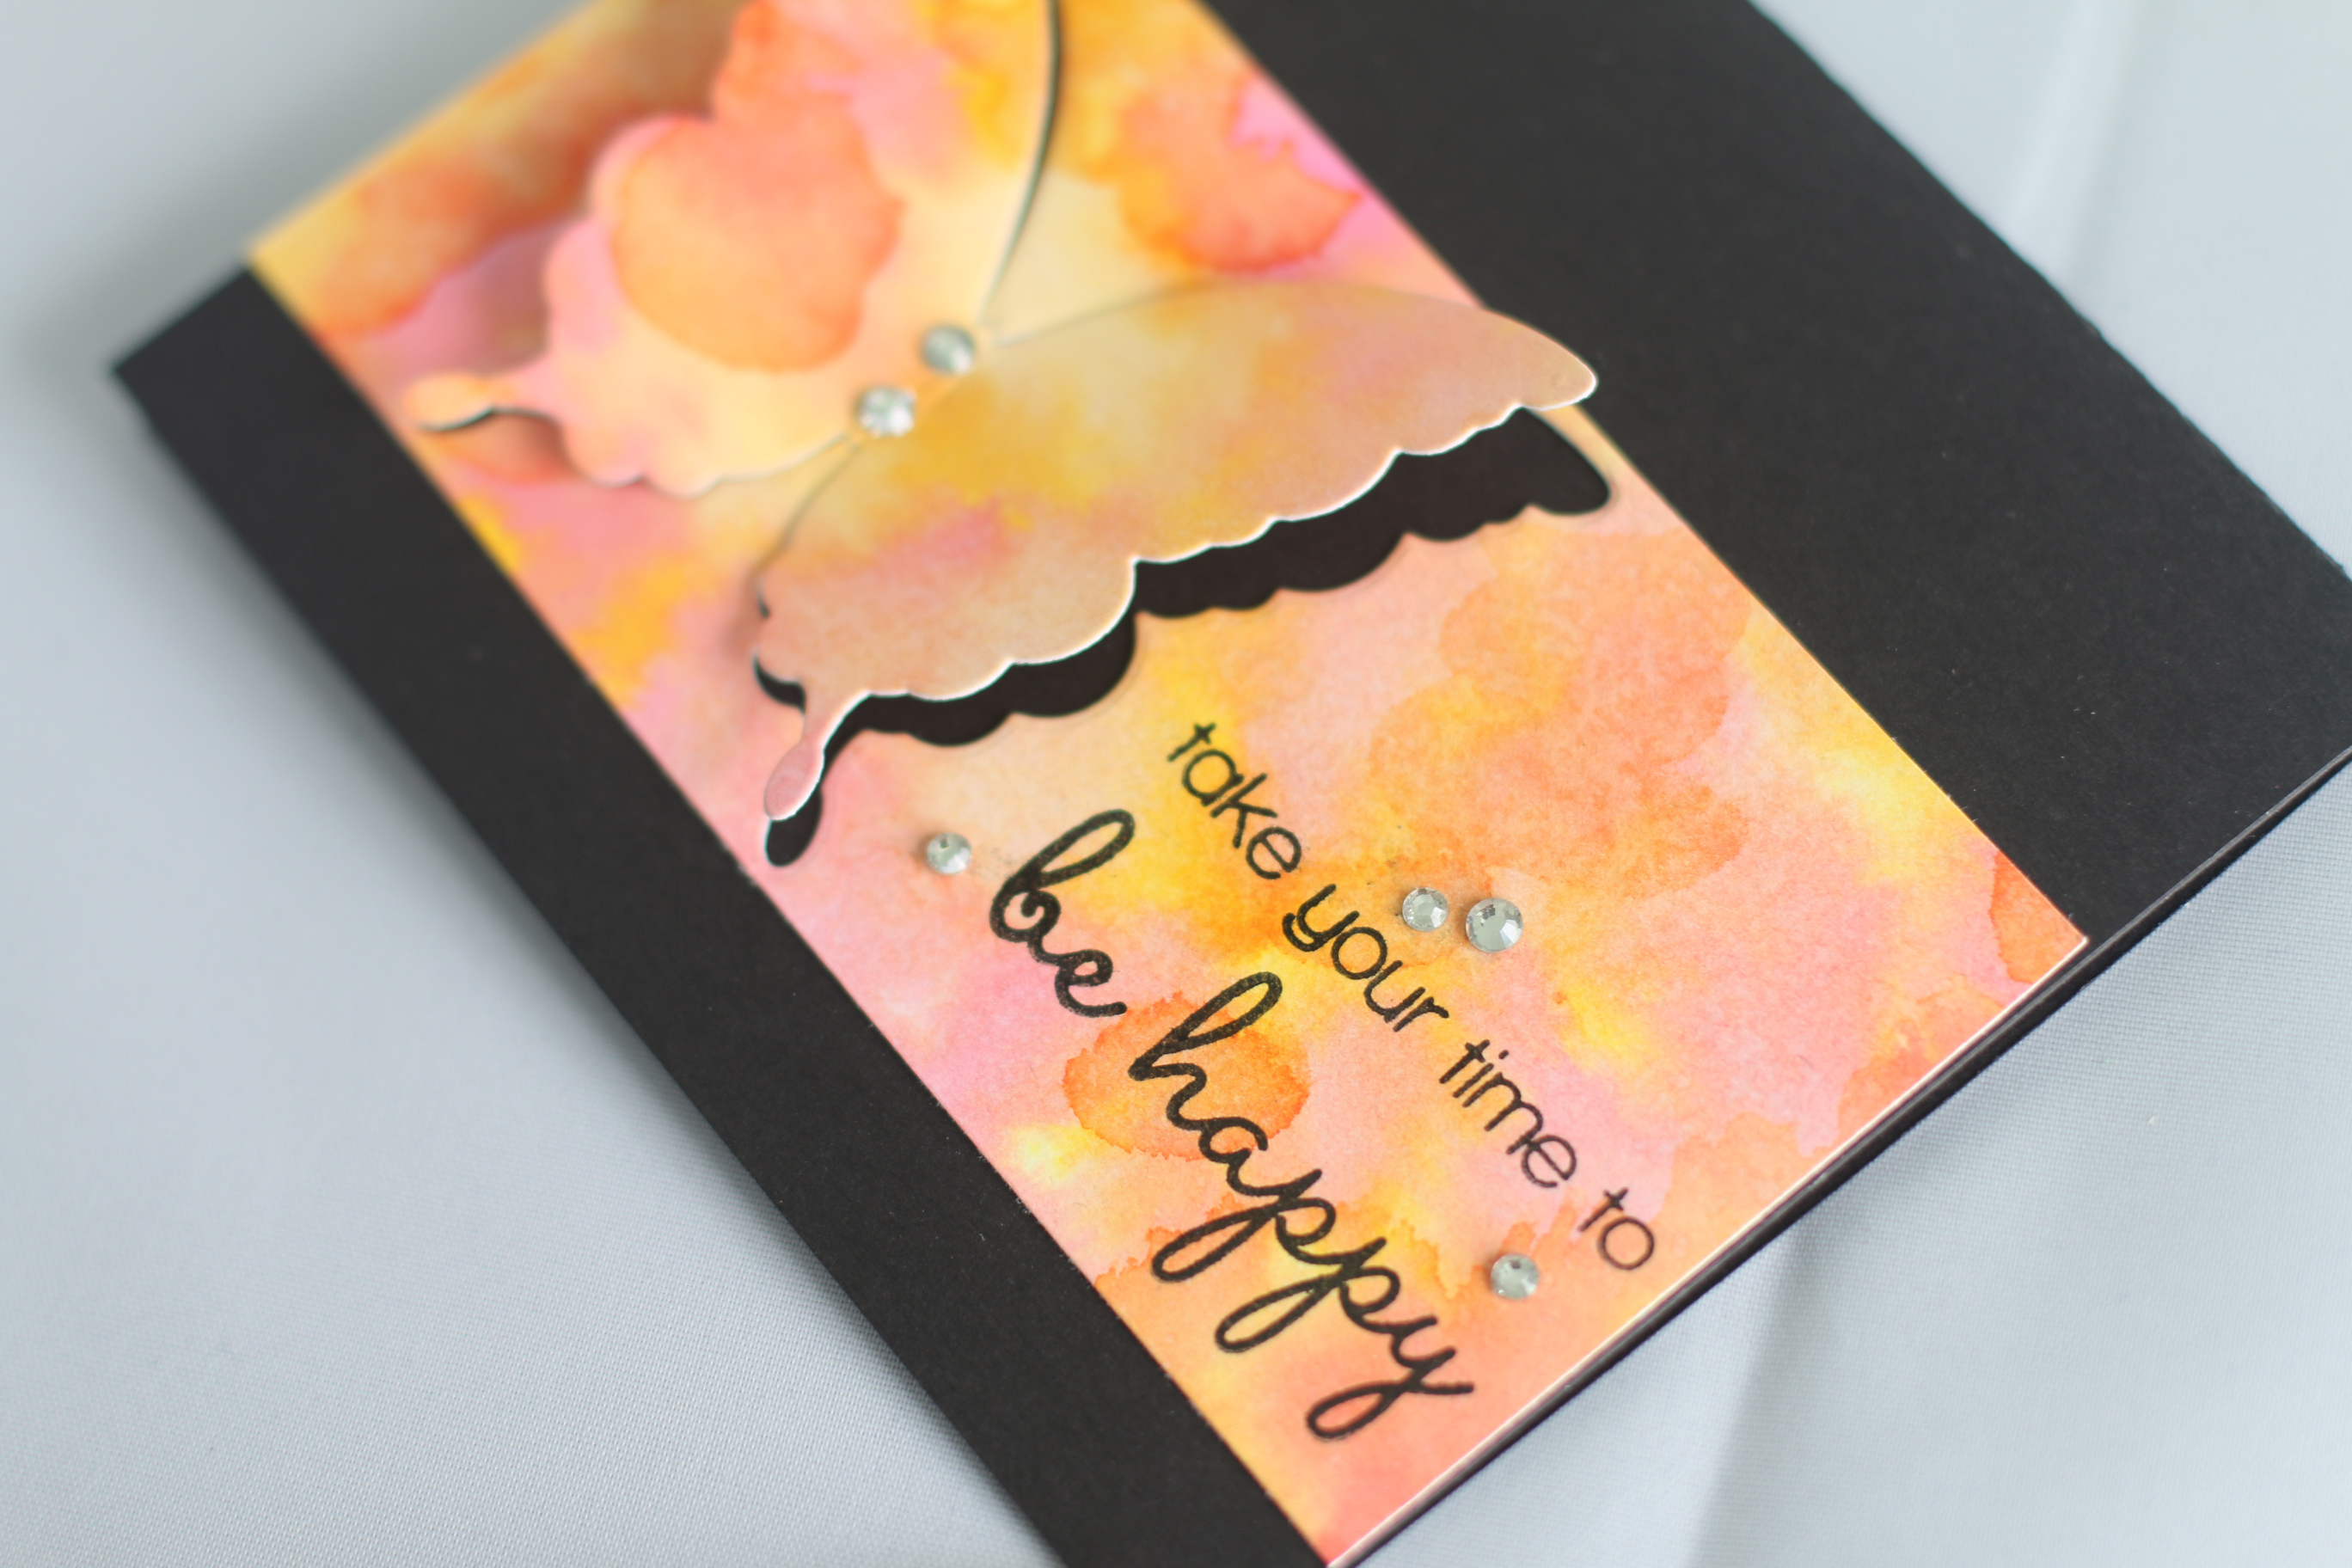
This sentiment is so fitting for this card. It matches the butterfly and the watercolor colors!
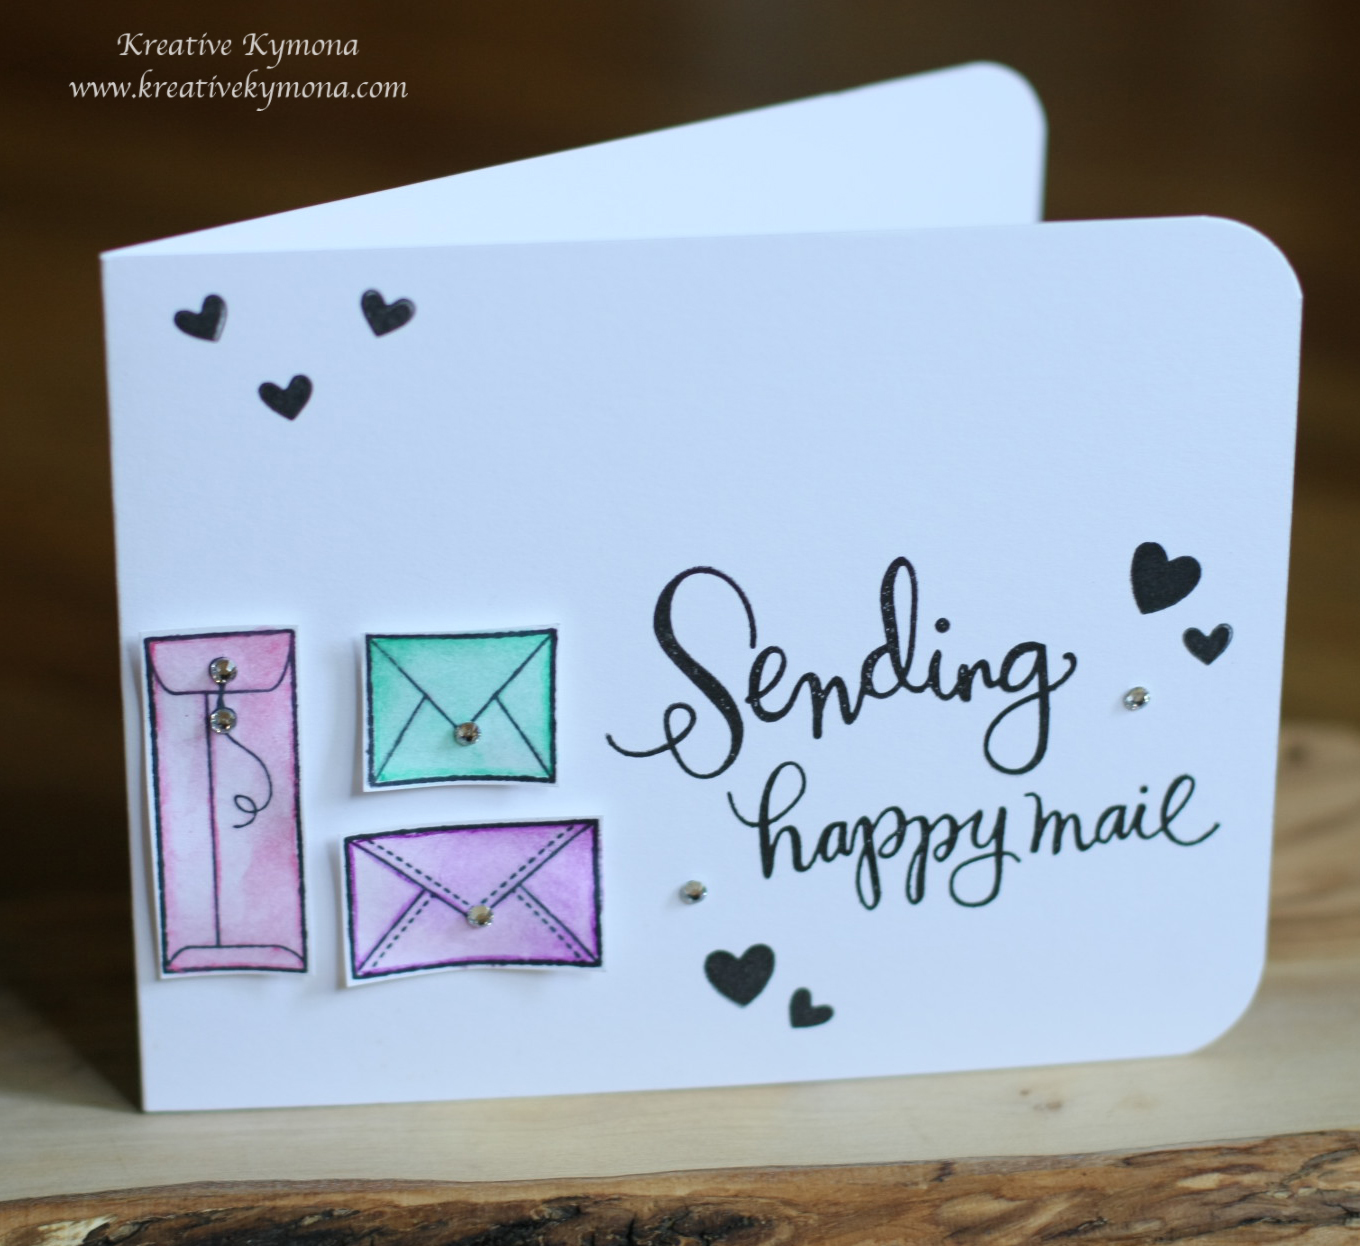
 I love how this turned out! What do you think? Let me know below. I would love to hear from you.
I’m also entering this card into the Less is More Challenge: Week 213 – This makes me happy!

Creating pretty cards and hanging out with my children makes me happy!
Supplies used:


Thanks for stopping by!
~Kymona