You’re Pretty Amazing

I’m back again with another stencil card for Virginia’s View Challenge #2. I’m having so much fun stenciling that I couldn’t help myself so I made another card.  For this card, I used three different inks and my Kelly Purkey Teardrop stencil.  It took no time, as a matter of fact I made two cards with two different sentiments but the one I’m posting today, the sentiment was a better fit.

Take a look:

You're Pretty Amazing

This one layer card is sooooo “fiery”.  I just love it.

Please leave me a comment below letting me know what you think.

Supplies used:

classiccrestsolarwhtieHero Arts Butter BarHero Arts Orange Soda InkWorn Lipstick InkpadBlending toolteardropPost-it Full Adhesive RollSSS Stripe GreetingsMemento Tuxedo Black


This Is How We Do It

I have to say stenciling is my favorite technique.  Once I started yesterday I couldn’t stop.  So I created another card to enter into Virginia’s View Challenge and Less is More Challenge.

Virginia’s View Challenge: Stencils

Less is More Challenge: A Touch of Turquoise

The create I create has both elements.  I use Simon Says Stamp Medium Dots Stencil and Tumble Glass Distress Ink and Stampin’ Up Tempting Turquoise embossing power.

I left a lot of white space but elegantly add a bit of color.  I love how the card came out.

Take a look:

This Is How We Do It

All I did was stencil the right corner of the mask layer, embossed my image on the vellum tag and adhere all of it together.  Simple and easy.

Please let me know what you think.  I would really appreciate your feedback.

Supplies:

SSS Medium Dots StencilBasic Rhinestones Jewel Accents 119246White Baker's Twine 124262

Tempting Turquoise Embossing Powder 122950Stampin' Dimensionals 104430Ultra Thick White CS 120White Vellum

Tombow Power Adhesive Glue TabsBlending toolHeat ToolBasic Rhinestones Jewel Accents

Scalloped Tag Topper PunchStampin' TrimmerPost-It Full Adhesive RollWe R Memory Keepers Corner Chomper


Embossing BuddyGood Times


Signature


Stencil Class Day 4

Today is the last day to my online stencil card class.  Today’s assignment was to use any of the techniques we learn and create a card.  I choose to use the free stencil that was given to us.  I used my Silhouette Cameo to cut out the stencil. Then I use sponge daubers to apply the ink for each of the flowers.  Tell me what you think?

You Make Me Happy

I really had a great time in this class.  I learned a lot about stenciling.  I will continue to use stenciling more on my cards.

Supplies used:

Whisper White CS 100730

Whisper White CS
100730

Strawberry Slush 131178

Strawberry Slush
131178

Crisp Cantaloupe 131176

Crisp Cantaloupe
131176


Coastal Cabana 131175

Coastal Cabana
131175

Stampin' Dimensionals 104430

Stampin’ Dimensionals
104430

Early Espresso 126974

Early Espresso
126974


Happy Watercolor 133191

Happy Watercolor
133191


Signature


Stencil Class Day 3

Today is the third day of my stencil class.  There is only one more day left and I’ve learned a lot in such a short time.  Today’s card, I used the stencil and covered it with paste to create the wavy textured surface.  I added glitter to the wet paste to give the stenciled look a little shimmer.  I also embossed the greeting.  It was fun and really messy!


Hello Friend Stenciled Card

Let me know what you think of this look.

Supplies

Peachy Keen 133113

Peachy Keen
133113

Basic Black CS 121045

Basic Black CS
121045

White Embossing Power 109132

White Embossing Power
109132


VersaMark 102283

VersaMark
102283


I also used Stampin’ Up! Gold Glitter (retired), stenciled and paste.

Signature


Stenciled Class Day 2- Stenciled Card

So here is my stenciled card as promised.  I used a heart stencil and colored pencils and colored each heart in with different colors randomly.  I loved how this card came out.  The hearts are much smaller.  I was able to double the amount of hearts on my card.  This was fun to make because I went back to the basics, Coloring.


Stenciled Enjoy card

All of the supplies are the same except the heart stencil and the color pencils.

Let me know which one of my cards you like best.

Signature

Stencil Class Day 2

So today is day 2 of my 4 day stencil class.  I’m learning a lot.  Today’s class we learned different techniques on how to use stencils.  I tried a couple of them and didn’t like the results so I’m going to keep trying until I get it right.  There was one technique that was easy enough not to mess up.  Guess what that technique is?  It’s so simple, you will laugh.  Have you guessed it yet?  Well here is the answer, its COLORING.  Yes, simple children’s play, Coloring with colored pencils!!  How could I mess that up?

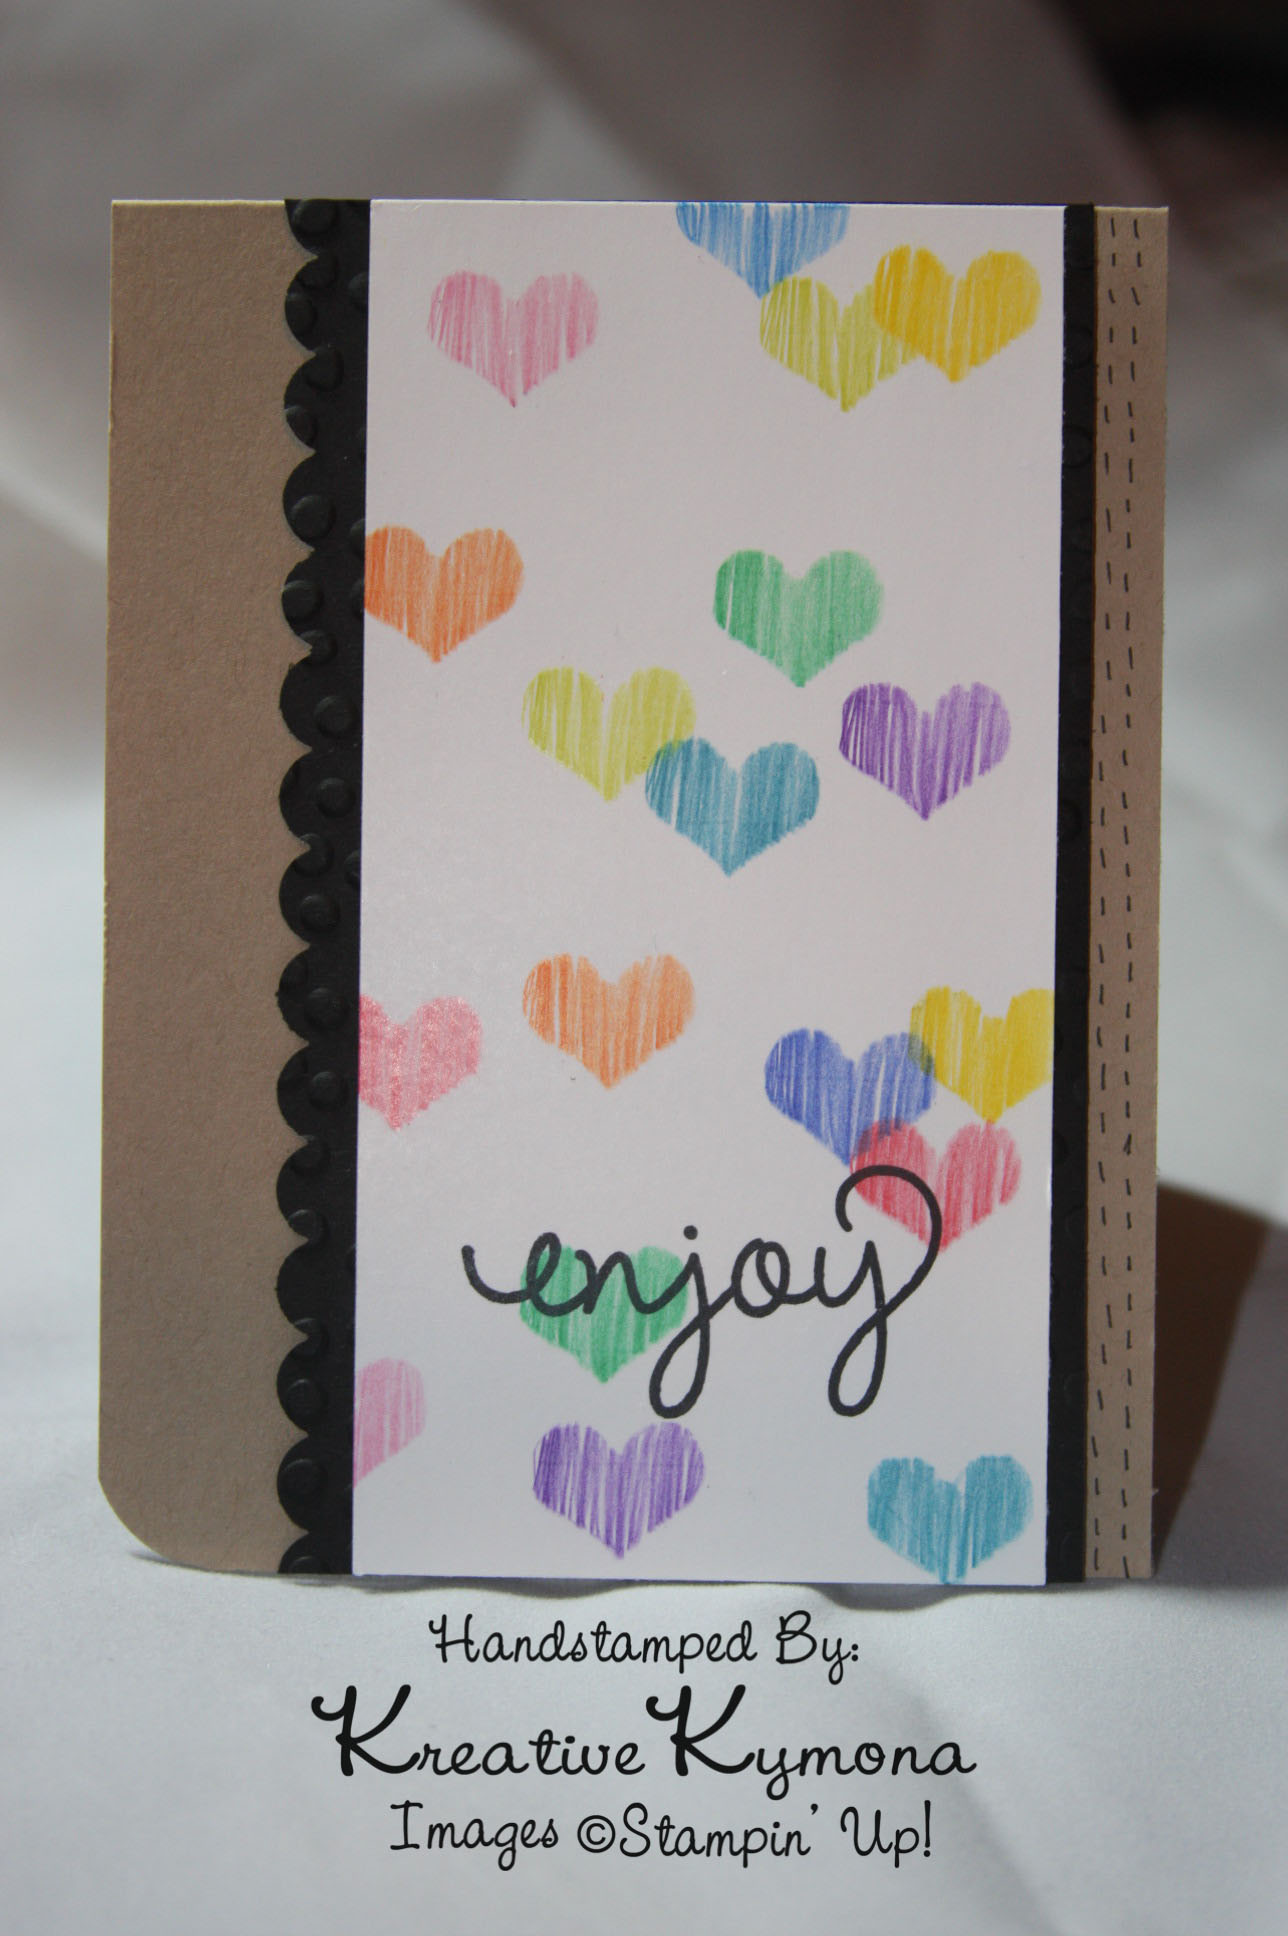
The stencil used to make that card, I didn’t have.  I’m going to get that stencil today, but in the meantime, I had a heart stamp that would do just fine.  So, I made a card with the heart stamp from the ” Perfect Pennants” stamp set.  I love how the card came out.  The heart stamp is so full and small to me.  I want to stamp it everywhere!  I cant wait to see how it will look once I stencil the hearts.  Take a look at the stamped card.

Hearts Enjoy


How precious!! I used the new in-colors ink pads to create the color hearts.  Aren’t those colors yummy!  Tell me what you think of my stamped image.


Supplies

Perfect Pennants Wood 133227

Perfect Pennants
Wood 133227

Crumb Cake 120953

Crumb Cake
120953

Basic Black CS 121045

Basic Black CS
121045


Whisper White CS 100730

Whisper White CS
100730

Simply Celebrate 133221

Simply Celebrate
Wood 133221

Coastal Cabana 131175

Coastal Cabana
131175


Crisp Cantaloupe 131176

Crisp Cantaloupe
131176

Pistachio Pudding 131177

Pistachio Pudding
131177

Strawberry Slush 131178

Strawberry Slush
131178


Scallop Edge Border Punch 119882

Scallop Edge Border Punch
119882

Basic Black Stampin' Write 100082

Basic Black Stampin’ Write
100082


I also used the new Decorative Dots Textured Impressions Embossing Folder which is in the new Sale-A-Bration catalog which will go live in the 28th of January.  If you need a catalog, please let me know.

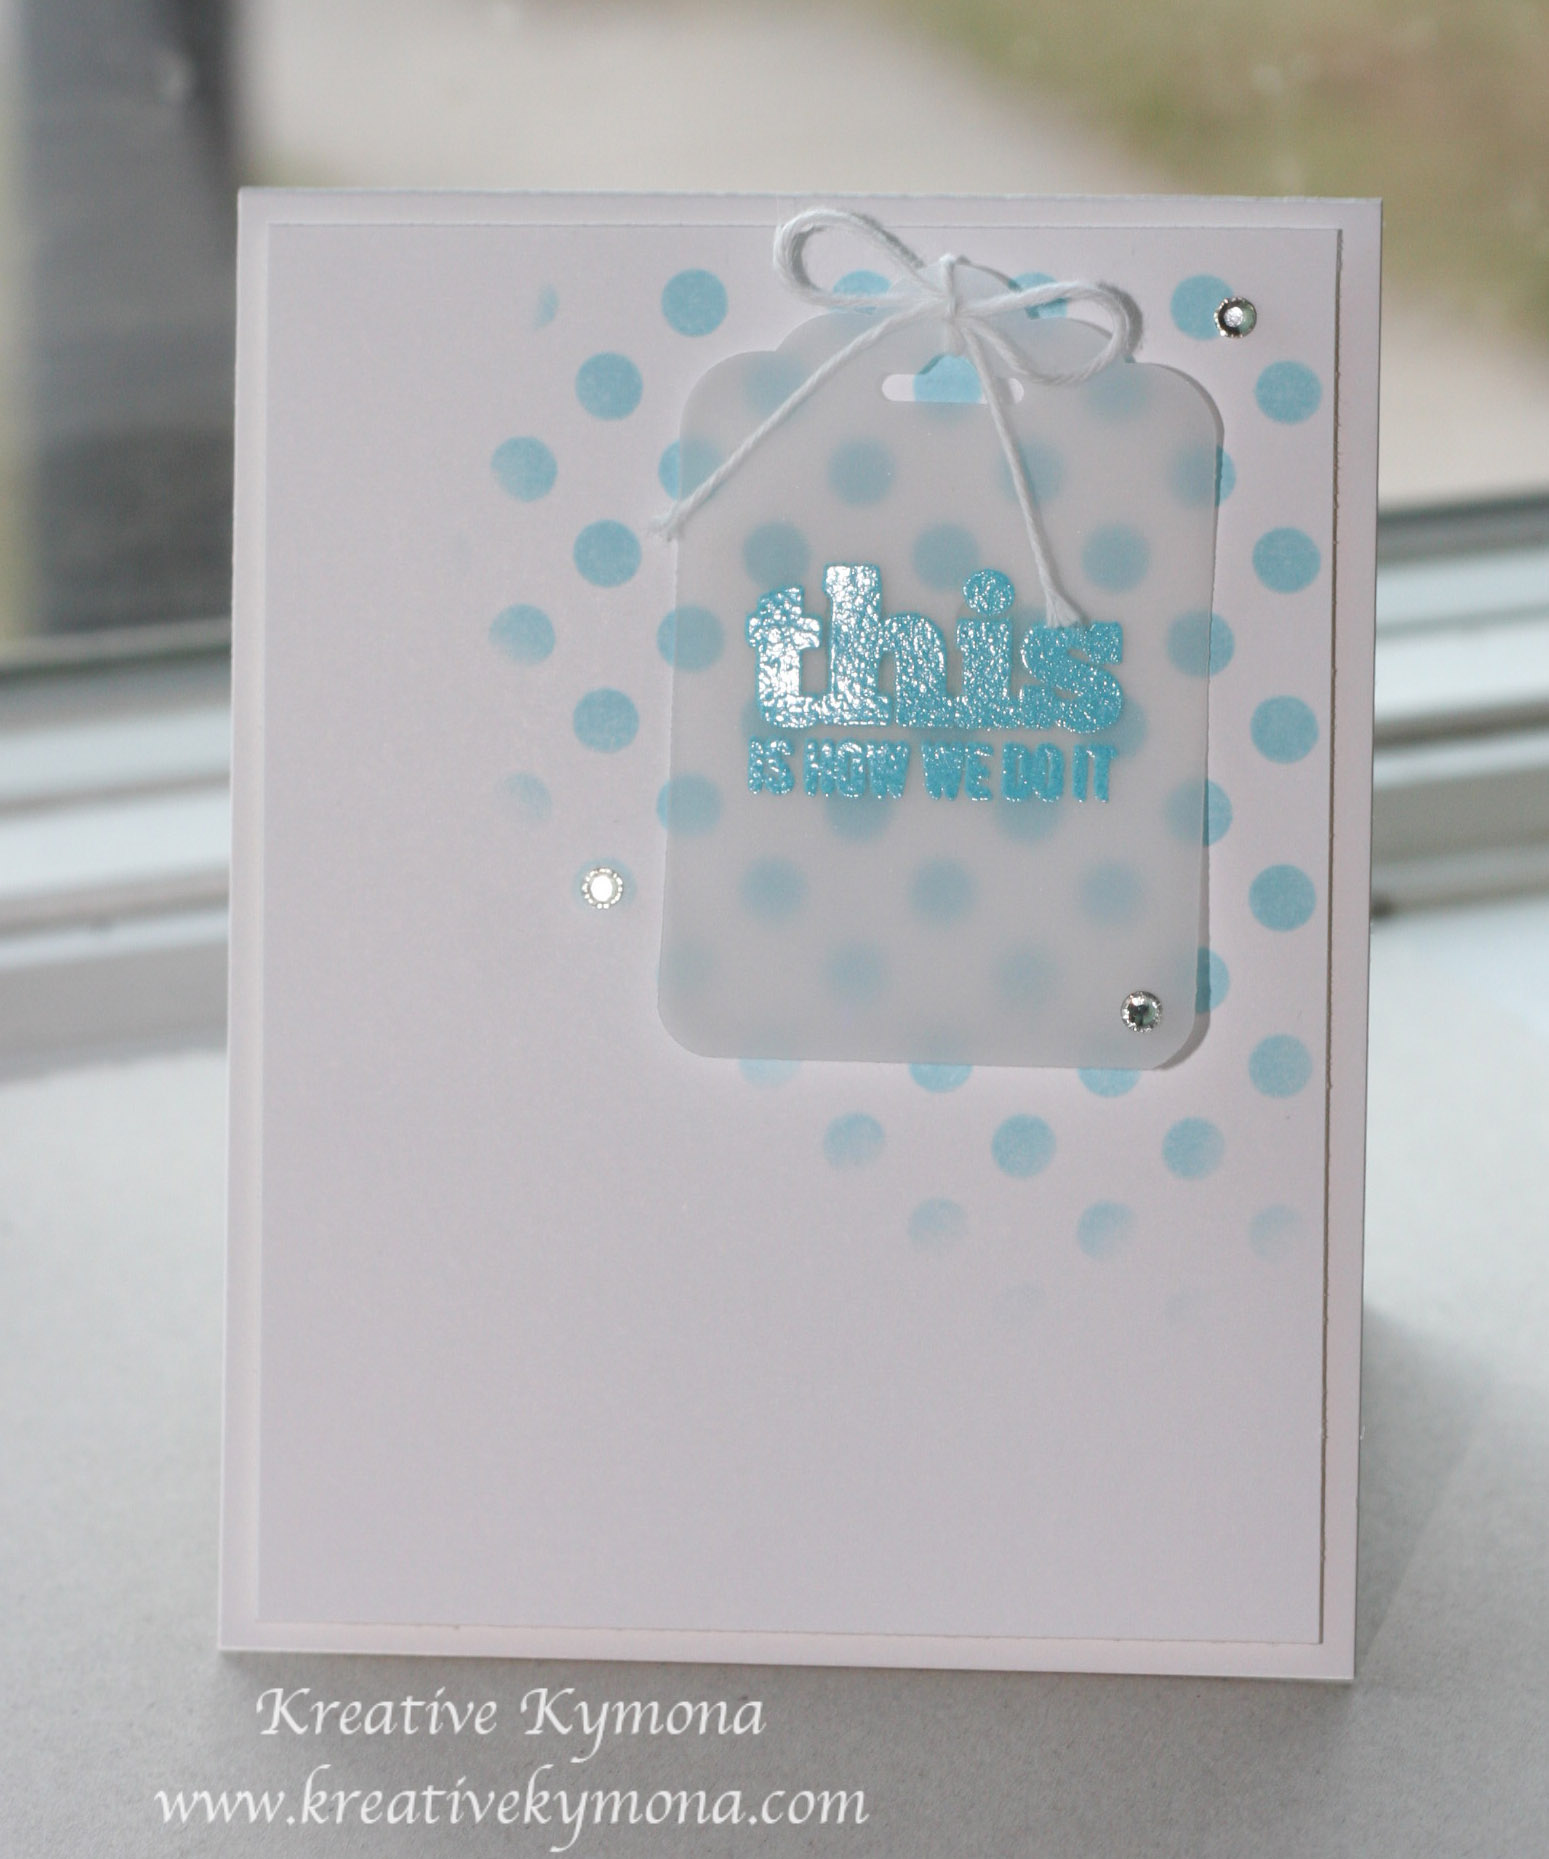
I will post my stenciled card later today so you can compare the difference of both cards!


Signature


Stencil Class Day 1

I’m so excited about starting my new Stencil Class.  I’ve never stenciled before and wanted to try it on some of my cards.  Take a look at my first card.  Don’t laugh, its a start.  No matter how much tape I used to keep the stencil in place it just wouldn’t cooperate with me.  Tomorrow’s card should be better then today’s.

Stenciling 1

Let me know what you think of my first try at stenciling!

Signature