Hello everyone!! I’m here today with the Lawnscaping Challenge. I played along one or twice last year, so I’m happy to play along today.

The challenge this time is all about DIMENSION! Adding pops of dimension to your project really add that wow factor to your projects.
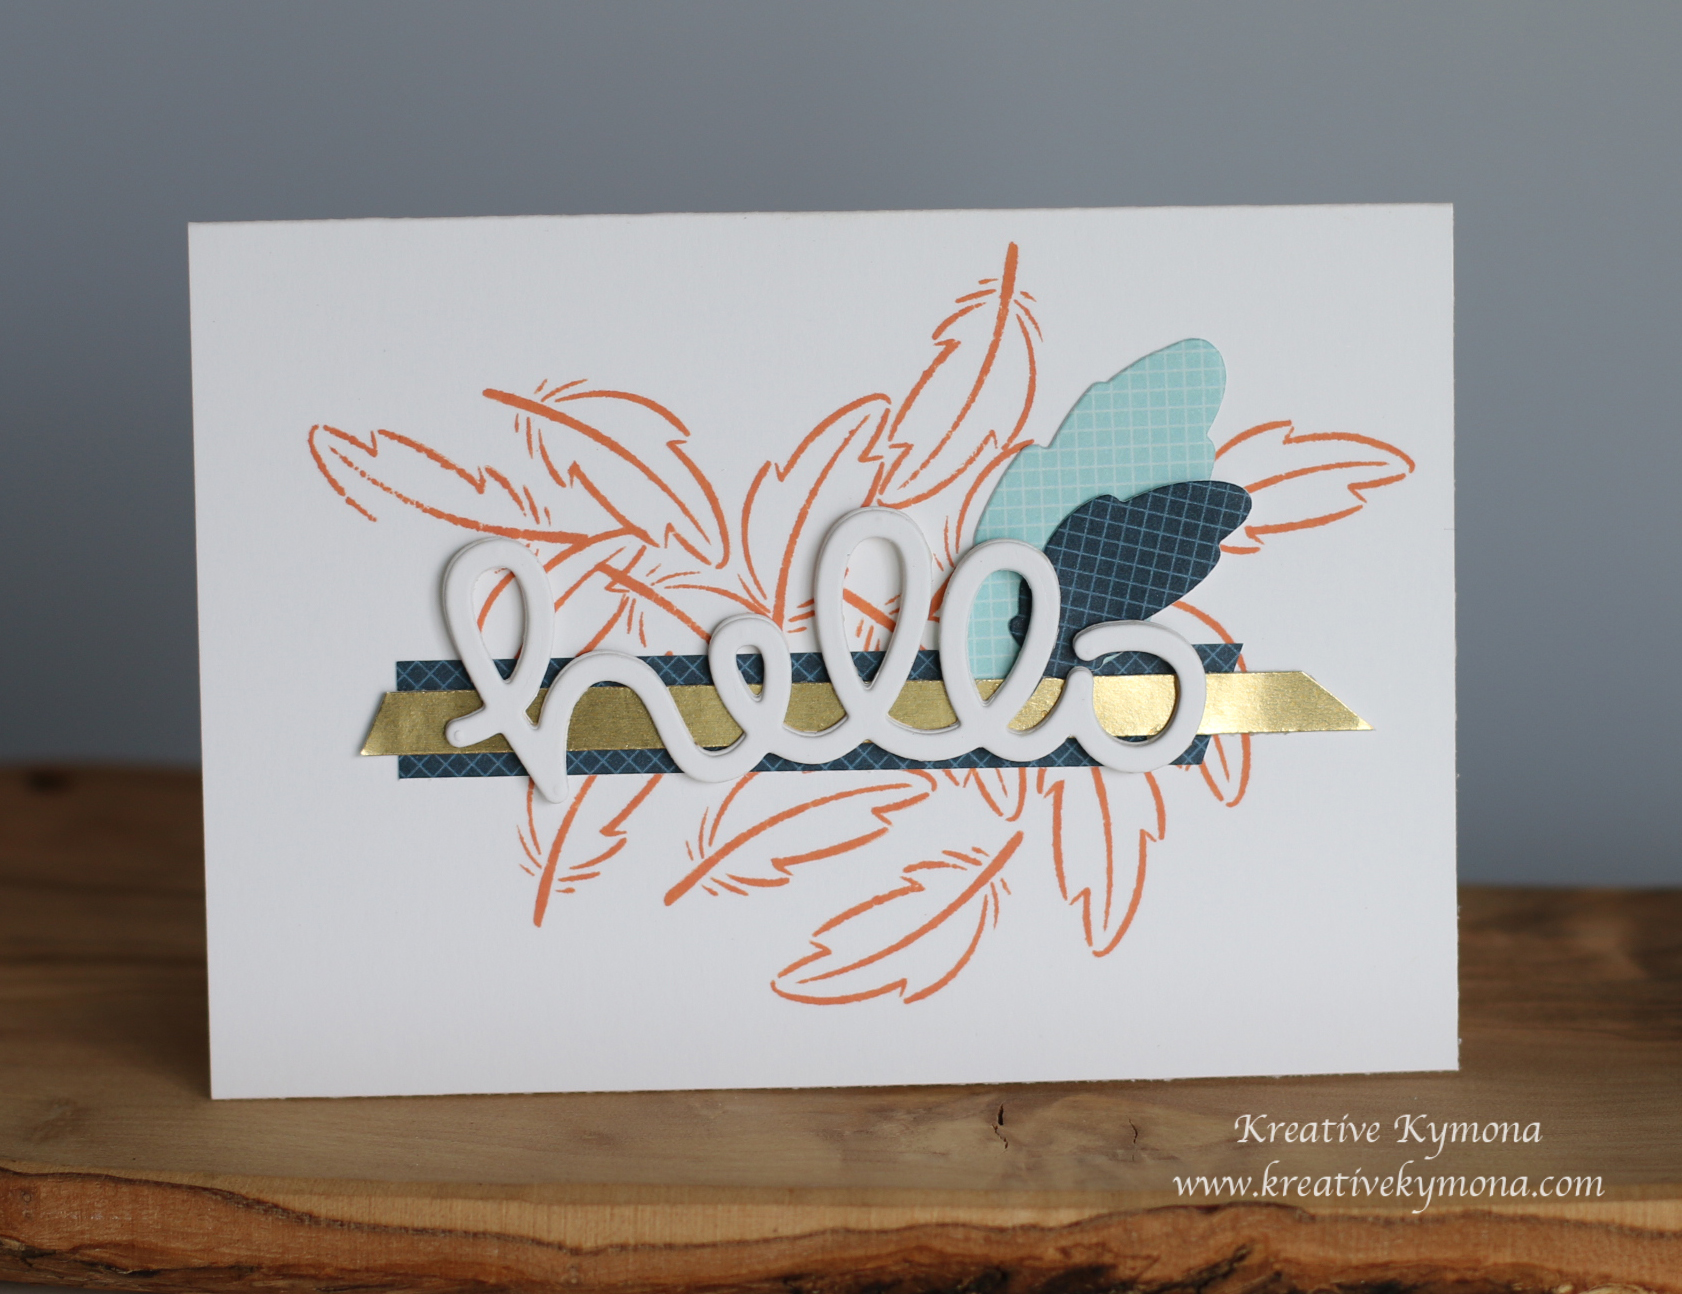
Take a look at my card:
I’ve added plenty dimension to my card.
Here is how I created my card:
1. I cut my card to a 5 x 3.5 scored at 3.5.
2. I used Lawn Fawn Dream stamp set to stamp the small feather with Lawn Fawn Fake Tan Ink.
3. I cut a thin strip of Lawn Fawn Beachside Pattern Paper and adhered it over the stamped feathers. I also die cut the feathers from the same paper using the Lawn Fawn Dream Cuts.
4. I cut a thin strip of Stampin’ Up! Brushed Gold cardstock and adhered it on top of the pattern paper.
5. I adhered the feathers.
6. I die cut Lawn Fawn Scripty Hello four times and stacked them on top of each other. I adhered the stacked die to the center of my card.
Super doper easy and I like this card size. I’m glad I tried it.
I’m also linking my card to Virginia’s View Challenge #14: Layers and Dimensions.

Supplies used:


Thank you for stopping by!!!
~Kymona