So Suzy Stamps Baby Featurette Part 3

Baby Featurette

Second Post for today

If your looking for the CASology post, click here

Hello everyone!!  I’m here again for my third and last installment of So Suzy Stamps Baby Featurette!!

Today, I’m going to show you some thanks you cards and some party favors.

Check out what I created:
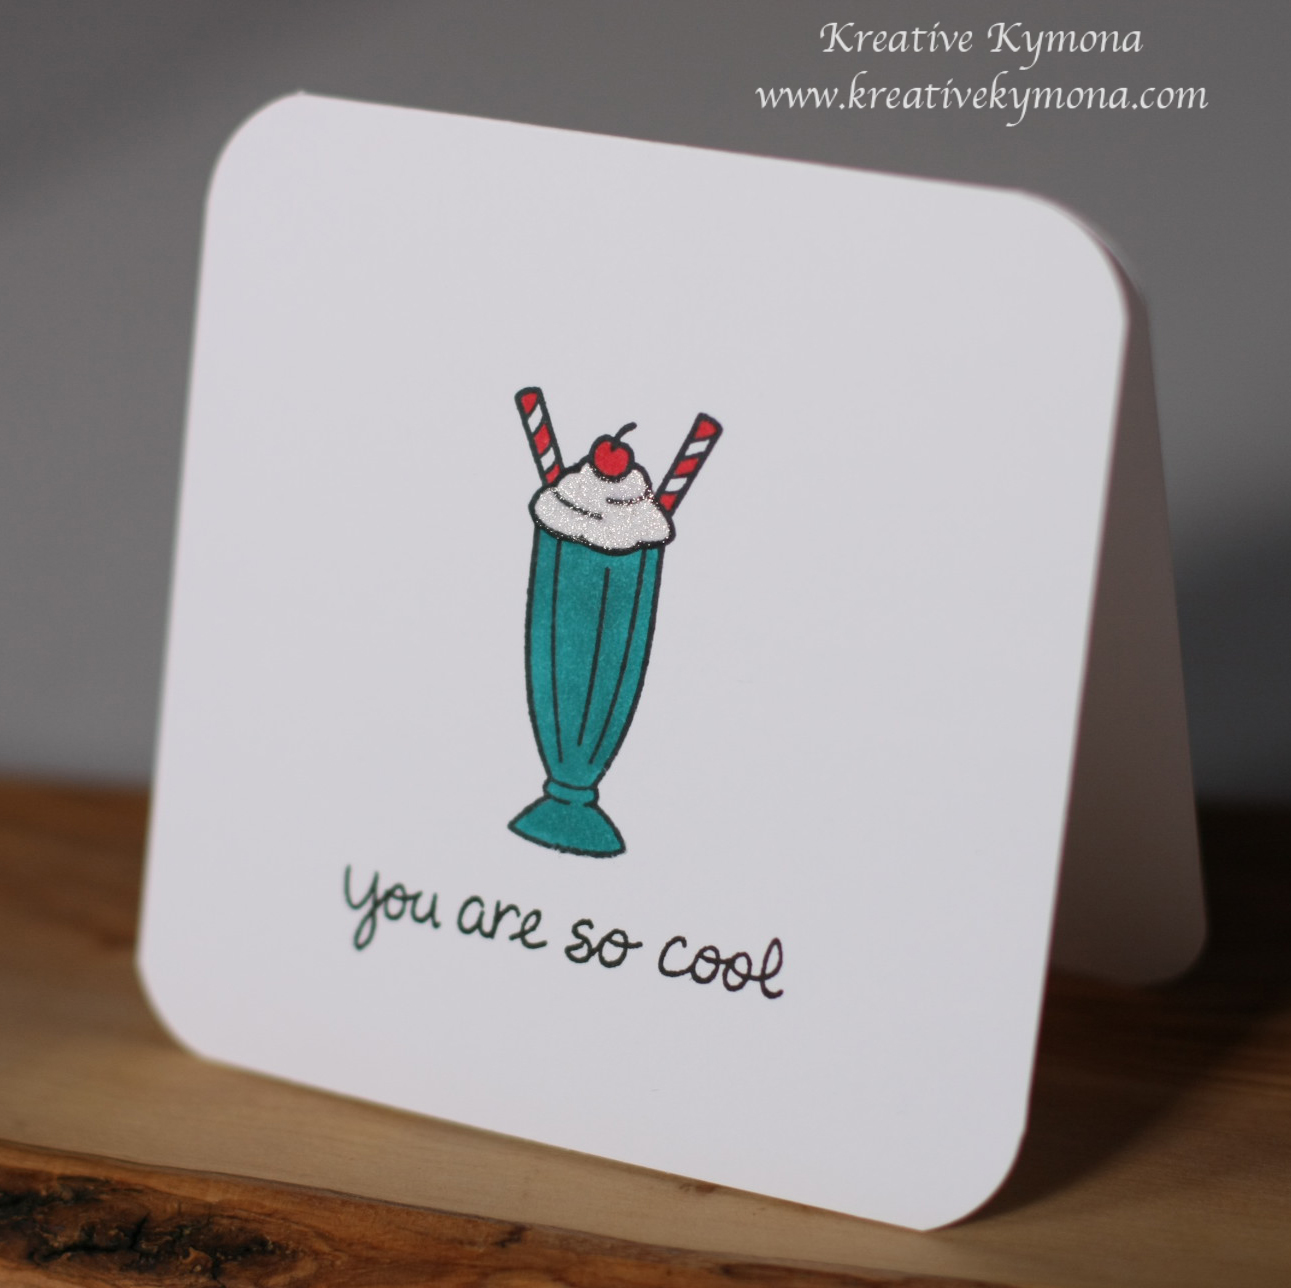
Thank you

Here is a closeup:

Thank you cards close up

I decide to go with blue this time around because I haven’t created anything for a baby boy’s party!!  Such a cute set to give to a mom so she can thank everyone who bought her gifts.

Thank you 1

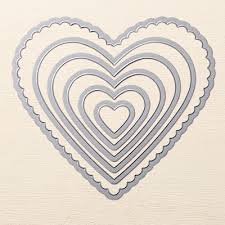
For this thank you card, I used So Suzy Stamps Thank you stamp and stamped that sentiment on the front of the card front.  I used the second to smallest Stampin’ Up! retired heart die to cut out a heart from Lawn Fawn Hello Sunshine paper.

I also created some favors for the party-goers to go home with.

Take a look:

Gift bag

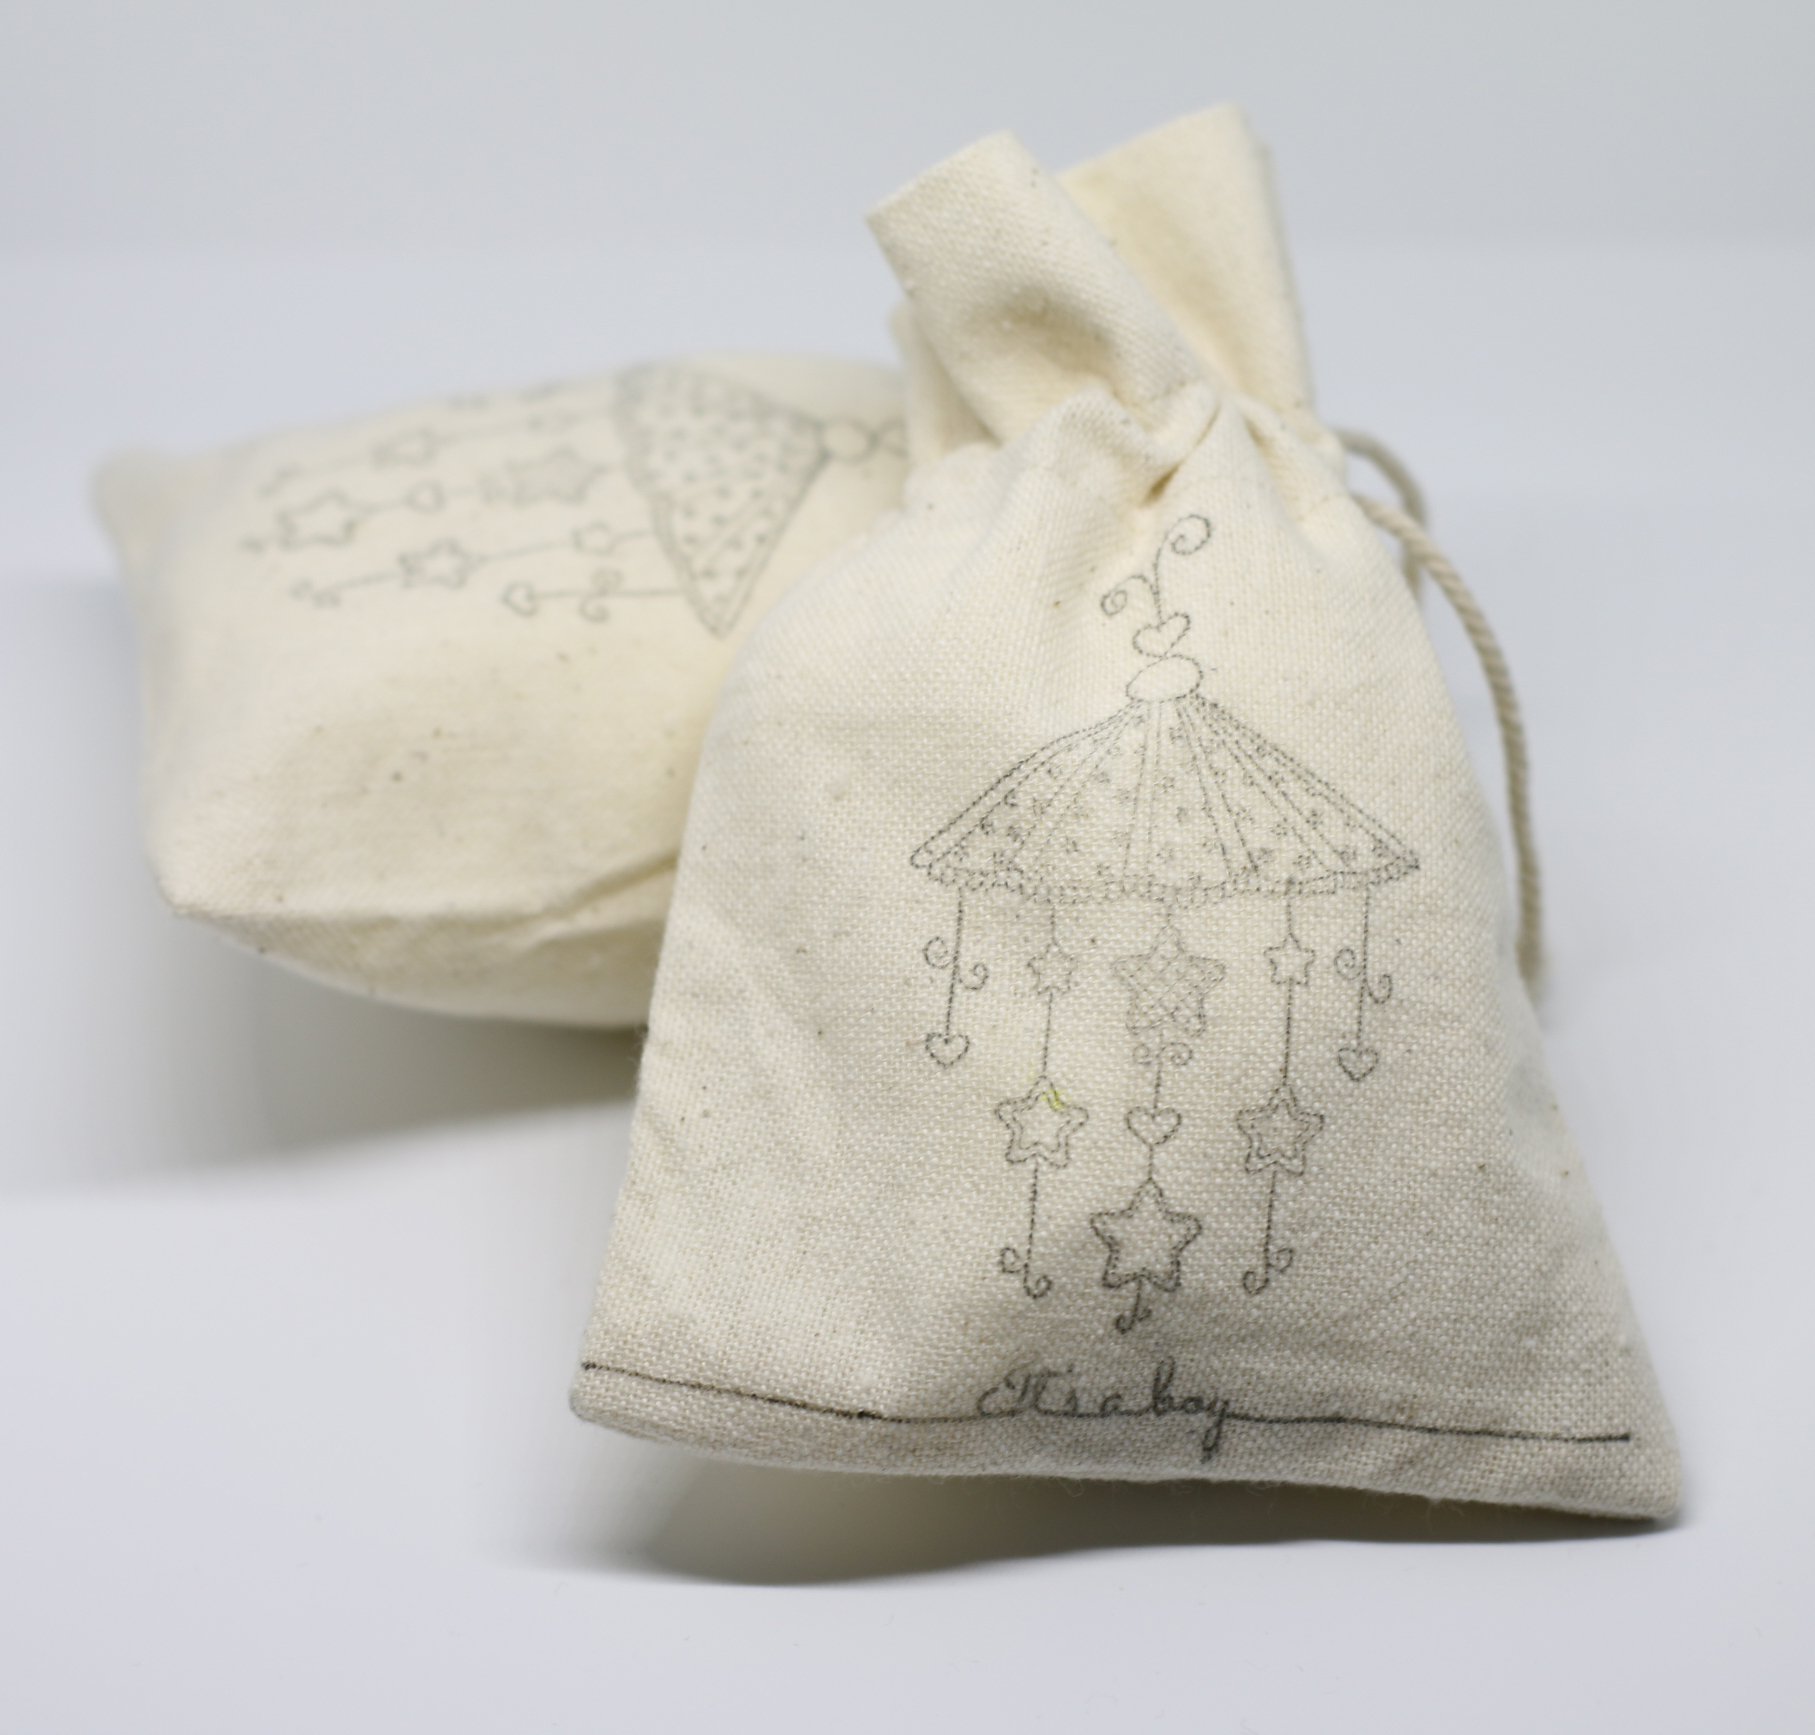
I stamped So Suzy Stamps Pretty Baby Mobile stamp on Stampin’ Up! Mini Muslin Bag with My Favorite Things Hybrid Ink .

At the bottom of the bag, I stamped “It’s a boy“! I love how this back turned out.

That was it!  Super Duper easy and so doable!! I had a blast creating baby stuff for the past three weeks.  I hope you had a blast checking out the baby goodies.

Before I go,  did you know that So Suzy Stamps can be found on Instagram, Facebook, Pinterest and Twitter?  Yes, you should join us there and find more inspirations and fun!!

Supplies used:

Thank you Neenah Desert Storm CS Hello Sunshine Collection SU Hearts thinlets Mini Muslim bag Pretty Baby MobileMFT Hybrid Black Ink Its a Boy

Thank you so much for stopping by!!

Kymona

Copic Coloring

Hello everyone!!  I’m here to share one of the cards I created for Kathy’s 30 day coloring challenge.

I used the new Lawn Fawn Gleeful Gardens stamp set to create my card.

Check out my card:

I love you so mush

I’m so excited about this card.  I really love how my coloring turned out.  I’ve been really trying to master my Copics and I finally feel like I got it.

Thanks to all of my Instagram friends for the encouragement and guidance.

I used Copic R24, R27, R29 and R89.  I’m loving that R89!!

I used Copic E47 and E49 for the stem.

I used W1 for the shadowing.

I added Your Next Stamp Clear Gumdrops. I’m obsessed with these.

I added Clear Wink of Stella to the top of the mushrooms.  So pretty in person.

Take a look at some of the photos I shared on Instagram to get me to my finished card.

FullSizeRender(3)

Getting ready to color for Kathy’s #thedailymarker30day coloring challenge

image1Colored with out the R89

image2

I was told to try R89 from an Instagram friend.

image3

Well put together and check out that Wink of Stella!!

I love how my card turned out. I can’t wait to color again!  This was fun, especially when you finally get the blending concept!!

I’m entering this card into the NBUS Challenge #4.

NBUS

Supplies used:

Gleeful Gardens Copic Markersclear gumdrops small Woodgrain Textured Embossing Folder Wink of Stella clear

Thanks for stopping by!!

~Kymona

Season Tweetings…

Hello everyone!!  I’m here with Lawnscaping today.  They are having a Facebook Inspiration Design Team Call.

Lawnscaping FIT DT Call Challnege

How cool is that!!  I said to myself, why not go for the the gusto!!  So, I did!!

I picked up the cutest Lawn Fawn stamp set and die today from a scrapbook store I found online called Scrappers Playground.  It’s a cute store with all sorts of papercraft goodies.  Its in Long Island, a really nice drive, on such a pleasant day.   The ladies that helped me were so helpful and nice.  They were passionate about what they do!  I will have to go back for a class on my free time!!  If your in the LI area, check them out!

On to my cards, I have two, couldn’t help myself:

Joy birds

I love these little birds!  Here’s how I created this card:

1. My card base is 4.25 x 5.50 scored at 5.50.  My card panel is cut to 4 x 5.25, I rounded all four corners.

2. I embossed my card panel with Stampin’ Up! Perfect Polka Dot embossing folder.

3. I stamped my birds and tree branch from Lawn Fawns Winter Sparrows.  I colored my birds with Copic markers: Body C5 and their accessories BG34.

4. I used the Lawn Fawn Winter Sparrow dies to cut everything out.

5. I attached the tree branch and the birds with foam adhesive.

6. I used Lawn Fawn Joy die and cut out three of them from white card stock and one from Lawn Fawn Sweater Weather pattern paper.

7. I stacked them together using Tombo Mono Adhesive.

8. I added it to my card panel.

9. I added Stampin’ Up! Whisper White bakers twine to the right side of the card panel.

That was easy!!

Know on to my second card:

Season's Tweeting

This card was created with the same stamp set and die.  I loved it that much.

Here is how I created this card:

1. My card base is 4.25 x 5.50 scored at 5.50.  My Lawn Fawn Sweater Weather pattern paper is cut to 4.25 x 2.50.

2. I stamped my birds, tree branch and leaves from Lawn Fawns Winter Sparrows.  I colored my birds with Copic markers: Body E33; their accessories BG34 and R29 and leaves G17.

3. I used the Lawn Fawn Winter Sparrow dies to cut everything out.

4. I attached the tree branch and the birds with foam adhesive.

5. I attached Lawn Fawn Orchid Hemp Trim under the pattern paper.

6. I stamped the sentiment under the trim.

Easy Peasy!!!

So tell me what you think?

Supplies used:

Winter Sparrows Lawn Cuts Winter Sparrows Orchid Lawn Trimmings Sweater Weather Petite Paper Pack Perfect Polka Dots Textured Impressions Embossing FolderCopic MarkersWhisper White Baker's Twine


Cherry Berry FLOAT..

Hello everyone!  I’m here today playing along with CASology Week 102: Float!!!

Week 102 - Float

I have to admit when I saw this cue card, I wanted to do a hot air balloon or just regular balloons.  I thought that would be easy.

Then I said to myself, why not be different.  Why not be unpredictable.  So, I went through all of my stamps to see what would float?  What could give the feeling of floating?

Guess what!  I found something.  Yes, yes, yes! What could we all use on a nice summer day to cool us down?

Yes, yes, yes!!  A float!  Not just any float or the most common one, A CHERRY BERRY FLOAT with two straws!

Take a look:

Cherry Berry Float

D-E-L-I-C-I-O-U-S

How cute is this!!!  Did you see the sparkle on my ice cream!!!  I was going to add some other embellishments but decided against it since this is a clean and simple card challenge and white space matters, lol.

The Copic colors I used were R29, BG49

So0000, tell me what you think.  Really, let me know.  What is a good idea or what!

Supplies used:

Here's the ScoopWink of Stella clearCopic MarkersStampin' TrimmerWe R Memory Keepers Corner Chomper

Thank you so much for stopping by!

~Kymona

Hello World, How are you?

Hello everyone!  I’m in such a great mood today, I can’t stop smiling.  I’ve been working really hard at my craft and slowly by surely its paying off.  So, I’m really proud of myself.

I’m here today with a card for the Muse Challenge #69. This is my first time playing along with them so I hope I don’t disappoint them.

Cornelia was chosen to create the Guest Muse this week and her card is full of bright colors, a cool technique and FUN!

Here is her card:

Cornelia

My job is to use the Muse card as inspiration and create one of my own.

When I looked at Cornelia’s card, it reminded me of my all time favorite technique, WATER-COLORING!!!  I love how she made the colors mix with one another and the splatters across the card.

So I knew right away that I had to pull out my Koi watercolors.  I decided that I wanted to use colors I hardly use that are bright and will stand out on the black cardstock I wanted to use.

Before I painted, I scored the watercolor paper to give it added texture.

I used colors #3, 12, and 16 to create my sentiment and hearts. You can see the colors on my swatch here.

Like Cornelia’s card I wanted to create a one layer card so I decided to create an inlay card with my sentiment and hearts.  So, I die cut my sentiment and hearts from the watercolor piece.

helloswatch

After I cut out all of my pieces that I need to create my card, I realized that I wanted my card to have a stitch edge so to create that I had to use my large journal stitch die, which in turn cut off a portion of my card.  I was ok with that because I love the stitch edge. That idea came from Nichol Magouirk.

After that cut, my card was no longer a one layer card.  I put all of the piece together and here is what I came up with.

Here is my card:

Hello

I added sequin, enamel dots and rhinestones to resemble Cornelia’s paint splatters.  I choose colors that were close to my watercolor sentiment and hearts.

Sooooo, what do you think? No stamping required. I love how it came out.

Supplies used:

Canson Watercolor PaperKio WaterColorsBasic Black CSLargeStitchedJournalingCardScripty HelloHello Sunshine Mixed SequinsBrights Candy DotsBasic Rhinestones Jewel AccentsStampin' TrimmerSnail AdhesiveStampin' DimensionalsclassiccrestsolarwhtieWe R Memory Keepers Corner Chomper

Thanks for stopping by!

~Kymona