Creating Easy Cards using Gossamer Blue March Scrapbook Kit

Hello everyone!! I’m up on Gossamer Blue blog today show you how to create easy cards using Gossamer Blue March Scrapbook Kit.

Take a look at Gossamer Blue Scrapbook Kit:

Here is one of the three cards that I created with this kit:

I used the washi tape and the thickers included in the kit to create this card.  To get the full tutorial and to see the rest of the cards I created, please head on over to Gossamer Blue blog!

What do you think?  I would love to hear from you below.

Thank you for stopping by!

Simple Stamping with Your Next Stamp July 2016 Release

Hello everyone!!! I’m back again for this month’s Your Next Stamp Sneak Peek!!

We are getting ready for our July Release Blog Hop tomorrow with a sneak peek today. Are you excited? I am!!

Take a look at my card that I’m giving you a sneak peek of:

set of stamped cards

YNS Supplies: Fairytale Friends

Other Supplies: Recollection Heavyweight White Cardstock, Copic Markers, We R Memory Keepers Corner Chomper, Mini Misti, Versafine Ink

 Who needs a set of just because cards?  I always do!!  My family members are always asking me for cards that they can send to people so sets like these are perfect for those times.  They are also great to give away as gifts.

To create these cards:

  1. Cut your cardstock to 4 x 8 card size, scored at 4.
  2. Using the Mini Misti, place the stamps exactly where you want them to appear on your card front.
  3. Ink the stamps up and stamp!!
  4. Change out the sentiments and stamp.

Super easy and fun!!

I hope I see all of you tomorrow for the July 2016 Release Hop.

~Kymona

Guest Designer: Sparkle and Shine Challenge

Fourth Post for the day
If your looking for the CASology Post, click here
If your looking for a2z Scrapbooking December Challenge, click here
If your looking for So Suzy Stamps Blog Hop, click here

Hello everyone!! I’m here today with the Sparkle and Shine Challenge as the Guest Designer for the month.  I’m super excited to participate in this challenge this month.  The ladies on this team are totally awesome designers.

Here is the photo inspiration that I used to create my card:

sparkle and shine. jpg

When I saw this photo, I was torn on what to create!  I saw the purple first, its my favorite color, then I spotted the snowflakes on the wall and thought how can I recreate that look and here you go.

Take a look at my card:

Joy (S&S)

I totally love how this card turned out!!  Purple is such an amazing color!  It’s vibrant and deep!!

I wanted to include the snowflakes, the colors purple and black!

Here is how I created my card:

  1. I used Distress Ink Dusty Concord and add the ink to my paper. Only on one side of the card base since the snowflakes were in the corner.
  2. Then I used Create a Smile Snowflake stencil and Wendy Vecchi Embossing paste to add some snowflakes over the purple ink blending.
  3. Then I used Lawn Fawn Joy Die to die cut 3 words out of fun foam.
  4. I adhered the sentiment to the card base using Tombow Multipurpose Glue.
  5. Then I added some Pretty Pink Posh sequin from the Create a Smile Snow Dancing kit.

So what do you think?  Please let me know.

This challenge runs for two weeks. You have until December 14, 2015 at 11:55pm to enter for a chance to win a super awesome prize!!

Supplies used:

Distress Ink Dusy ConcordTombow Multi-Purpose AdhesiveSnow Dance Kit  Scripty Joy Fun Foam Embossing Paste

Thank you so much for stopping by!!

~Kymona

No Stamping: Joy

Second Post of the Day

The a2z Scrapbooking Blog post is here

Hello everyone!  I’m here today playing along with a couple blog challenges.  I hardly get to play at times so when I do, I get super excited.

Today I’m here with the Muse Challenge #95.  The Muse this week is Caroline.

Take a look at Caroline’s card:

WPlus9WoodlandGrey Nov14 1

I’m also here with Simon Says Stamp Wednesday Challenge: Anything Goes.

wed-newchallenge-header


I’m also here with Simply Create Too SNOW, SNOW, SNOW or All White Challenge #75.

1 - SC2  GROUP BADGE

Take a look at my card:

Joy with clothespin

I just love how my card turned out.  I saw the fabulous Laura Bassen create a card like this and I knew I had to give it a try. I love the simplicity in the design.  So I gather all of my supplies and pulled this card off.

Creating this card was easy because everything was die cut!

I love how the pop of red from Lawn Fawn’s Joy die stand out on Papertrey Ink’s Journal Card 5 Die and matches the hint of red on the pattern paper.

I used Technique Tuesday’s Story Card Die to cut Lawn Fawn’s Snow Day patten paper.

I added Pretty Pink Posh 4mm Sparkling Clear Sequins and 6mm Sparkling Clear Sequins.

I tied Stampin’ Up! Whisper White Bakers Twine on the Stampin’ Up! clothespin.

Easy and no stamping.

So, what do you think?  Please let me know below.  I would love to hear from you.

Supplies used:

PTI Journal Card 5 dieScripty Joy Technique Tuesday Die Story CardLawn Fawn Snow Day PaperClothespinsWhisper White Baker's TwinePretty Pink Posh 6mm Sequins Pretty Pink Posh Sequins 4mm

Thanks for stopping by!

~Kymona

Holiday Card Workshop Day 4

Hello everyone!!  I’m here with my homework from Day 4 from my Online Card Class Holiday Card Workshop.  I’m so happy I’m able to complete some of my homework.  There are times when I don’t get to finish all my assignments, so to be able to get them done this time around is great for me.

Day 4 lessons focused on One-Layer Cards.

Our instructors today were:

1. Jennifer McGuire with a Window Card

2. Laura Bassen with Create a Scene

3. Julie Ebersole with Simple Masking

Now on to my cards.  Lets start with:

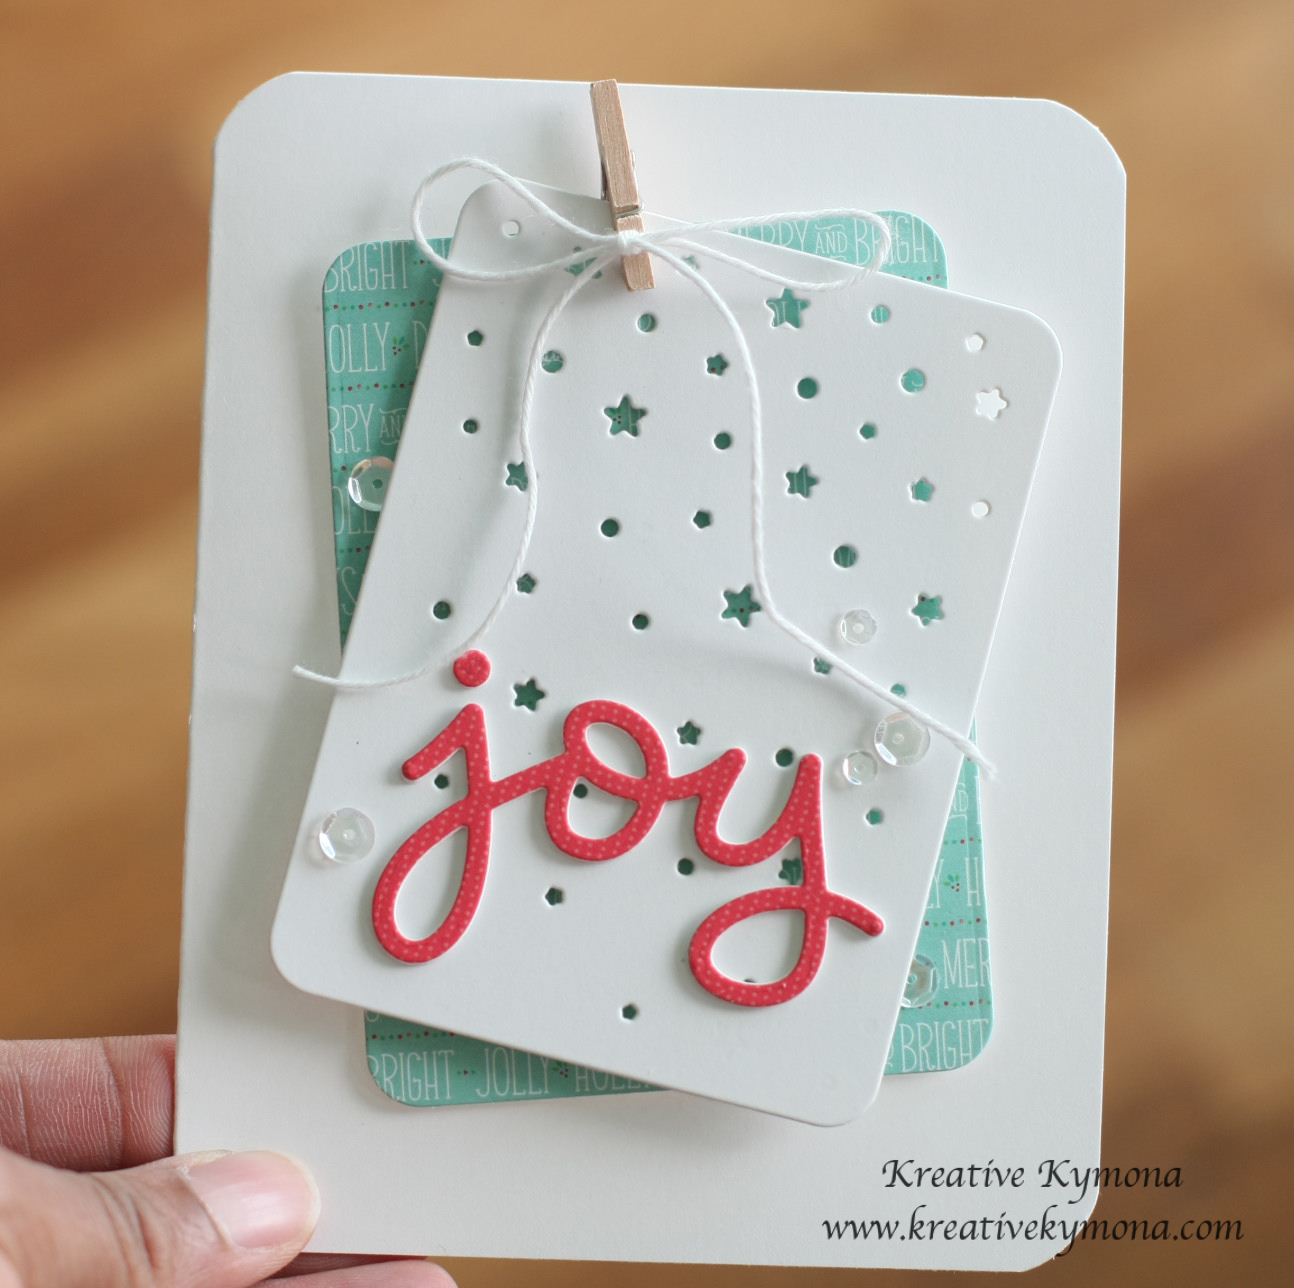
1. Jennifer taught us a double partial die cutting trick.  I really love this technique and will be using it on more of my cards.
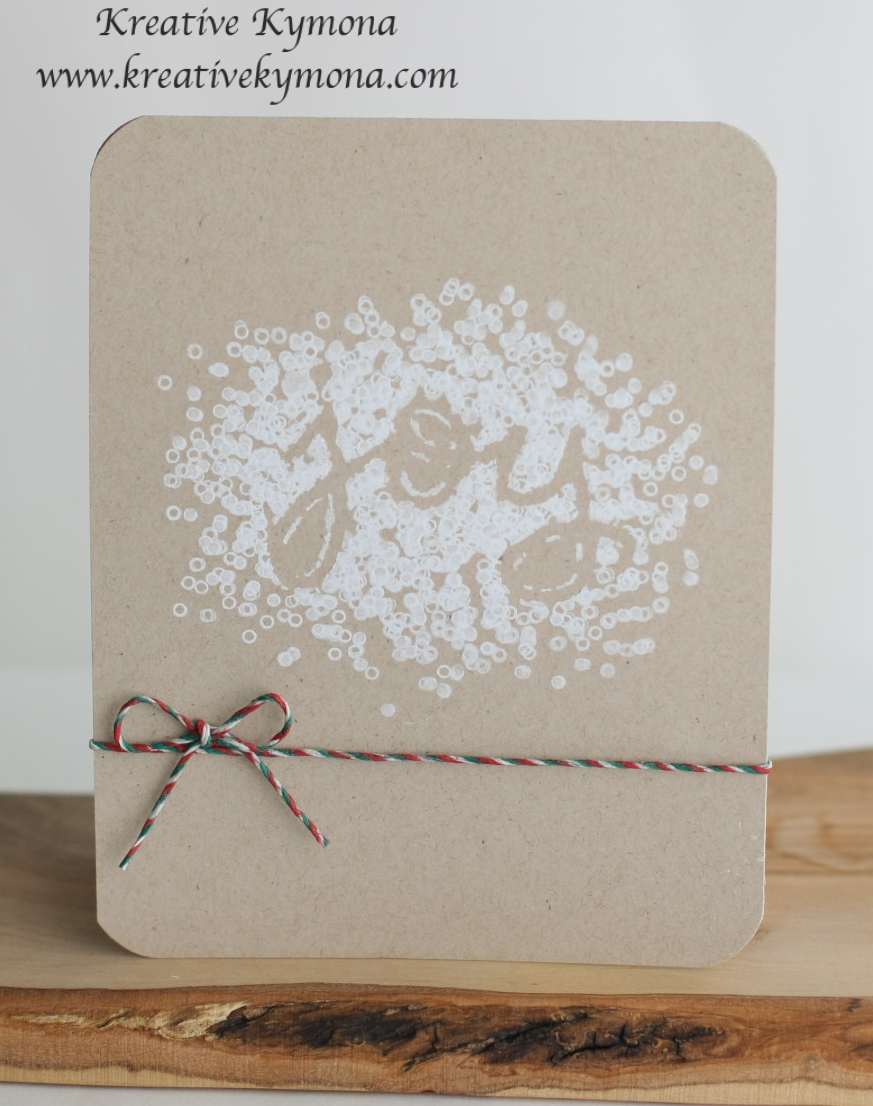
Here is my card:

Snowman

Yes, this card has two separate die cuts.  Can you believe that?  I know, neat isn’t it.

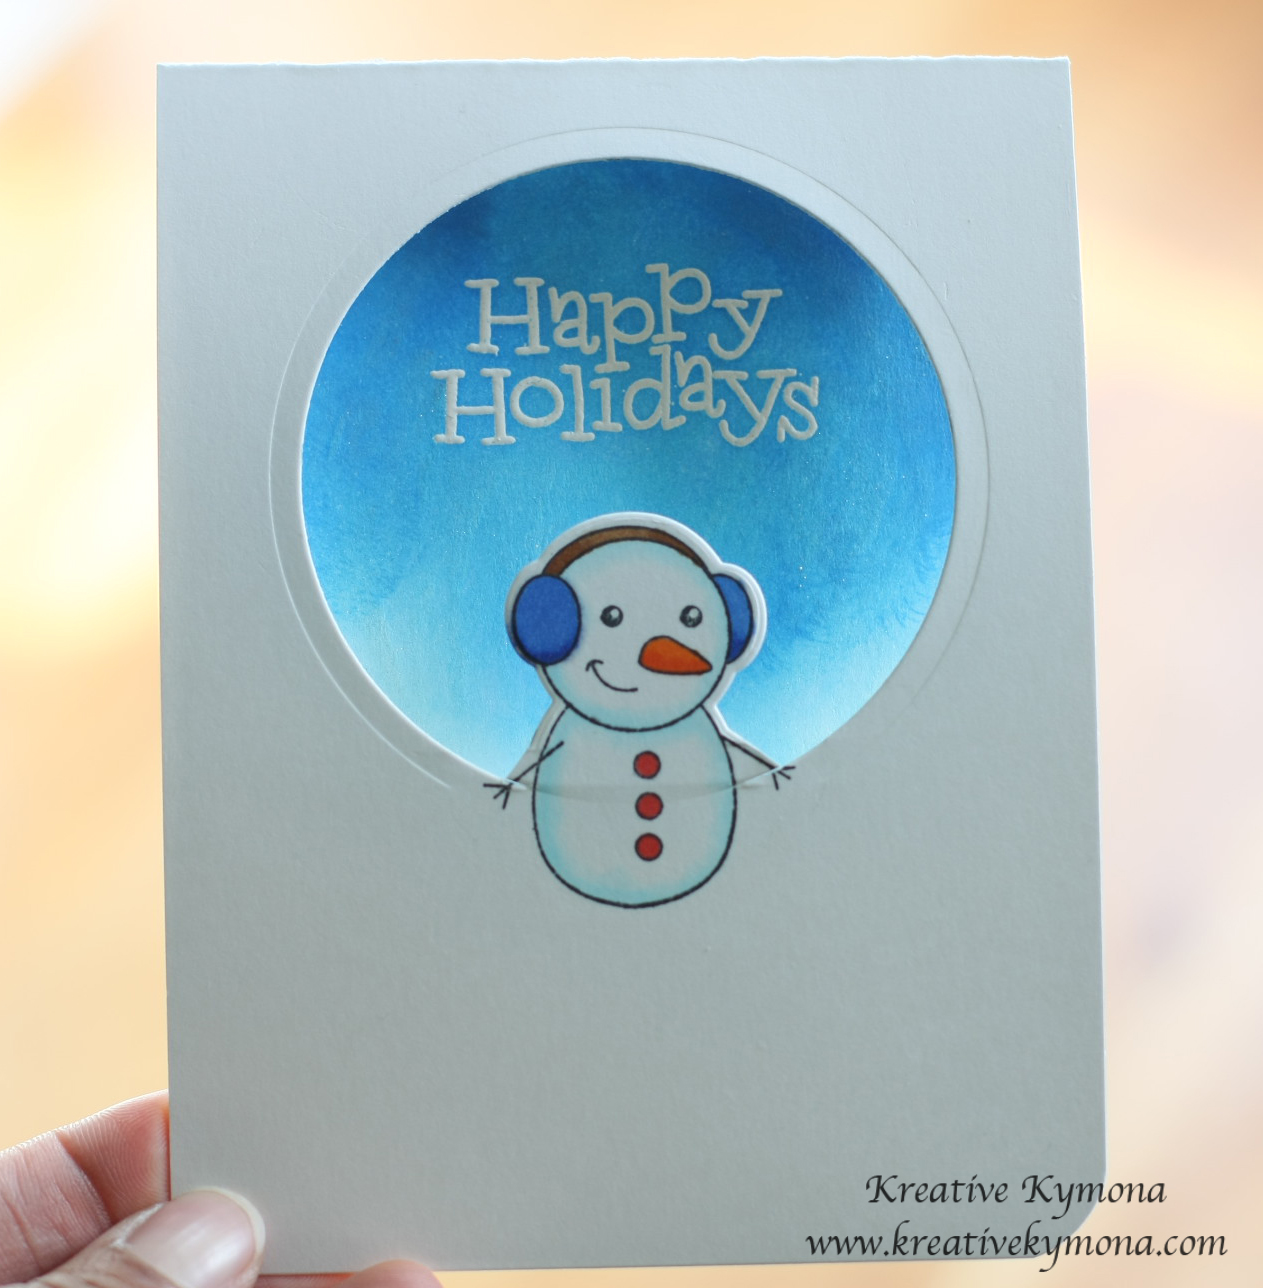
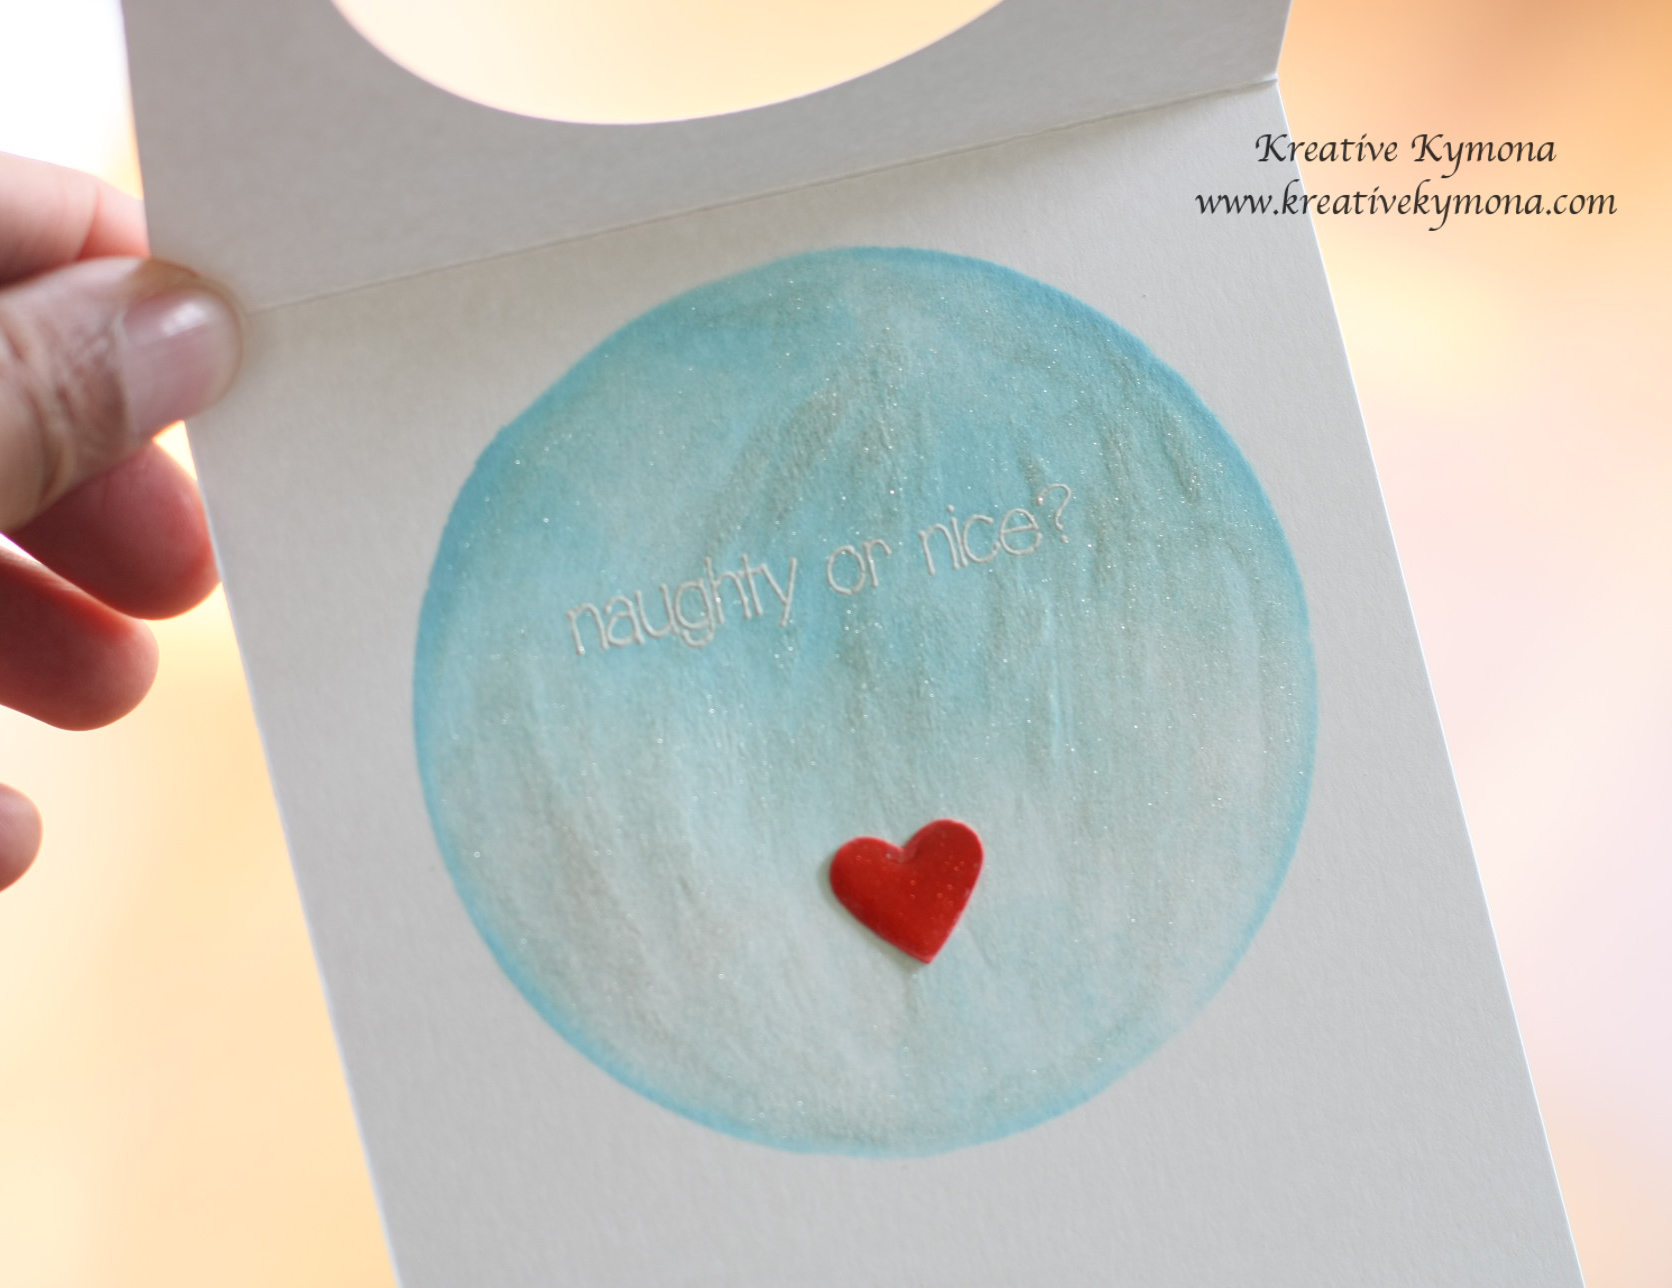
Lets look at the inside of the card:

Snowman InsideI heat embossed my sentiment, cut a circle stencil and inked my circle with distress inks.  I add clear wink of stella to the circle.  I colored a piece of white cardstock with the same Copic marker I used on the snowman’s buttons.  I punch a heart and adhered it to the circle.

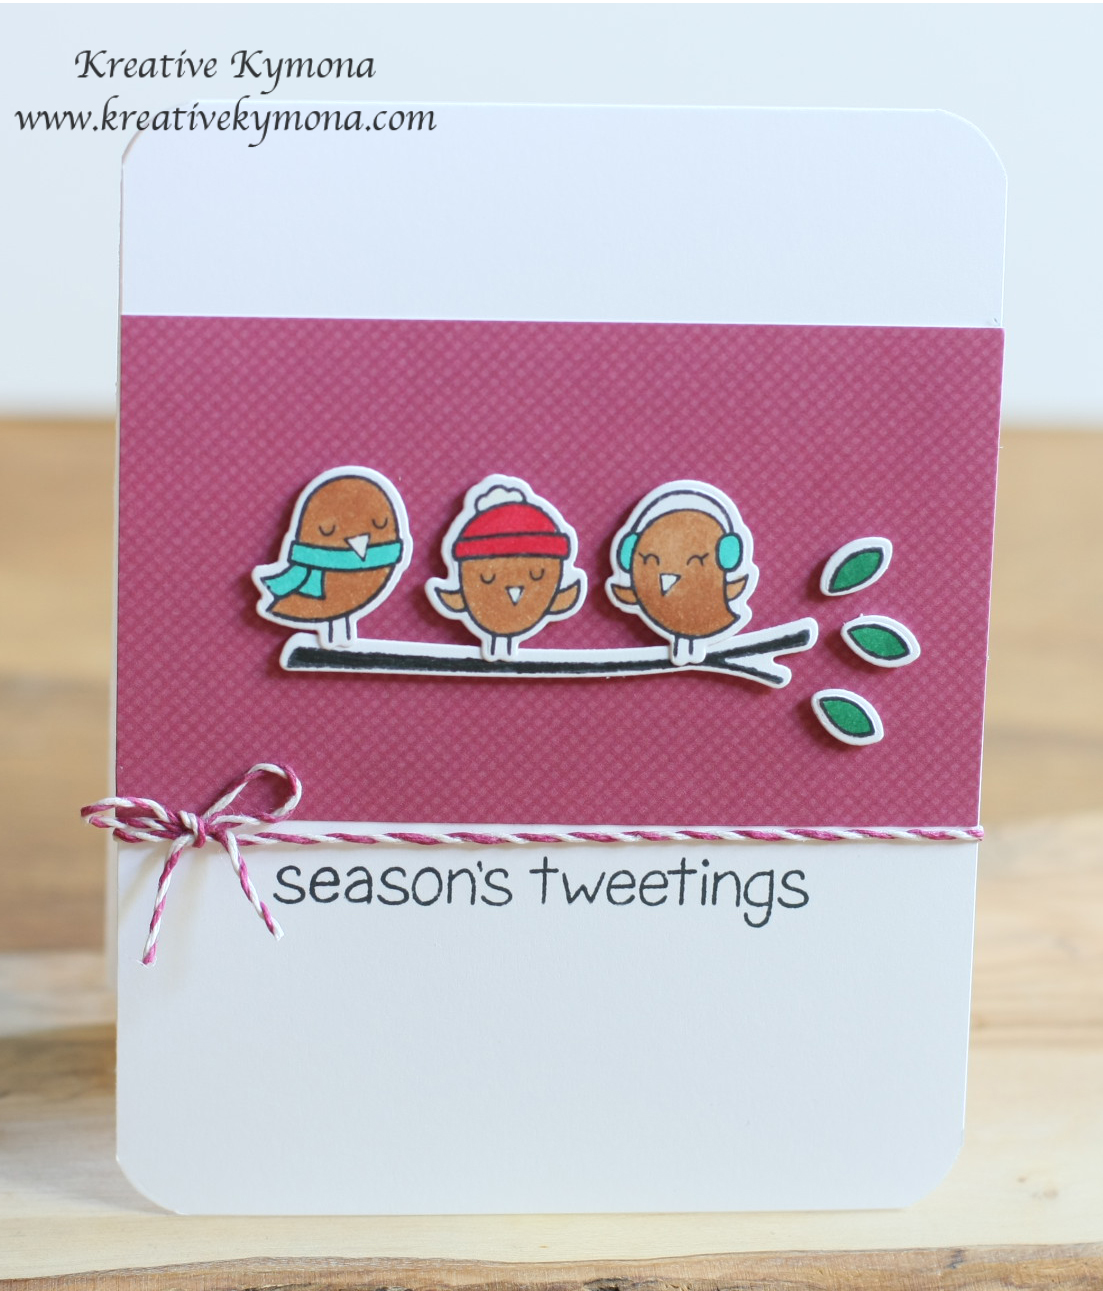
I loved the card so much I made another.  Take a look at my second card:

Santa Die cut

Isn’t this Santa just the cutest you’ve seen.  I really like my coloring of this Santa.  I’m not to fond of the background but it will do.

In fact the snowman should have this background and the Santa should have the other background.

Take a look at the inside of the card:

Santa Inside

I think I put to much glitter on this circle.  What do you think?

Now on to the next card:

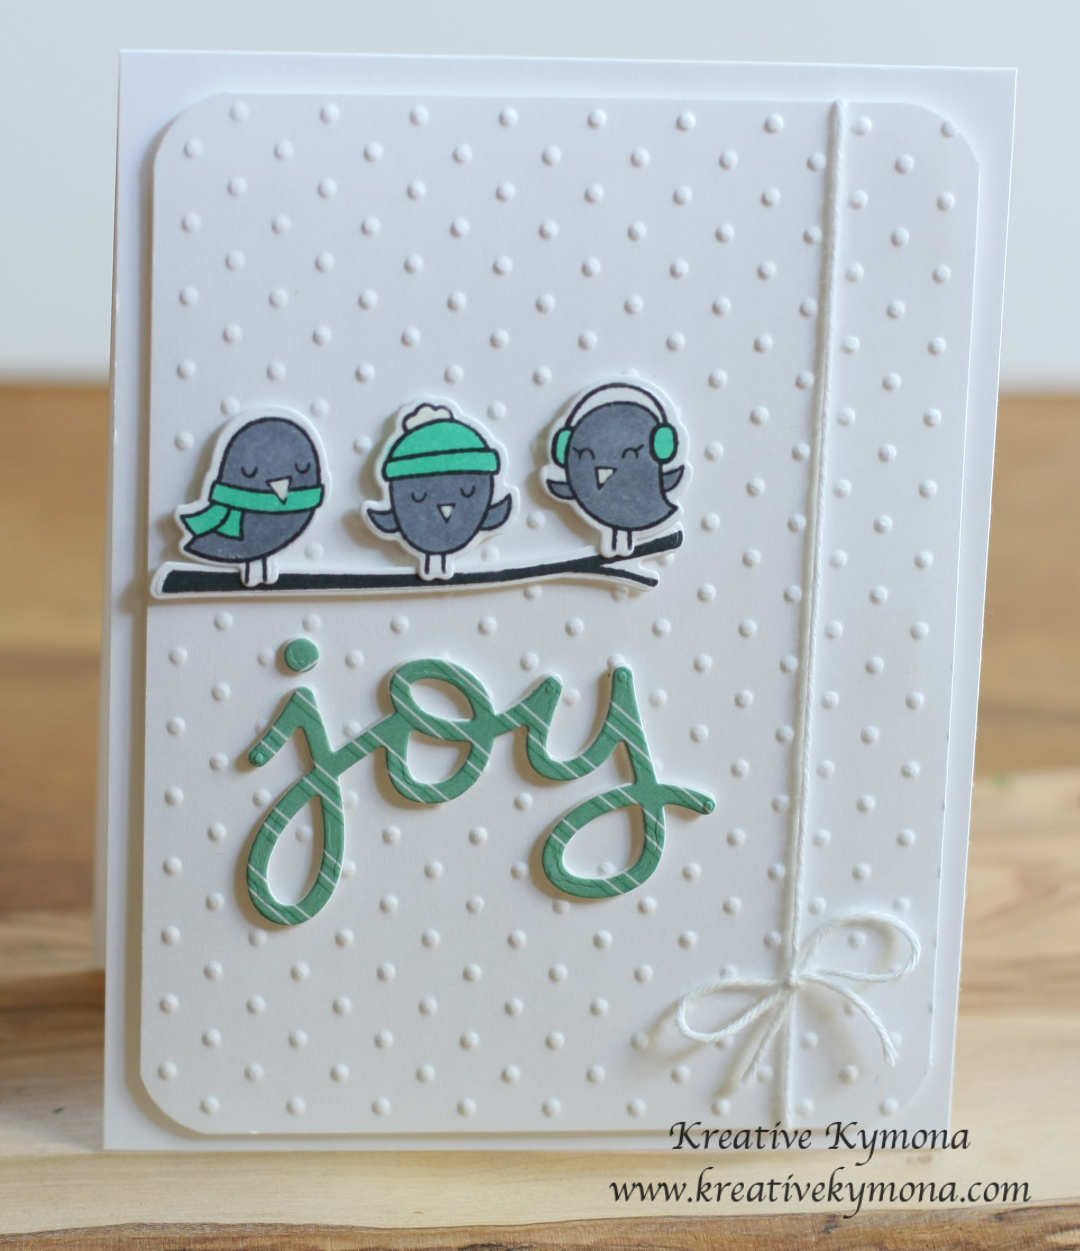
2. Julie taught us how to mask off an area and stamp in that area to create a silhouette.

I’m not sold on my card but I tried, take a look:

Joy

Julie used die cut of a deer with antlers, her cards look so much better.  I have to give this technique another try.

Julie created another card that I will try to do tomorrow.  I also have to work on the card Laura taught us.

I will be back tomorrow with those cards.  Stay tuned!!

Supplies used:

Snowman and Santa Card:

Winter FriendsCopic MarkersSalty Ocean Distress InkTumble Glass Distress InkCircles Framelits DieItty Bitty Accents Punch PackWink of Stella clearclassiccrestsolarwhtie


Joy Card:

Scripty Joy Mistletoe Lawn Trimmings Hero Arts Unicorn Pigment InkSSS Khaki cardstockconfetti

So what do you think?

Thanks for stopping by!

~Kymona


Season Tweetings…

Hello everyone!!  I’m here with Lawnscaping today.  They are having a Facebook Inspiration Design Team Call.

Lawnscaping FIT DT Call Challnege

How cool is that!!  I said to myself, why not go for the the gusto!!  So, I did!!

I picked up the cutest Lawn Fawn stamp set and die today from a scrapbook store I found online called Scrappers Playground.  It’s a cute store with all sorts of papercraft goodies.  Its in Long Island, a really nice drive, on such a pleasant day.   The ladies that helped me were so helpful and nice.  They were passionate about what they do!  I will have to go back for a class on my free time!!  If your in the LI area, check them out!

On to my cards, I have two, couldn’t help myself:

Joy birds

I love these little birds!  Here’s how I created this card:

1. My card base is 4.25 x 5.50 scored at 5.50.  My card panel is cut to 4 x 5.25, I rounded all four corners.

2. I embossed my card panel with Stampin’ Up! Perfect Polka Dot embossing folder.

3. I stamped my birds and tree branch from Lawn Fawns Winter Sparrows.  I colored my birds with Copic markers: Body C5 and their accessories BG34.

4. I used the Lawn Fawn Winter Sparrow dies to cut everything out.

5. I attached the tree branch and the birds with foam adhesive.

6. I used Lawn Fawn Joy die and cut out three of them from white card stock and one from Lawn Fawn Sweater Weather pattern paper.

7. I stacked them together using Tombo Mono Adhesive.

8. I added it to my card panel.

9. I added Stampin’ Up! Whisper White bakers twine to the right side of the card panel.

That was easy!!

Know on to my second card:

Season's Tweeting

This card was created with the same stamp set and die.  I loved it that much.

Here is how I created this card:

1. My card base is 4.25 x 5.50 scored at 5.50.  My Lawn Fawn Sweater Weather pattern paper is cut to 4.25 x 2.50.

2. I stamped my birds, tree branch and leaves from Lawn Fawns Winter Sparrows.  I colored my birds with Copic markers: Body E33; their accessories BG34 and R29 and leaves G17.

3. I used the Lawn Fawn Winter Sparrow dies to cut everything out.

4. I attached the tree branch and the birds with foam adhesive.

5. I attached Lawn Fawn Orchid Hemp Trim under the pattern paper.

6. I stamped the sentiment under the trim.

Easy Peasy!!!

So tell me what you think?

Supplies used:

Winter Sparrows Lawn Cuts Winter Sparrows Orchid Lawn Trimmings Sweater Weather Petite Paper Pack Perfect Polka Dots Textured Impressions Embossing FolderCopic MarkersWhisper White Baker's Twine