Hello everyone! I’m here today with CS Take It Make It Design Team for our CS Take It Make It: Take a Stamp Challenge for the month of May.
This month’s theme is Take a Stamp!! That means take any stamp and create something, anything goes!! Now if that isn’t easy, I’m not sure what is!!
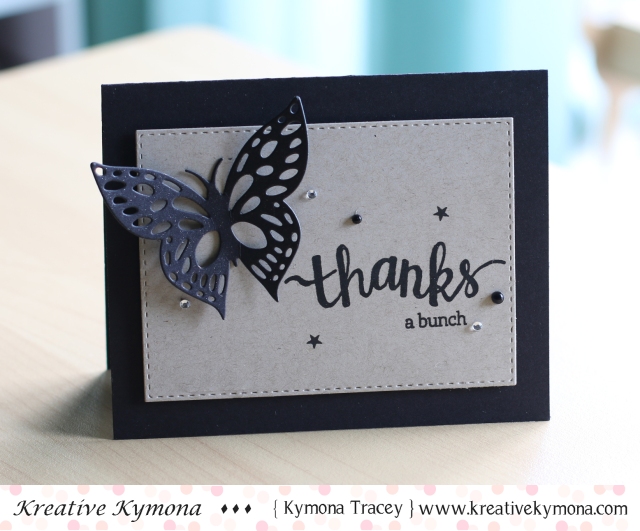
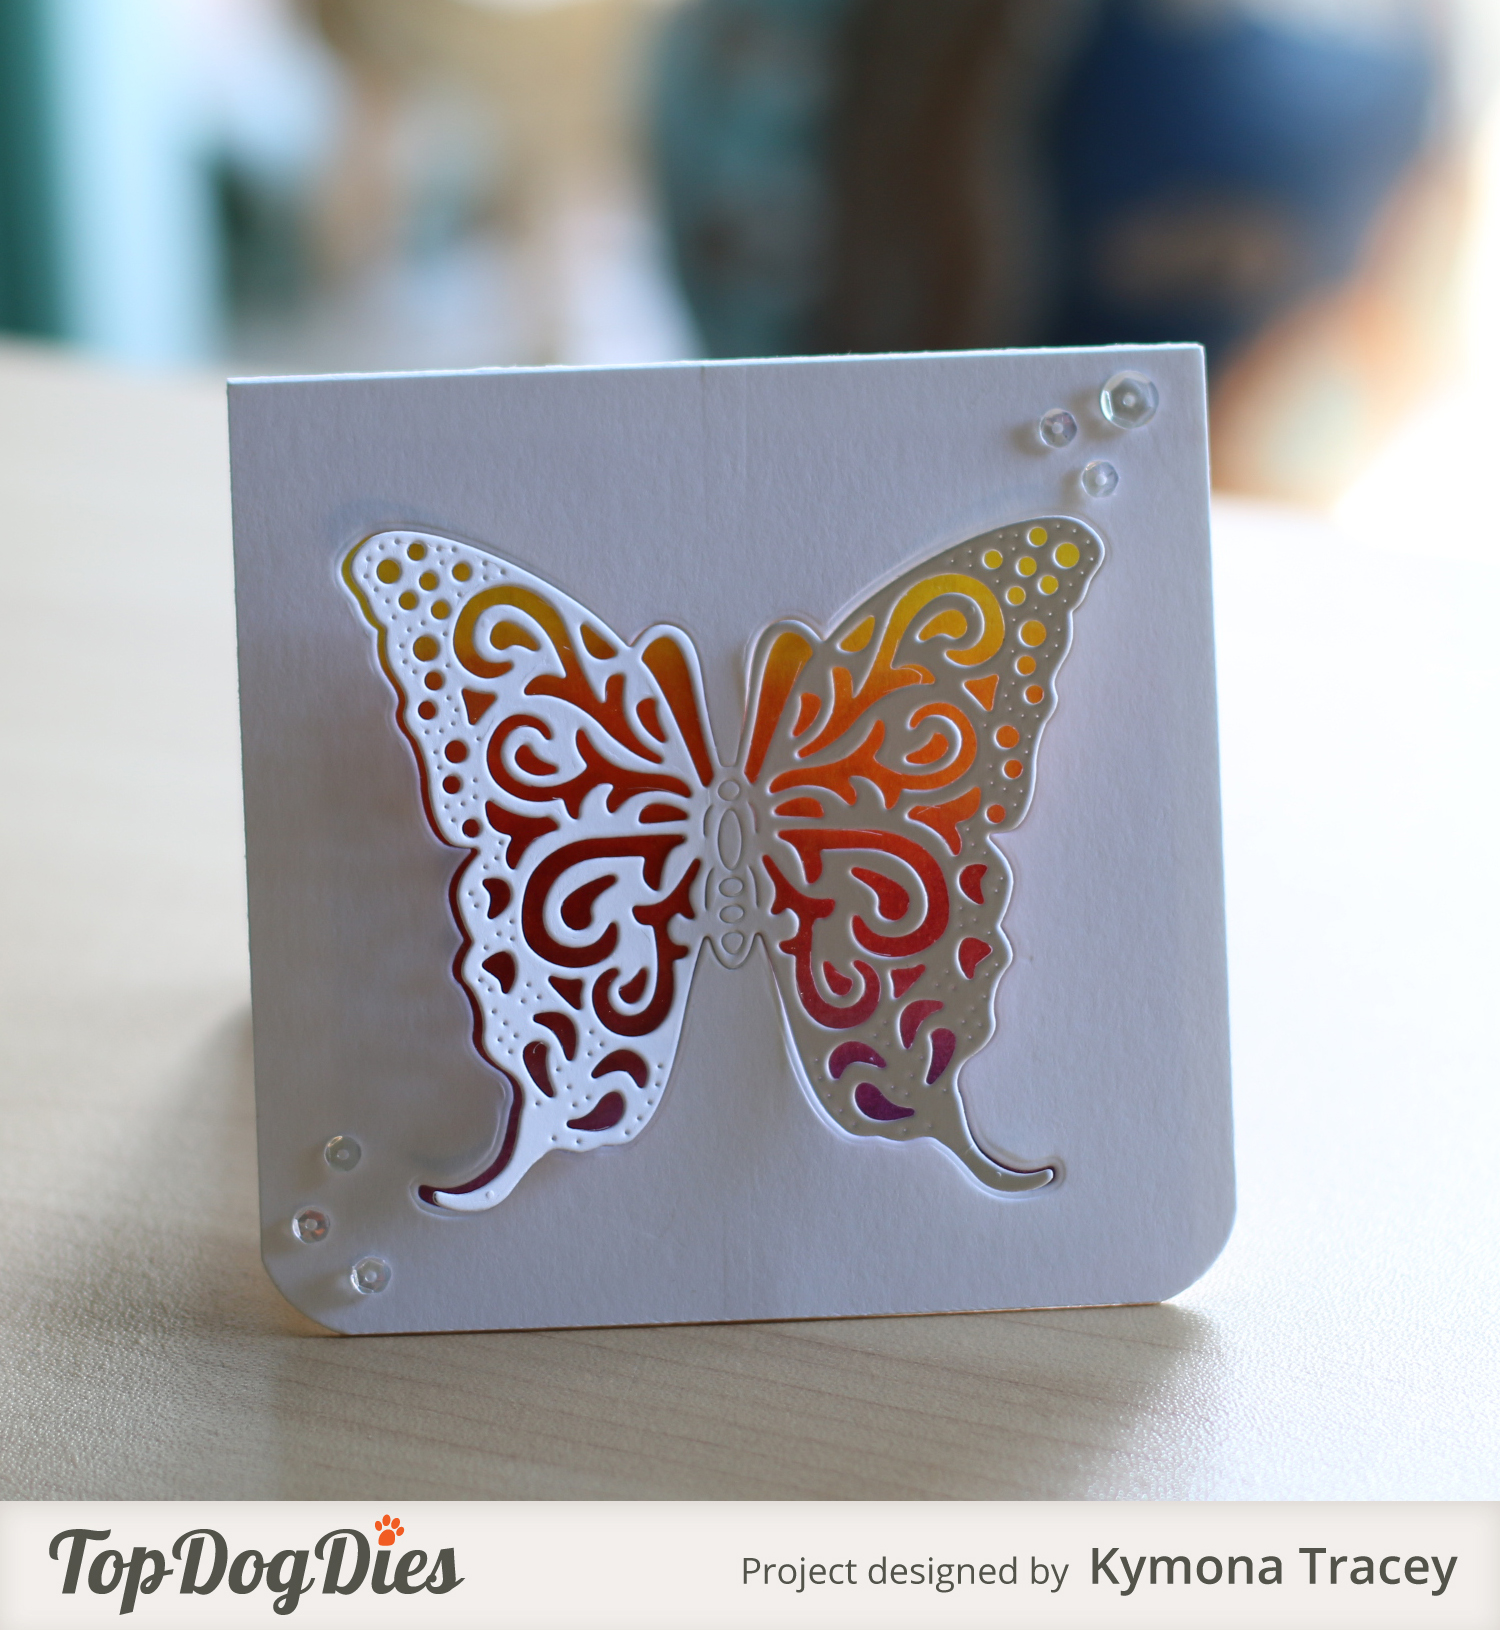
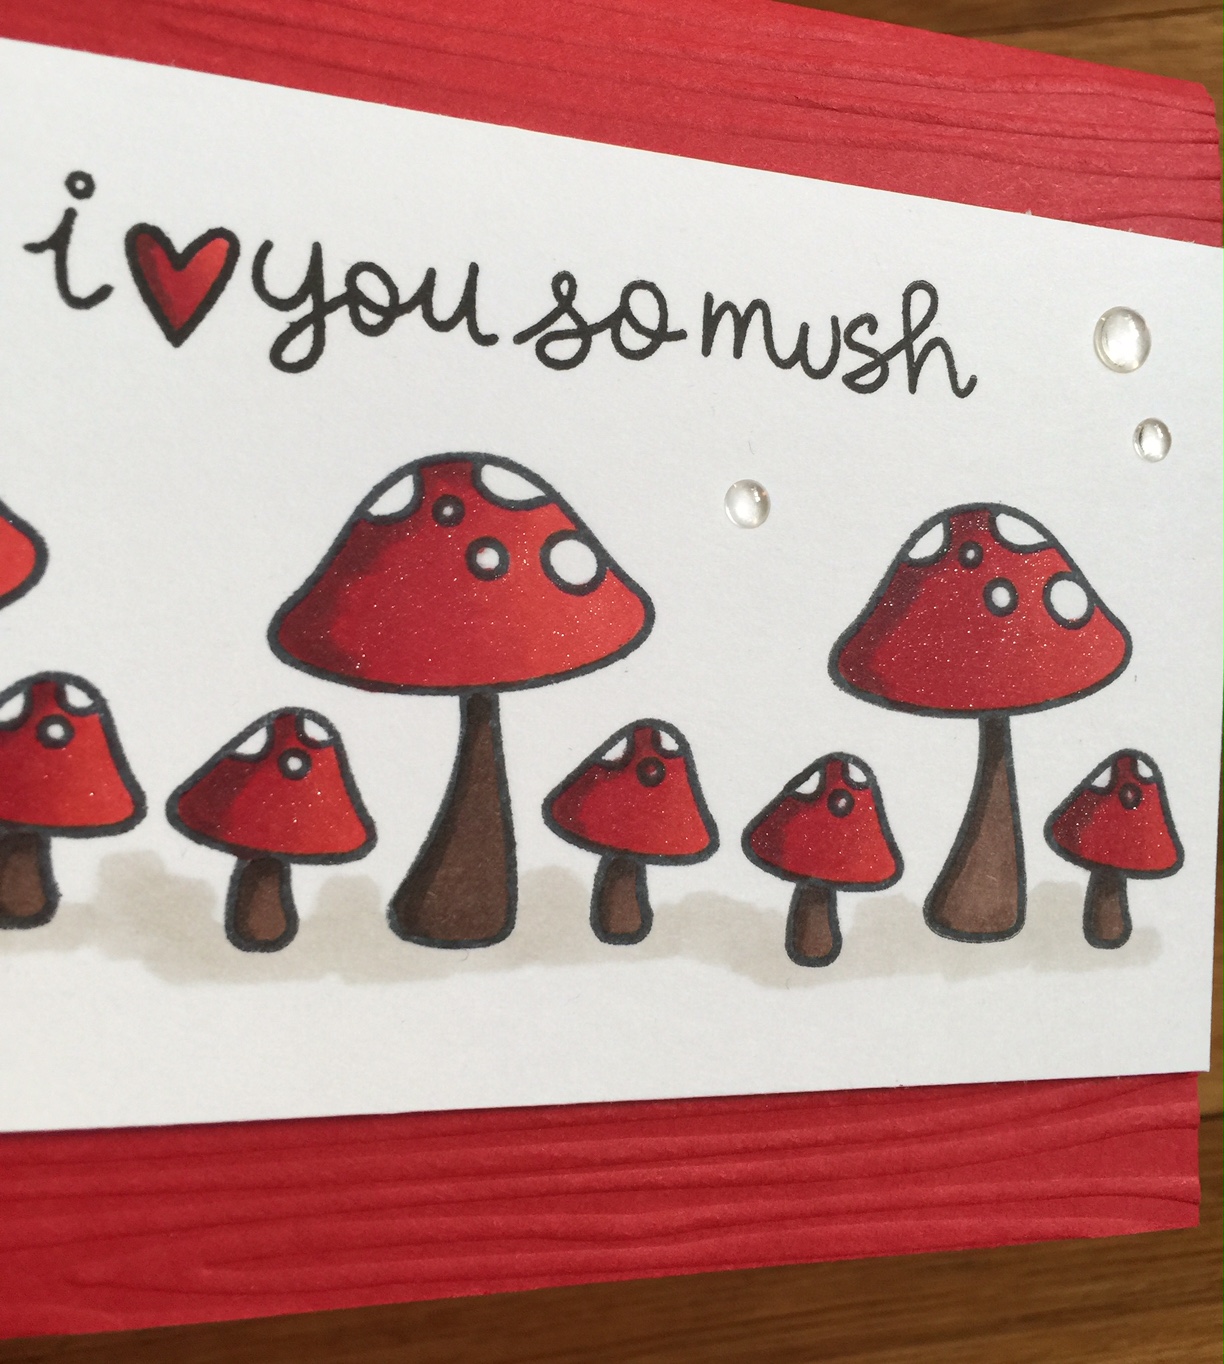
Take a look at my card:

OMG!! That butterfly is super amazing. That butterfly comes from the new Tim Holtz’s Perspective stamp set. I’m so glad I ordered it. I will get a lot of mileage with that stamp.
Here is how I created this card:
1. I cut my card base to an A2 size card (4.25 x 5.50 scored at 4.25).
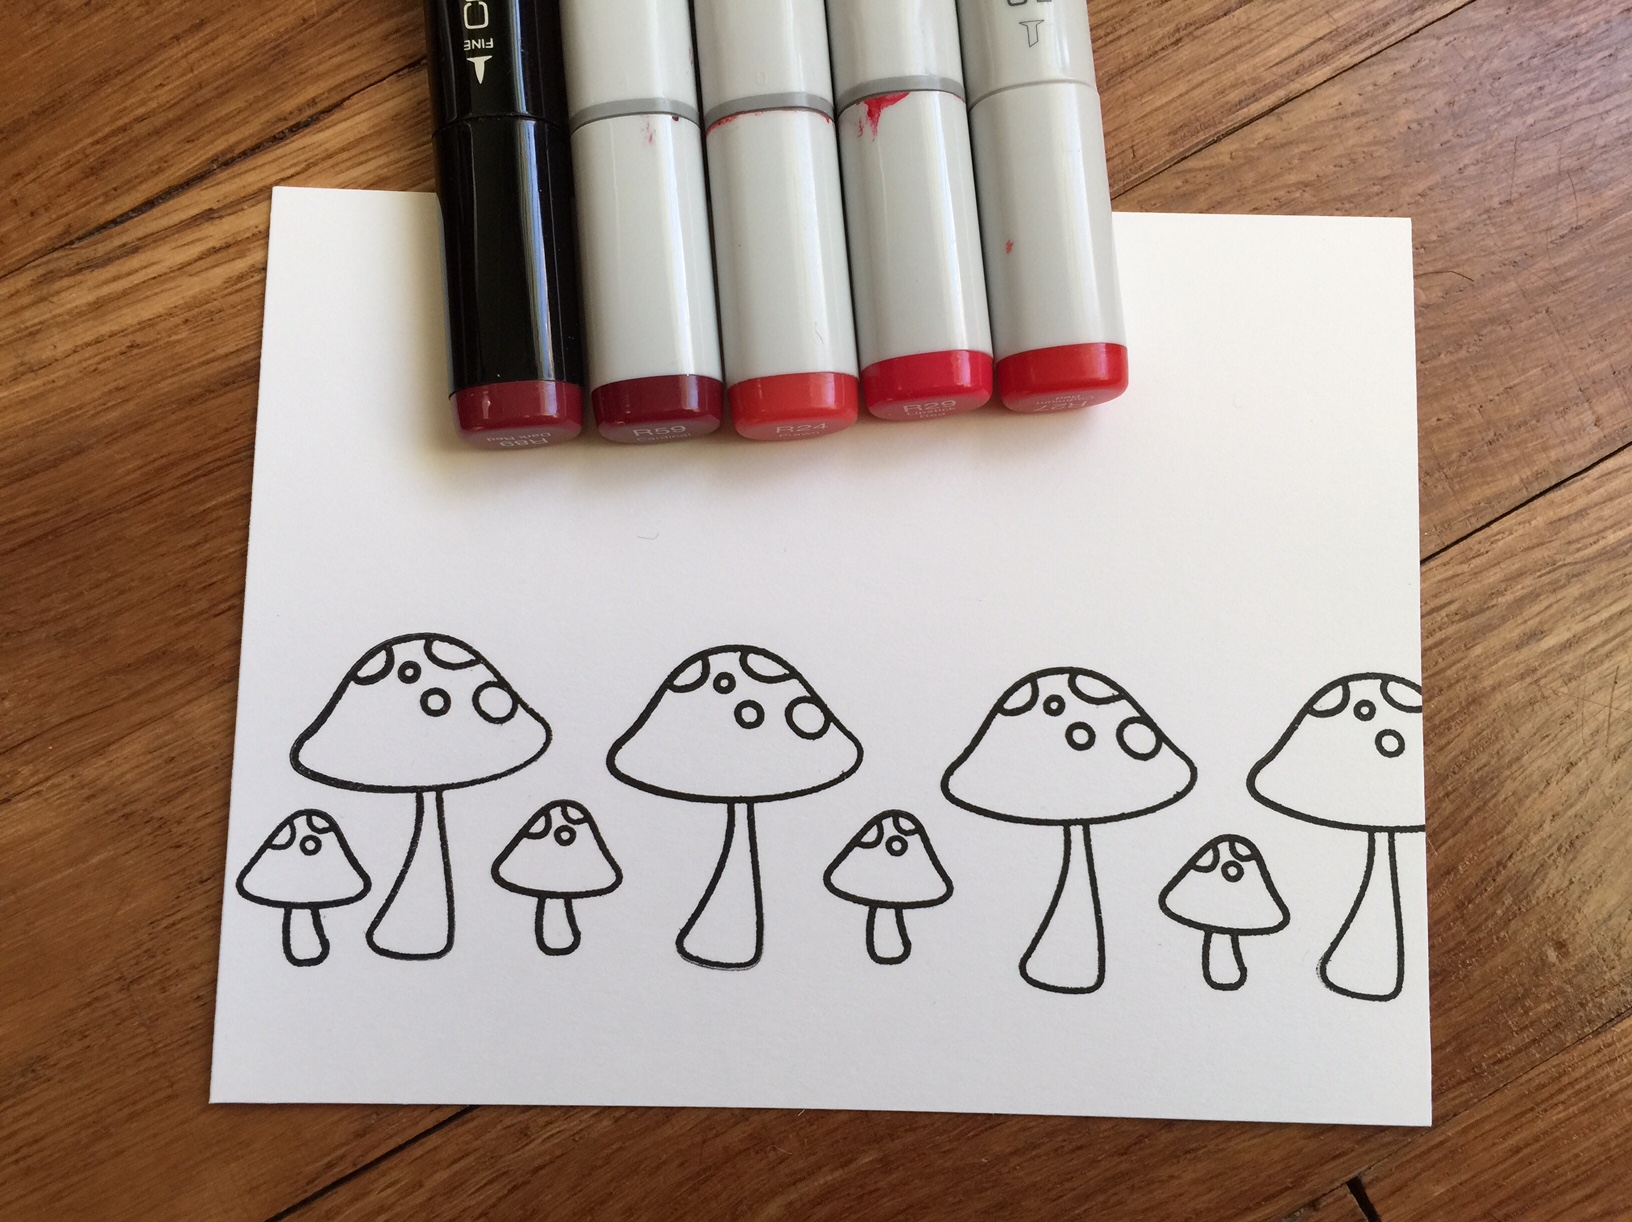
2. I stamped the butterfly and the sentiment from Tim Holtz’s Perspective stamp set using My Favorite Things Hybrid Black Ink.
3. I colored the butterfly using Copic Markers: BV02, BV04, BV08 and R81.
4. I added Clear Wink of Stella to the butterfly for extra shimmer.
5. I cut a mask out of the butterfly to cover my pretty butterfly up.
6. I used WPlus9 Bloomsberry Spray Mist and the Shimmer Spray Mist to add splatters to my card front.
Those sprays are awesome. Such a great added touch to my card.
7. I rounded the corners with the We R Memory Keepers Corner Chomper.
Pretty neat right!! Now its your turn to play along with us.
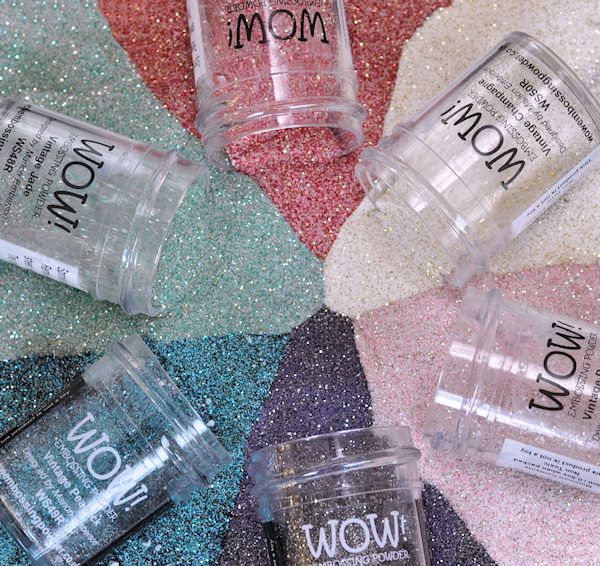
We have two prizes to offer this month, the first is our sponsor prize. This winner will be chosen randomly from all of the entries in the challenge! The sponsor for May is: WOW! Embossing Powders.

Here are the prizes this month:
A set of 6 vintage embossing glitters in a case and a lace stamp!!


Our second winner is our Design Winner. This winner is chosen by our DT, who all vote for their favorite design from all of the entries. This winner will have their winning project published in Craft Stamper Magazine, they will have a GDT slot for an upcoming challenge, and will also feature in their very own Winners Profile blog post!
Now if that isn’t a reason to play along I’m not sure what is!!
I can’t wait to see what you come up with.
Supplies used:


Thank you so much for stopping by!
~Kymona