Hello everyone!!! It’s CASology Tuesday!! We are back with another Clean and Simple Cue Card just for you!!
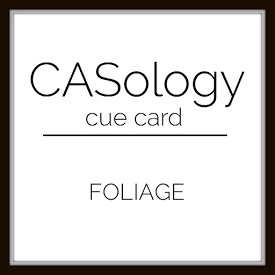
This week’s cue card:
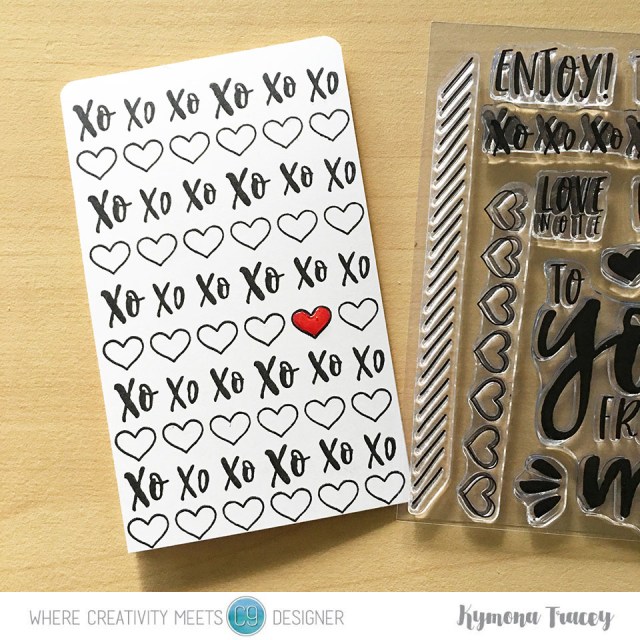
Take a look at my card:

While I was at Creativation this year, I stopped by Waffle Flowers booth and fell in love with their flower dies!! I knew I had to collet them all and I did.
Today I’m using the Waffle Flower Crafts Magical Flower die to represent “Foliage”!
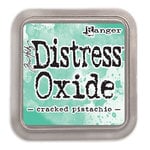
I used Distress Oxides Cracked Pistachio, Fired Brick, Fossilized Amber, Worn Lipstick and Spiced Marmalade to add color to the flowers.
Then I used foam tape to adhere the flower to the card front.
Once the die was in placed, I used the Mini MISTI to stamp the sentiment from Sweet Stamp Shop Encourage stamp set on the card front.
To finish the card off, I used We R Memory Keepers Tab Punch Board to round three of the card’s corners.
Nice and Easy.
What do you think?
Are you inspired to play along? Please let me know below!
For more inspiration, check out my fellow Design Team members blog for more awesome work.

Guest Designer
Anna
Supplies used:


Thank you so much for stopping by!