Gold Stamping!!

Second Post for today

If your looking for the Stamping on Pattern Paper, click here

Hello everyone, I’m here for a second time today.  I’m here with the Muse Challenge #110.  Yayyy, I’m glad to be here with them this week.

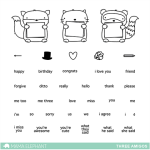
My friend Tenia Nelson is the Muse this week!! Take a look at her card:

muse gd mar 23 2015
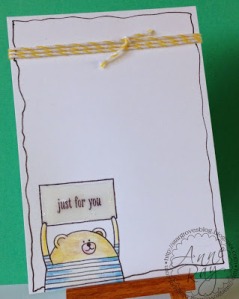
Now take a look at my card:

Take Your Time To Smile

I love the way this gold flower looks.  So classy!!

Here is how I created this card:

1. I cut Neenah Desert Storm cardstock to an A2 size card, 4.25 x 5.50.

2. I cut my card panel to 3.25 x 4.75.

3. I used Create A Smile Botanical Love to stamp the big flower in Versamark ink and embossed it with Ranger Enchanted Gold then heat set it.

4. I added Watercolor Wonder Washi Tape and Stacked With Love Washi Tape to the side of my card panel.

5. I attached my card panel with foam adhesive.

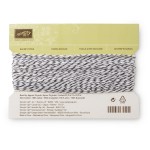
6. I added Your Next Stamp Black Gumdrops for added interest.

Lets take another look at that flower:

Take Your To Time To Smile 3

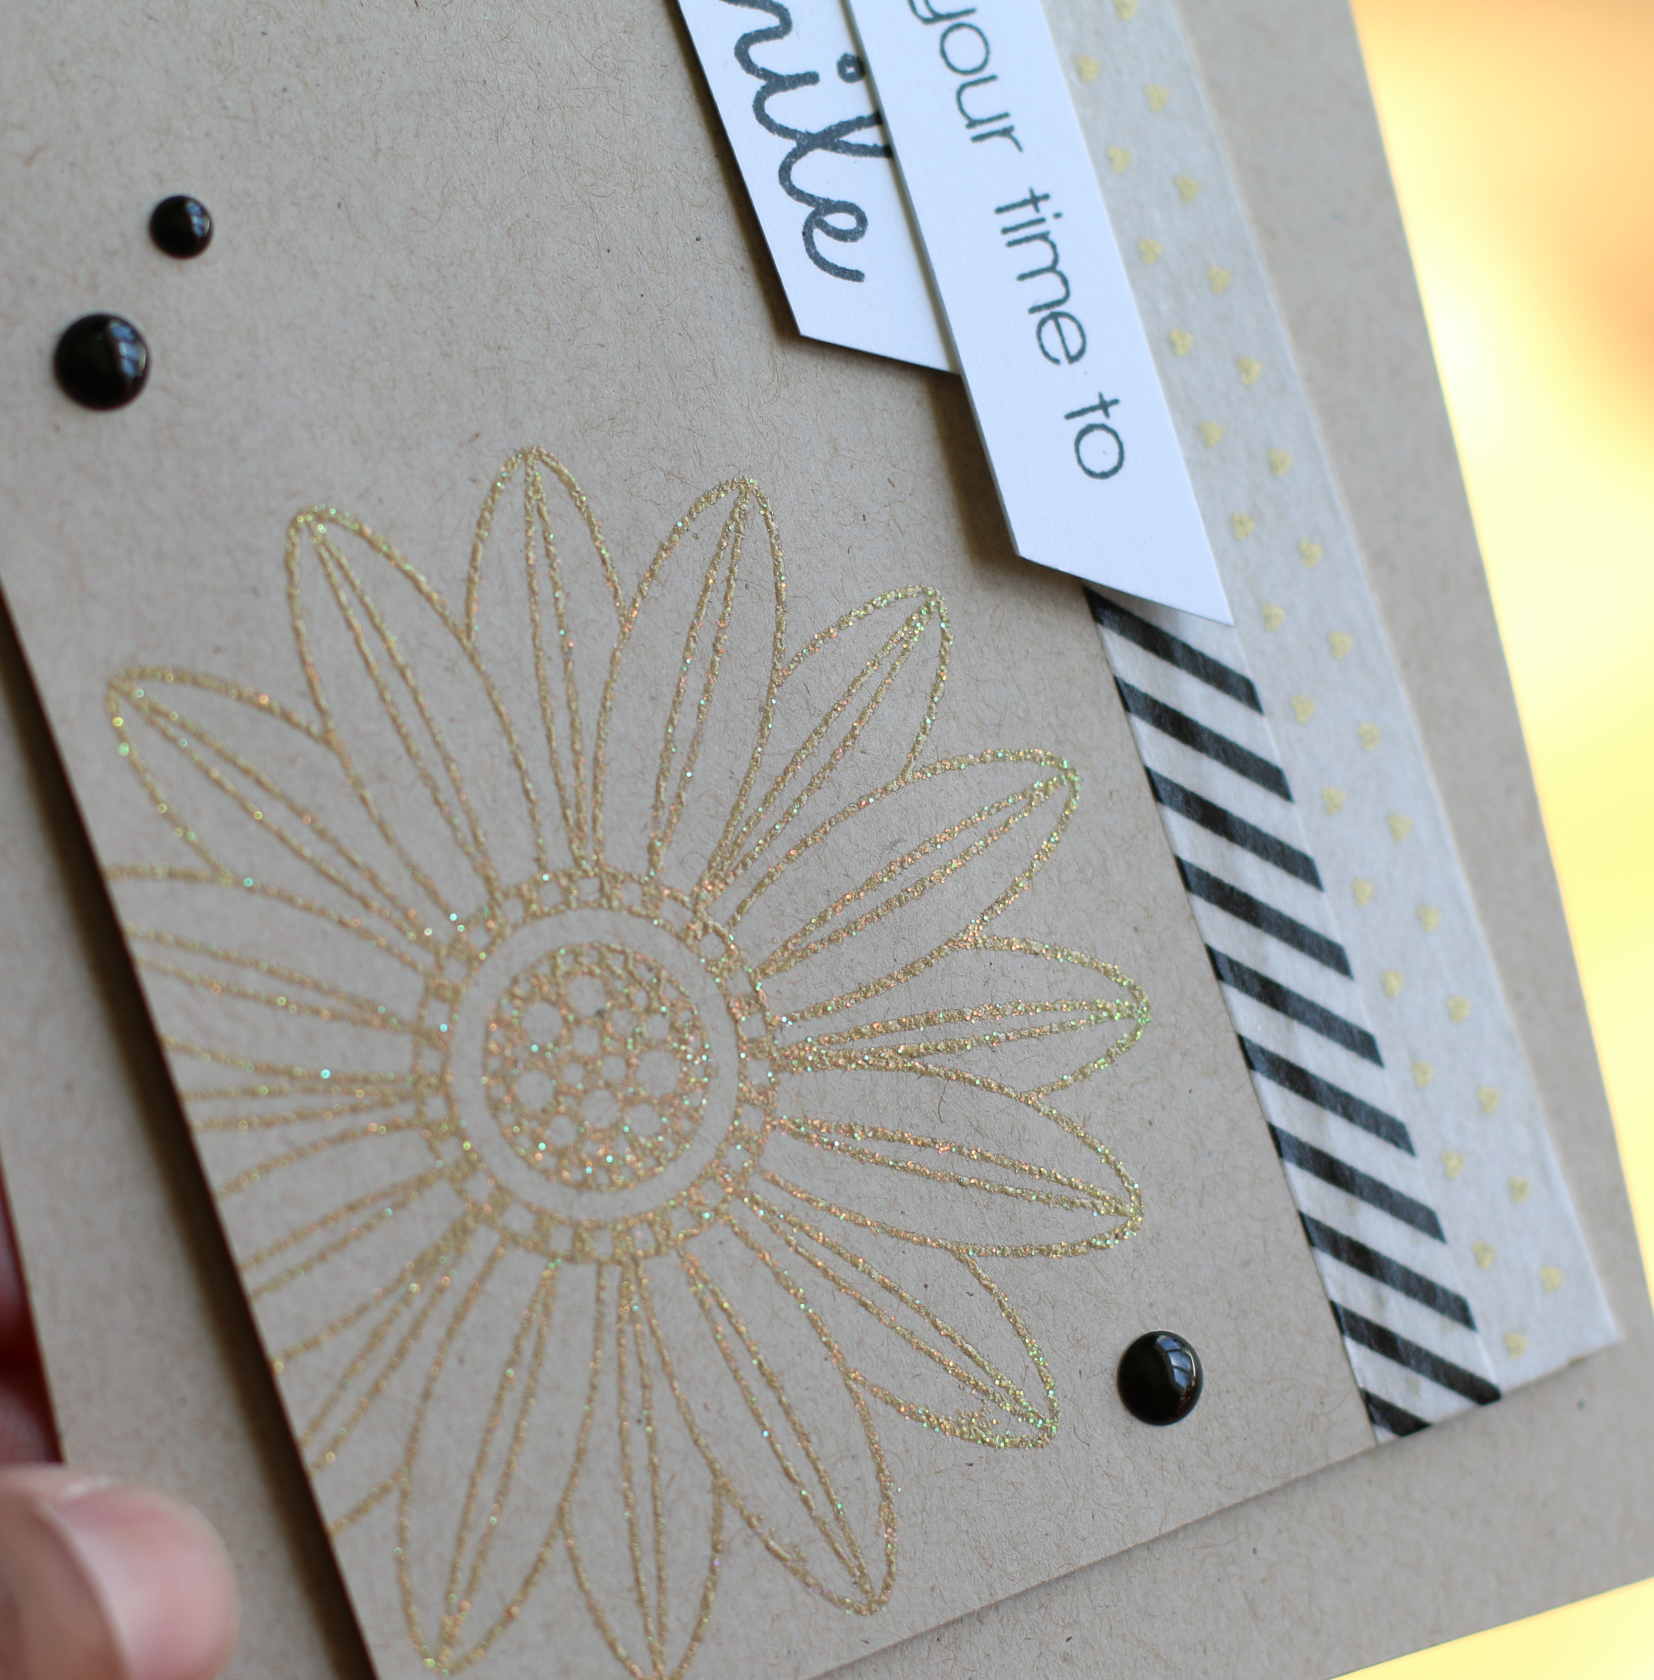
Isn’t it pretty??  I love it.  It sparkles in the light.  I have to use this embossing powder more often.

Take Your Time To Smile 2

So what do you think of my card?  Please leave a comment below.

I’m linking this card up to Darnell’s NBUS Challenge #4.

NBUS

I’m also linking this card up to Simon Says Stamp Anything Goes.

wednesdayblog-logo

Supplies used:

Neenah Desert Storm CS Botanical Love VersamarkEnchanted Gold Embossing PowderWatercolor Wonder Washi TapeStacked with Love Washi Tape Black Gumdrops

Thanks for stopping by!

~Kymona

Stamping on Pattern Paper

Hello everyone!!  I am here today with CAS(E) this sketch!!  I haven’t had a chance to play with them in awhile, so happy I can today.

CAS(E) This Sketch #116 was done by Leigh Penner.  Take a look at her sketch:

CTS_Sketch_116When I saw this sketch, I know immediately what I stamp set I wanted to use.  Since I have all of this “new stuff”, I figure why not use it!

Take a look at my card:

Bear Hugz

Oh baby!!  Isn’t this the cutest bear you’ve seen!  I want a hug from him!!  What about those dies that is behind him?  Totally awesome, right!!

Here is how I created this card:

1.  I started out with Simon Says Stamp Fog cardstock.  I cut it to an A2 size card, 4.25 x 5.50.

2. I used 2 of the bigger dies from Lil’ inker designs Wonky Squares Die to die cut Lawn Fawn Let’s Polka, Mon Amie pattern paper and Neenah Solar White cardstock.

3. I stamped Simon Says Stamp Make A Splash Set to stamp my little bear and used the coordinating die to cut it out.

4. I used Copic marker R24 and colored his heart in.

5. I added all of the pieces with foam adhesive.

6. I added Your Next Stamp Crystal Clear Gumdrops for added interest.

So what do you think?  Please leave me a comment below!!

I’m also linking my card up to Darnell’s NBUS Challenge #4.

NBUS

I’m also linking up to Simon Says Stamp Anything Goes Challenge.

wednesdayblog-logo

I’m also linking up to Uniko Studio Anything Goes

USC04

Supplies used:

SSS Fog cardstockLID Wonky Squares Dies LetsPolkaMonAmiePetitePaperPack classiccrestsolarwhtie Make a Splash Set clear gumdrops small copic-marker-original-r24-prawn

Thanks for stopping by!!

~Kymona

I miss you….

Hello everyone!!  I’m here today with Less Is More!!

Less-Is-More-Header

Their theme is week is CASE A DT CARD!

Yes, you read the right!!  We get to case one of the DT cards this week.

I choose Anne card!!  The reason I did that is because I just received my new Mama Elephant Three Amigos Stamp Set and I wanted so much to use it.  Anne card is perfect for it!!

Take a look at Anne’s card:

Card33I love how she kept her card with one stamped image and some doodling along the edge of the card.  Easy Peasy!

Take a look at my card:

I miss you

Did I hit it on the nail or what!!  I love how my card turned out.

Here is how I created this card:

1. I cut my cardstock to an A2 size card, 4.5 x 5.5.

2. I stamped my image from Mama Elephants Three Amigos.  I love this stamp set.  These little guys are so cute.

3. I used Copic Markers to color this little guy in.

Body: E31 and E35

Paper: B000 and BG02

Shadow: W1

4. I used my Copic multiliner 0.3 to draw the squally line around my card.

5. I tied Stampin’ Up! Basic Black Baker’s Twine around the top of my card.

I thought about adding some embellishments but decided against it.  The card looks great with out them.

I miss you 2

So what do you think?  Do I have a chance to win?  We will see.  Either way, I love how this card turned out.

This is also for Kathy’s #thedailymarker30day coloring challenge.  She has really allowed me to practice my coloring and I believe I’m getting better because of it. I can’t believe we only have 4 more days before it ends.  It feel like yesterday it started.

I’m also entering AAA Cards bare naked CAS design challenge this week.

Game35b

and Darnell’s NBUS Challenge #4

NBUS

and Uniko Studio Challenge #19: Theme Anything Goes or the sketch below

USC04

Supplies used:


THREE_AMIGOS_large Copic MarkersCopic MultilinerBasic Black Bakers Twine

Thanks for stopping by!

~Kymona


Copic Coloring

Hello everyone!!  I’m here to share one of the cards I created for Kathy’s 30 day coloring challenge.

I used the new Lawn Fawn Gleeful Gardens stamp set to create my card.

Check out my card:

I love you so mush

I’m so excited about this card.  I really love how my coloring turned out.  I’ve been really trying to master my Copics and I finally feel like I got it.

Thanks to all of my Instagram friends for the encouragement and guidance.

I used Copic R24, R27, R29 and R89.  I’m loving that R89!!

I used Copic E47 and E49 for the stem.

I used W1 for the shadowing.

I added Your Next Stamp Clear Gumdrops. I’m obsessed with these.

I added Clear Wink of Stella to the top of the mushrooms.  So pretty in person.

Take a look at some of the photos I shared on Instagram to get me to my finished card.

FullSizeRender(3)

Getting ready to color for Kathy’s #thedailymarker30day coloring challenge

image1Colored with out the R89

image2

I was told to try R89 from an Instagram friend.

image3

Well put together and check out that Wink of Stella!!

I love how my card turned out. I can’t wait to color again!  This was fun, especially when you finally get the blending concept!!

I’m entering this card into the NBUS Challenge #4.

NBUS

Supplies used:

Gleeful Gardens Copic Markersclear gumdrops small Woodgrain Textured Embossing Folder Wink of Stella clear

Thanks for stopping by!!

~Kymona

CASology 128 – Date

Hello everyone and Happy New Year!!!

Happy-New-Year-2015-HD-1080p-Wallpaper1

I’m super doper excited to be here today as a Design Team Member for CASology!!!

I still can’t believe it!!  Don’t wake me if I’m dreaming!!

2015 is going to be a great year, I can feel it. It’s starting off to a great start! Wouldn’t you say!!

Starting with today, January 6th, 2015!!  Are you asking why?  Can you guess?  It has a lot to do with the cue word for today. It might seem a little corny but it means a lot to me.

I hope you guessed what the cue word is for this CASology Challenge.  If not, here you go!

Week 128 - Date

Here is my card:

CASology-DateThis date is super important to me because it signifies a new start with an amazing Design Team.

I decided to use the colors red, black and white because those are the colors of the CASology blog.

The heart symbolizes my love for the challenge. Don’t you just love that sketch heart.  Its super cute.

So, I made another card. I just change the colors around.

Take a look:

CASologydateredheart

These card were easy to create and would make awesome valentine day cards for loved ones.

Here’s how I created both cards:

1. I cut my card base to a 4 x 4 card size scored at 4 out of Simon Says Stamp 120lb thick white cardstock.

2. I used my Simon Says Stamp Sketch Heart to cut the heart out of my card base.

3. Then I cut the heart out of Simon Says Stamp Schoolhouse Red cardstock.

4.  For both cards, I added a piece of piece of printer paper to the inside front flap of the card so that the heart would stick perfectly.

5. For the first card, I inlaid the red sketch heart with the white heart base.  I did the opposite for the second card.

6.  I stamped the date using Lawn Fawn Quinn’s 123 Stamp Set using Memento Tuxedo Black ink.

7. I rounded my corners using my corner chomper.

That was easy peasy, right!!  You have to check out my fellow design team members creations for more inspiration.

Design-Team

Ardyth Percy-Robb

Gillian Ross

Hazel Hodgkins

Jen Willis

Joyce Mehrberg

Judy Marino

Kimberly Wiener

Kymona Tracey←you’re here

May Park

Melissa Chipperfield

Tracey McNeely

Guest Designer: Nonni

Now its your turn to play along.  I can’t wait to see what you come up with!!

Cindy B Designs is sponsoring this challenge this week, how awesome is that!!

Supplies used:

Sketch HeartSSS schoolhouse redLawn Fawn Quinns123s Memento Black InkWe R Memory Keepers Corner ChomperSSS 120lb white cs

I’m also linking this card up to the NBUS Challenge #3.

NBUSMy Simon Say Stamp Sketch Heart is brand-spanking-new schtuff!

Thank you for stopping by!

~Kymona