Mono Prints with a Gel Press Plate

Second Post for Today
If your looking for the Best Blogger Contest 2017 Finalist post, click here.


Hello everyone!!  I’m here today sharing my mono prints that I created with a gel press plate!!

I was introduce to Gel Press Plates at Creativation!! I watched Marybeth Shaw, the founder of StencilGirl Products, demonstrate how to use them!! She made me laugh with this quote, “It’s Not Done Yet”, she was referring to her plate that still had paint on it, even after she created a bunch of backgrounds.  I was tickled.  So when I arrived home I had to pick one up.

Now I have 4 different plates and still want more!!  LOL!!

Take a look at what I created today:

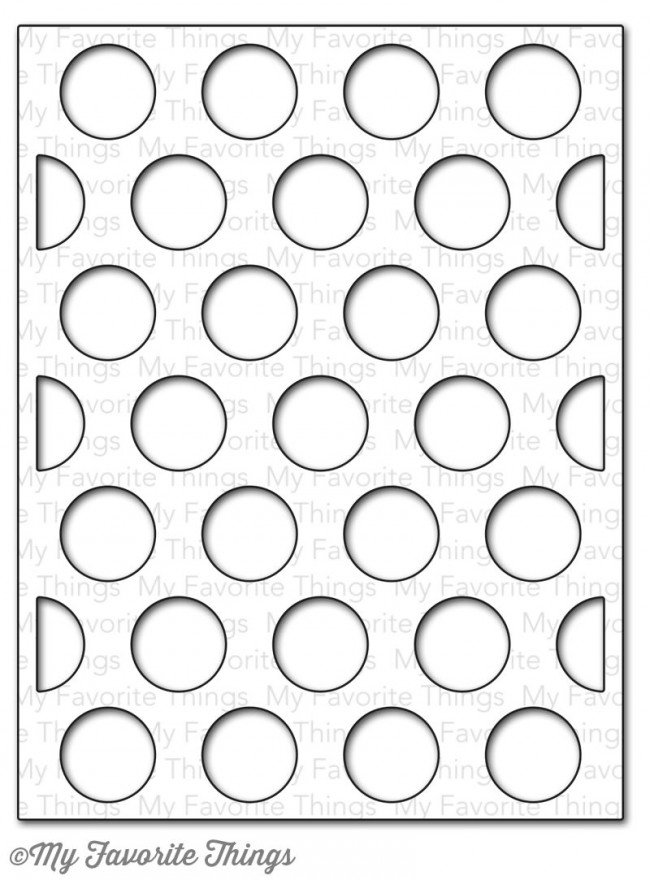
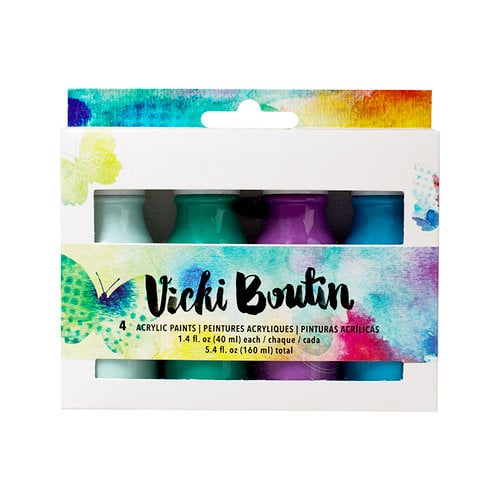
I played with February 2017 Mandalas, Circle and Spheres Collection by Maria McGuire stencil along with Vicki Boutin Arylic Paints Set 2.

I love the results that you get when you use the gel press plate and stencils.  You will never get the same print twice.  That is the beauty of this technique.

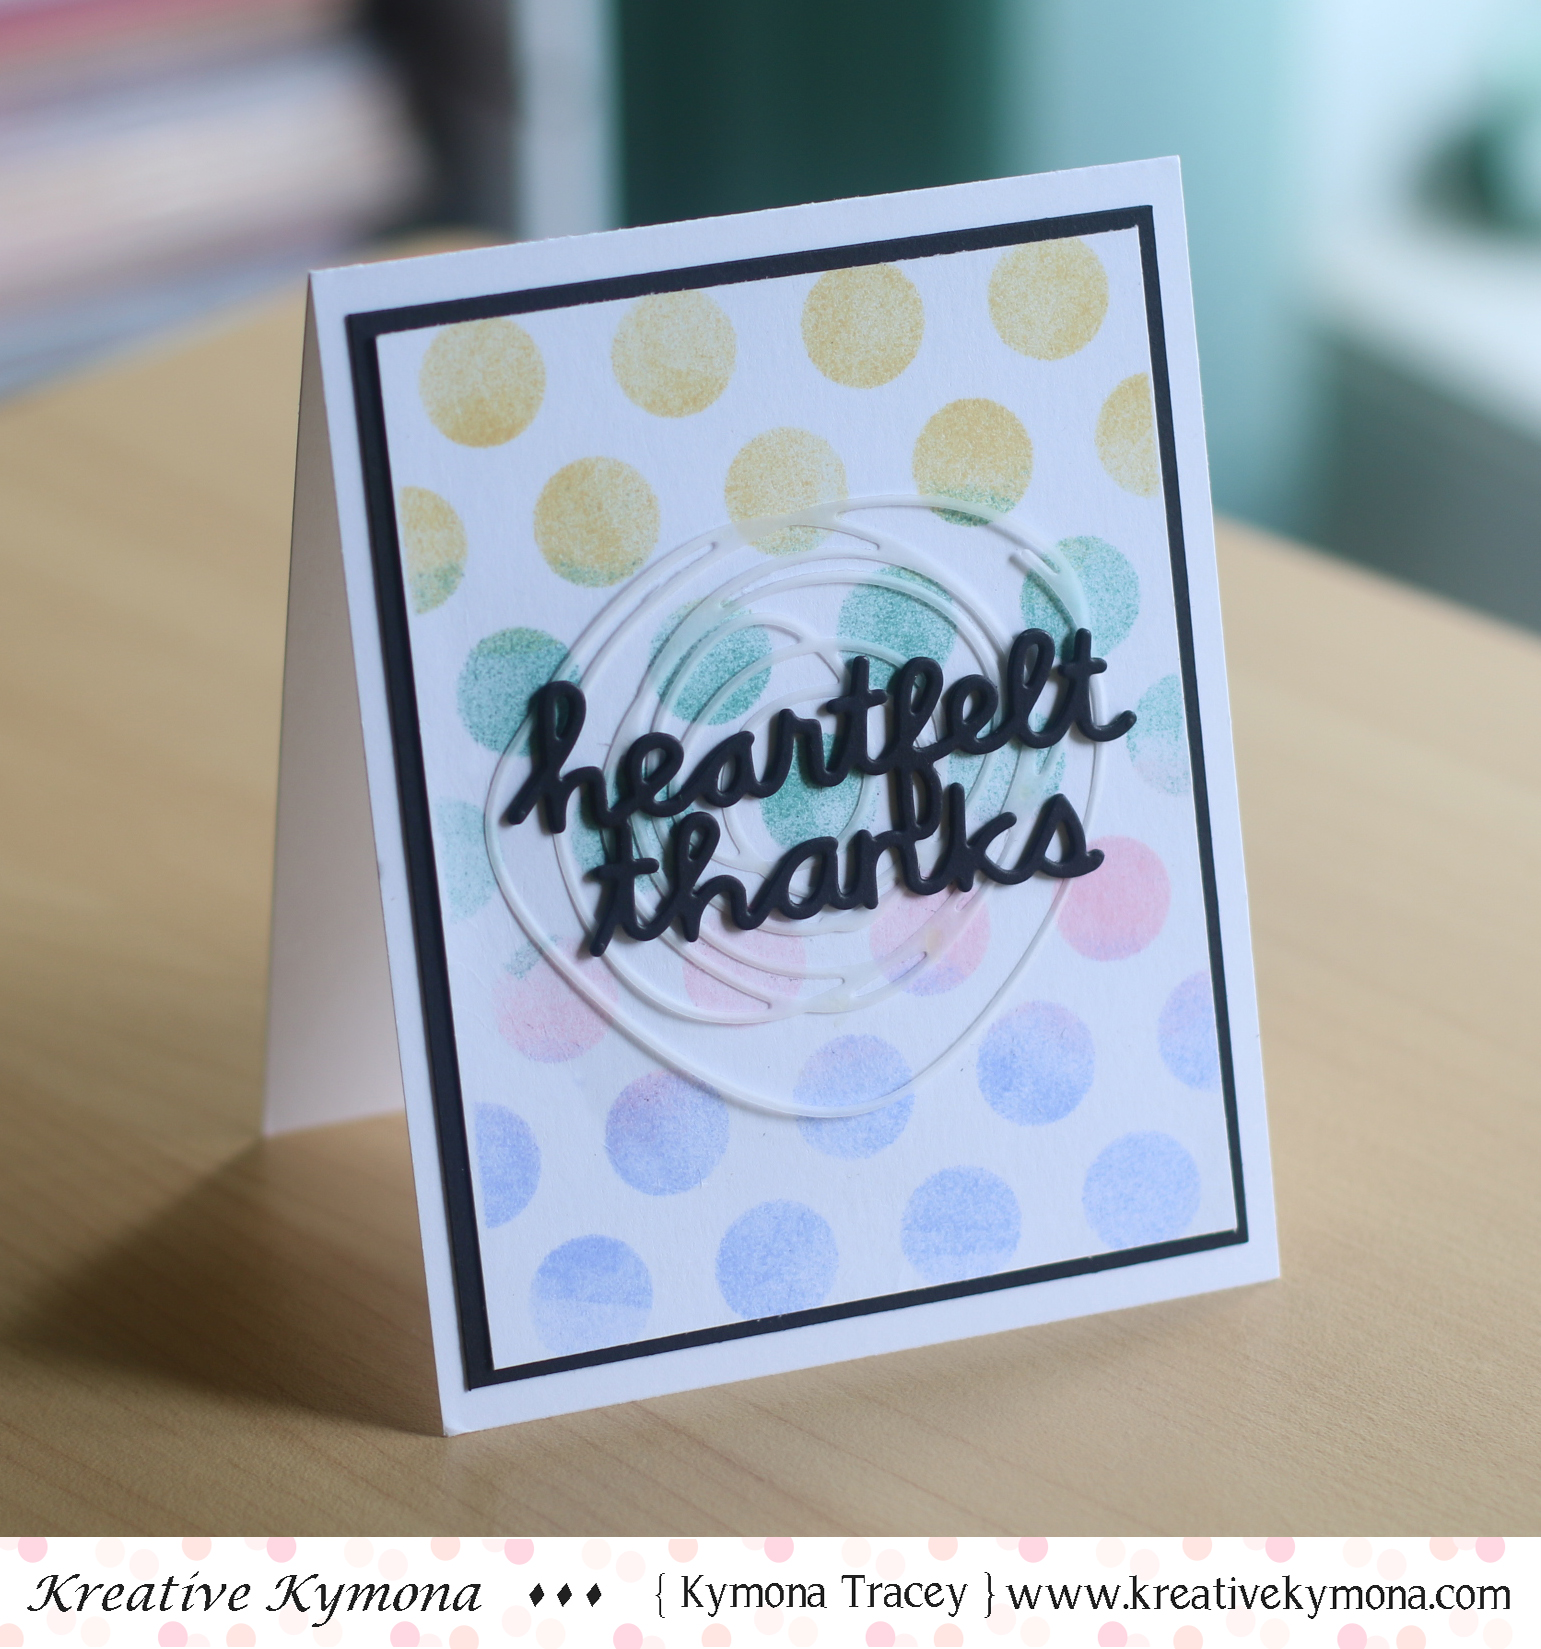
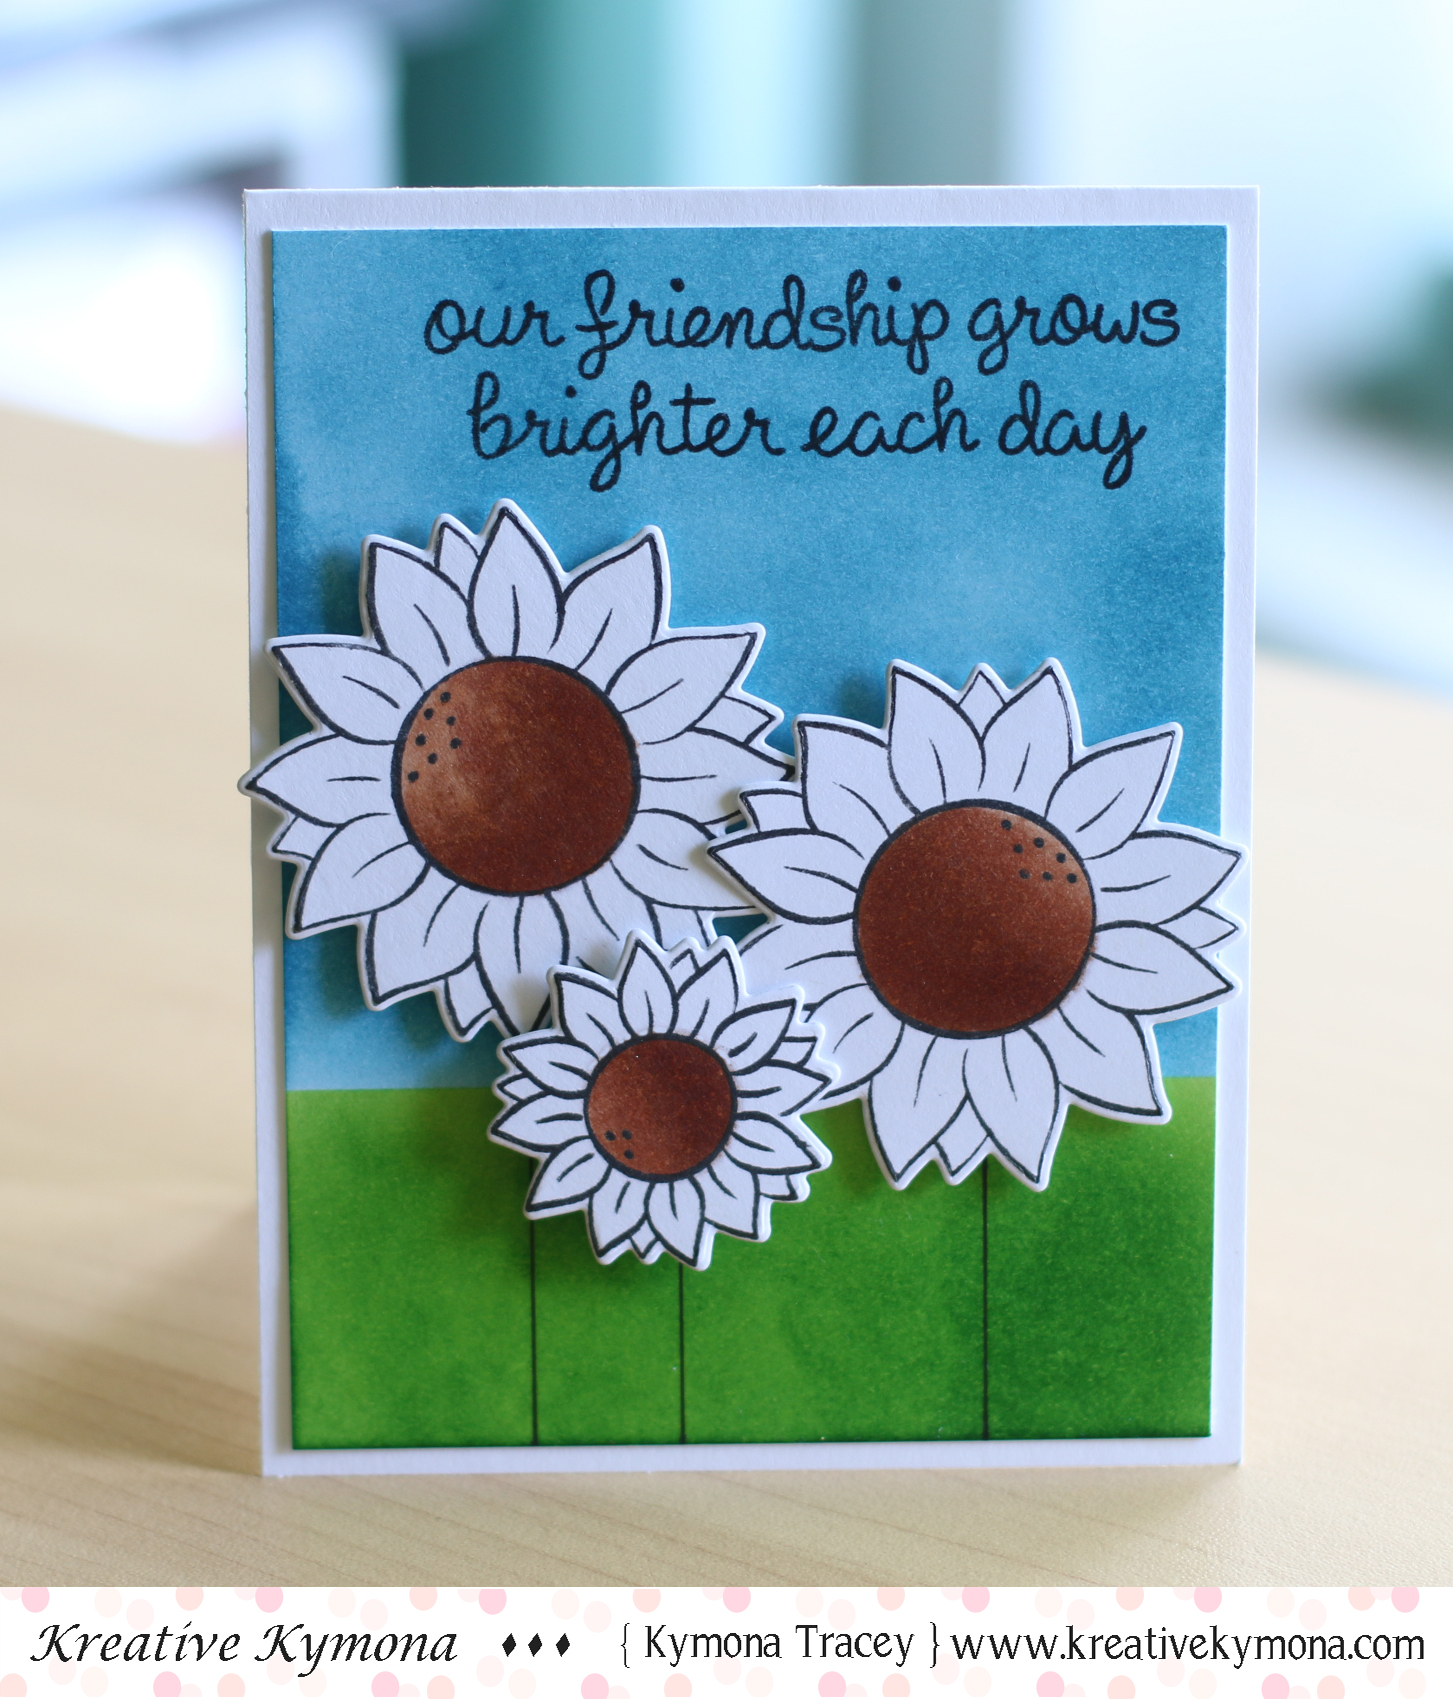
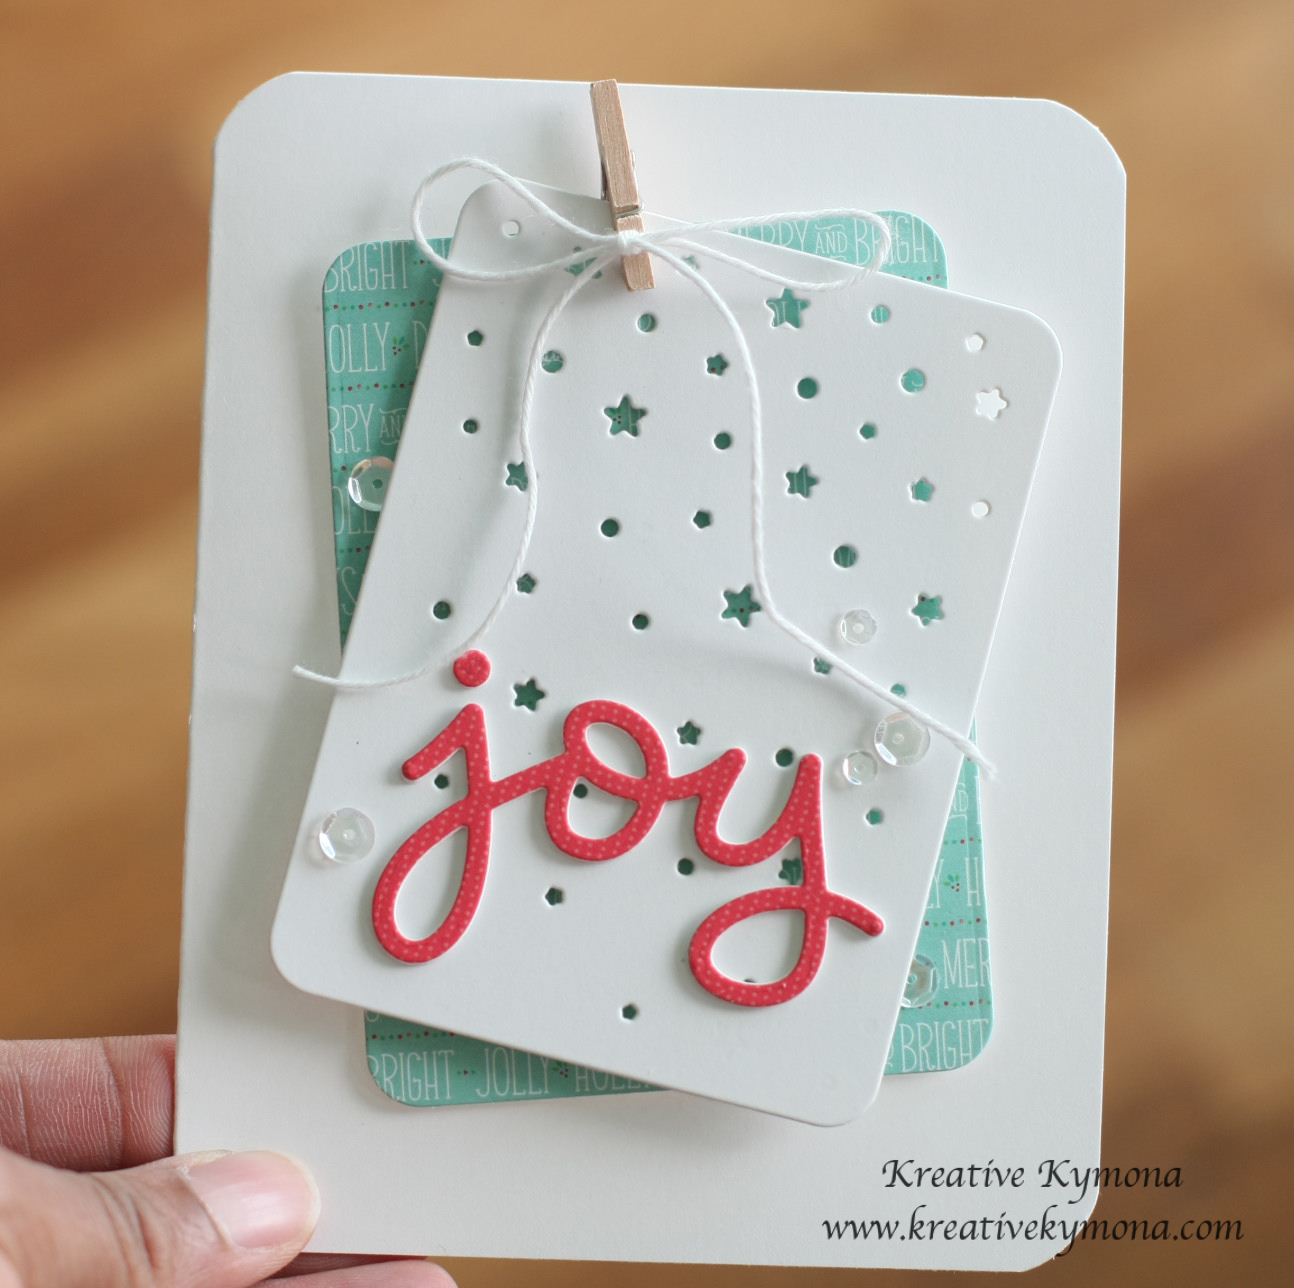
Check out what I created with this print:


I totally love this!! This card turned out perfect!!

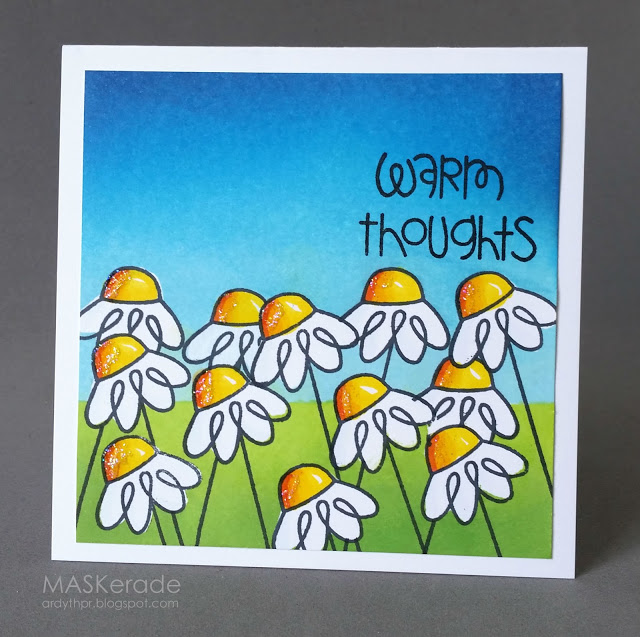
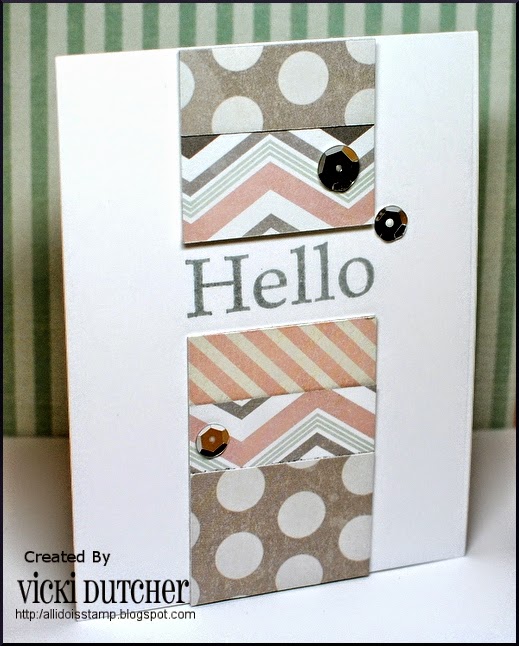
I’m entering this card into the Muse Challenge #214. Anita Bowden is the Muse this week, check out her card:

I did not see her card until after I created my prints.  So I was inspired by the press plate, the paints and the stencil.  My card just so happen to fall right in line with Anita’s.  Thats creativity at its best to me.

So what do you think?  Please let me know below!!

Supplies used:

(Thank you so much for stopping by. Compensated affiliate links used at no cost to you.  All products were personally purchased except the paints.  This post was not paid or sponsored. ) 
Gel Press 6 x 6 REUSABLE GEL PRINTING PLATE 10800 American Crafts - Vicki Boutin - Mixed Media - Acrylic Paint - Set 2  

Thanks for stopping by!!

Hello – Muse Challenge

Hello everyone!!  I’m here today playing with the Muse Challenge!!  I can’t tell you the last time I had a moment to play along with them.  This was one of my favorite challenges to play in before I became super busy with DT work, LOL!!!

The Muse this week is Anita Bowden, here is her card:

20160109_132236

Take a look at my card:

Hello (Muse)

I decided to create this card because I looked out of my window about an hour ago and realized that it was snowing.  This is our first snow fall for the winter season.  I’m not happy about it. I’m not a fan of the snow.  So I thought this scene went perfect with my how my outdoors looked like.

This card was easy to create.  I just die cut Your Next Stamp Houses on the Hill Die and adhered it to a piece of Recollection Black Cardstock for contrast as did Anita.  Then I used Tsukineko Radient Neon Amplify! to add my snow.  My sentiment is from Lawn Fawn.  It was a single hello stamp that I received as a thank you for ordering.

Super easy and fun.  I made this card in 5 minutes.

Supplies used:

houses on hill dieRecollections Black HeavyweightRadiant Neo AmplifyRecollections White Heavyweight

Thank you so much for stopping by!!

~Kymona

Heartfelt Thanks – Muse

Hello everyone!!  I’m popping in really quickly to share my card for the Muse Challenge this week!!

Yes, its been a while since I played and the opportunity presented itself so I jumped on it.

This week’s Muse is Anita Bowden. Take a look at her card:

20150919_134014

Now take a look at my card:

Heartfelt Thanks 1

To create this card, I used My Favorite Things Jumbo Dot Cover-Up and created a stencil.  I used Distress Ink Scattered Straw, Spun Sugar, Evergreen Bough, and Shade Lilac to create my circles.

Stencil and Inks

I simple pounced the ink onto the paper.  Once that was done, I removed the stencil and trimmed the card panel down and added to the black panel and then add that to the card base.

I used Papertrey Ink’s Circle Scribbles Die to cut a piece of vellum.  Then I die cut Paper Smooches Heartfelt Thanks sentiment out of black card stock.  I attached both to the card front using Tombow Multipurpose Glue.

Super simple and fun to create.

So what do you think?  Does my card fit the Muse?

Supplies used:

mft jumbo dot coverupDistess Mini Ink Kit 4PTI Circle Scribbles Die Paper Smooches Heartfelt Thanks Tombow Multi-Purpose Adhesive

Thank you so much for stopping by!

~Kymona

Muse Challenge #124

Second Post for today
If your looking for The Alley Way Stamps post, click here


Hello everyone!!  I’m so happy to be here today.  I’m playing with the Muse Challenge today.  I haven’t played in a long time. I just haven’t had the time.

So it feels good to be able to play now.

The Muse this week is Ardyth and here is her card:

Ardyth

Take a look at my card:

Our Friendship Grows (MUSE)

I totally love this stamp set from Lawn Fawn.  Its called Our Friendship Grows.

To create this card, all I did was distress the background with Distress Ink Broken China and Mowed Lawn.

Then I stamped and die cut three of the flowers.  I used Copic Marker E33, E35, E37 to the center of the flower.

I attached the flower with foam adhesive and used my ruler and Copic Multiliner to draw in the stem.

I added Clear Wink of Stella to the center of the flower.

I stamped the sentiment using My Favorite Things Hybrid Ink.

I trimmed my card panel down and adhered it to the card base.

Super easy and Fun!!

You will see more of theses flowers this week.  Such a pretty set of flowers.

Supplies used:

LF Our Friendship Grows Distress Ink Broken China Mowed LawnCopic Markers3M Double Coated Foam TapeWink of Stella clearCopic MultilinerMFT Hybrid Black Ink

Thank you for stopping by!

~ Kymona

Gold Stamping!!

Second Post for today

If your looking for the Stamping on Pattern Paper, click here

Hello everyone, I’m here for a second time today.  I’m here with the Muse Challenge #110.  Yayyy, I’m glad to be here with them this week.

My friend Tenia Nelson is the Muse this week!! Take a look at her card:

muse gd mar 23 2015Now take a look at my card:

Take Your Time To Smile

I love the way this gold flower looks.  So classy!!

Here is how I created this card:

1. I cut Neenah Desert Storm cardstock to an A2 size card, 4.25 x 5.50.

2. I cut my card panel to 3.25 x 4.75.

3. I used Create A Smile Botanical Love to stamp the big flower in Versamark ink and embossed it with Ranger Enchanted Gold then heat set it.

4. I added Watercolor Wonder Washi Tape and Stacked With Love Washi Tape to the side of my card panel.

5. I attached my card panel with foam adhesive.

6. I added Your Next Stamp Black Gumdrops for added interest.

Lets take another look at that flower:

Take Your To Time To Smile 3

Isn’t it pretty??  I love it.  It sparkles in the light.  I have to use this embossing powder more often.

Take Your Time To Smile 2

So what do you think of my card?  Please leave a comment below.

I’m linking this card up to Darnell’s NBUS Challenge #4.

NBUS

I’m also linking this card up to Simon Says Stamp Anything Goes.

wednesdayblog-logo

Supplies used:

Neenah Desert Storm CS Botanical Love VersamarkEnchanted Gold Embossing PowderWatercolor Wonder Washi TapeStacked with Love Washi Tape Black Gumdrops

Thanks for stopping by!

~Kymona

Muse Challenge #107

Hello everyone!!  I’m here today playing with the Muse Challenge!!  I haven’t played in a long time.  I miss this challenge, that is why I had to participate today.

The Muse this week is Vicki Dutcher, take a look a her card:

03 - March - MineNow take a look at my card:

Feel Better

I use some of the products from my Simon Says Stamp February 2015 card kit to create my card.

To create this card it was pretty simple.

I masked off both sides of my card base by 1″.

I cut different size strips of the pattern paper from the kit.

I adhered the pieces and stamped my sentiment.

I added sequins and I was done.

I love how this card turned out.  The colors are fabulous.  I hope I get to use more of this kit.

What do you think?  Please let me know below.

Supplies used:

SSS Feb 2015 Authentique Pattern Paper Hand Letter EncouragementSequins111-2T

Thank you very much!

~Kymona

Spring Chicken..

Hello everyone!!  I’m here today with the Muse Challenge #98.  The Muse is Marion Vagg.

Take a look at Marion card:

IMG_3471

When I saw Marion’s card, I knew I want to use my new Simon Says Stamp Birthday Farm Animals and die!!

This is such a nice and simple card that I wanted to follow suit!

Take a look at my card:

Spring Chicken

Isn’t this chicken just the cutest.  I think he looks so cute.

Here are the Copic colors that I used:

Chicken: R35, R37, Y21, E50, Boo, 0

Gift box: R24, R27, R29, R46, BG13, BG15, BG18

I used the matching die to cut the chicken out and I pop him up with foam adhesive.

I stamped my sentiment from the same stamp set with Memento Tuxedo Black Ink.

Clean and Simple to its finest!!  The hardest part to creating this card was choosing which Copic colors to use.

So what do you think?  Let me know below.

Supplies used:

Birthday Family Farm and dieclassiccrestsolarwhtieCopic MarkersMemento Black Ink

Thanks for stopping by!!

~Kymona

No Stamping: Joy

Second Post of the Day

The a2z Scrapbooking Blog post is here

Hello everyone!  I’m here today playing along with a couple blog challenges.  I hardly get to play at times so when I do, I get super excited.

Today I’m here with the Muse Challenge #95.  The Muse this week is Caroline.

Take a look at Caroline’s card:

WPlus9WoodlandGrey Nov14 1

I’m also here with Simon Says Stamp Wednesday Challenge: Anything Goes.

wed-newchallenge-header


I’m also here with Simply Create Too SNOW, SNOW, SNOW or All White Challenge #75.

1 - SC2  GROUP BADGE

Take a look at my card:

Joy with clothespin

I just love how my card turned out.  I saw the fabulous Laura Bassen create a card like this and I knew I had to give it a try. I love the simplicity in the design.  So I gather all of my supplies and pulled this card off.

Creating this card was easy because everything was die cut!

I love how the pop of red from Lawn Fawn’s Joy die stand out on Papertrey Ink’s Journal Card 5 Die and matches the hint of red on the pattern paper.

I used Technique Tuesday’s Story Card Die to cut Lawn Fawn’s Snow Day patten paper.

I added Pretty Pink Posh 4mm Sparkling Clear Sequins and 6mm Sparkling Clear Sequins.

I tied Stampin’ Up! Whisper White Bakers Twine on the Stampin’ Up! clothespin.

Easy and no stamping.

So, what do you think?  Please let me know below.  I would love to hear from you.

Supplies used:

PTI Journal Card 5 dieScripty Joy Technique Tuesday Die Story CardLawn Fawn Snow Day PaperClothespinsWhisper White Baker's TwinePretty Pink Posh 6mm Sequins Pretty Pink Posh Sequins 4mm

Thanks for stopping by!

~Kymona

Muse Happy Birthday..

Hello everyone!!!  I’m here today with another Muse Challenge #94.  Its been awhile seen I last played with them.  I’m glad I get to participate this week.

The Muse this week is Marion Vagg!  Take a look at her card:

IMG_3454

Here is a look at my interpretation of her card.  I must warn you, my die cut doesn’t match up equally with my balloons.  I’m not sure what happen but I like it just how it is.

Take a look at my card:

Happy Birthday die

What do you think?  This die cut technique isn’t a new one, but its a fun one.

Supplies used:

HAPPY_EVERYTHING HAPPY_SCRIPT-CC_large Lolipop Winter Eggplant CelebrateBitty Banner Framelit Mint Skittles

Thank you so much for stopping by!

~Kymona


Hello…

Hello everyone!! I’m here today with the Muse Challenge #89!!  I haven’t played along with them for such a long time its shameful.  So I made it a point to play along this week.

I’m also playing along for the first time with Mama Elephant and Me October challenge: Anything Goes!

Anything Goes

I’m also playing along for the first time with Stempelkuche Challenge#5: Design Paper!

Stempelküche Challenge #5

Let’s take a look at the Muse for this week, Therese Calvird:

Welcome

Therese always comes up with great cards.  This one is no different!! So much detail, I love it.

Take a look at my card:

Hello

I love this card.  Therese really had me stepping out of my comfort zone.  I’ve never used this much pattern paper on one card!!  I need to try this technique more often.

(Copic coloring: E00, E21, E23, RV00, RV02)

What do you think?  Let me know.

Supplies used:

CARNIVAL_CUPCAKES_large CARNIVAL_CUPCAKES-CC_large Sweater Weather Petite Paper Pack LF Spring Showers Copic MarkersMore Sketchy banner Greetings

Thanks for stopping by!

~Kymona