Hello everyone! I’m here today with Simon Says Stamp Wednesday Blog Challenge and Word Art Wednesday.

The theme is my favorite!! It’s Back To School! Yayyyyy! If you’ve been following my blog you know how I feel about new paper, pens, pencils, notebooks and crayons. I love the smell of new school supplies. I get excited when my daughter gets her list from school. We are one of the first people in the store. I end up buying way to many supplies, LOL.
The card I made is for all of the teachers in the world. Teachers have the hardest job in the world to me. They deal with little people all day and those little people have different personalities. Can you imagine all of them talking at the same time, lol!! Oh no!!
On a serious note, they are responsible for preparing our children for life. They teach them all of the fundamentals they will need to be great people in this world. That is a big job. With that said, I like to let my children’s teacher know they are appreciated.
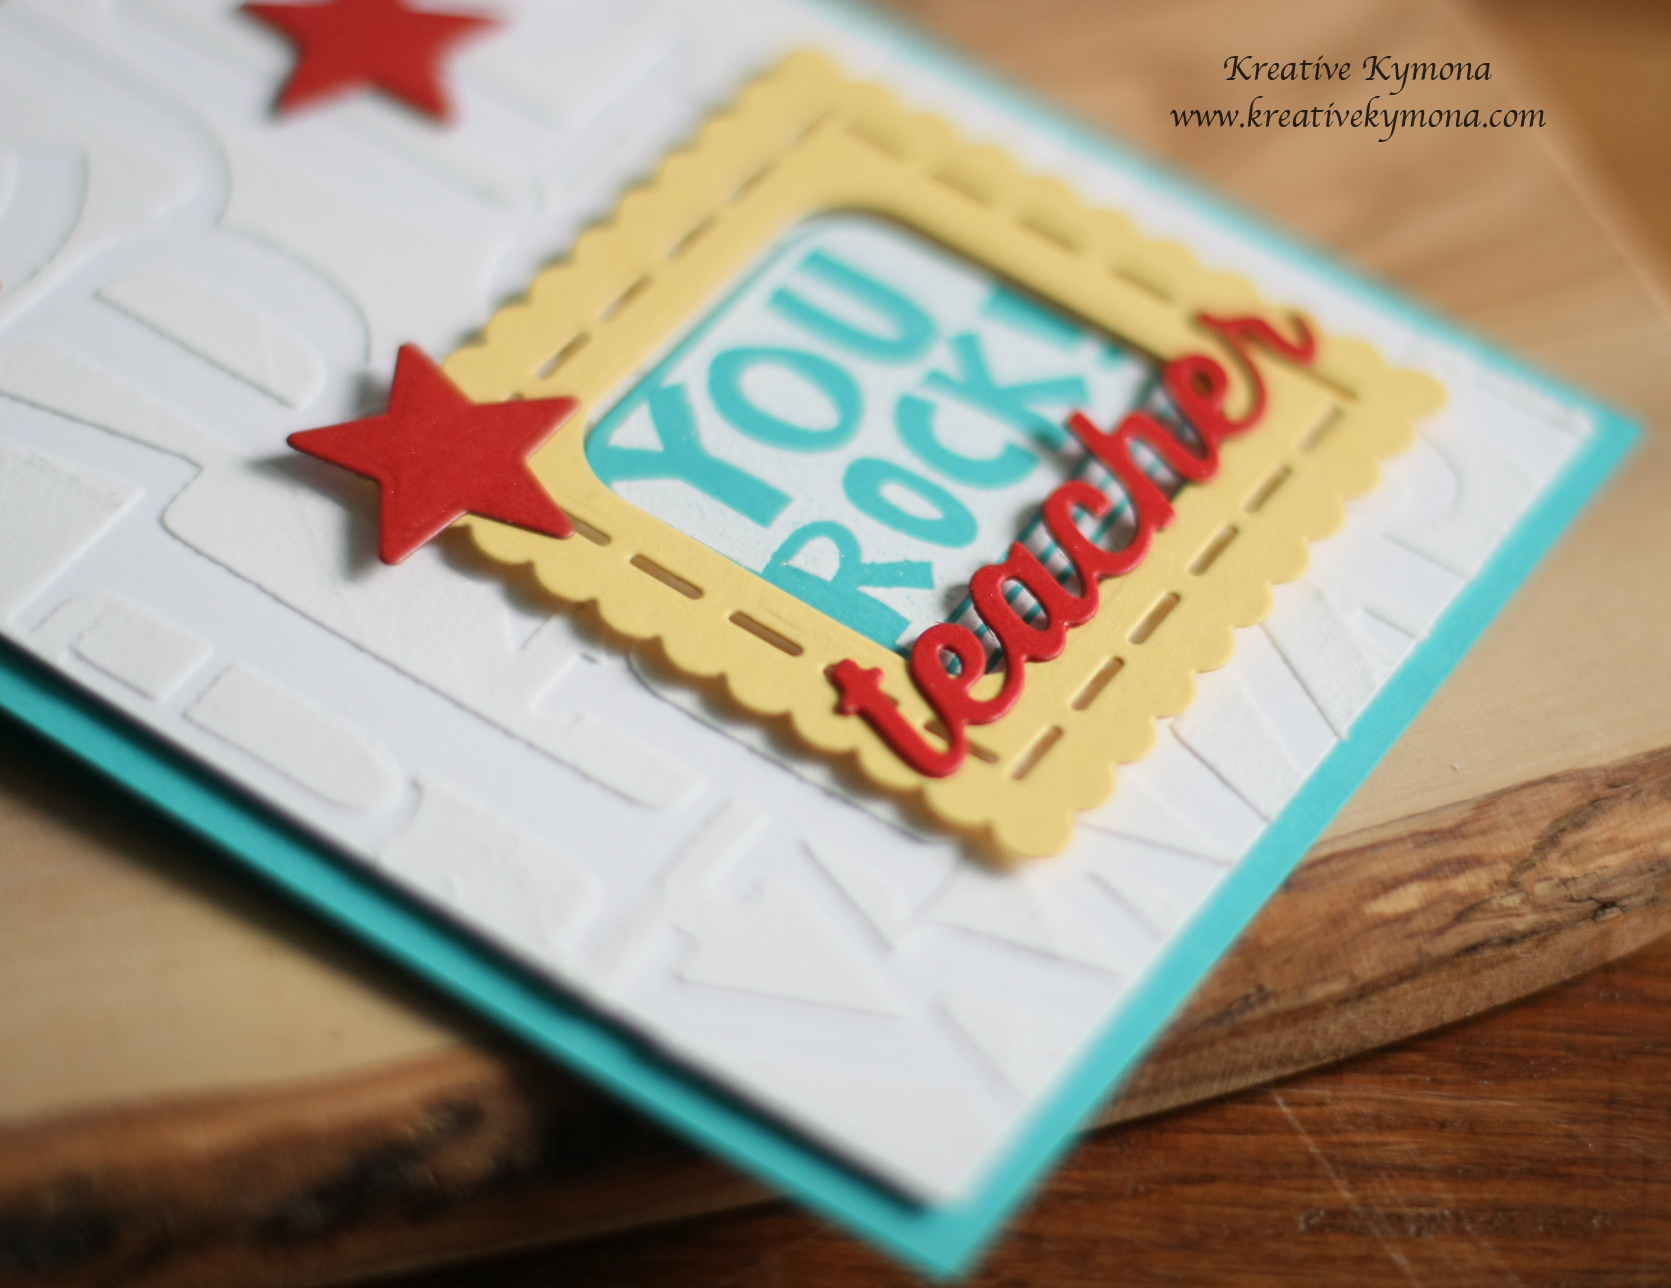
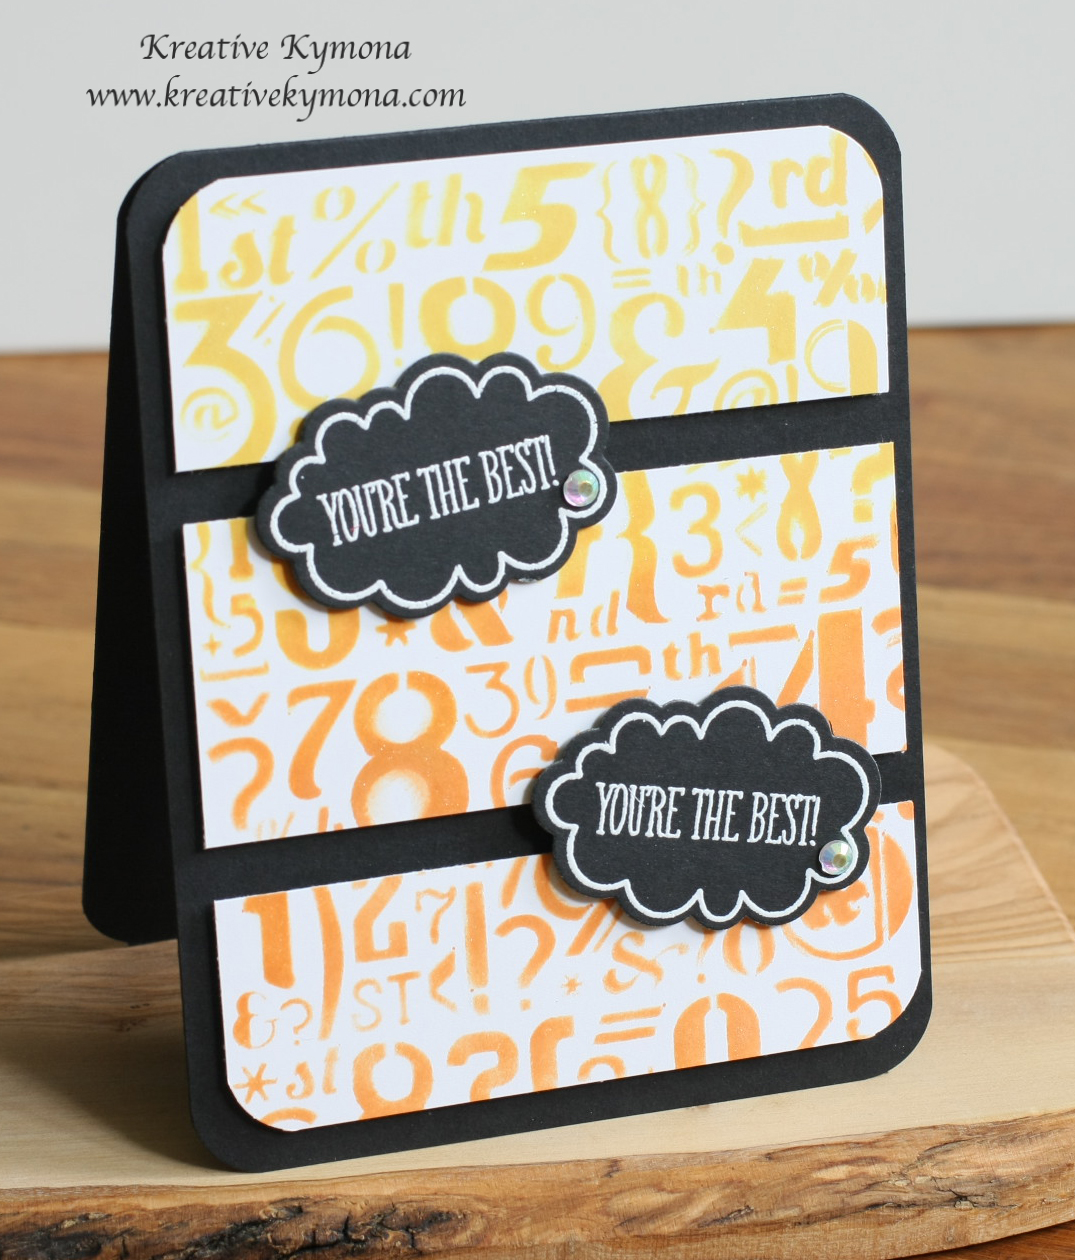
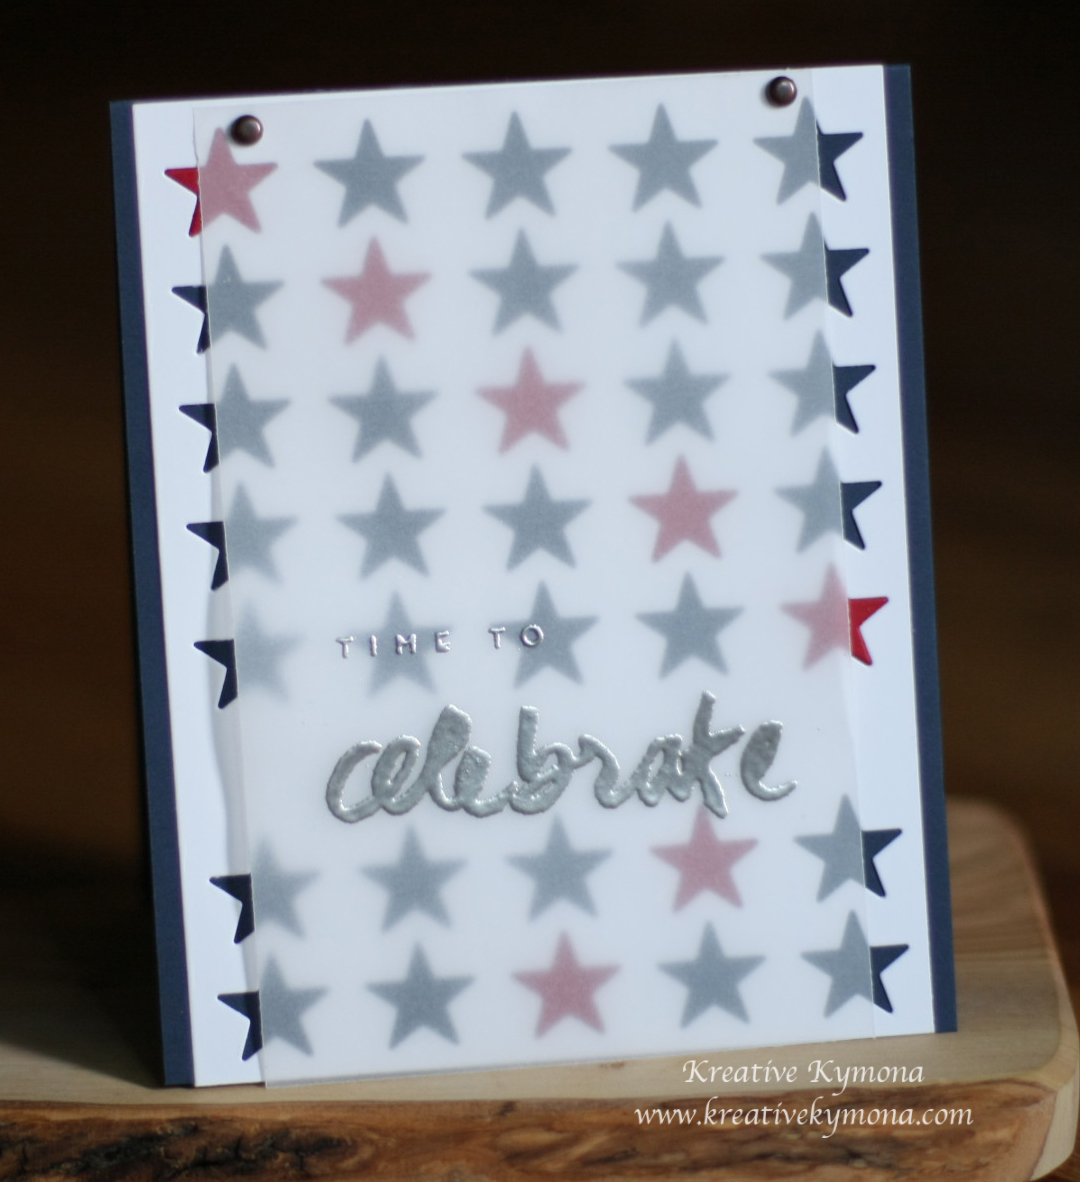
Take a look at my card:

I just love how this card came out. The embossing looks so good against my favorite color cardstock, Audrey Blue. I also used Simon Says Stamp Teacher’s Pet New Release for this card.
Here is how I created this card:
1. My card base measures 4.25 x 5.50 scored at 5.50 is Simon Says Stamp Audrey Blue cardstock!! So pretty to me. My card panel measures 4 x 5.25 and its Neenah Solar White cardstock.
2. I used Simon Says Stamp Scrambled Letters Stencil and Wendy Vecchi White Embossing Paste to create my background on my card panel.
3. Then I used Simon Says Stamp Lunch Box Notes Craft Die to cut my frame out of Stampin’ Up! Daffodil Delight cardstock, the stars out of Stampin’ Up! Real Red cardstock and the small window out of Simon Says Audrey Blue cardstock.
4. I used Simon Says Stamp Teacher Craft Dies to cut the word teacher out of Stampin’ Up! Real Red cardstock.

5. Now its time to put my card together. I stamped “You Rock!” from Simon Says Stamp Lunch Box Stamp Set with Versamark Ink and then embossed it with Hero Arts White Embossing Powder.

6. I attach the square piece to the frame and two of the stars to the embossed panel using foam adhesive. I attached the teacher die and one of the stars with Tombow Multipurpose Glue.

7. For the finishing touch, I added a Clear Wink of Stella to the stars and the die cut teacher.
 Nicely done! What do you think? Let me know.
By the way, this card was made for my Blogging and Instagram friend Malini from My Little Pink Craft Kitchen. She is a school teacher and I wanted to show her my appreciation. Enjoy!!
Supplies used: