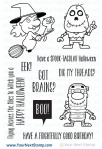
I love how those bats look so real on this card. I would be scared if I saw all of those bats above my head.
What do you think? Let me know below.
Now on to that prize!!
All you have to do is leave a comment on the YNS blog by September 26th for a chance to WIN a YNS stamp set of your choice!! Super simple and easy!! You will get to see my fellow DT’s projects as well.
So head on over, you don’t want to miss this one!!
Hello everyone!! I’m here to share with you some wedding invitations that I created for my cousins wedding in Jamaica, WI this July!!
I was commissioned to create 105 invitations with little directions. The colors are blue, coral and white. That was all I had to go on and i didn’t have a lot time to create them since they needed to go out so that people could make their travel plans.
Take a look at the invites:
You have the invitation and envelope, reply card and envelope and a ribbon closure.
Check out my journey:
To create the invitation base, I used the envelope punch board to create an envelope but this is no ordinary envelope.
Once these card bases were cut and scored, the actually invite was created digitally and sent to print.
Happy Thanksgiving everyone!!!! I know it was yesterday but I was cheering my son on at this All County Football Game so I couldn’t be here to wish everyone a great Thanksgiving!!
I had so much fun with my family. We had a small intimate dinner this year and I loved it.
How was your Thanksgiving?
I’m here today with Your Next Stamp (YNS) and the Sketch and Color Challenge #28!!
Each challenge has a sketch and a color combo to choose from.
Take a look at the sketch:
Take a look at the color combo:
I had to go for the sketch this time around. It was so easy and pretty to pull off.
What do you think? Did I follow the sketch? Let me know below.
So are you ready for the new challenge?
You have until December 10th, 2015 at midnight EST to play along and submit your project on the YNS Blog post. One random participant will win a $15 gift certificate to the Your Next Stamp Store. If YNS stamps or dies are the focal point then the winner receives and additional $5 gift certificate fro a total of $20. The winner will be announced on the YNS Blog the Sunday after the challenge closes.
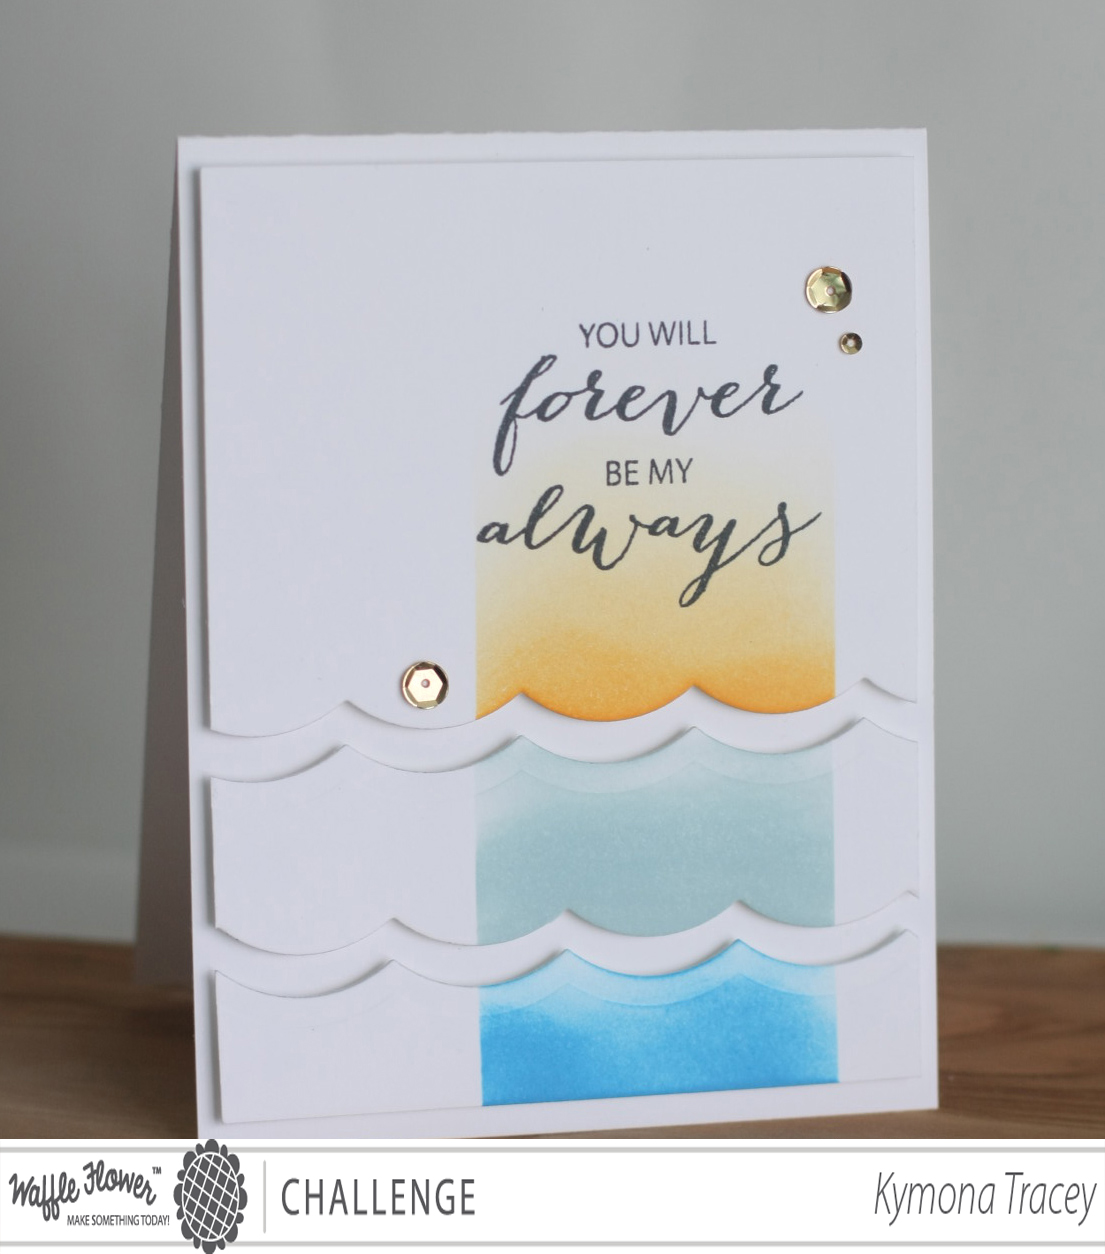
Hello everyone!! I’m here today with Waffle Flower Crafts New Photo Challenge!! The colors for this challenge are so pretty. I was in awe when I say the colors. They are so deep and very rich!
I thought long and hard about what I wanted to create using these colors. It had to be meaningful because the colors called for it. So I decided that I wanted to use the new DT Mix Stamp Set.
The sentiment ” You Will Forever Be My Always”, has a deep sentimental meaning in the corners of my heart. I have a small story for you, you might need a tissue. So get ready.
A couple of years ago before my daughter was born, her father and I use to listen to the radio in the car all the time. There was one song that use to come on all the time. It was a country song by a women I didn’t recognized.
At first we didn’t realize that song played each and every time we were in the car together. One evening he picked me up from work and the song was on and I asked him if he knew what the name of the song was or who sang the song. We loved the song but didn’t know the name of it. So right there and then, I called that radio station to find out who sang the song and the name.
The DJ said it was Forever And For Always by Shania Twain. He asked me if I wanted to hear it and I said yes, and dedicated it to Ray! That song became our song. He always said we will be together “forever and for always”, because “we just fit”.
December 25, 2005 we found out that we were going to have a baby, on December 28, 2005 he died from cardiovascular disease. He never did get chance to see our daughter who is going to 9 this year, but he did keep his promise. He is with me through her “Forever and for Always”!
So I made my card in memory of him!
Take a look:
Thanks Tessa for creating that sentiment just for me! I love how this card turn out. Its a CAS card with a lot of sophistication.
Hello everyone!! Fall official starts tomorrow, can you believe that? I can’t. Where in the world did the summer go. I didn’t really get to do much. No vacation. That is so shameful.
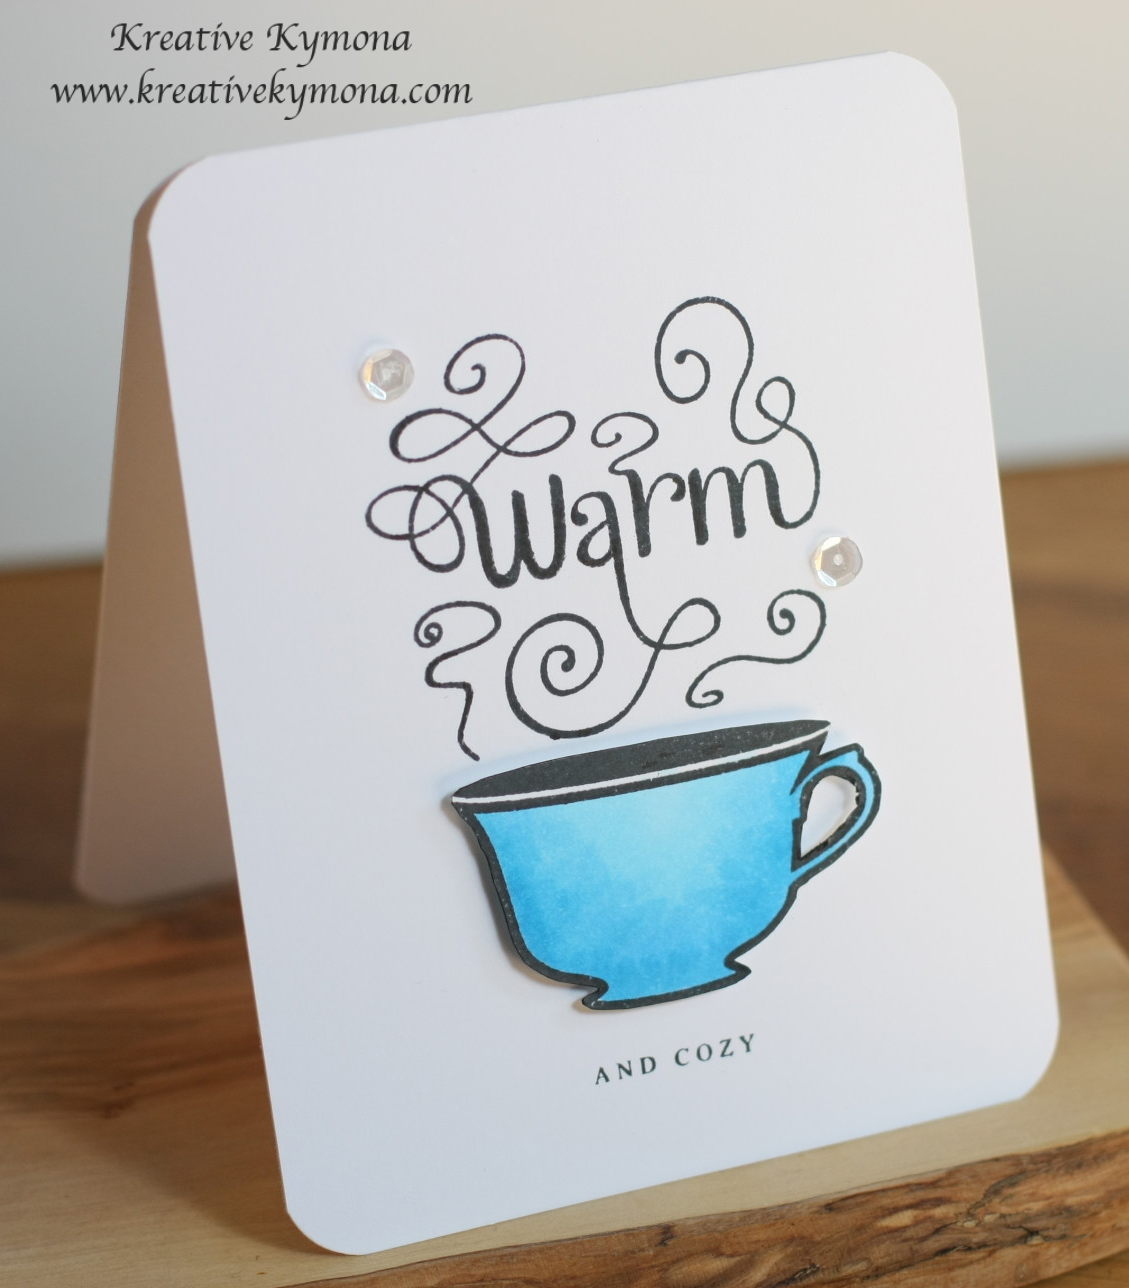
For those of you who know me well, knows I DO NOT like the cold. I hate it with a passion. The only thing I like about this time of year is a mug full of soup or a tea!! Yes, I love drinking tea or eating soup out of large mugs. It makes me feel cozy!!
So today I’m here with the Muse Challenge #85. The Muse this week is Marion Vagg! I really like her card. The flowers are so nice and simple.
Take a look at Marion’s card:
I wish I had such luck with flowers. I don’t even own a flower die cut, so I needed to come up with something else.
I’m also entering my card into the NBUS Challenge. The stamp set I used is new and I just received it in the mail.
Take a look at my card:
I love this little tea cup of “warmness”! Can you imagine sitting on your sofa with a cover, good book and this cup of tea!! Yes, I’m ready for the fall now!! My new mug from the 2014 mug swap came just in time for the chilly weather.
My color inspiration came from this mug which I love:
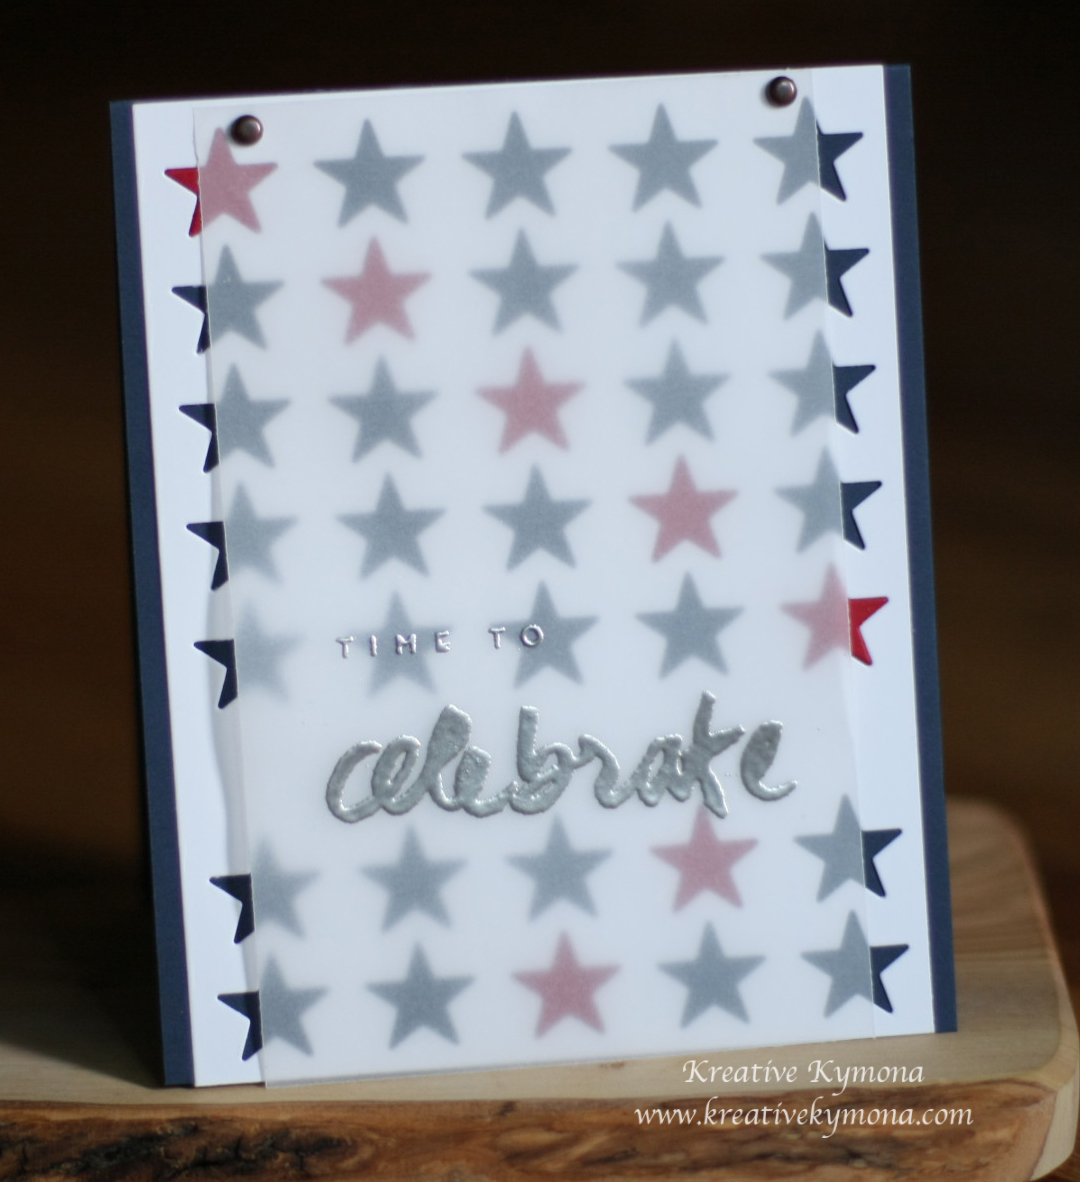
So, I picked the colors that I wanted to work with first. Since July 4 is this Friday, I decided to go with red, white and blue. Once I knew that, I saw it fitting to use PTI’s Cover Plate: Stars Die.
After figuring all of that out, I needed to see how my vellum piece would look attached to my card. Once I added it, I realized I didn’t have a sentiment on my card. That’s when it hit me that I should add the sentiment to the vellum and in silver for an extra pop.
Yes, that turned out neatly!
Take a look at my card:
I attached my vellum with two bronze brads. I must me honest, when I decided to add brads, I knew for sure I had silver ones. Well, I such everywhere and I could not find them. So, I decided to us the bronze brads and I like it.
What do you think? Don’t be afraid to let me know, good or bad.
Supplies Used:
I also used Stampin’ Up!’s Retired Pewter embossing power and brads.
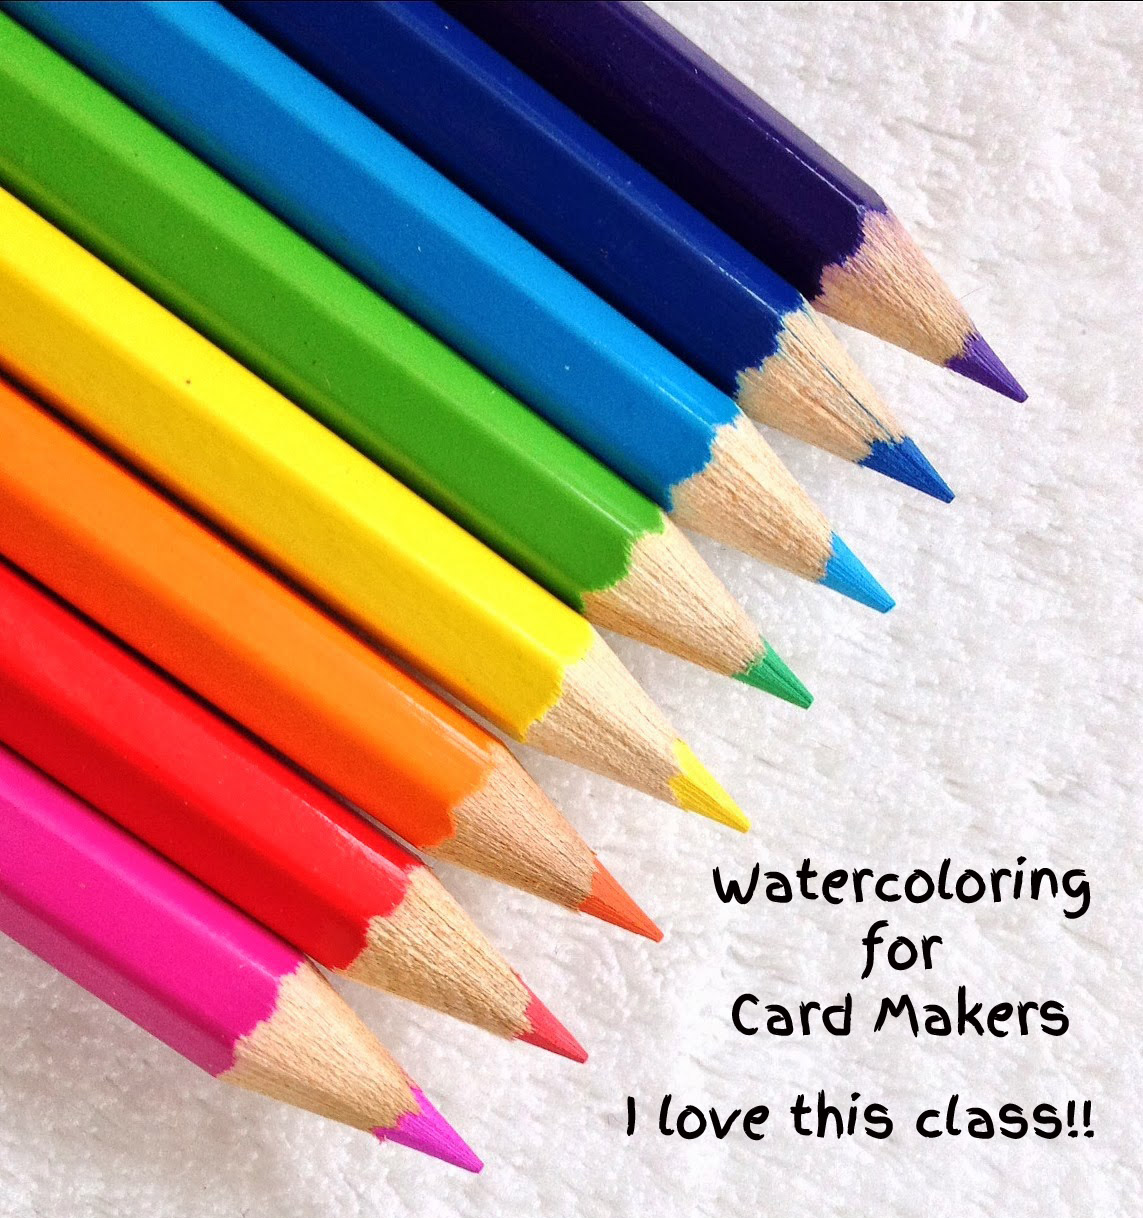
I must say this Watercolor for Card Makers is an awesome class. I’m learning so much and sharing it with my daughter has been even better. Both of us are having a lot of fun learning about colors and how the work with one another. Once her cards are posted I will link them here in my blog so you can see what her take on the lessons were.
Today’s card is a Stamped Emboss Resist and Watercolor Wash Card. Kristina Werner taught us how to add ink on top of an embossed image, the ink just happens to be watercolor. I’ve practice this technique a couple of weeks ago and it took me a while but I got it down pack and my card came out really nice. You can check out my post on April 30.
For my new card, I wanted to create a male card. I don’t have many of those, I wanted to make sure I tried colors that were suited for men. I love blues, yellow, and coral. I also tried something new. ADDING STITCHING TO MY CARD!!! I’ve never done that before but I wanted to finally try it. It was exciting!
I love how the colors blended to make colors that weren’t in my original palette. When I added the yellow to the tip of the blue it create that pretty green. The same when I added the coral to the yellow, it created the orange. It was amazing.
Creating the background was pretty easy.
I used Impression Obsessions Honeycomb Stamp to create my background. I stamped it with VersaMark and embossed it with Stampin’ Up! clear embossing powder.
I used my Koi Watercolors, I used number 23, 24 and 8.
My vellum and card stock was attached with my small sewing machine. I had that sewing machine for two years and never used. I pulling it out to create this card and I’m so glad I did.
Guess what, I didn’t know how to use the sewing. I had to ask my daughter to help set up the machine. I thought that was funny and she loved teaching me.
All and all, my card came out the way I had hoped it would. I’m very pleased with the look. I hope you are too!