Hello everyone!! Today I’m so excited to be here celebrating Concord & 9th 2nd Birthday!! Yes, they turn 2 today!!
Time flies when your having fun is such a true statement. I remember when they first started out and to see them grow in such a way feels good as a customer.
I’m so happy that I get to celebrate with them!
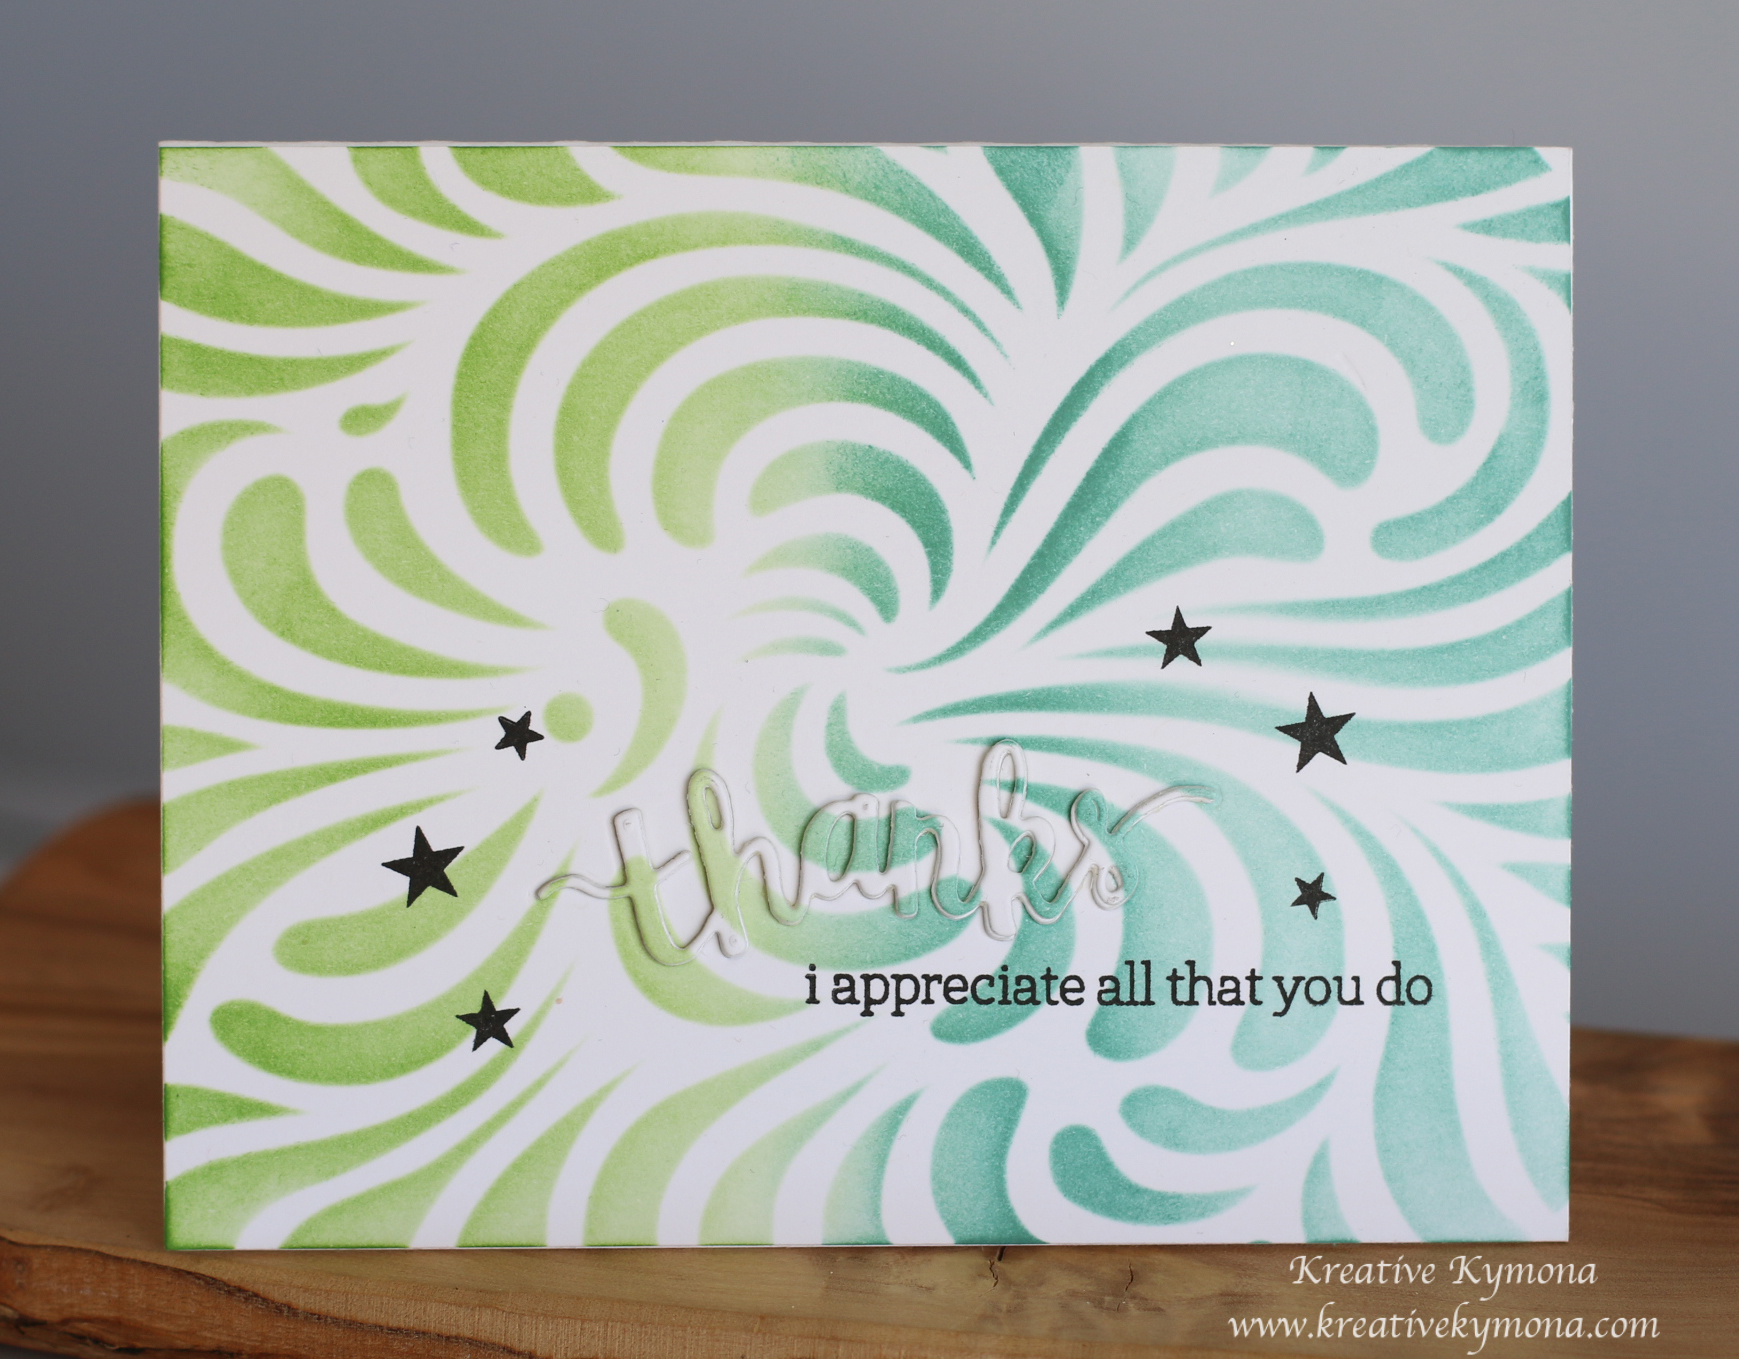
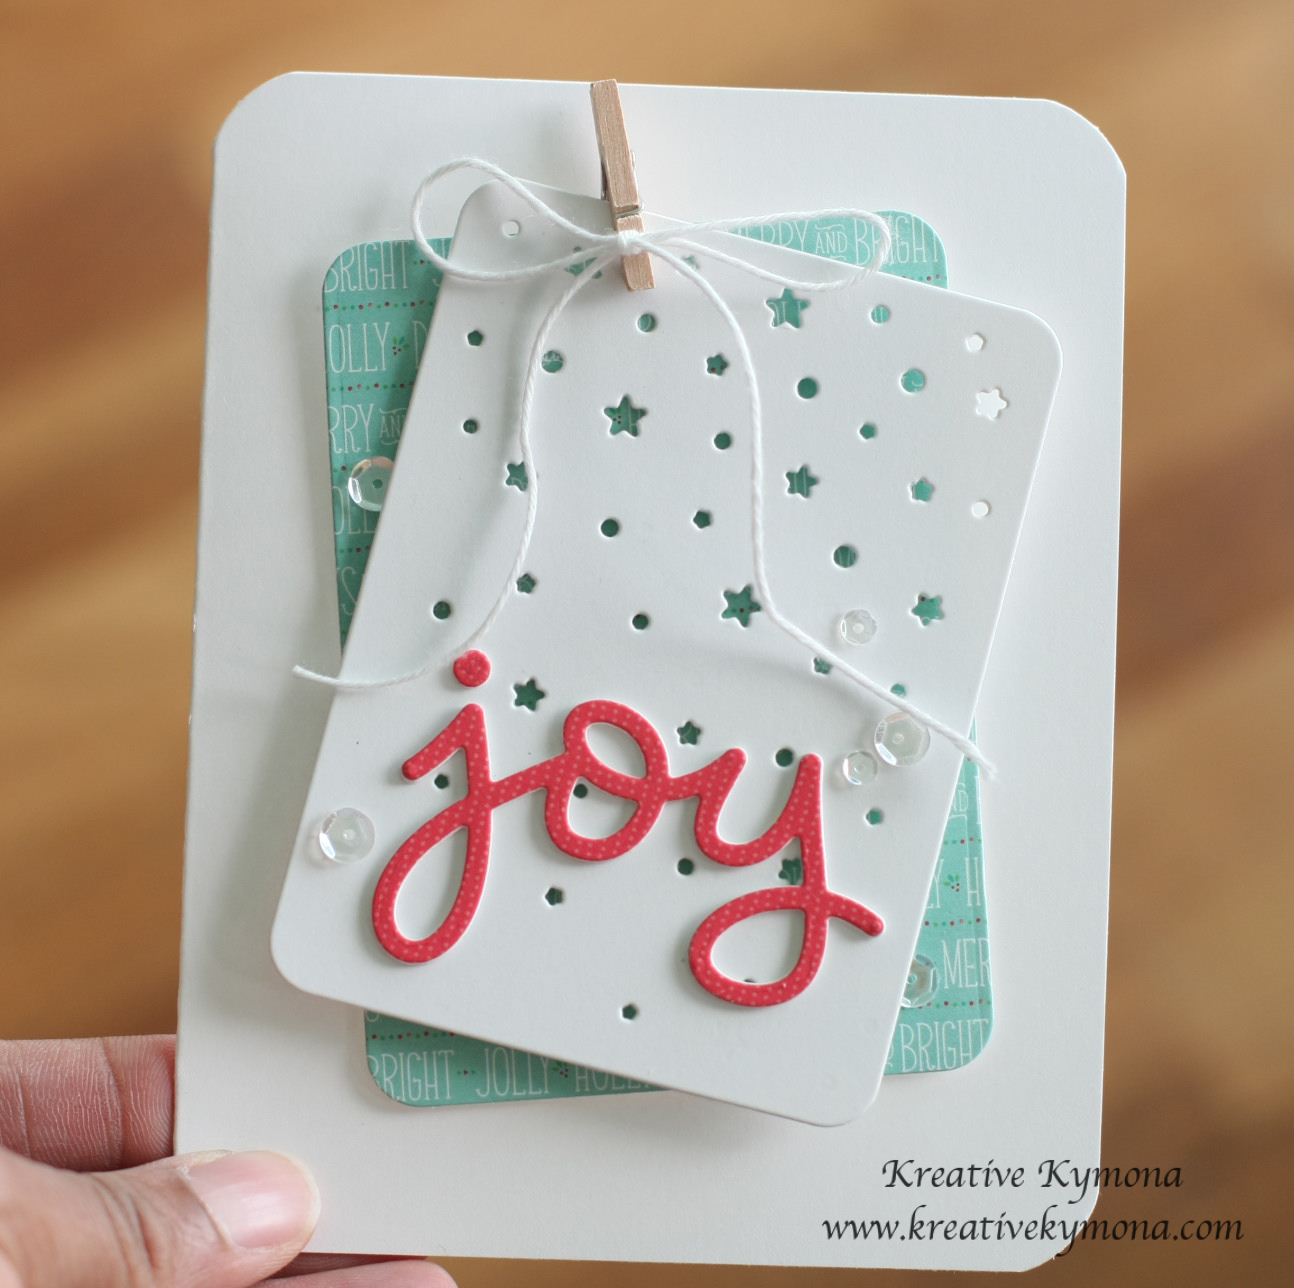
Take a look at the card I created:

Concord and 9th, Seriously Thank You for trusting me to showcase your products within my creations!! I truly appreciate it.
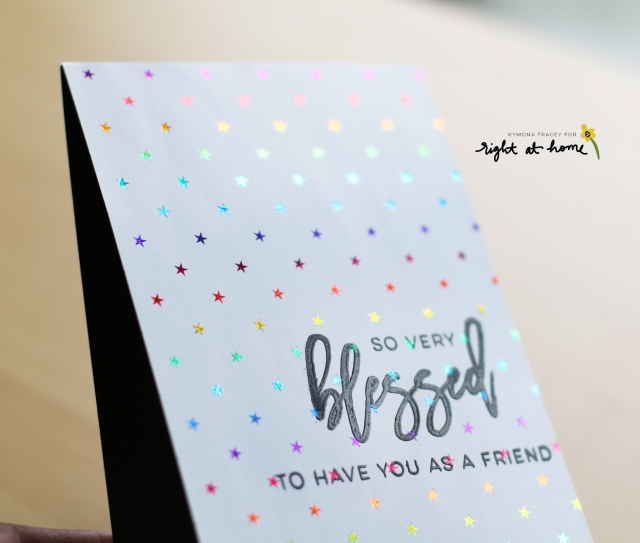
This stamp set is totally amazing. The sentiment is so meaningful and powerful. It lets the receiver know that you really thank them.
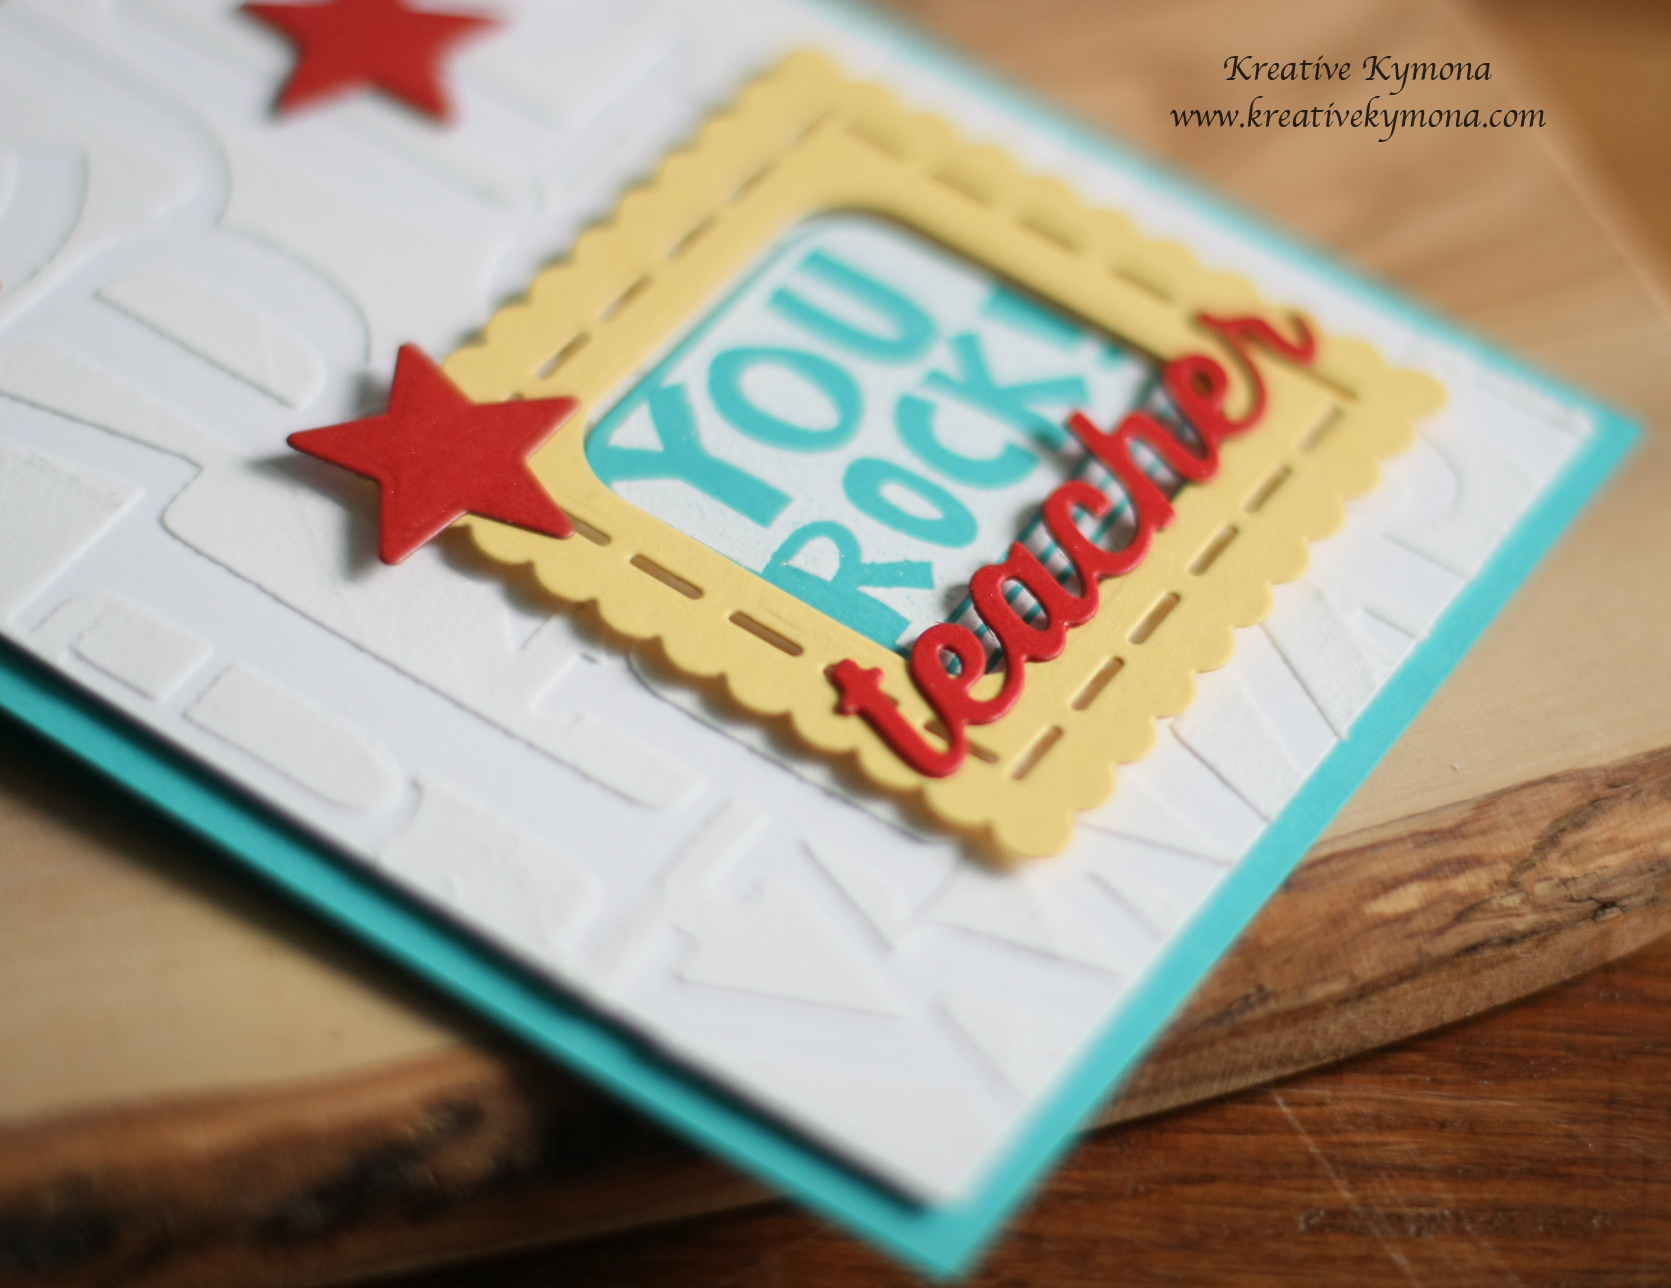
Here’s how I created this card:
- Use distress inks to create the watercolor background on watercolor paper.
- Then heat set it so that the watercolor dries completely.
- After that, prep the watercolor panel using an anti-static tool.
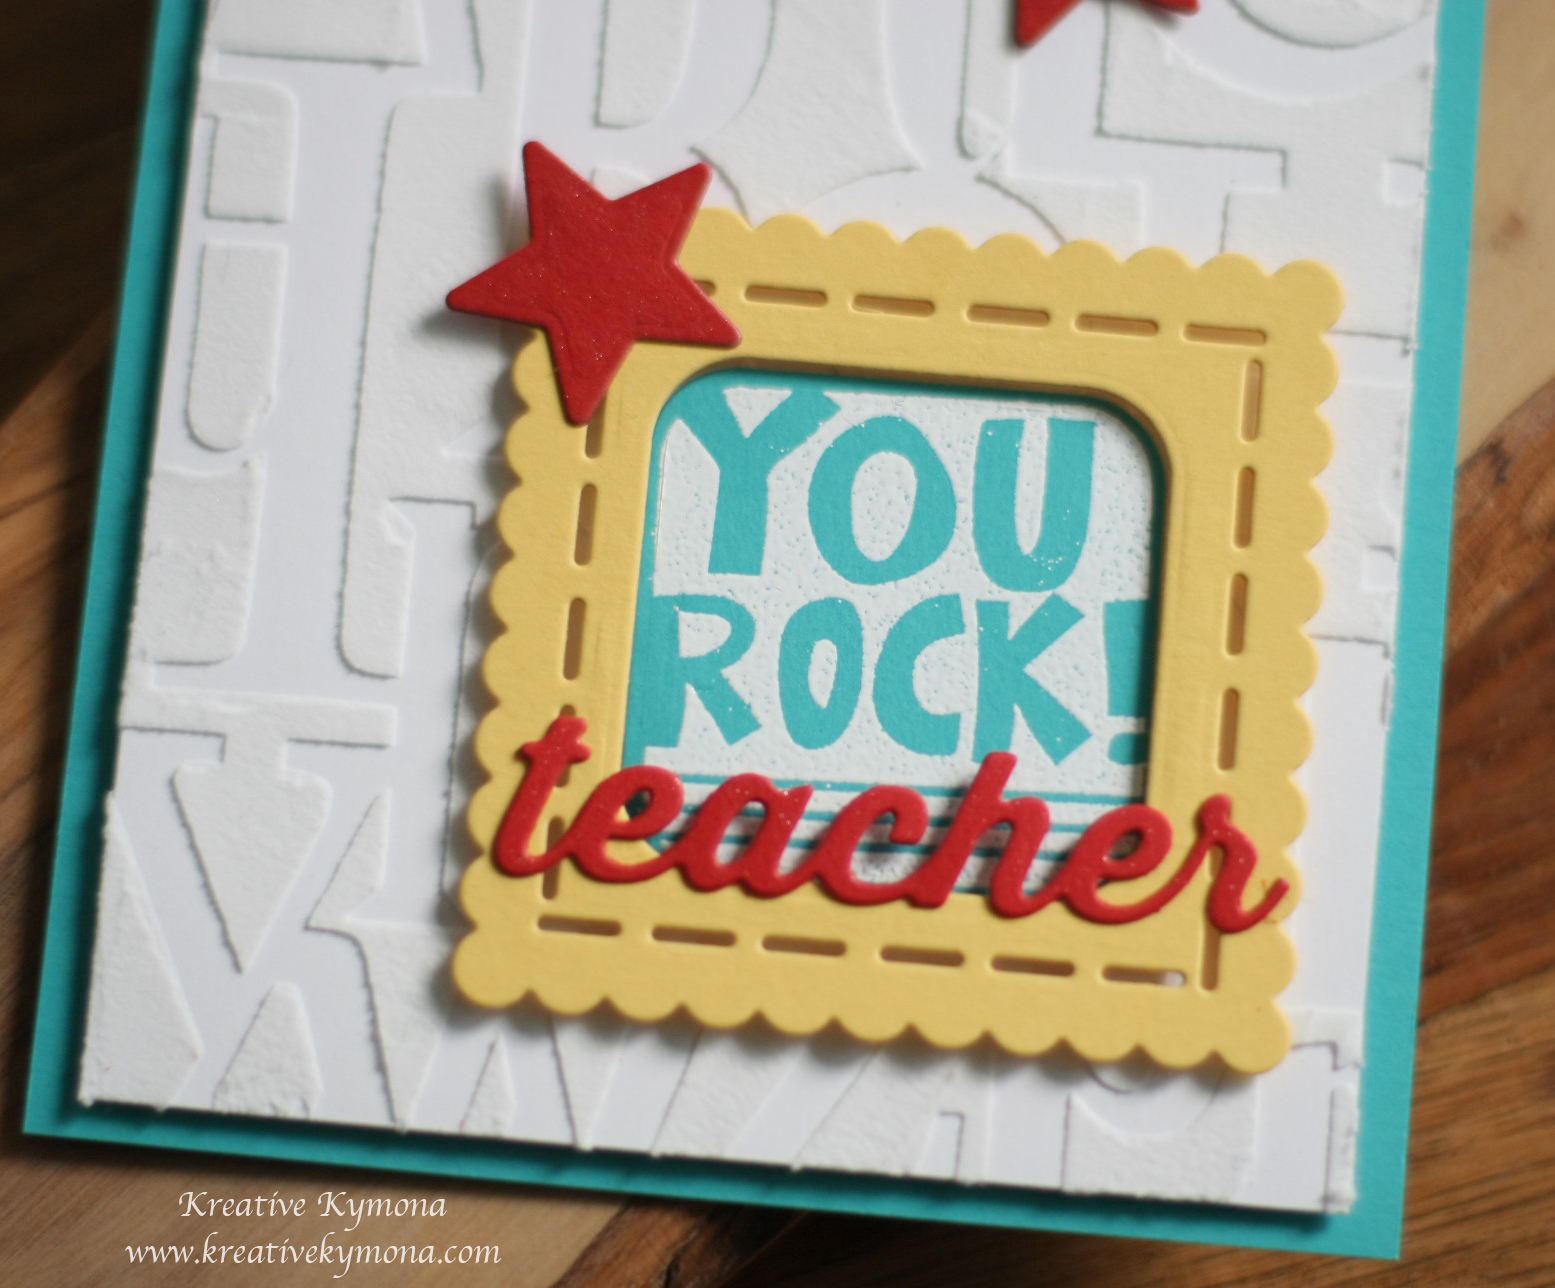
- Stamp the sentiment using Versamark ink.
- Pour silver embossing powder of the stamped sentiment.
- Brush off the excess and heat set the powder.
- Die cut the panel using Neat and Tangle Scalloped Die.
- Cut and score the card base to 4.25 x 5.50 scored at 5.5o.
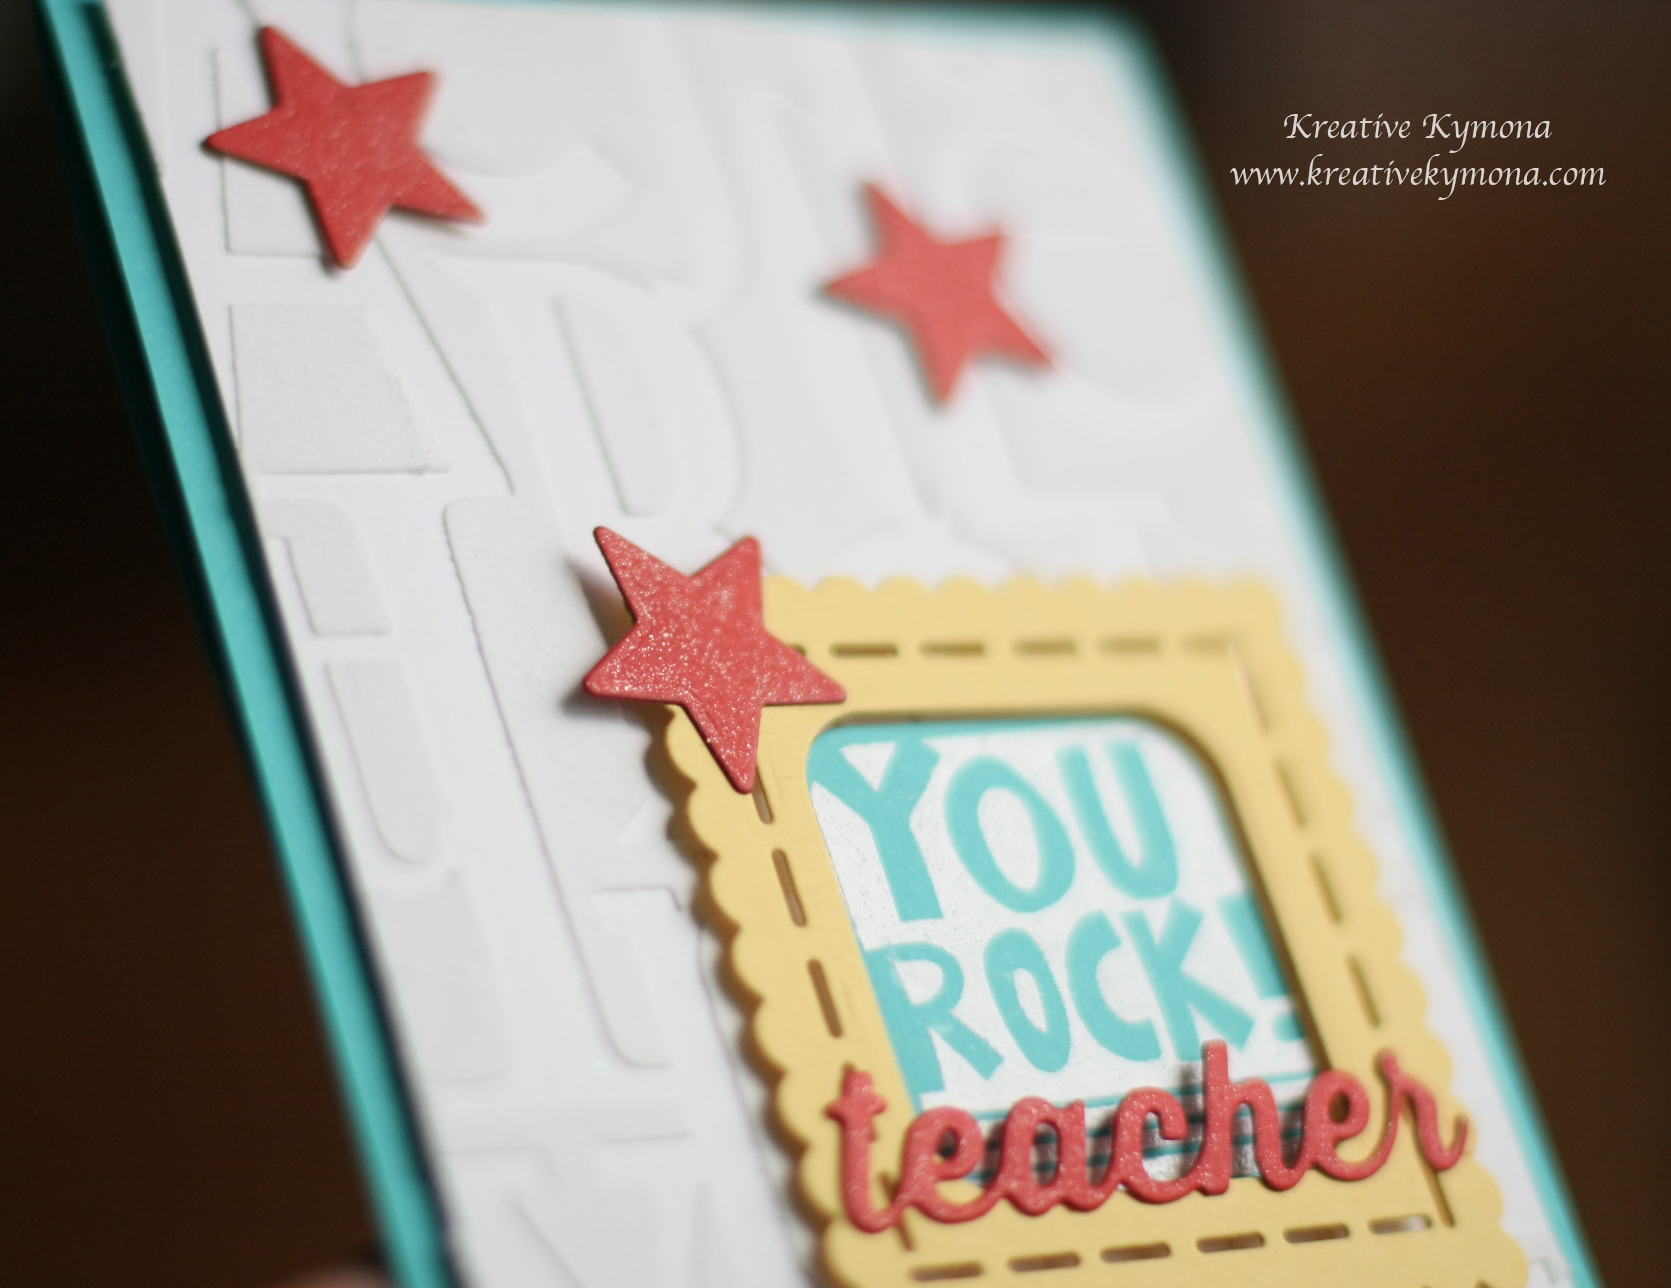
- Use a star embossing folder and emboss the card front with stars.
- Adhere the watercolor panel to the front of the card base using 3M foam tape.
- Add some clear gumdrops to finish the card off.
Nothing to it!!
Announcement:
Head on over to Concord and 9th website to get a look at the entire release. You will not be disappointed.
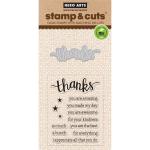
Supplies used:
(Thank you so much for stopping by. Compensated affiliate links used at no cost to you. All products were personally purchased. This post was not paid or sponsored.)


![]()


Thank you so much for stopping by!!